"VINTAGE UMBRELLA BLOCK"
Welcome to week three of the
"BEE VINTAGE"
Sew Along!
Join me here each week
when I will be doing 3 tutorials
on three blocks for the quilt.
Of course because we are all sewing
from all around the world
we all have different time zones...
But I will be posting each
Monday - Wednesday - Friday
right here on my blog
and you can follow my tutorials
any time during the week that
is convenient for you.
We are making the
Bee Vintage Sampler Quilt
71" x 84"
I've been getting ready for
when it was time to begin...
and now that time is here!!
The quilt is made with my fabric
collection called Bee Vintage...
and a few other prints from my basics collections as well!
I hope that you all have all
received your
fabric kits by now...
and that we are all ready to begin!!
If you still need one ...
just do a quick google search for
"Bee Vintage Quilt Kit"
to find shops who still have some left.
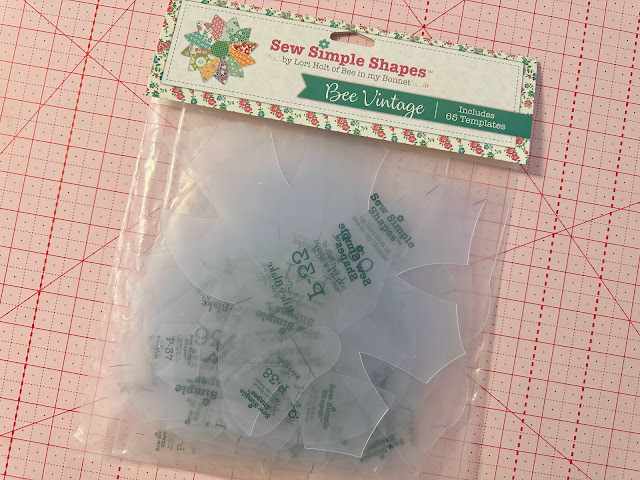
We are also using the
Bee Vintage
Sew Simple Shapes
I have already posted the
post which details all of the supplies
for the sew along and how it works.
I have also given the link there
for the free PDF Download
of the Sew Along Guide
to download the sew along guide
if you have not downloaded yet.
As per usual for the first block in my
Sew Simple Shape Sew Alongs
that FIRST tutorial is a video.
Because I now have my own
I have posted the
Vintage Strawberry Block
Tutorial there.
to visit my channel and watch the
tutorial and I hope that you love it!
for the tutorial on the
VINTAGE APPLE BLOCK
for the tutorial on the
VINTAGE CHERRIES BLOCK
for the tutorial on the
VINTAGE BUTTERFLY BLOCK
for the tutorial on the
VINTAGE MAPLE LEAF BLOCK
Last time we made the
VINTAGE SCOTTIE DOG BLOCK
for that tutorial
Today we are making an umbrella!
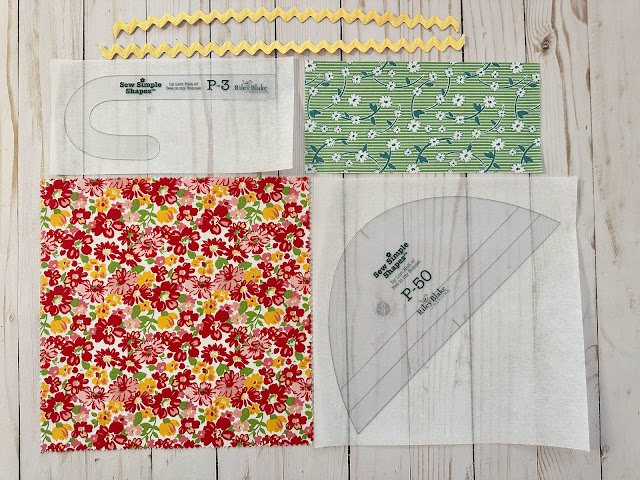
Here is my Vintage Umbrella Block
All cut...traced and ready to go!
Here is a list of the
Bee Vintage
Sew Simple Shapes
needed for this block:
1 - P-3
1 - P-50
You will also need to cut your
3/4 yards of Beehive Lg. Vintage Trim
in half for two pieces
***TAKE NOTE***
That you will need to
trace a line 3/4" above the bottom line
of the traced shape and then another line
on top of that 3/4" above as well.
We will use the Sue Glue
to glue the trim onto the fabric
before sewing like this!
Cut your background
12" x 12"
First thing to do is to pin your
traced interfacing onto your fabric
on the top of the umbrella only
so that you can lift up the bottom
tp lace and glue the Vintage Trim.
Use the two drawn lines as a guide
for placement and glue the two
Vintage Trim pieces onto the fabric only
(not the interfacing)
Let the glue dry completely and then
sew your shape as usual...
encasing the Vintage Trim ends
as you are sewing.
*At this point before sewing the shape
you could top stitch the Vintage Trim
down using matching thread but I
like to hand applique mine down
at the same time that I am
doing the applique the block.
Easy Peasy!
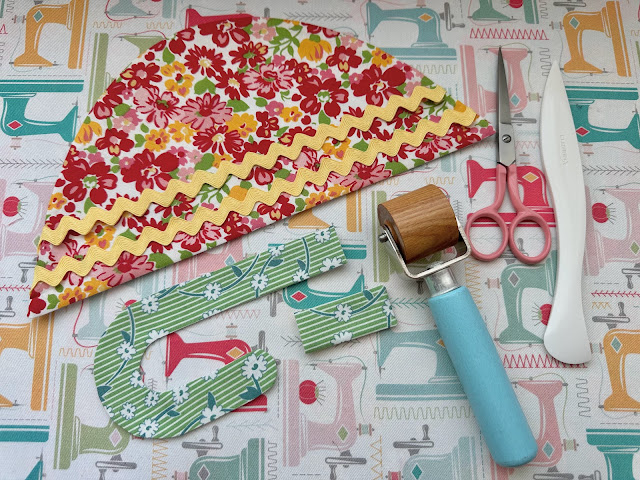
Both shapes are all sewn and
now for trimming...
As per usual:)
You will need to clip the inner curves
of the handle and I took a close up
photo so that you could see that
when it is a tight curve
you simply make your clips
closer together like this.
When I am working with a
long narrow shape this is how
I clip before turning:)
I shaped and pressed the ends
and the outside edges first
and left the inside curve for last...
Don't forget to use the Seam Roller
because it really helps
when shaping and pressing!!
And finally cut the end off so that
your cut off piece measures 2"
Alrighty...
Both shapes are ready to go!
(or should I say three now:)
Let's go over to glue and pin.
This block is super simple to layout
and here is your placement photo:)
From top to bottom it measures 11 1/2"
Pinned and Sue Glued and ready for applique.
After applique press from the back...
and trim down to 10 1/2" x 10 1/2"
VINTAGE UMBRELLA BLOCK
Thanks so much for sewing with me
today and for joining me
for the start of week three of the
Bee Vintage Sew Along
I'll meet you right back here
on my blog next time for the
Vintage Flower Block tutorial...
xx
Lori


No comments:
Post a Comment