Hello and welcome back!
This is Week Six of our
We are using Granny Chic Fabric and...
Granny Chic Sew Simple Shapes...
To make the
Granny's Garden Quilt
As per the schedule in the
this week we are planting blocks
21 - 22 - 23 - 24
They are simple and straight forward...
with no new techniques added that
I have not previously shown you...
so let get to gardening!
Sew Simple Shapes for Block 21:
4 - I 6
4 - I 18
5 - I 21
Cut 4 stems 2 1/2" long
The only shapes that need clipping
in this block are the 4 flowers:)
Block 21 shapes are ready for basting:)
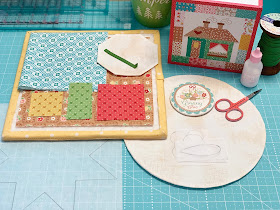
After pining and gluing Make sure everything is centered by using the 10 1/2" Trim-It Ruler lines as a guide.
Flower Block 21 ready for appliqué!
Now onto block 22:)
Sew Simple Shapes for Block 22:
4 - I 3
4 - I 16
1 - I 21
Cut four stems 2" long
The four flowers in this block
need to be clipped as well.
All shaped and pressed and ready to go!
Same thing applies here...
use the ruler to center everything
during the basting process
and then applique your Flower Block 22!
Sew Simple Shapes for Block 23:
2 - I 2
1 - I 18
1 - I 21
1 - I 29
1 - I 30
Cut the stem 3" long and
press one end under:)
The flower in this block
needs to be clipped...
As well as the star.
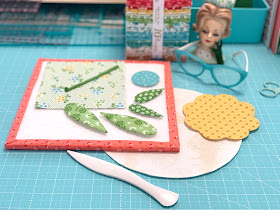
Turned...pressed and shaped.
Don't forget to take advantage of
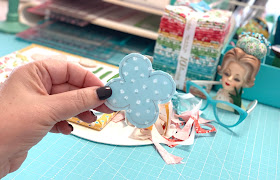
the Clover turner to
get your shapes how you like them:)
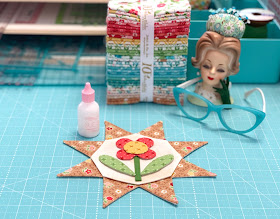
For this block I basted the flower
onto the octagon before I
basted it onto the star.
Take note that the octagon
is turned so that it's pointed
at the top.
And take note that the star
is turned one quarter turn ...
So that it looks like this
when placed onto the large circle.
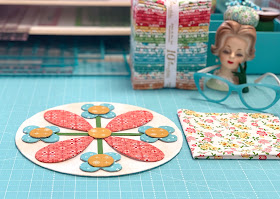
Flower Block 23 all ready for applique!
Sew Simple Shapes for Block 24:
2 - I 2
2 - I 5
1 - I 24
Use the 2" Circle Ruler from the
set for the flower center
Cut your stem 5" long and
press one end under:)
Once again it's the flower
that needs to be clipped.
Then turn...shape and press.
Use the ruler lines to
center this flower and leaves.
Flower Block 24 is ready for appliqué:)
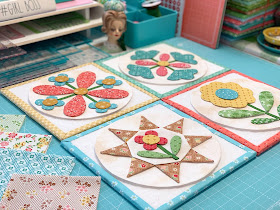
Four more flowers planted!
After you applique the circles...
it's time to applique them to the background:)
I'll see you right back here next week
and we will continue with our gardening:)
xx
Lori
P.S. If you are just joining us
be sure to click on the links below
for the previous Granny's Garden
posts and tutorials.
1. Bee Prepared
2. Week One
3. Week Two
4. Week Three
5. Week Four
6. Week Five
















Thank you so much for this and the vintage quilt blocks you share every week,the colors and the crispness,and dont forget the cuteness of all of your pics always cheer me up!! I look forward to them eachand every week.
ReplyDeleteYou are such a talented quilter and quilt pattern creator and sharing your talent with all of us shows how giving your heart is!- Thank you so much! Myra