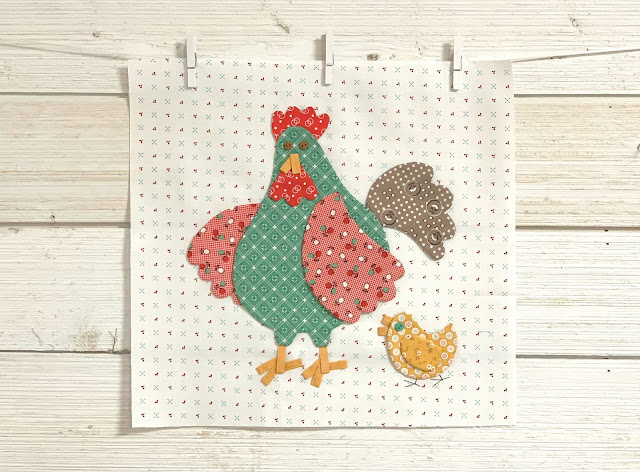
"PENNY"
Hello again and happy Monday!!!
Welcome to week Eight of the
"CHICKEN SALAD"
Sew Along!
Join me here each week
when I will be doing a tutorial
for one of the 12 chicken blocks
for the quilt.
Of course because we are sewing
from all around the world
we all have different time zones...
But I will be posting each Monday
right here on my blog
and you can follow my tutorials
any time each week that
is convenient for you.
We are making the
Chicken Salad Quilt
64" x 80"
*I'm going to say this each time because
I feel it's important:
Please sew at your own speed ...
whenever your time allows
so that you can enjoy
each step of this sew along.
Quilting should be fun and not stressful:)
The schedule in the front of the
sew along guide is simply the schedule
to let you know which block tutorial
that I am doing for that week.
If you are not able to do it that week
please remember that these tutorials
will remain on my blog forever:)
I am also using an additional
Chicken Salad Quilt Kit
to make a second quilt
out of my Cook Book fabric
using twelve 12" Farm Girl Blocks from my
Farm Girl Vintage Book
and my
Farm Girl Vintage 2 Book.
Again, that means I am using TWO kits
that are identical.
It makes me sew happy to find out
that so many of you are making
a second quilt along with me!
COOK BOOK KITCHEN QUILT
and show and tell mine as part of
each weekly blog post
each Monday here on my blog.
Last week I made my
BAKING DAY
Farm Girl Block
Both quilts are made with my newest fabric
collection called COOK BOOK...
If you are looking for a fabric kit...
just do a quick google search for
"Chicken Salad Quilt Kit"
to find shops who still have some left.
We are also using the
Chicken Salad
Sew Simple Shapes
I have already posted the
post which details all of the supplies...
and all of the cutting and
all about the sew along and how it works.
I have also given the link there
for the free PDF Download
of the Sew Along Guide
to read that post.
As per the sew along guide
cutting instructions
you should have everything for your
PENNY Block
all cut and ready to go!
If you missed week one and the
first introduction tutorial
I have posted that for the
Hattie Block
on my YouTube channel.
to visit my channel and watch the
tutorial and I hope that you love it!
Leave me a comment there and let me know:)
If you like what you see
and my other videos there...
click on subscribe and click on the bell
to be notified whenever
I post another tutorial:)
Week Two we made
PERCY
if you need to view week two:)
Week three we made
PEARL
for week three:)
CORNELIUS
for week four
HENRIETTA
for week five tutorial:)
EDNA
for that tutorial
BEATRICE
for that tutorial
Okay!
Let's get started making
Penny!
all cut and ready to go!
I have also laid out the
squares and rectangles for the border
so that you can tell for sure
which prints they are:)
Here is a list of the
Chicken Salad
Sew Simple Shapes
needed for the
PENNY Block:
1 - M-3
1 - M-4
2 - M-21
1 - M-22
1 - M-23 (reversed)
1 - M-24(reversed)
1 - M-33
You will also need to cut
the background 13 1/2" x 13 1/2"
and your straight bias strips
for the beaks and feet 5/8" wide
as it says in the guide:)
Remember to trace the baby chick
in reverse for this block:)
After sewing it's time to clip all of the
cleavage and inner curves in the
appliqués for Penny and
her baby chick before
turning and shaping.
and ready to get pin-basted:)
1.Use your 12 1/2" Trim-It Ruler
when laying out your block so that
it does not "grow" too large
and stays within the 12" square size.
2. When using the Sue Glue you only
need a small dot about 1/4"
in from the edge of applique.
"A dot is a lot"
3. Don't stress too much over
making the chicken feet.
They are just feet and will not
look the same or match each other.
They will not be perfect
and that's good because they
are not supposed to be.
4. Have fun building your chicken!
Penny and her baby chick are both
ready for applique:)
Okay!
Now it's time to reveal which
of my 12" Farm Girl Blocks
that I chose to make this week
for my Cook Book Kitchen Quilt.
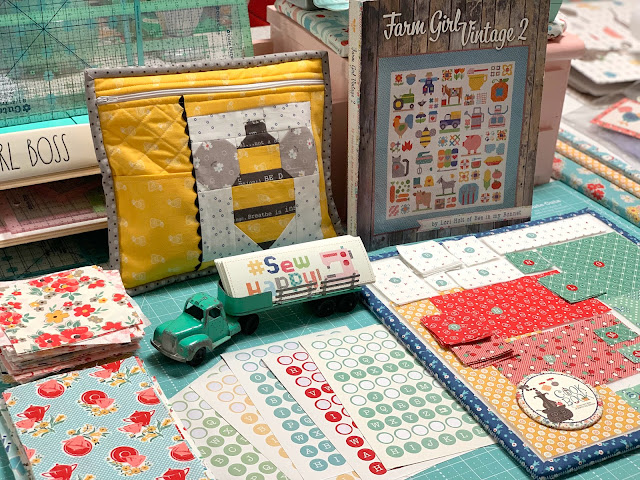
I chose to make
Corn and Tomatoes 2
You can find the pattern on page 34
of my Farm Girl Vintage 2 Book.
It's all cut...
labeled with my
Sew Handy Stickers
and ready to sew:)
Fun and Done!!
Have fun each week
making your kitchen block!
I hope you enjoy week eight
of the Chicken Salad Sew Along
and enjoy playing with
the Cook Book fabric:)
I have another fun project for you!
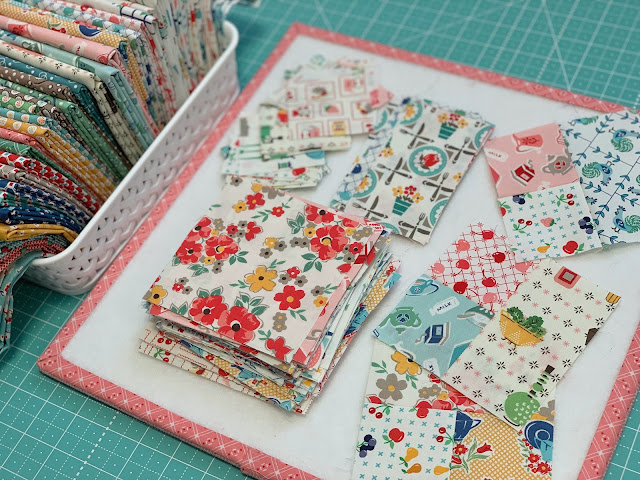
Last week I grabbed my 2 1/2" square ruler...
my 2 1/2" x 4 1/2" rectangle ruler...
and my 4 1/2" Trim-It Ruler.
Then I cut some of the
leftover fabrics from my kit:)
I started making some blocks...
And on Friday my daughter Kassidy
came over and filmed me
so that I could show you!
to watch my video and to find out
all about my project made
with leftover kit fabric:)
Leave a comment there and
let me know how you like it!
All of the chickens together
that we have made so far:)
that we have made so far:)
I'm so happy with the progress
that we are making!
I'll be right back here on my blog
next Monday for week eight
and the tutorial for
PRUDENCE
and the next 12" Farm Girl Block
from my Farm Girl Vintage Books!
xx
Lori
***********************************************
This week's recipe is a favorite
quick and easy casserole that can again
be made ahead in preparation for a busy day.
Served with fresh fruit and good bread or
rolls makes a delicious meal.
This casserole re-heats well for leftovers too!
CHICKEN and RICE CASSEROLE
2 - 3 cups chicken - cooked and diced
3 - 4 cups cooked rice
2 cups broccoli - chopped
1 can corn - drained
1 cup tomatoes - diced
1/2 cup red pepper chopped
1/2 onion - finely chopped
4 Tablespoons butter
1 can Cream of Chicken Soup
1 cup chicken broth
1/2 cup sour cream
1 - 2 cups grated cheddar cheese
1/2 cup breadcrumbs
(crushed crackers work well too)
1 teaspoon salt
1/2 teaspoon pepper
Saute onion, broccoli and peppers
in butter.
Mix together the soup, chicken broth,
sour cream, salt and pepper.
Add the cooked rice, corn, tomatoes,
chicken and half of the cheese.
Mix and place into a 9" x 13"
casserole dish.
Sprinkle remaining cheese and
bread crumbs over the top.
Cover and bake in a
350* pre-heated oven for 20 minutes.
Remove cover and bake an additional
15 minutes or until bubbly and cheese
is melted and breadcrumbs are toasted:)
Enjoy!!


2 comments:
The work you put forth is amazing and collecting your recipes is also fun!!! Thank you so much for all that you do Lori!!!
My family loved your chicken a-la-king recipe. Thank you.
Q: Do you add your chicken eyes before or after quilting?
By the way, I have newly hatched adorable baby chicks. Named one after you and another after Martha Stewart.
Post a Comment