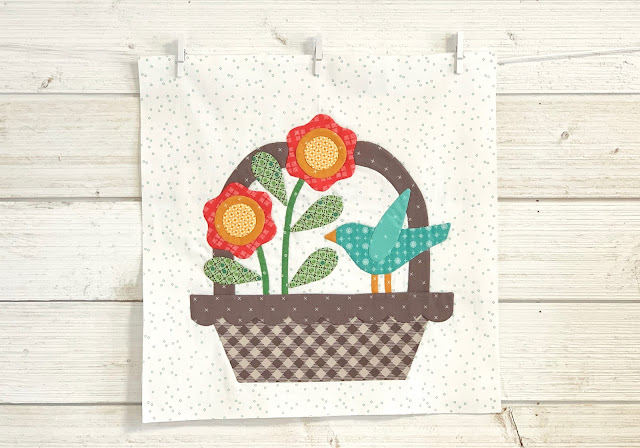
Flea Market Flowers
Quilt is Finished!!
Welcome to the big finish of the
We are using my latest
fabric collection called
Flea Market
It's designed by me ...
and produced and distributed by the amazing
Riley Blake Designs:)

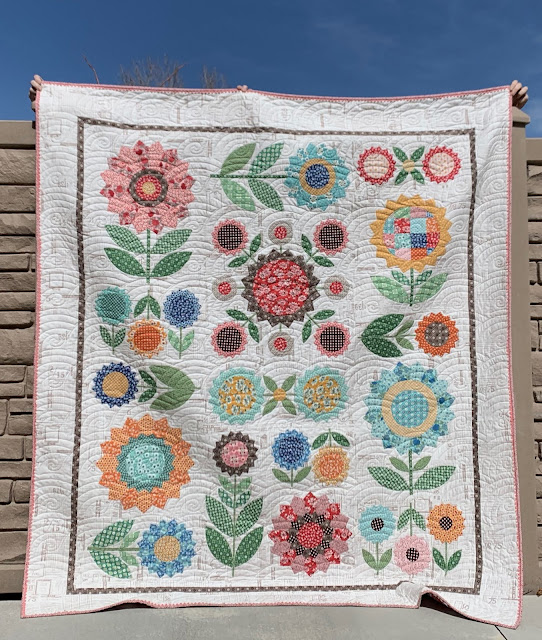
We are making my quilt
FLEA MARKET FLOWERS
76" x 86"
We are using my
PIE RULER
to make all of the flower petals...
This set of my
CIRCLE RULERS
for all of the flower centers...
And we are also using my
SEED RULERS
for all of the leaves in the quilt.
All of the other notions as well as fabric requirements are detailed within the
Flea Market Flowers Sew Along Guide
for the free PDF Download
I also have a "Bee Prepared" blog post
detailing everything that you will
need to know about this sew along...
to go to that blog post
if you have not read it
or you need to be "refreshed"
on any of the information!
As promised...
To kick off week one
I did a video tutorial on my
YouTube channel showing how to make
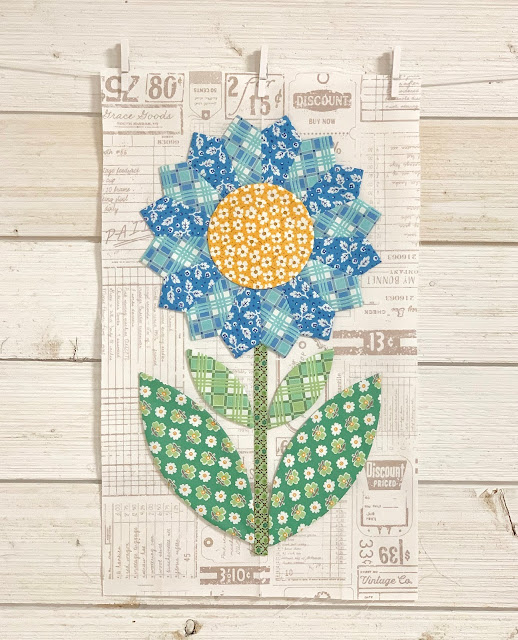
Flea Market Flower
BLOCK "M"
to go to that tutorial...
so that you can make this cute flower!!
I also did a tutorial during
week one right here
on my blog for
Block "L"
to go to week one and this block tutorial:)
As part of week two
I did the tutorial here for
Block "O"
For that tutorial
to go to week three for the tutorial
BLOCK "I"
during week three:)
the tutorial for
Block "K"
for that tutorial
And I also did the tutorial for
Block "J"
during week four as well.
During Week Five I did the tutorial for
BLOCK "F"
to read that tutorial
BLOCK "H"
during Week Five as well.
During week six I did the tutorial for
BLOCK "G"
for that tutorial.
During week seven
I did the tutorial for
Flea Market Flower
Block "E"
for that tutorial:)
During week seven
is the tutorial for
BLOCK "D"...
As well as the tutorial for
Block "C"
During week eight
I did the tutorial for
BLOCK "B"
for that tutorial
"BLOCK "A"
during that same week
Last week before today's
big finish I did a tutorial
on how to make this
cute little label for your quilt.
for that tutorial
I also showed you how I
prepare and trim up my blocks
after appliqué so that they
are ready to sew into the quilt!!
I love how all of these Flea Market fabrics...
the Flea Market Roses wideback
and the Coral large Vintage Trim
all go together to finish up the quilt!
if you want to know how I
bind my quilts and sew the
Vintage Trim inside if the binding.
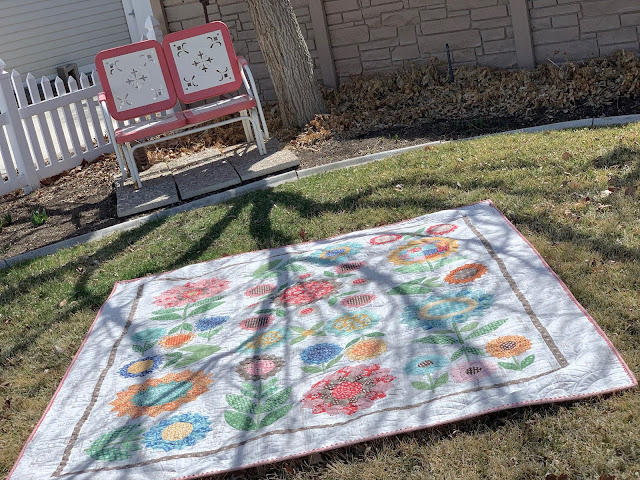
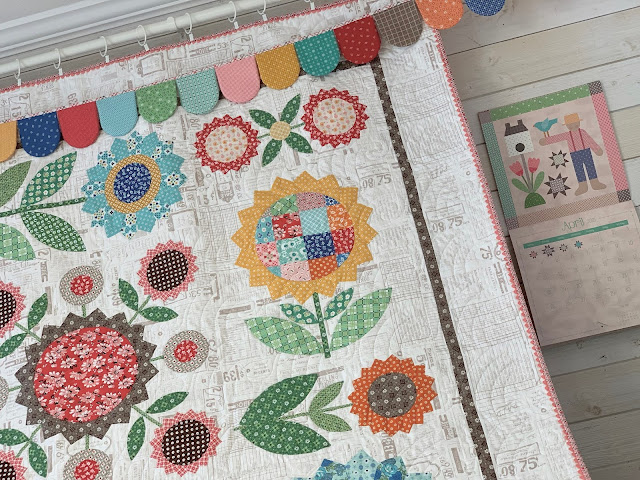
I took a lot of pictures of my
finished quilt so that you could see
it up close and personal...
and especially see how it looks
machine quilted and also machine appliqued.
The wind was blowing and it
blew the corner of the quilt back
just so that you could see the label!
I could not have
planned that even if I tried:)
My friend Juli Stubbs quilted it
and as always she did an amazing job.
I asked her to quilt an overall pattern
on this one instead of custom quilting it
and I absolutely love
the way that it turned out.
The quilting pattern that she used is one of my very favorite and I use it quite often.
It's called Baptist Swirl.
Afterwards I came inside
and hung it up in my sewing room
for the closeup shots.
a pure joy to make.
I had so much fun with it
and I hope that you did as well!
Next up...I wanted to
let you know some exciting news!!
I have started a new series called
Sew Simple Shapes
"REMiX"
Each month I am designing
a new applique block
using my Sew Simple Shapes.
The block will be released
within the Riley Blake Designs Newsletter
that comes to your email
on the 3rd Wednesday of every month.
if you are not yet subscribed
to the newsletter.
On the third Friday of each month
I will do a video tutorial
of that months block on my
YouTube Channel.
to watch the tutorial
that I did for this months ReMix Block:)
In the video I also show you
the next sew along
that I will be hosting
here on my blog in August.
The quilt is called
"My Happy Place"
and we will be using
my next fabric collection
that will be here in July.
The collection is called
STITCH
and I show it to you in the video:)
I hope you will be joining me
for that one as well!
the bottom of my heart
for sewing Flea Market Flowers with me!
xx
Lori


