Monday, September 30, 2019

Granny's Garden Sew Along - Week Six!!


Hello and welcome back!


This is Week Six of our 


We are using Granny Chic Fabric and...


 Granny Chic Sew Simple Shapes...


To make the 
Granny's Garden Quilt


As per the schedule in the 
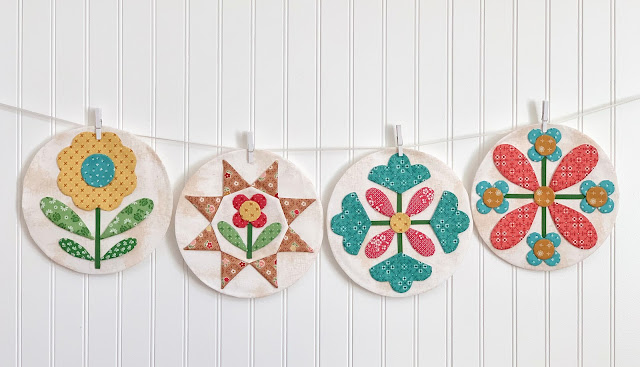
this week we are planting blocks
 21 - 22 - 23 - 24


They are simple and straight forward...
with no new techniques added that 
I have not previously shown you...
so let get to gardening!


Sew Simple Shapes for Block 21:
4 - I 6
4 - I 18
5 - I 21
Cut 4 stems 2 1/2" long


The only shapes that need clipping
 in this block are the 4 flowers:)


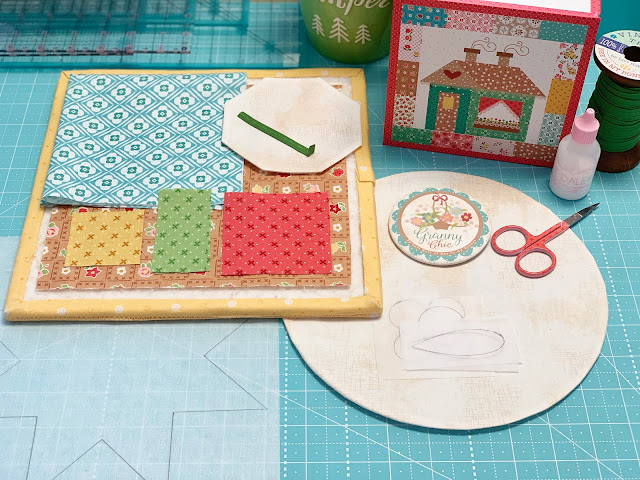
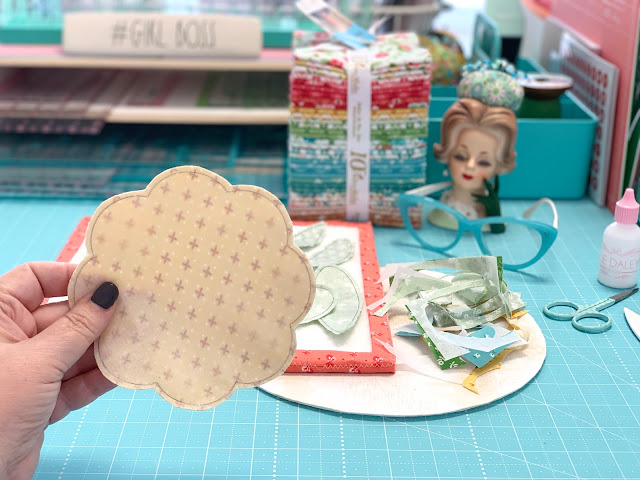
Block 21 shapes are ready for basting:)


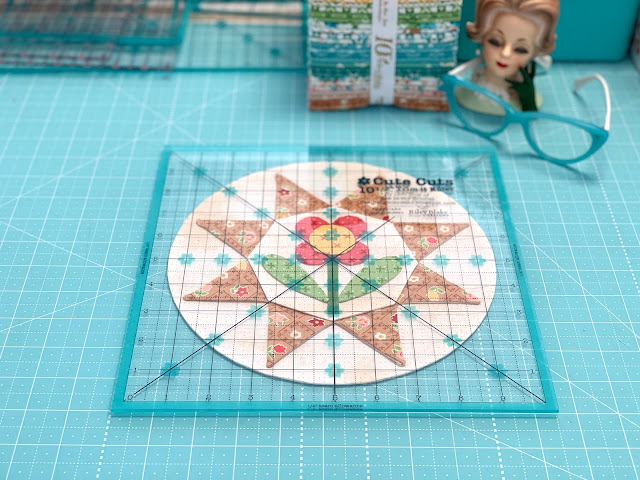
After pining and gluing Make sure everything is centered by using the 10 1/2" Trim-It Ruler lines as a guide.


Flower Block 21 ready for appliqué!

Now onto block 22:)


 Sew Simple Shapes for Block 22:
4 - I 3
4 - I 16
1 - I 21
Cut four stems 2" long


The four flowers in this block 
need to be clipped as well.


All shaped and pressed and ready to go!


Same thing applies here...
use the ruler to center everything 
during the basting process
 and then applique your Flower Block 22!


Sew Simple Shapes for Block 23:
2 - I 2
1 - I 18
1 - I 21
1 - I 29
1 - I 30

Cut the stem 3" long and 
press one end under:)


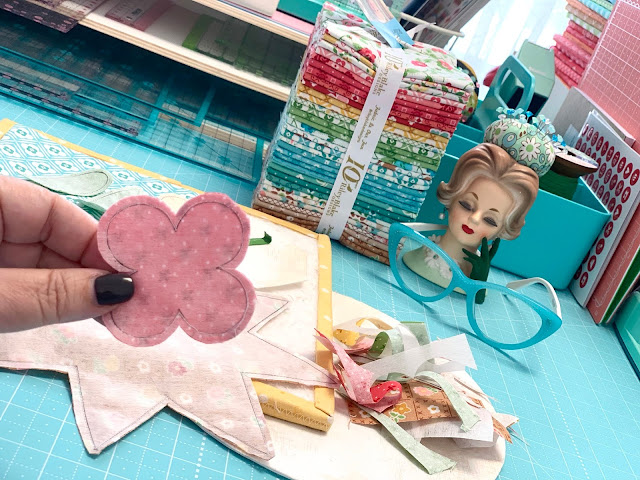
The flower in this block
 needs to be clipped...


As well as the star.


Turned...pressed and shaped.

Don't forget to take advantage of
 the Clover turner to 
get your shapes how you like them:)


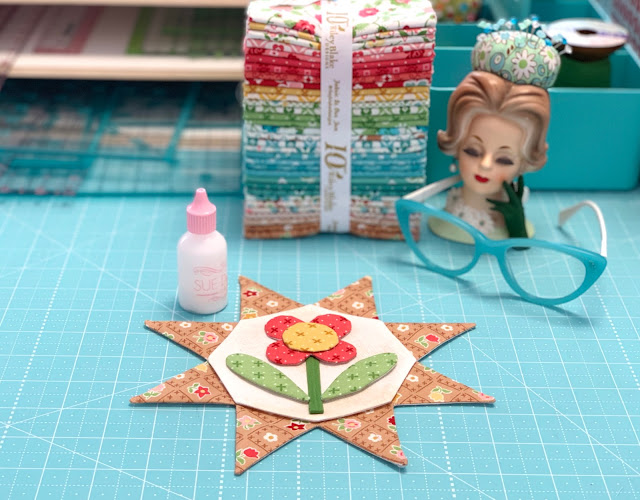
For this block I basted the flower 
onto the octagon before I 
basted it onto the star.

Take note that the octagon 
is turned so that it's pointed
  at the top.


And take note that the star 
is turned one quarter turn ...


So that it looks like this 
when placed onto the large circle.


Flower Block 23 all ready for applique!


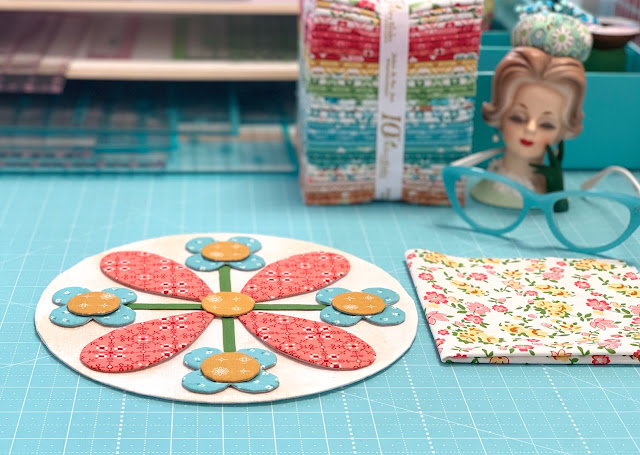
Sew Simple Shapes for Block 24:
2 - I 2
2 - I 5
1 - I 24

Use the 2" Circle Ruler from the
 set for the flower center

Cut your stem 5" long and
 press one end under:)


Once again it's the flower 
that needs to be clipped.


Then turn...shape and press.


Use the ruler lines to 
center this flower and leaves.


Flower Block 24 is ready for appliqué:)


Four more flowers planted!


After you applique the circles...
 it's time to applique them to the background:)

I'll see you right back here next week
 and we will continue with our gardening:)
xx
Lori


P.S. If you are just joining us
 be sure to click on the links below 
for the previous Granny's Garden
 posts and tutorials.


Thursday, September 26, 2019

Vintage Block Along - Week 33 - Road to Grandma's!!


Well hello again:)

After a week away clamping 
I'm back and it's time
 for week 33 in the 
Vintage Block Along


I'm sharing another vintage block 
with you from my 
grandma's pattern basket:)


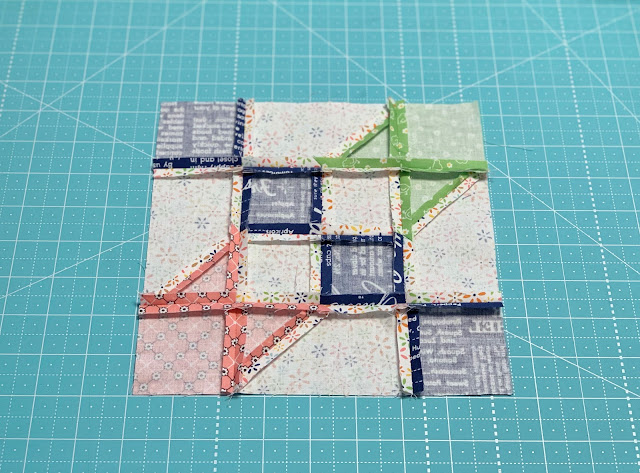
Today's block is a very classic 
vintage block and is quick and easy to make.

As usual it originally
 goes by several names.
The most popular name is
 "Road to Oklahoma"
but of course I'm calling mine...


Road to Grandma's!


I'm using Farm Girl Vintage fabric 
for all of the blocks in my quilt.


For today's block you will need 
one background and three prints.


From the background cut:
4 - 2 1/2" x 4 1/2"
2 - 2 1/2"


For the "road" you will need to cut:
4 - 2 1/2" squares


For one corner cut:
3 - 2 1/2" squares


For the other corner cut:
3 - 2 1/2" squares


Oh! I almost forgot to tell you
 about my toy vintage station wagon!
I thought I would add it to the
 photos because it's exactly like 
the one we had when I was girl.

Even though Grandma lived
 "just around the corner" 
of course when we all went to
 grandma's house together as a family
 we went there in our station wagon:)

I remember that whenever grandma was
 having us over for dinner
 or for a holiday celebration ...
that Mom would send one or two of us kids 
over there a few hours early
 "to be grandma's helpers"
I always loved it when she sent me!

One of the things we did to help grandma 
was to set the table 
and I liked going through grandma's
 cupboards and getting out her 
special bowls and platters...
after going through the linen drawers
 in her hallway to choose a table cloth:)


Okay...now for tutorial! 
First thing is to make the 4 patch 
for the center with these four squares.


Now grab the 4 background rectangles
 and 2 each of the corner print squares...


and add easy corner triangles 
onto the rectangles using the 


Like this!
Each should measure 2 1/2" x 4 1/2"


Believe it or not that is all there is
 to making the segments...
 and now it's time to lay out 
your block and sew it together:)


Fun and Done!!


Here's the back of mine:)


Road to Grandma's should measure 
8 1/2" square before 
we sew it into our quilt.


Tune in next week for another episode!

We are getting closer to the end...
I have roughly figured out how
 the quilt is going together 
and so now we are just filling in 
the empty spots with a few smaller blocks:)

Remember that this is a scrappy quilt
 and I'm just using all different
 scrappy backgrounds for all of the blocks.

That way we do not need to worry 
about yardage needed and also...
using all different backgrounds 
adds a certain charm to our 
Vintage Block Along Quilt!!

Chat with you next week...
xx
Lori


If you are just joining us...
click on each block that we have
 done so far to go to the tutorial:


8. Humble
15. Memory
19. Picnic
20. Sparklers
26. Parade
30. Leftovers
31. Peony

Related Posts with Thumbnails