Monday, November 29, 2021

My Happy Place Sew Along - Quilt Label!!


"MY QUILT LABEL"


Welcome to week twelve of the 
"MY HAPPY PLACE"
Sew Along!
Join me here each week 
when I will be doing tutorials
 on the blocks for the quilt.

 I will be posting each Monday 
right here on my blog 
and you can follow my tutorials 
any time during the week that 
 is convenient for you.


For this sew along...
We are making the 
My Happy Place Quilt
74" x 88"


The quilt is made with my newest fabric
 collection called STITCH...


Along with several Bee Backgrounds:)


If you are just joining us 
and need a fabric kit...
 just do a quick google search 
to find out which quilt shops 
may have one left for you.
Simply type in 
"My Happy Place Quilt Kit"
to find one!

As all of my 
Sew Simple Shapes Sew Alongs go...
We are using the shapes
for the pattern of this quilt
and of course the Sew Along Guide and my tutorials each week.

The set of shapes that we are
 using for this quilt are called
MY HAPPY PLACE

I have already posted the
 post which details all of the supplies
 for the sew along and how it works.
I have also given the link there 
for the free PDF Download 
of the Sew Along Guide

to read that post.


When you have all of your
 blocks for the quilt completed...
Remember that everything that 
you need to know about
 cutting and trimming up your blocks...
and putting them all together with 
the borders and sashing...  
is of course in the sew along guide.
It's not anything tricky just basic
adding on borders:)

But something that is NOT 
in the guide is my quilt label!

I usually do a blog post at the end 
of my sew alongs showing you 
how I made a label for my quilt.

Sew...are you ready?


Remember when I did this tutorial
 on block seven a few weeks back?

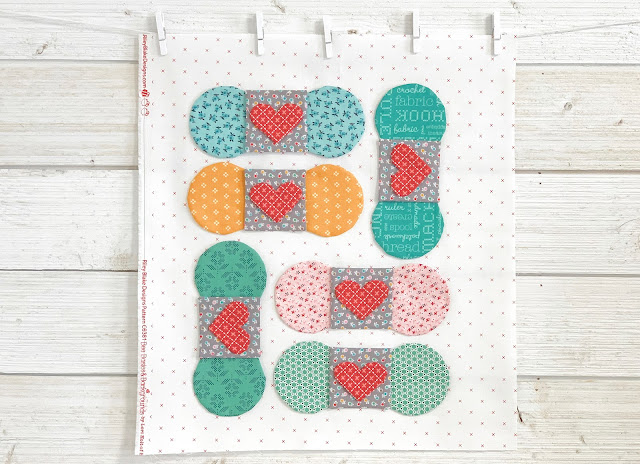
Well I thought that it would be
sew perfect to use one of my 
quilt labels from my panel.
It's called of course
"My Happy Place"
Multi Label Quilt Panel

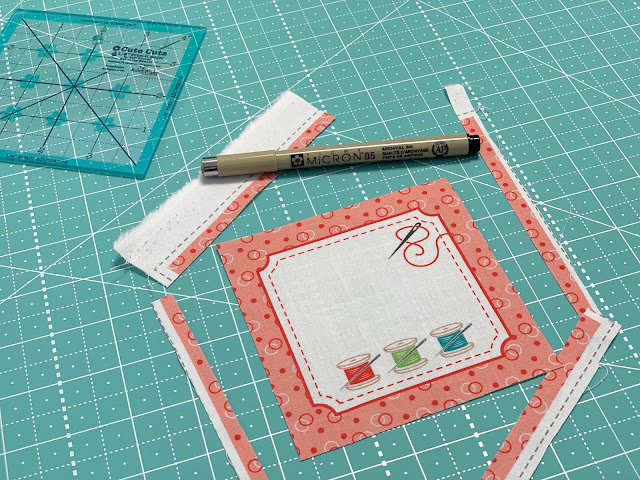
The center yellow square 
in this block is cut 4 1/2"...


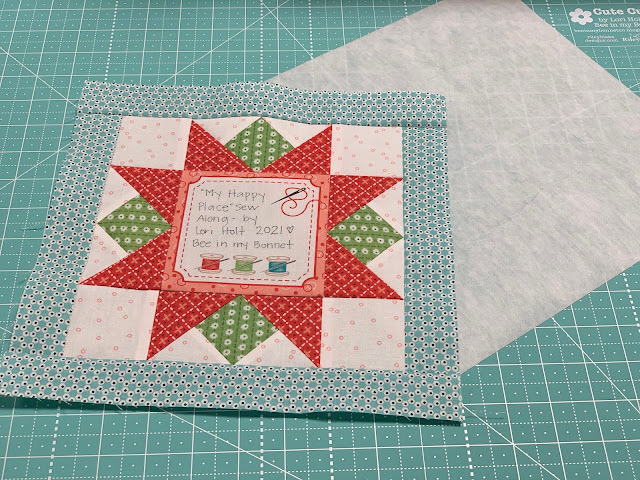
And so I simply grabbed one of the labels...


And used my 4 1/2" Trim-It Ruler
 to center it and fussy cut!


I like to use the 
Micron Pigma Pens 
when writing on my labels.

Easy Peasy!


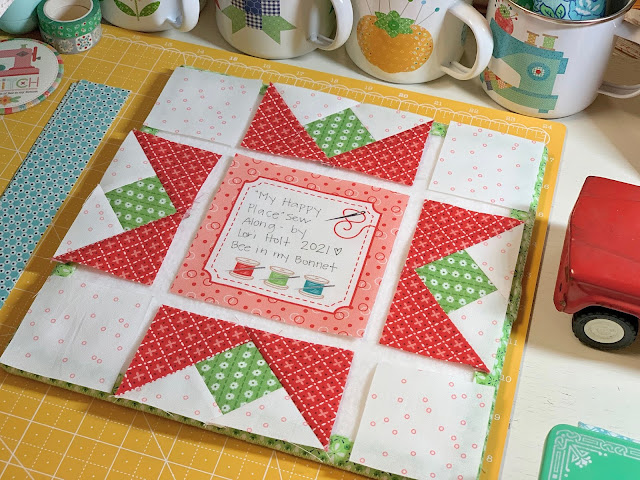
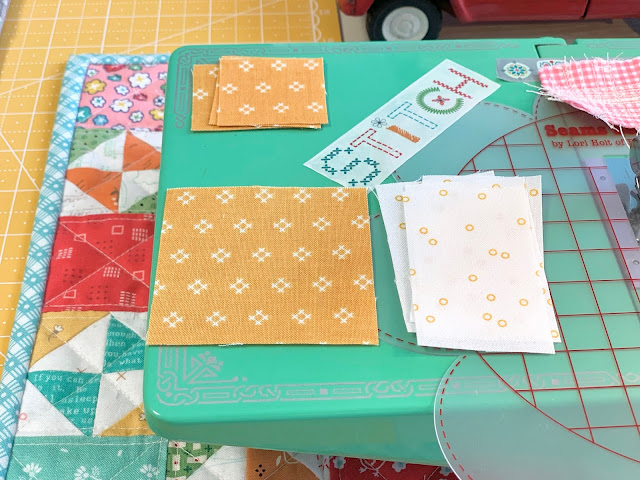
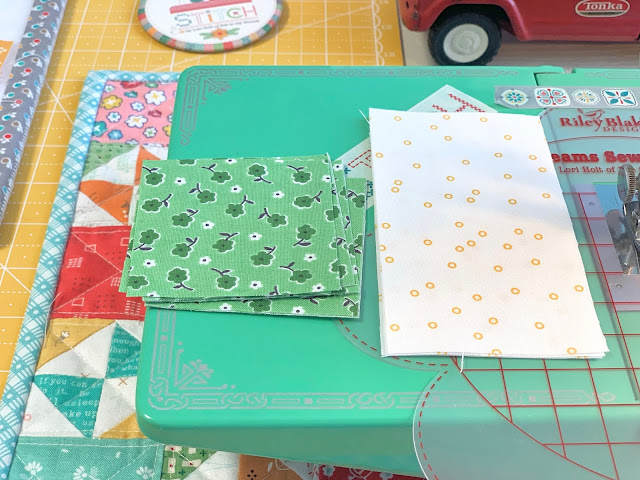
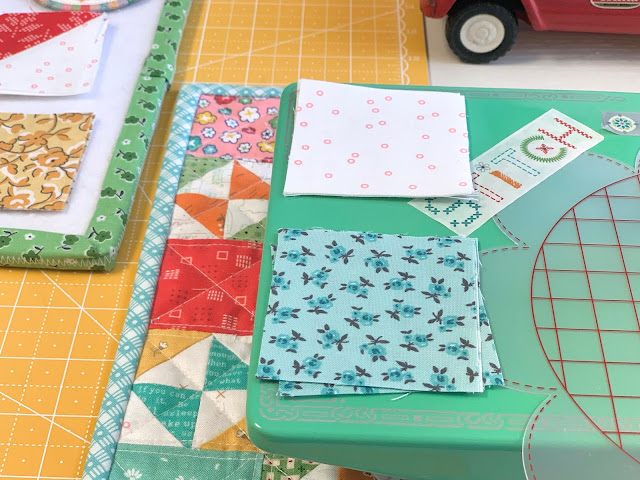
I cut the pieces for the block...
(remember that the measurements
 are in the guide)


I sewed my block together and
 added the borders just like in the tutorial.


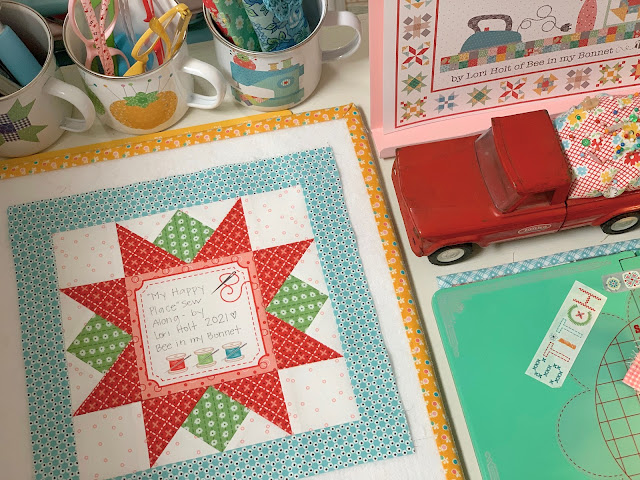
I love how it turned out!
Because I like to appliqué my labels
 onto the back of my quilt 
when I'm using my widleback fabric 
like for this quilt...


I just cut my Sew-In Interfacing 
the same size as my block...
place them right sides together 
just like I do when sewing my
 Sew Simple Shapes
and then sew 1/4" seam allowance 
around my block.


I cut an X in the back of 
my interfacing for turning...
I shape and press:)


Now that I've got blocks and
 my label finished ...
this is everything that I need 
to finish it up!!

I'll be back here next week 
with the Big Finish post 
and lots of pictures 
of my finished 
"My Happy Place Quilt"
xx
Lori


**************************************

Click on the links below 
to visit each week of this sew along:


Bee in my Bonnet
Vintage 1966

Monday, November 22, 2021

My Happy Place Sew Along - Week Eleven!!


"BLOCKS NINE and TEN"


Welcome to week eleven of the 
"MY HAPPY PLACE"
Sew Along!
Join me here each week 
when I will be doing tutorials
 on the blocks for the quilt.

 I will be posting each Monday 
right here on my blog 
and you can follow my tutorials 
any time during the week that 
 is convenient for you.


For this sew along...
We are making the 
My Happy Place Quilt
74" x 88"


The quilt is made with my newest fabric
 collection called STITCH...


Along with several Bee Backgrounds:)


If you are just joining us 
and need a fabric kit...
 just do a quick google search 
to find out which quilt shops 
may have one left for you.
Simply type in 
"My Happy Place Quilt Kit"
to find one!

As all of my 
Sew Simple Shapes Sew Alongs go...
We are using the shapes
for the pattern of this quilt
and of course the Sew Along Guide and my tutorials each week.

The set of shapes that we are
 using for this quilt are called
MY HAPPY PLACE

I have already posted the
 post which details all of the supplies
 for the sew along and how it works.
I have also given the link there 
for the free PDF Download 
of the Sew Along Guide

to read that post.


Can you believe that
 this week we are making 
the last of the blocks ...
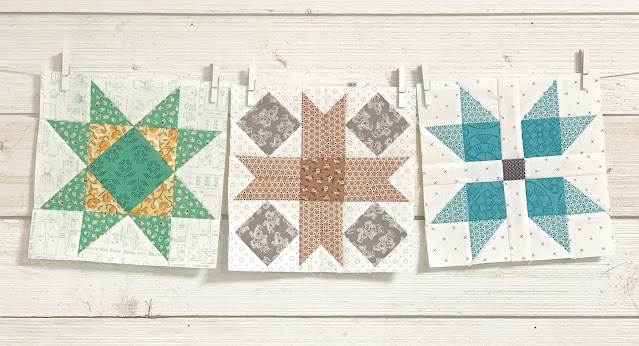
two pieced blocks
and two appliqué blocks...
 The Button Jar...Seam Ripper
 and 
 pieced Blocks Nine and Ten.

Grab your block kits that you 
have already cut
as per the sew along guide!!


First let's start with Block Nine


Start by using these pieces...


And make the center segment of the block.


Next up are the 4 checkerboard 
sections in the corners.


Last are the 4 flying geese.


Along the way I used my 
2 1/2" and 4 1/2" Trim-It Rulers 
to make sure that each segment
 is measuring up correctly.


This is how I pressed.


Now time to sew it together:)


I super love this block 
and I hope you do too!

It should measure 8 1/2" 
square at this point...


And 10 1/2" square
 after sewing on the borders:)


Now for Block Ten!


Start by adding the 
easy corner triangles 
onto the red rectangles.


These will be the pinwheels
 in the star center:)


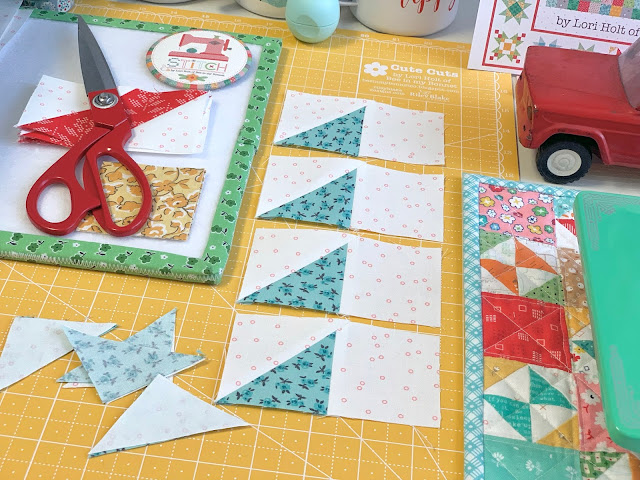
This is how I make the 
half square triangles in the star...


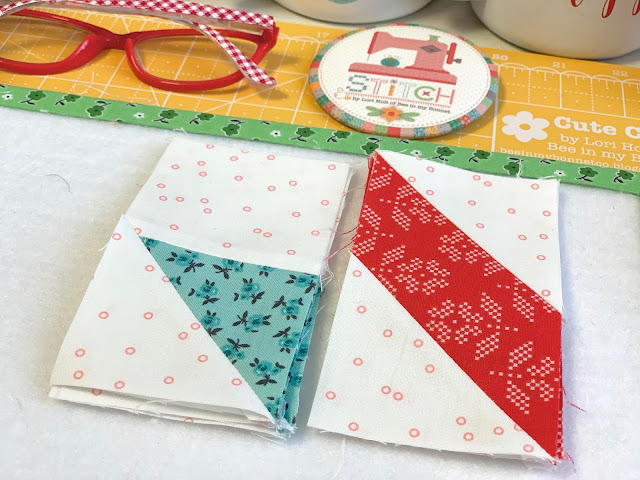
This is how I pressed.


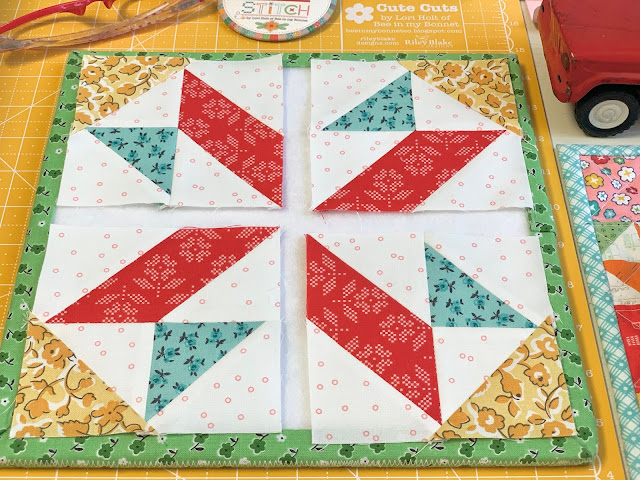
Stack these 4 sections like this
 and sew them together...


like this:)


Now add the easy corner triangles
 with the remains squares.


And press those seams towards the triangles
and sew your block together!


Sew cute and sew simple
 with my easy peasy methods!!


Add the borders so that it 
measures 10 1/2" square.


Fun and done!!


Okay now let's make the
 last two appliqué blocks.


You will need the
 L-30 Sew Simple Shape 
to make the jar.
I've already shown you how to
 make the jar on my YouTube Channel
during my
Sew Simple Shapes 
ReMix Series #6 August 
if you did not happen to watch it:)


I laid out all of my buttons
 and fell in love!!!
I decided right then and there 
to make another block 
with a jar full of buttons...
  and frame it for my sewing room wall!

I just may have an obsession with buttons 
LOL
My grandma used to let me play
 with her button jars
 and I have such good memories of that:)


This is what the button jar block
 looks like with buttons...
you would of course sew 
this many buttons onto the 
jar block AFTER it's quilted.

And you know that I 
always want to give you options...


So of course you can add a heart
 instead of buttons...
 like the ones I showed you in the video.


And because I decided to make
 a framed Button Jar... 
that's exactly what I did.
I sewed up a heart and glue basted it:)
After applique trim your block to measure
 6 1/2" x 10 1/2"


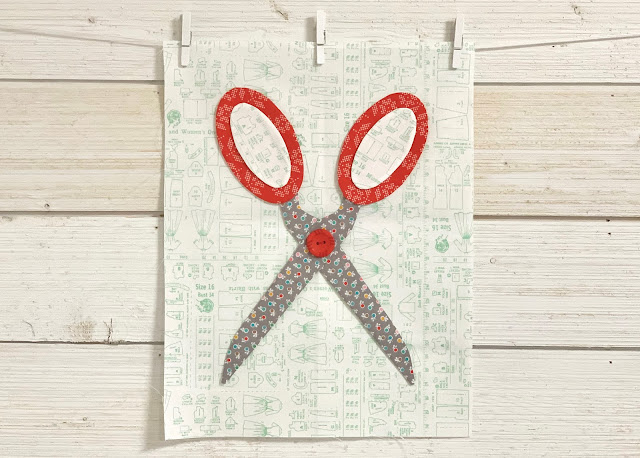
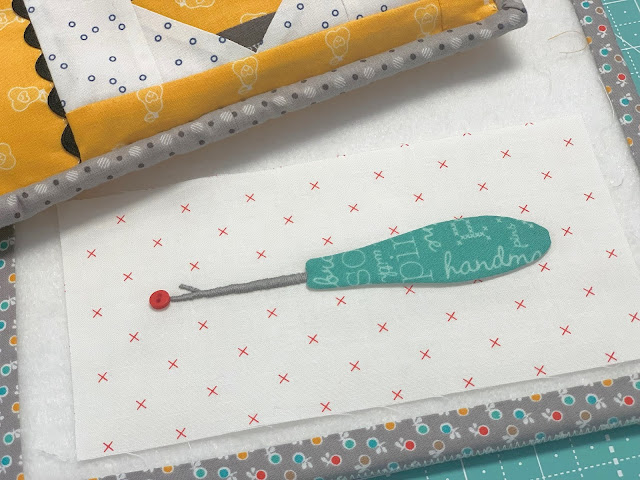
Now for the Seam Ripper Block...
this block is easy peasy 
and I showed you how to do the 
L-23 Sew Simple Shape in the 
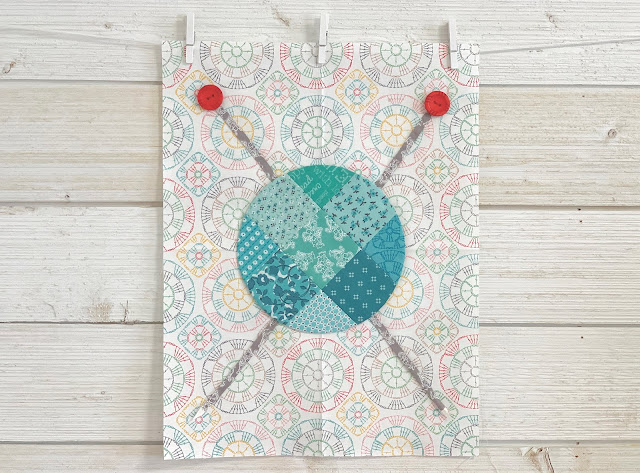
Crochet Hooks Block during Week Two.


Remember like we talked about before...
If you don't like to sating stitch 
you can use a piece of
 the leftover gray 1/4" strip.


I traced mine on using my 
Easy Trace Light Box and the
 embroidery pattern on page 14 of the guide.


Satin stitched and button added!

After applique trim this block down
 to measure 2 1/2" x 6 1/2"


Oh my goodness!!
That is the last of the blocks 
for the quilt.
I'm happy and sad at the same time!

All that is left for me this week
is finishing up the appliqué 
and trimming up the blocks....

And then next week I'm going to
 show you how I made the label 
 for the back of my quilt...
 and then the next week 
I'll show you my quilt
 all quilted and bound!!

***FYI***
Because we started 3 weeks later
 than planned my schedule 
as well as my quilters schedule 
is off a little bit and so the 
BIG FINISH POST
 will be posted one week later 
than it says on the guide:)

I'll meet you right back here next Monday
with my label tutorial!!
xx
Lori


**************************************

Click on the links below 
to visit each week of this sew along:


Bee in my Bonnet
Vintage 1966


Related Posts with Thumbnails