Welcome to the Big Finish week of the
Vintage Housewife Sew Along


if you need to download the
Sew Along Guide and
if you are just joining us and
need to read the Bee Prepared post
that tells you all about this sew along:)

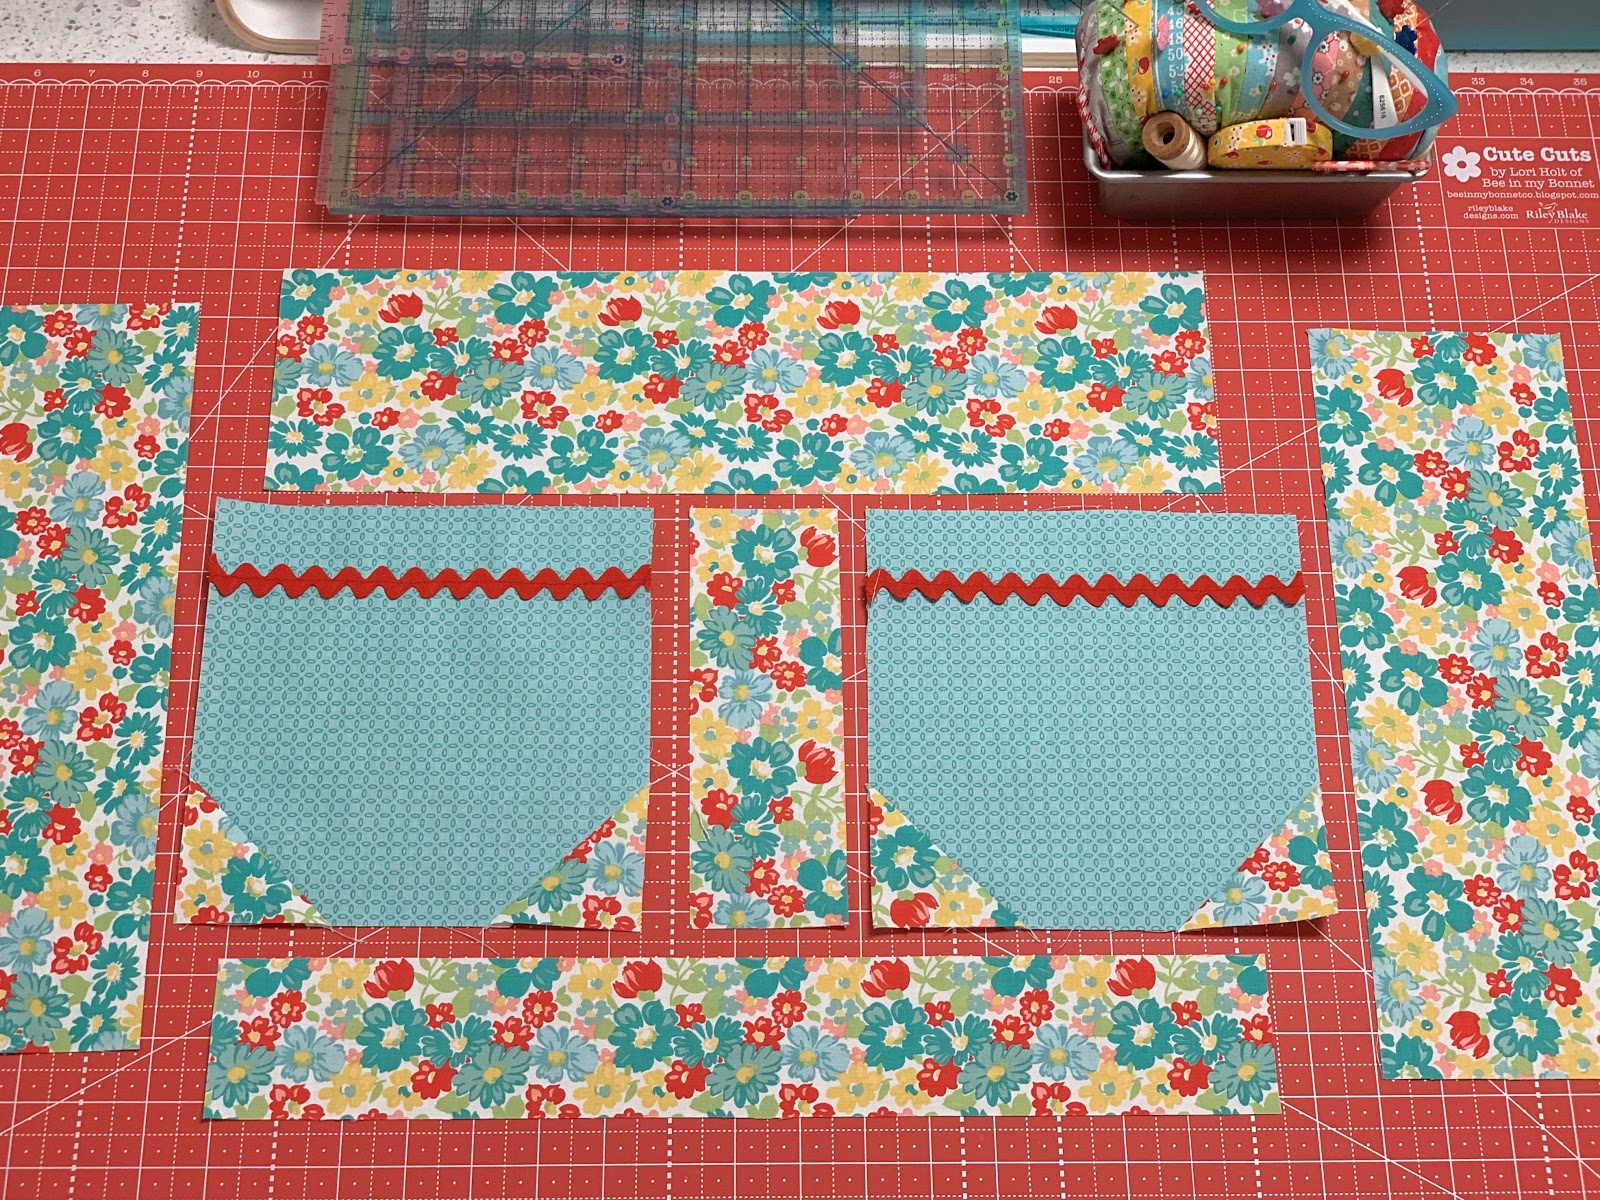
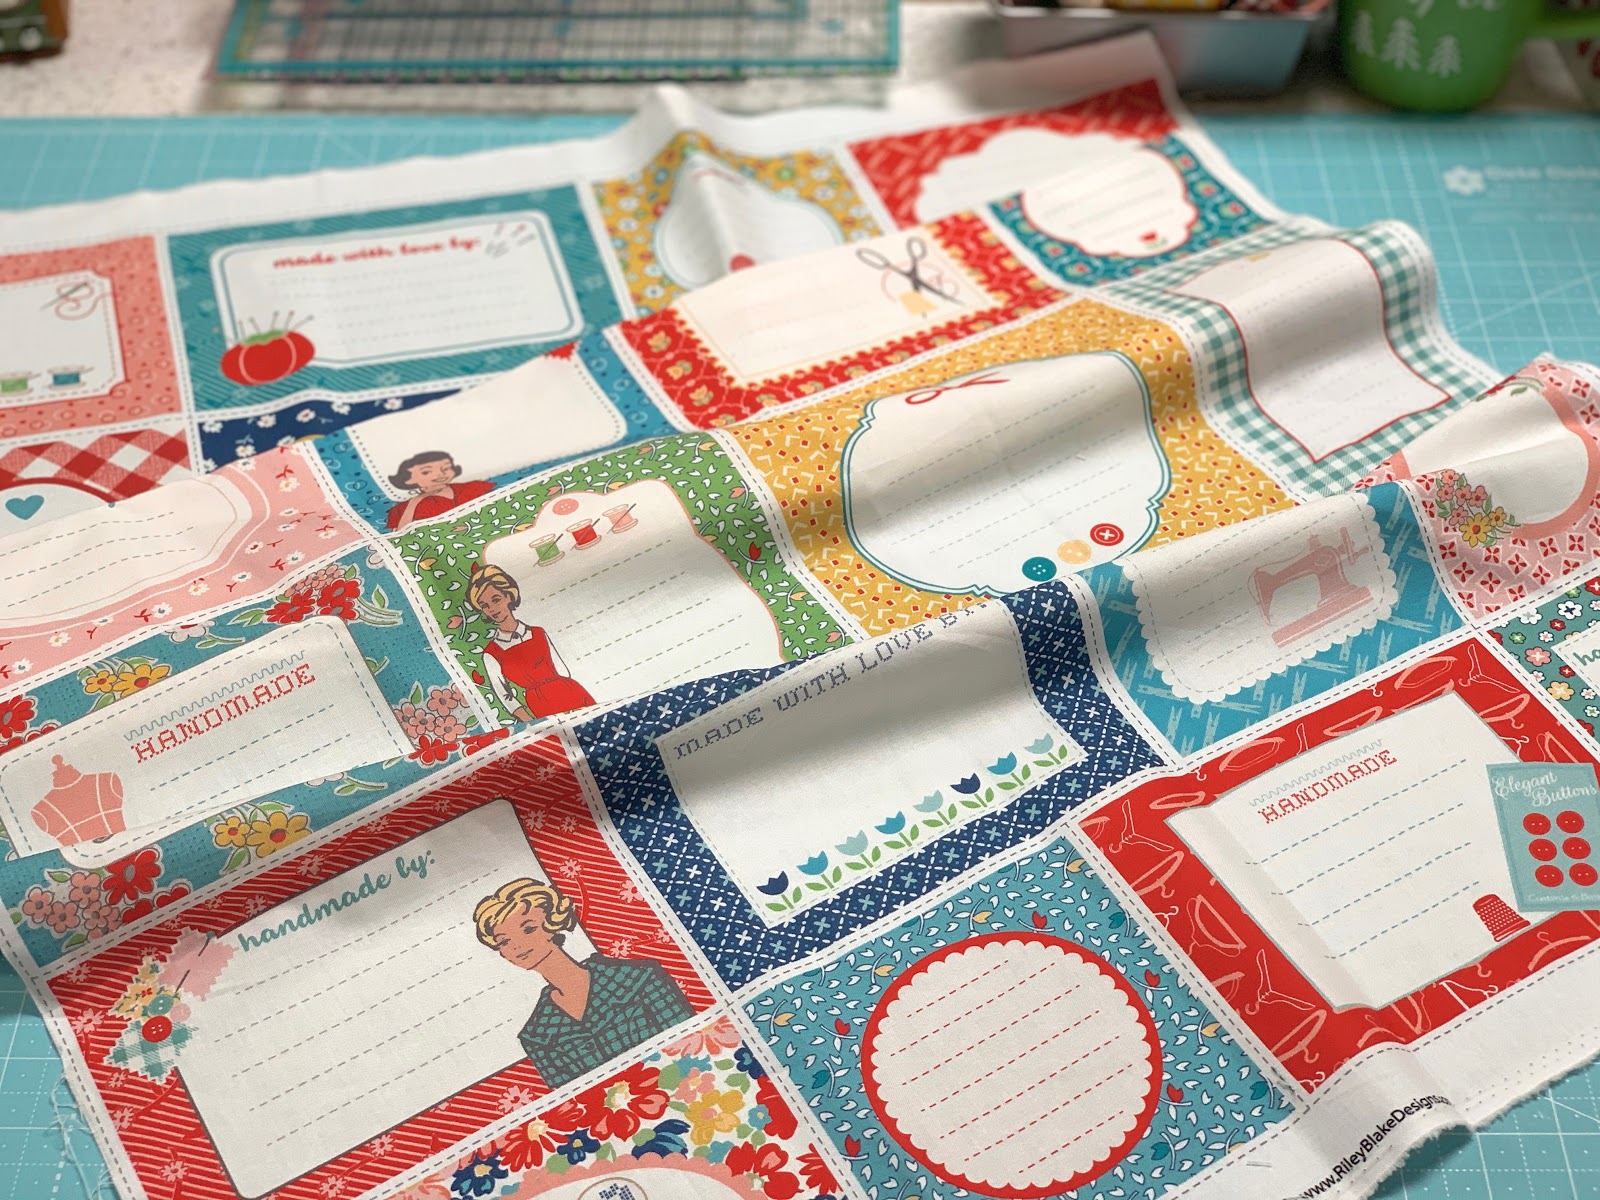
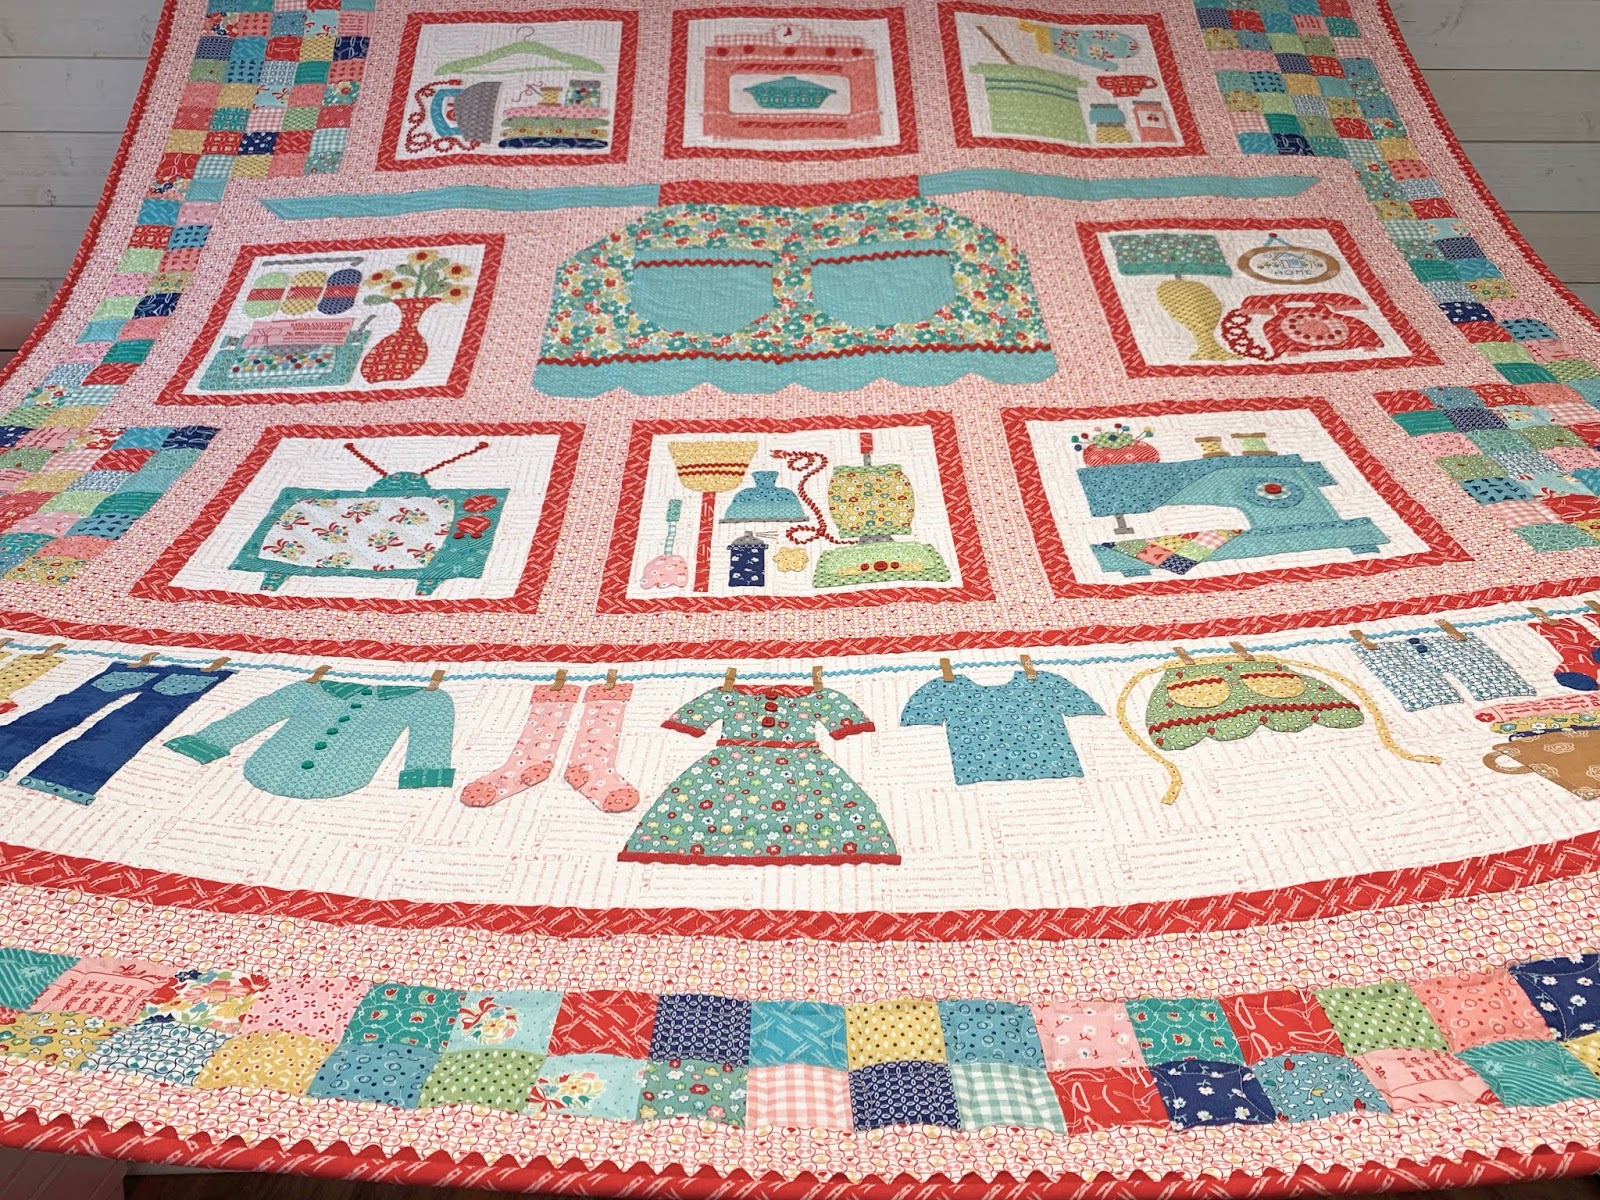
We used Vintage Happy 2 Fabric...
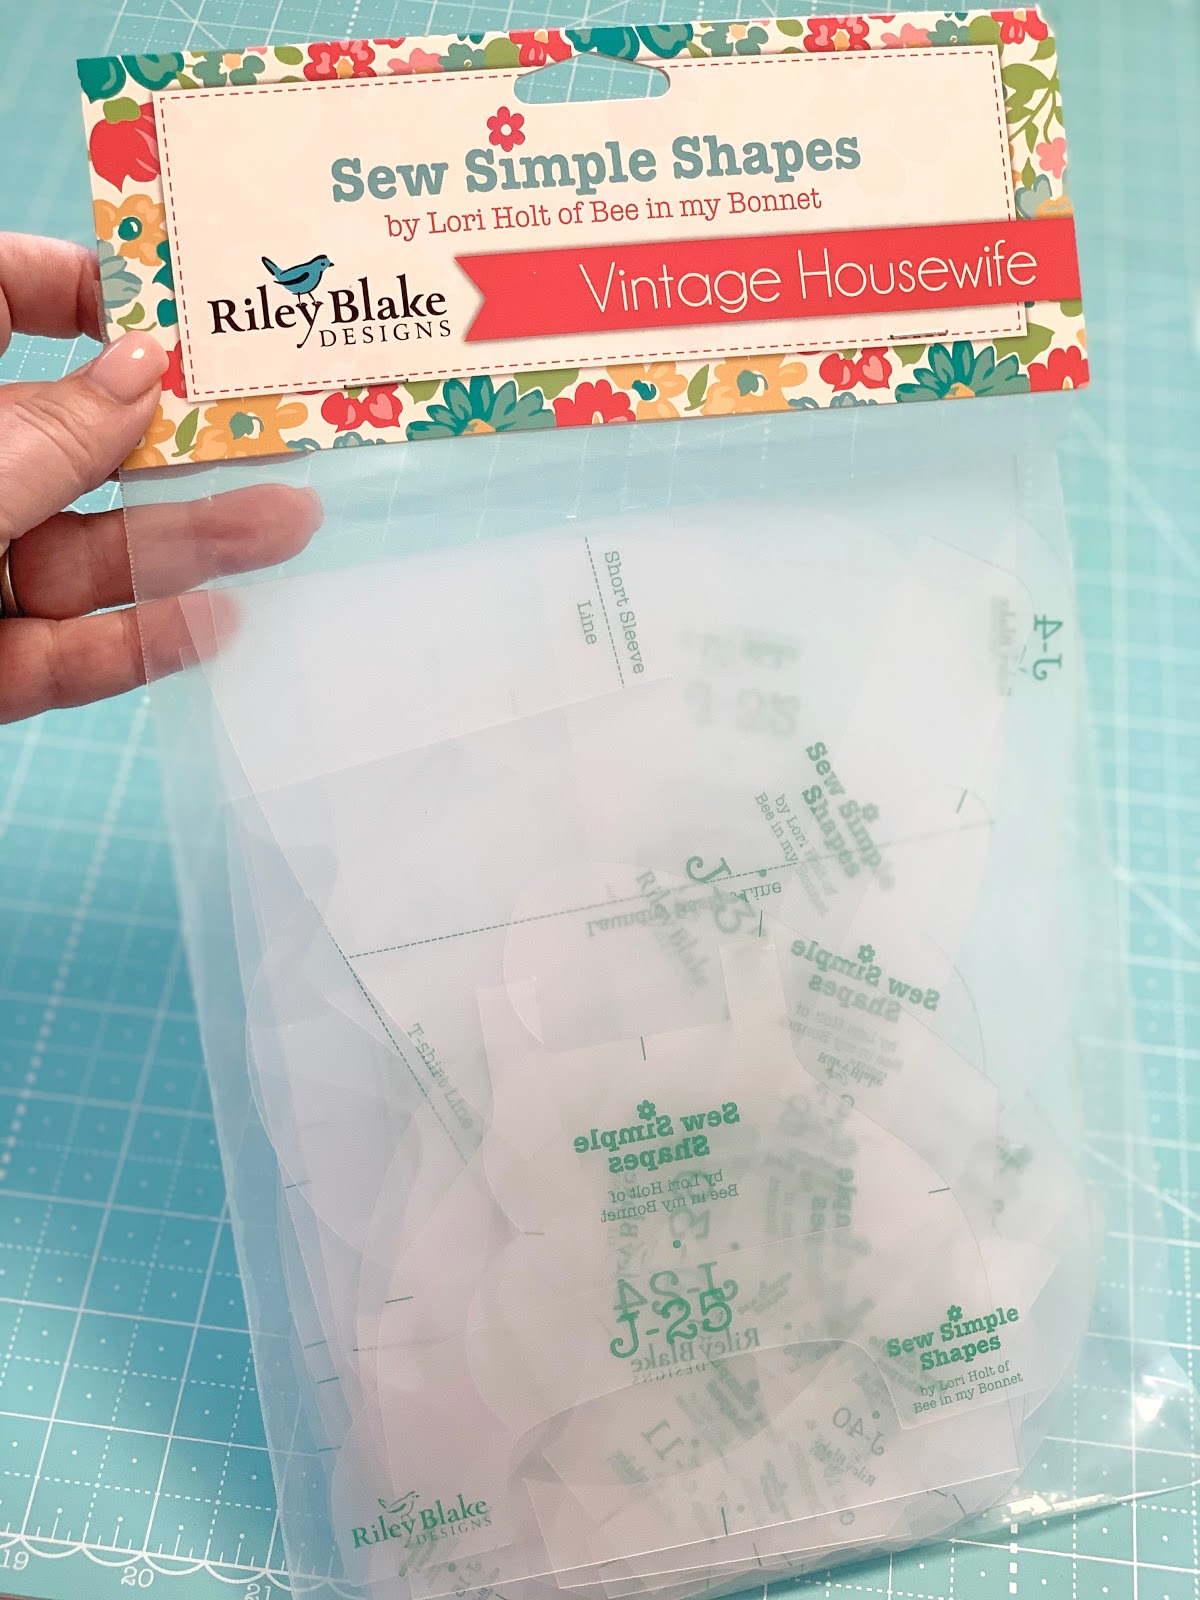
And my new Sew Simple Shapes

To make the
Vintage Housewife Quilt
74" x 82"

The following are the blocks that
go in the quilt...
Click on each title of block
to go to the tutorial for that week:)


CLOTHESLINE BLOCK


All of the tutorials will remain
here on my blog
so no worries if you are behind
or you haven't even started yet:)
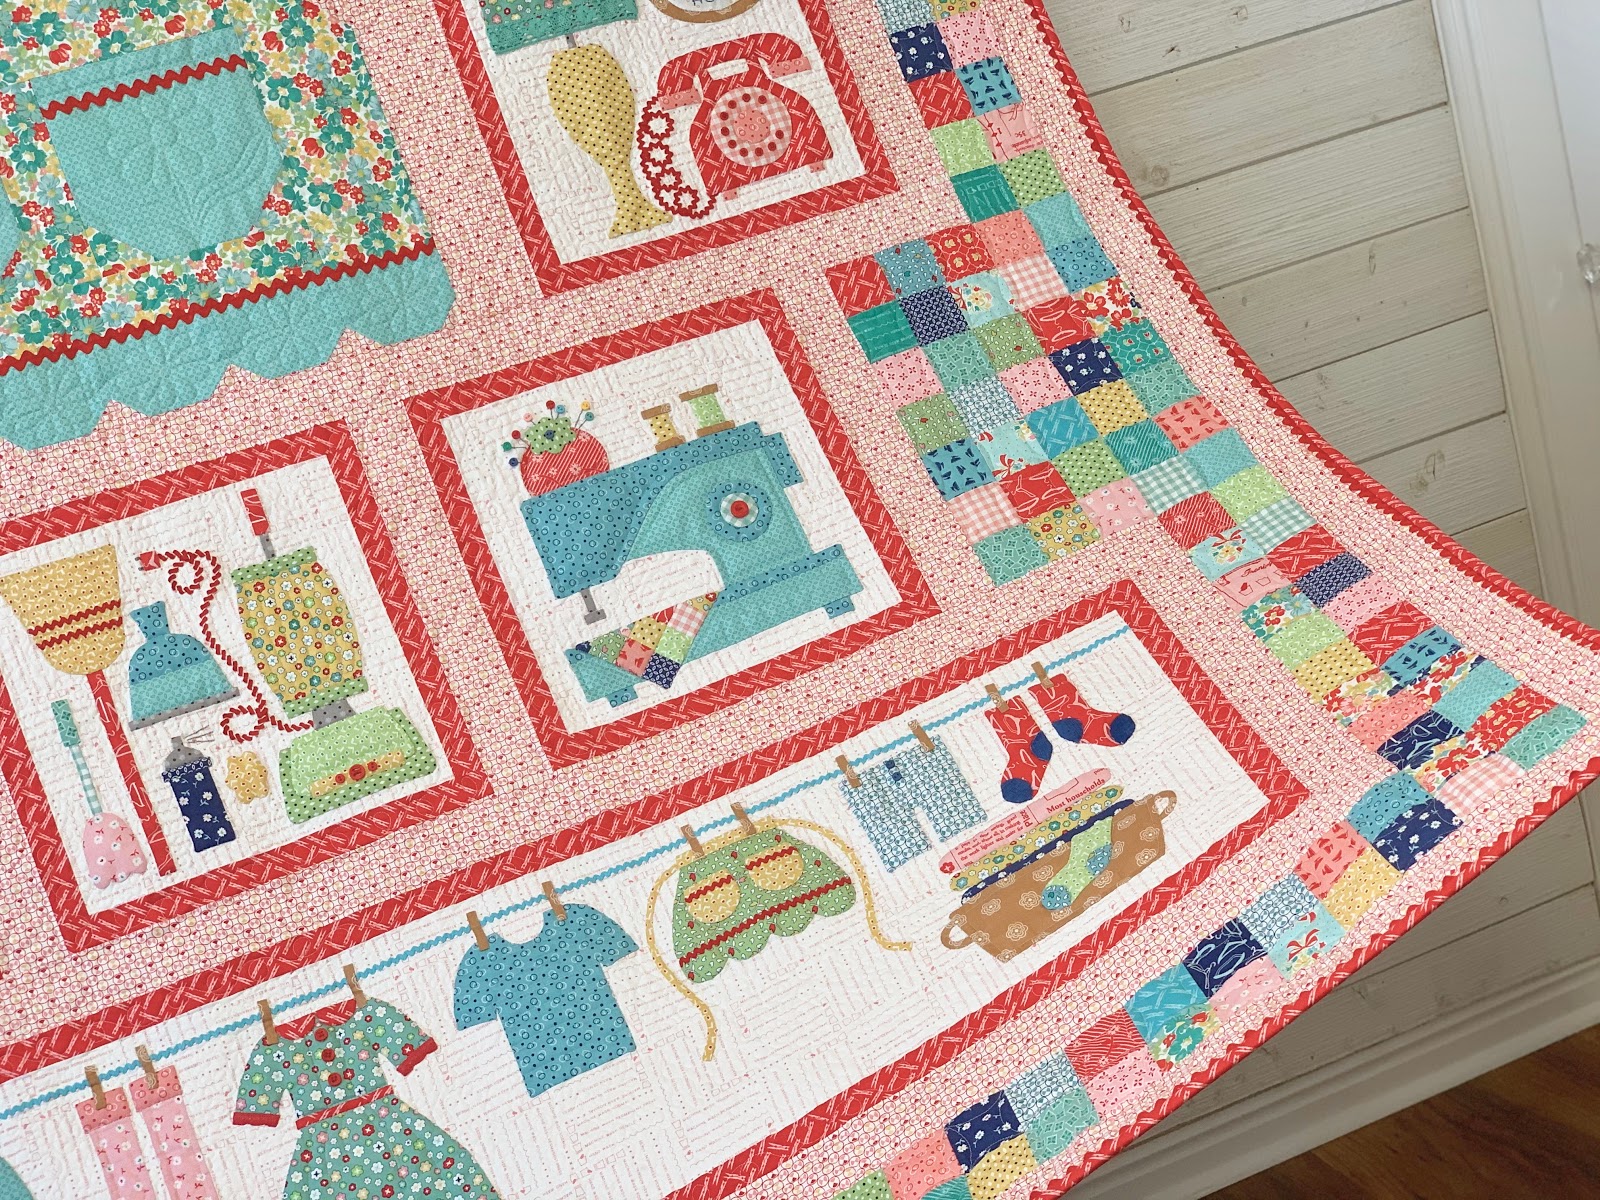
This week is all about
showing you my finished quilt.
I hung it on my studio wall and took
SEVERAL photos of each section
that are close up and personal:)
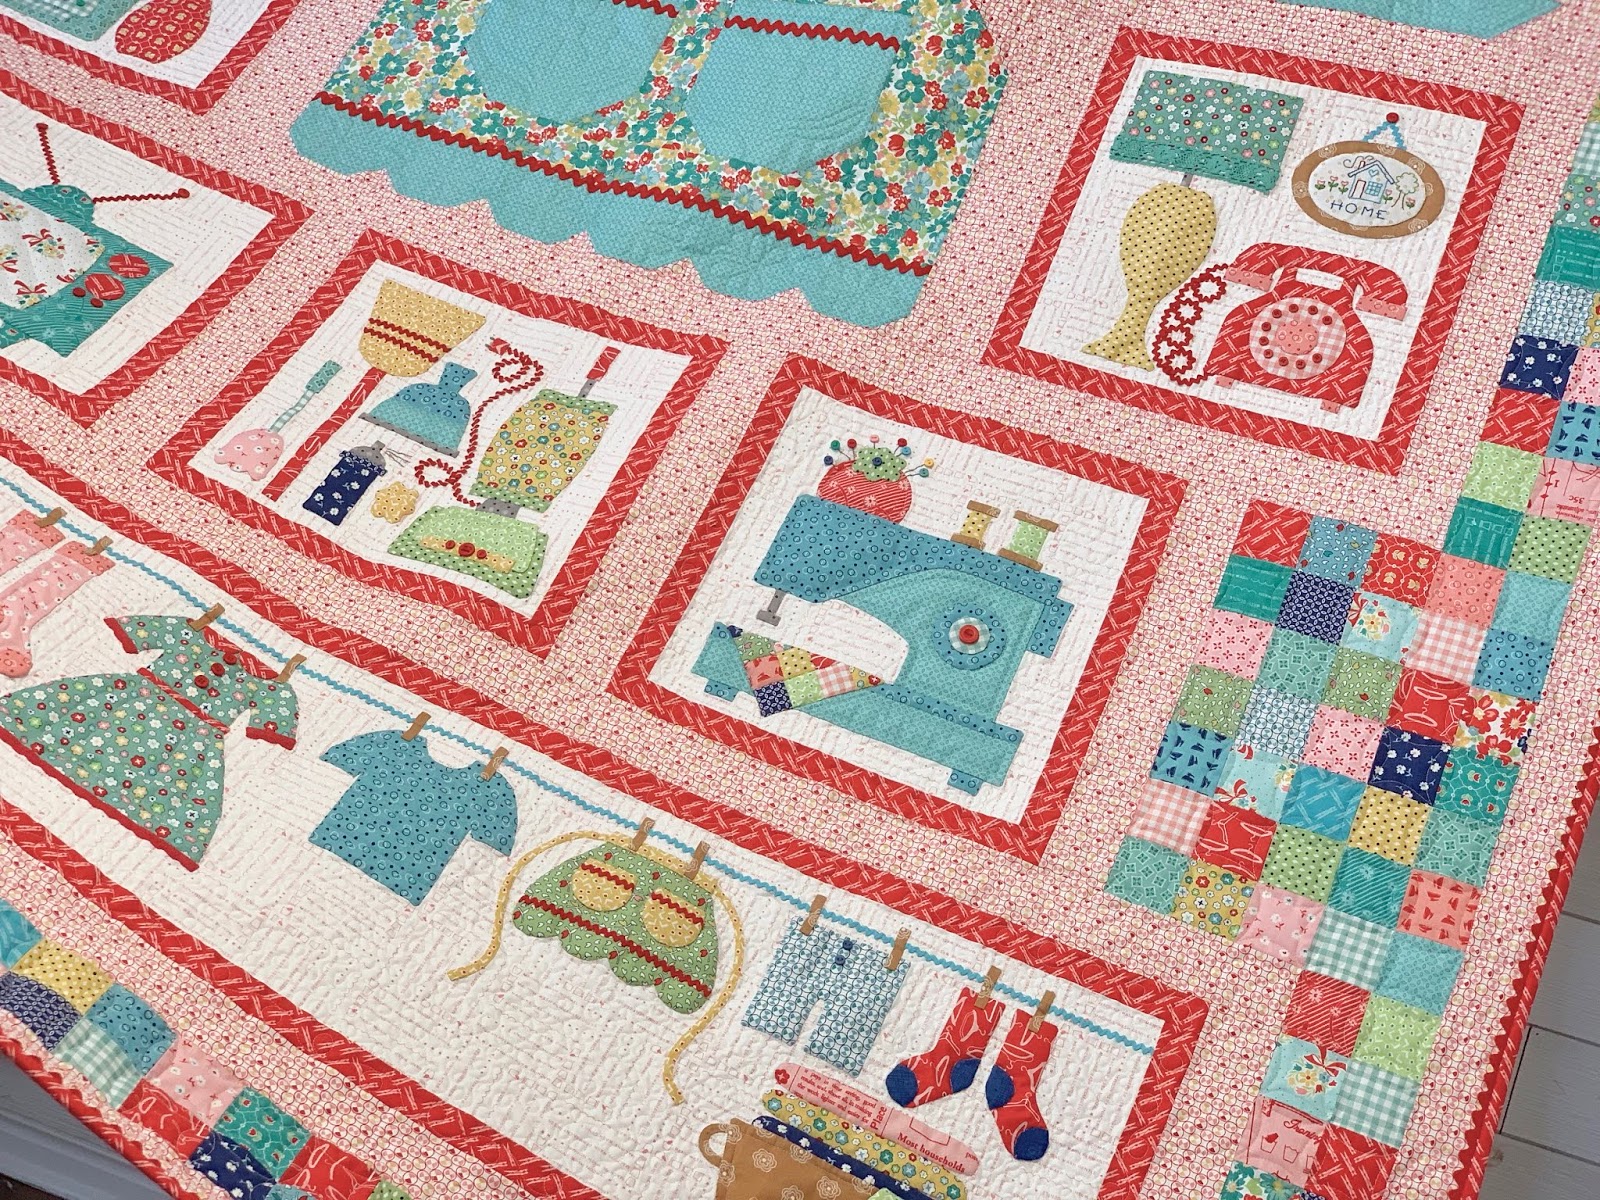
I did this so that you can see the
beautiful quilting that my friend
and quilter Juli Stubbs did!
She is just so amazing:)


If you have never put ric-rac
in a binding before...
or if you want to know exactly
how I do my binding...
for my step by step tutorial
that I did several years back.
I have been doing this same method
for years and it's my favorite:)


I hope my photos will help you
when it comes time to quilt your own Vintage Housewife Quilt....
or any of my other applique quilts as well!
I sewed all of my buttons on
beforehand and Juli went around them.
When you decide to put your buttons on
is completely up to you
and/or your quilter:)

I can't remember if I showed you
this photo from quilt market
when my Vintage Happy 2 fabric
projects were on display in the
Riley Blake Designs booth.
I know that I showed it on my
That's where I usually post
my day to day happenings!!

I have had so much fun sewing with my
Vintage Happy 2 fabric
and the fun continues
because my new book
is just now hot off the press!
Click Here to purchase:)

The book is spiral bound
just like my others and inside
is the quilt...
a table/bed runner and three pillows.
The sew along will start in
August and go for 8 weeks.
I will be doing a blog post
with all of the info about the sew along...
such as fabric requirements and schedule.
Here are a few photos from the book...
I hope you love them!!


Thanks you sew much from the
bottom of my heart for sewing vintage
with me and celebrating
the vintage housewife.
I hope you will continue sewing vintage
with me to celebrate
the quilters cottage!
to watch the book trailer video ...
it's really fun!

I'll be back soon with a few blocks
that I made using the "bonus"
Sew Simple Shapes that were included
in the set and were not used in the
Vintage Housewife Quilt:)
We will chat more then!
xx
Lori
***Links to every week of this sew along: