"JOY AND CONTENTMENT"

Welcome to week two of the
PRIM SEW ALONG

We are making the
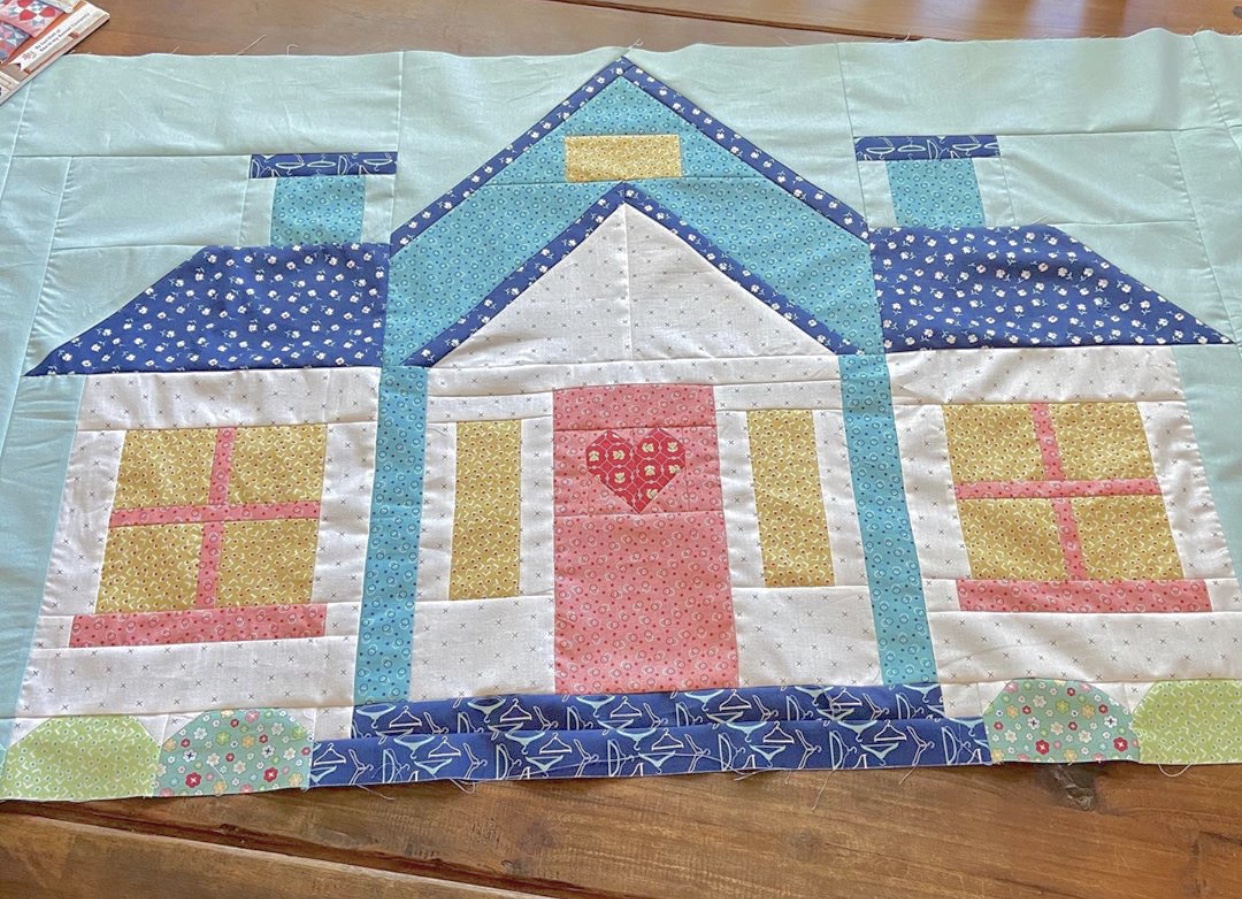
PRIM QUILT
72" x 90"

We are also using the


And my newest fabric collection
PRIM
to make the quilt:)
I have already posted the
post which details all of the supplies
for the sew along and how it works.
I have also given the link there
for the free PDF Download
of the Sew Along Guide
to read that post.

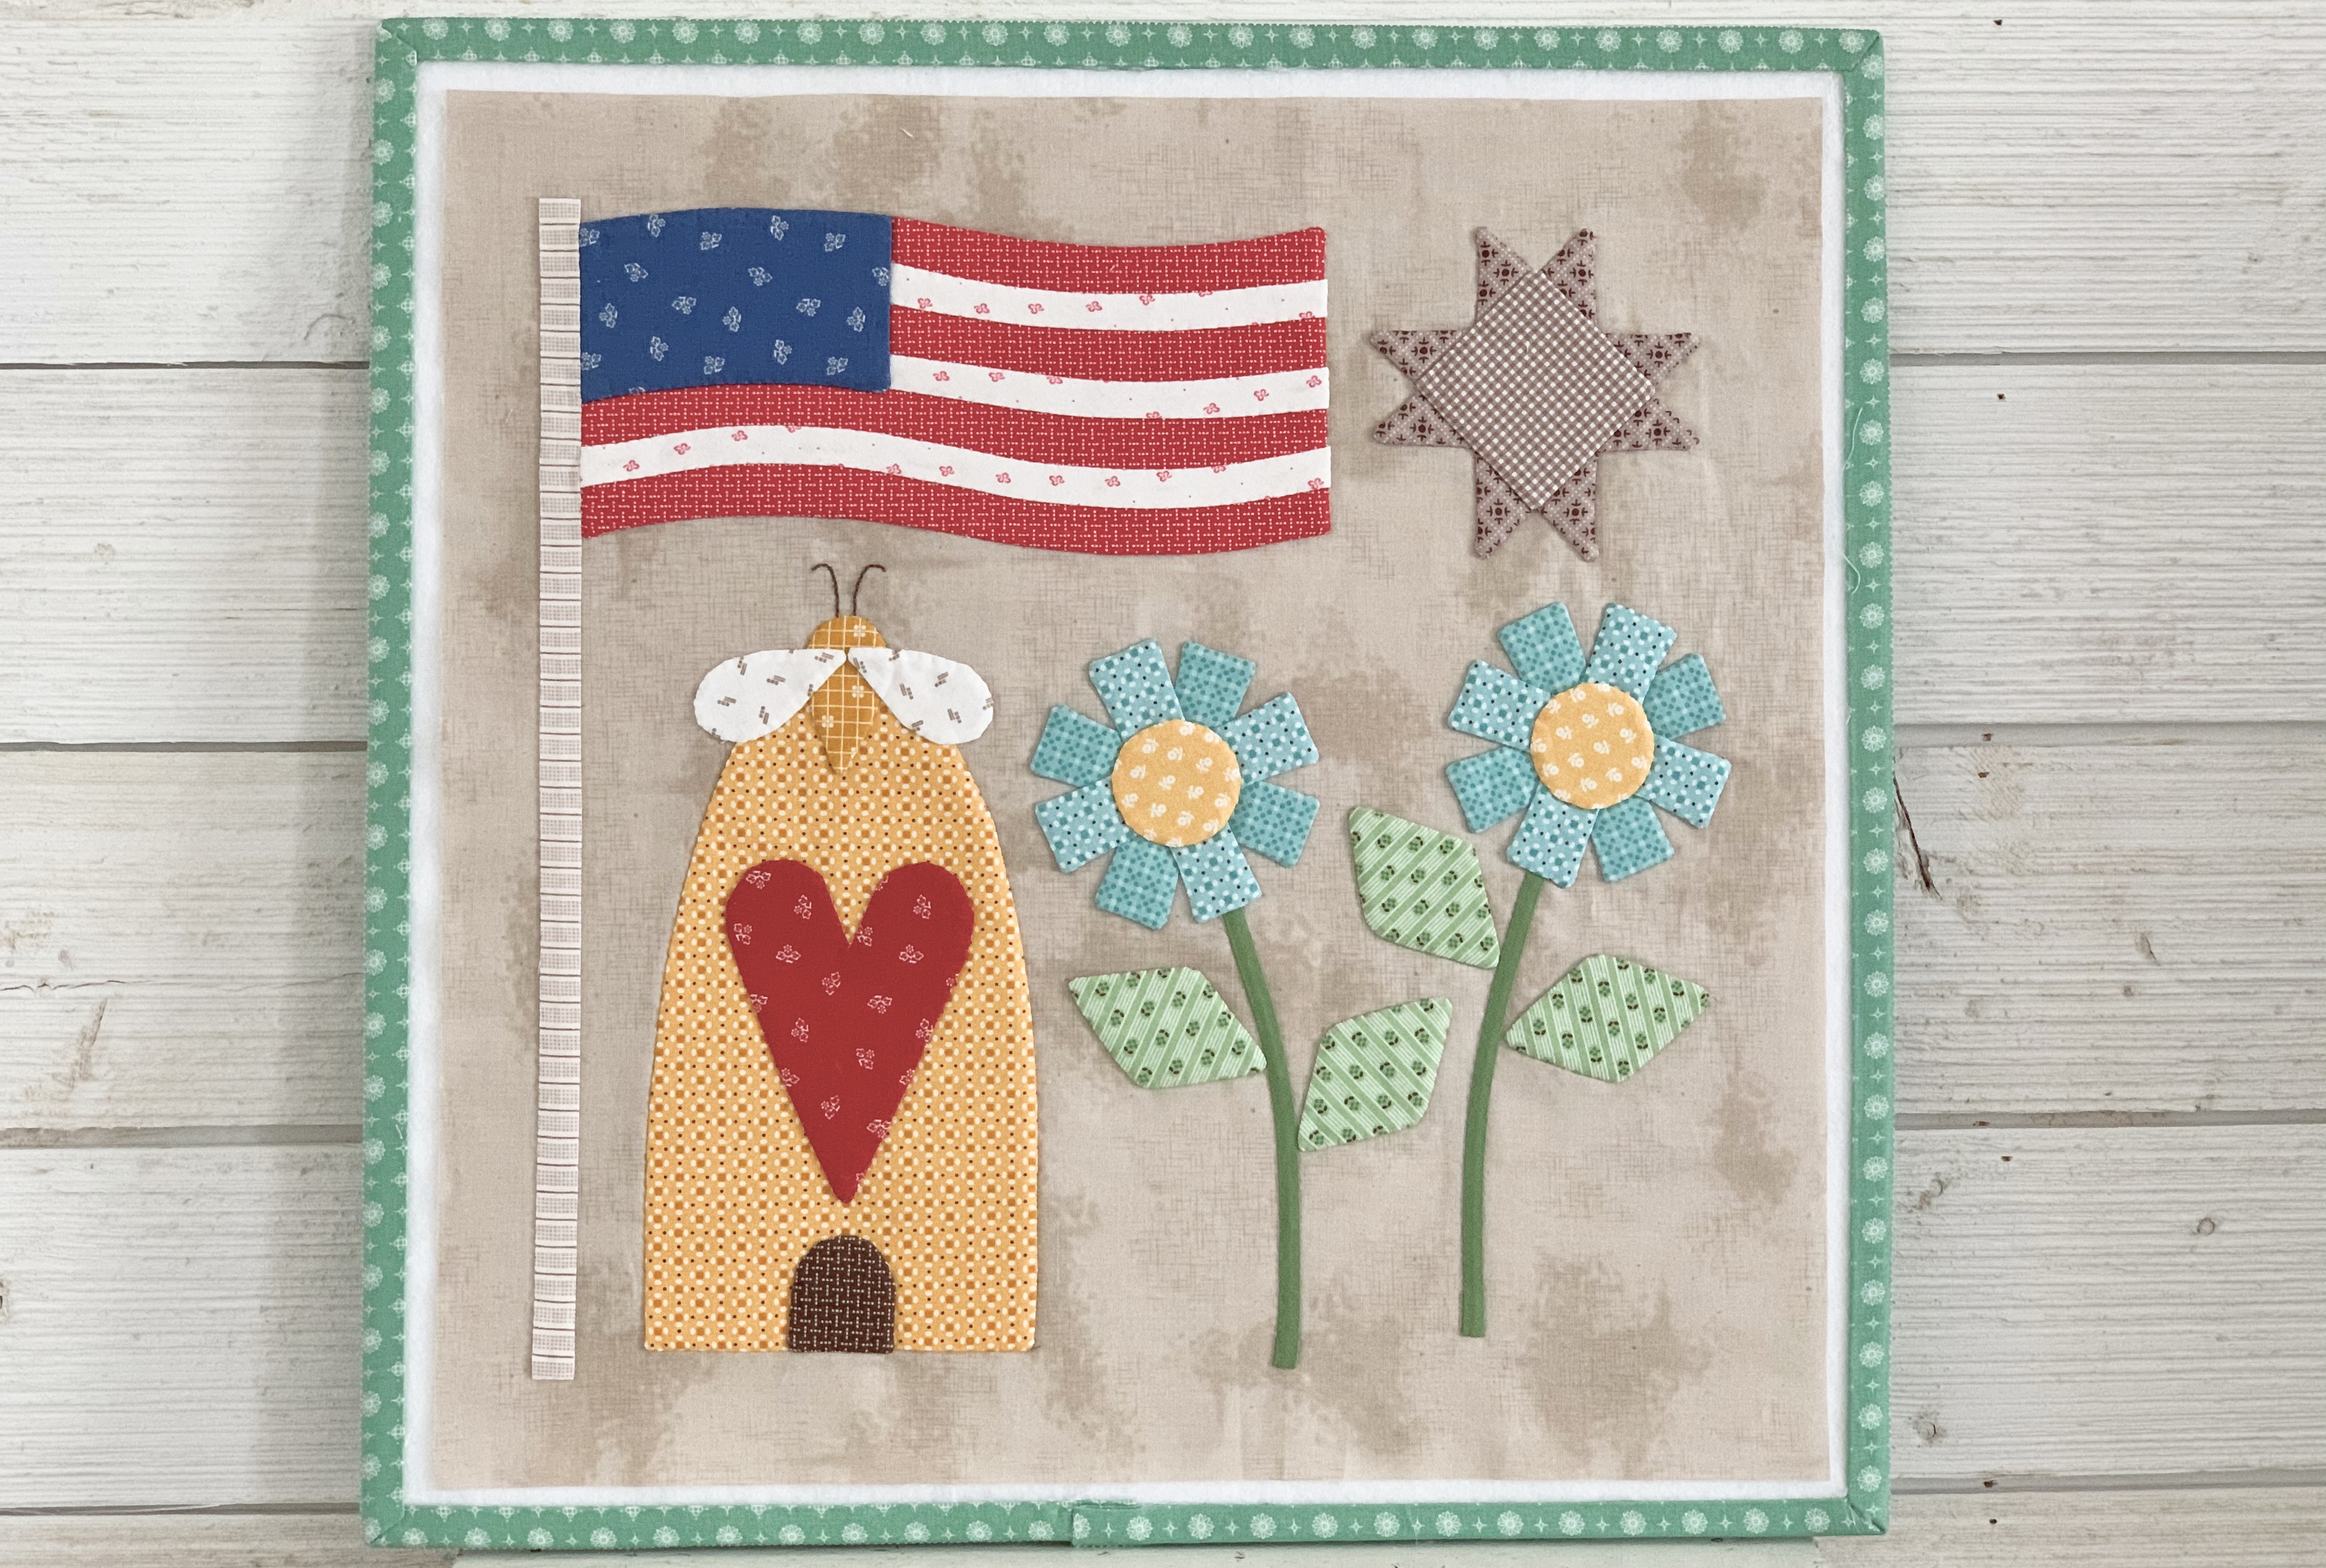
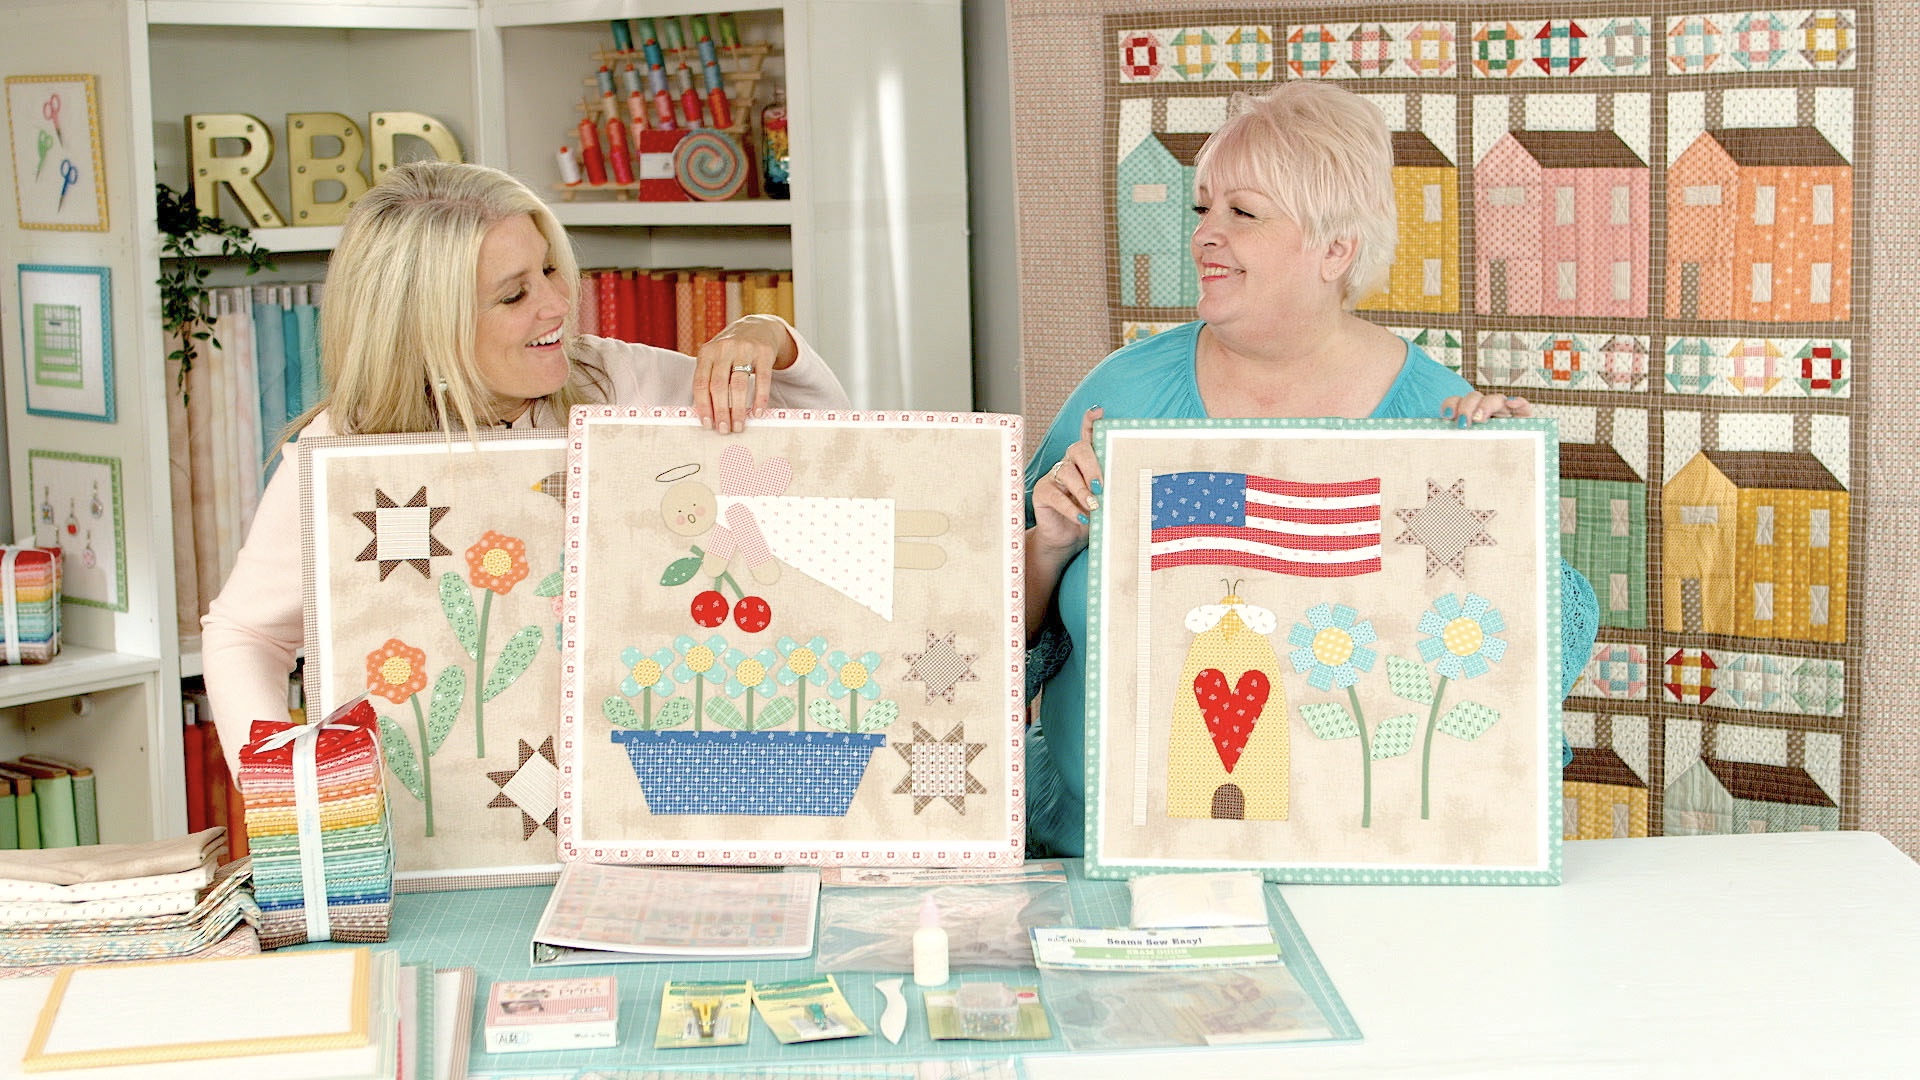
Last week we made block one
"PATRIOTISM AND INDUSTRY"
to visit week one.

This week we will be making block two...
"JOY AND CONTENTMENT"
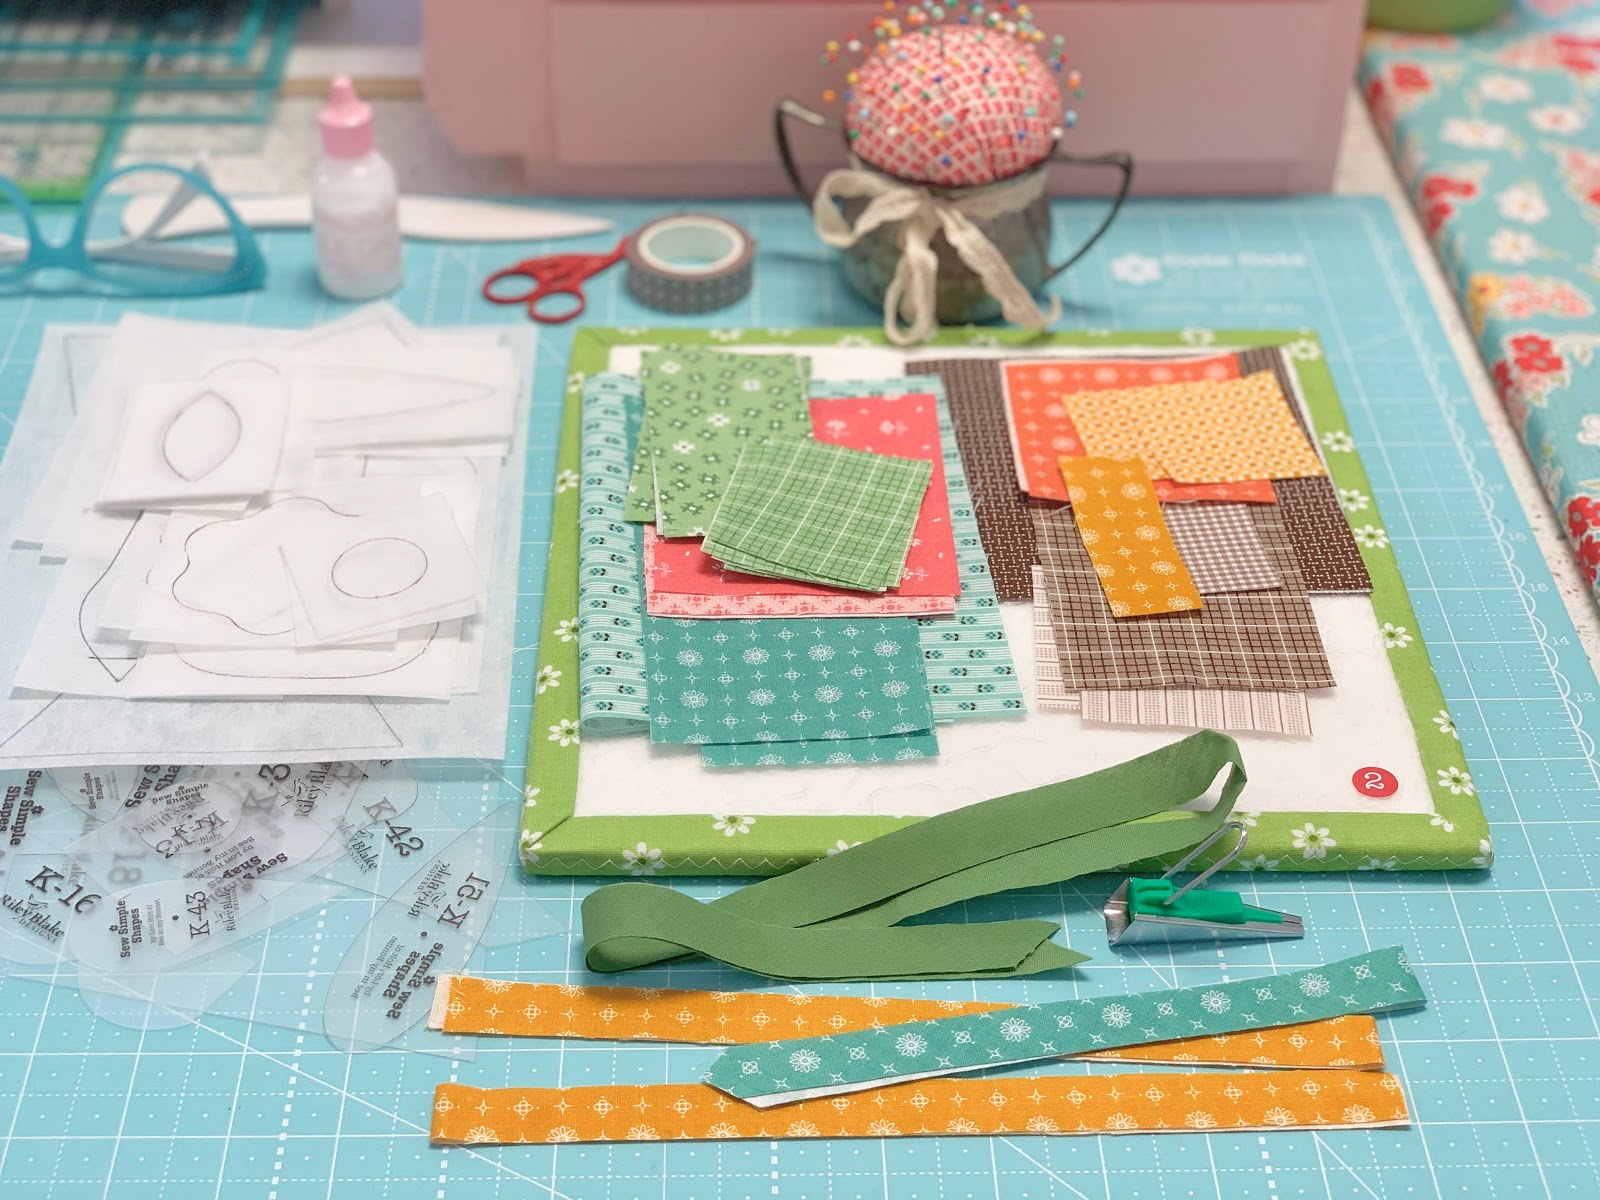
The PRIM Sew Simple Shapes
used for this block are:
2 - K11
2 - K12
2 - K13
1 - K16
1 - K18
3 - K35
1 - K42
1 - K43
4 - K51
7 - K53
2 - K62
Of course all of this
info is in the
sew along guide as well:)
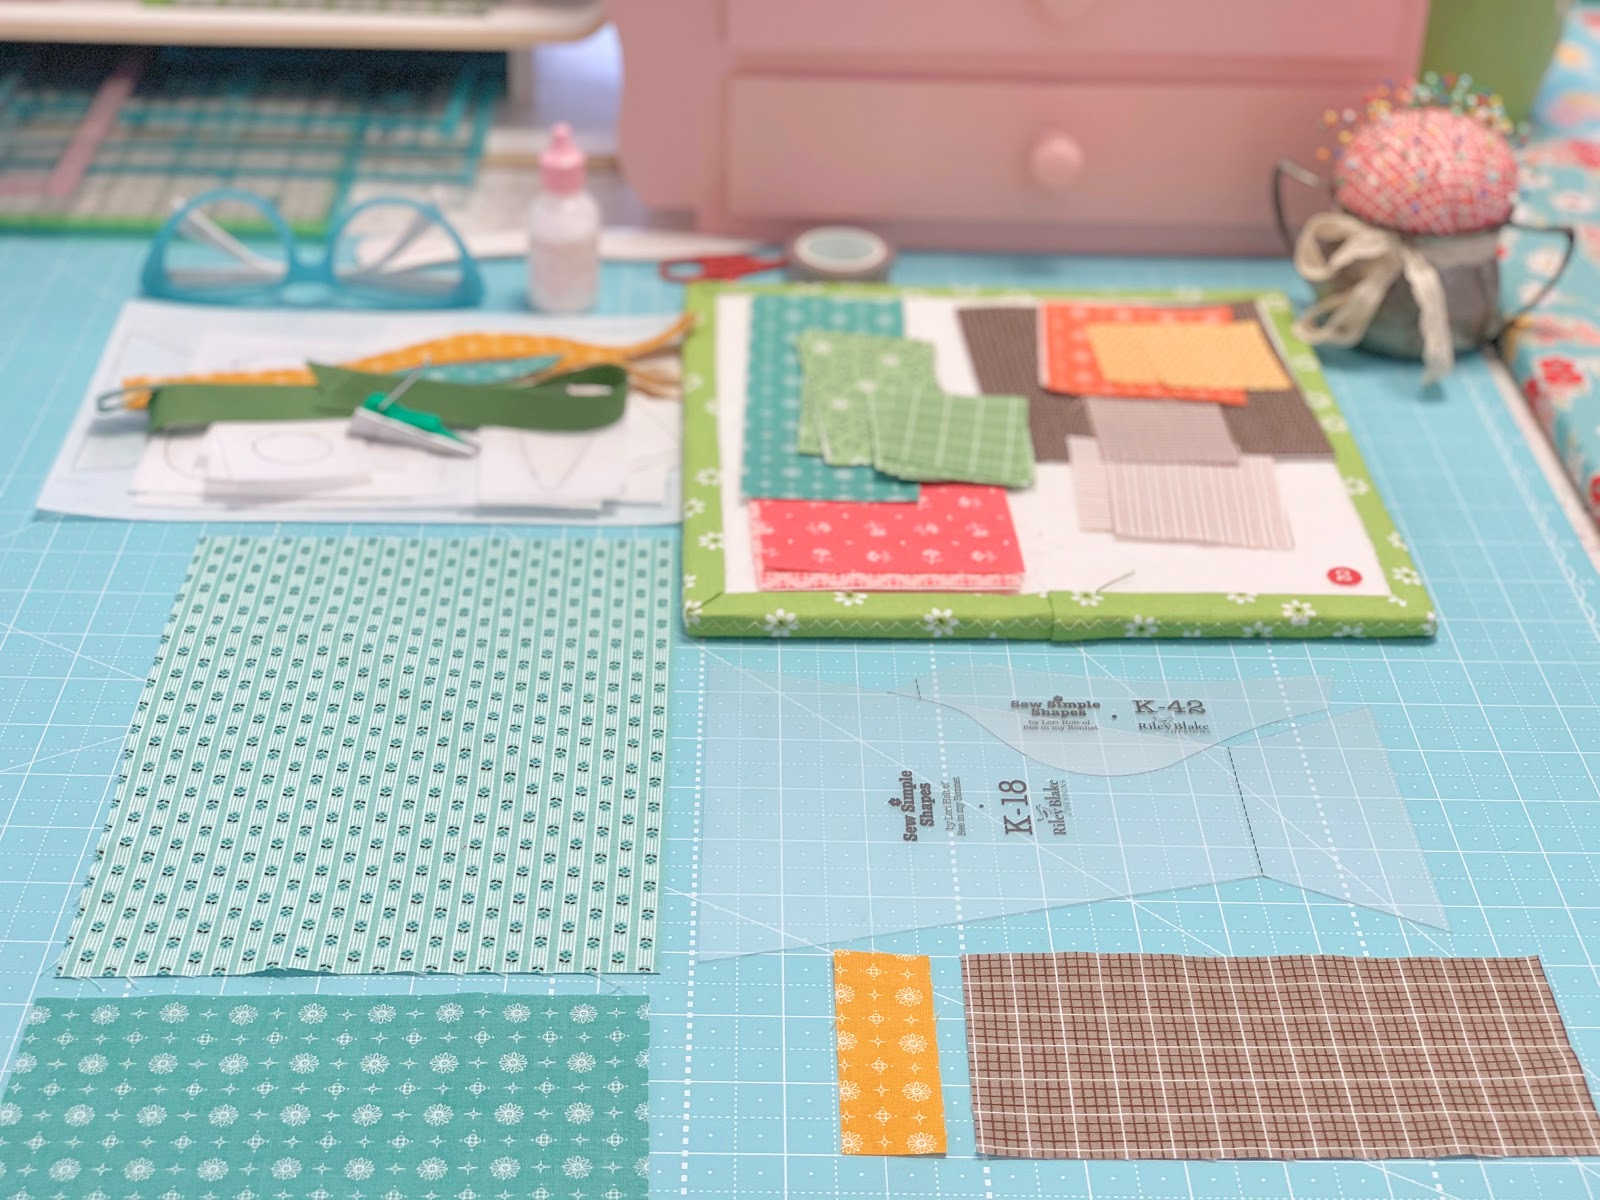
Before you sew the K18 Shape
for the basket
and the K42 shape for the bird
you will need to sew
these fabrics together first.
Press the seams open.

Now you can line up your
traced interfacing onto the
pieced fabrics like this
before sewing:)
Easy Peasy!!

Run the fabric strips that I
had you cut for the block
through the 1/4" bias tape maker.
Press a super curvy curve LOL
for the basket handle and a
slight curve for the flower stems.
The bird leg strips are straight
and you will use both of these strips
for ALL of the birds legs
in the remaining blocks.

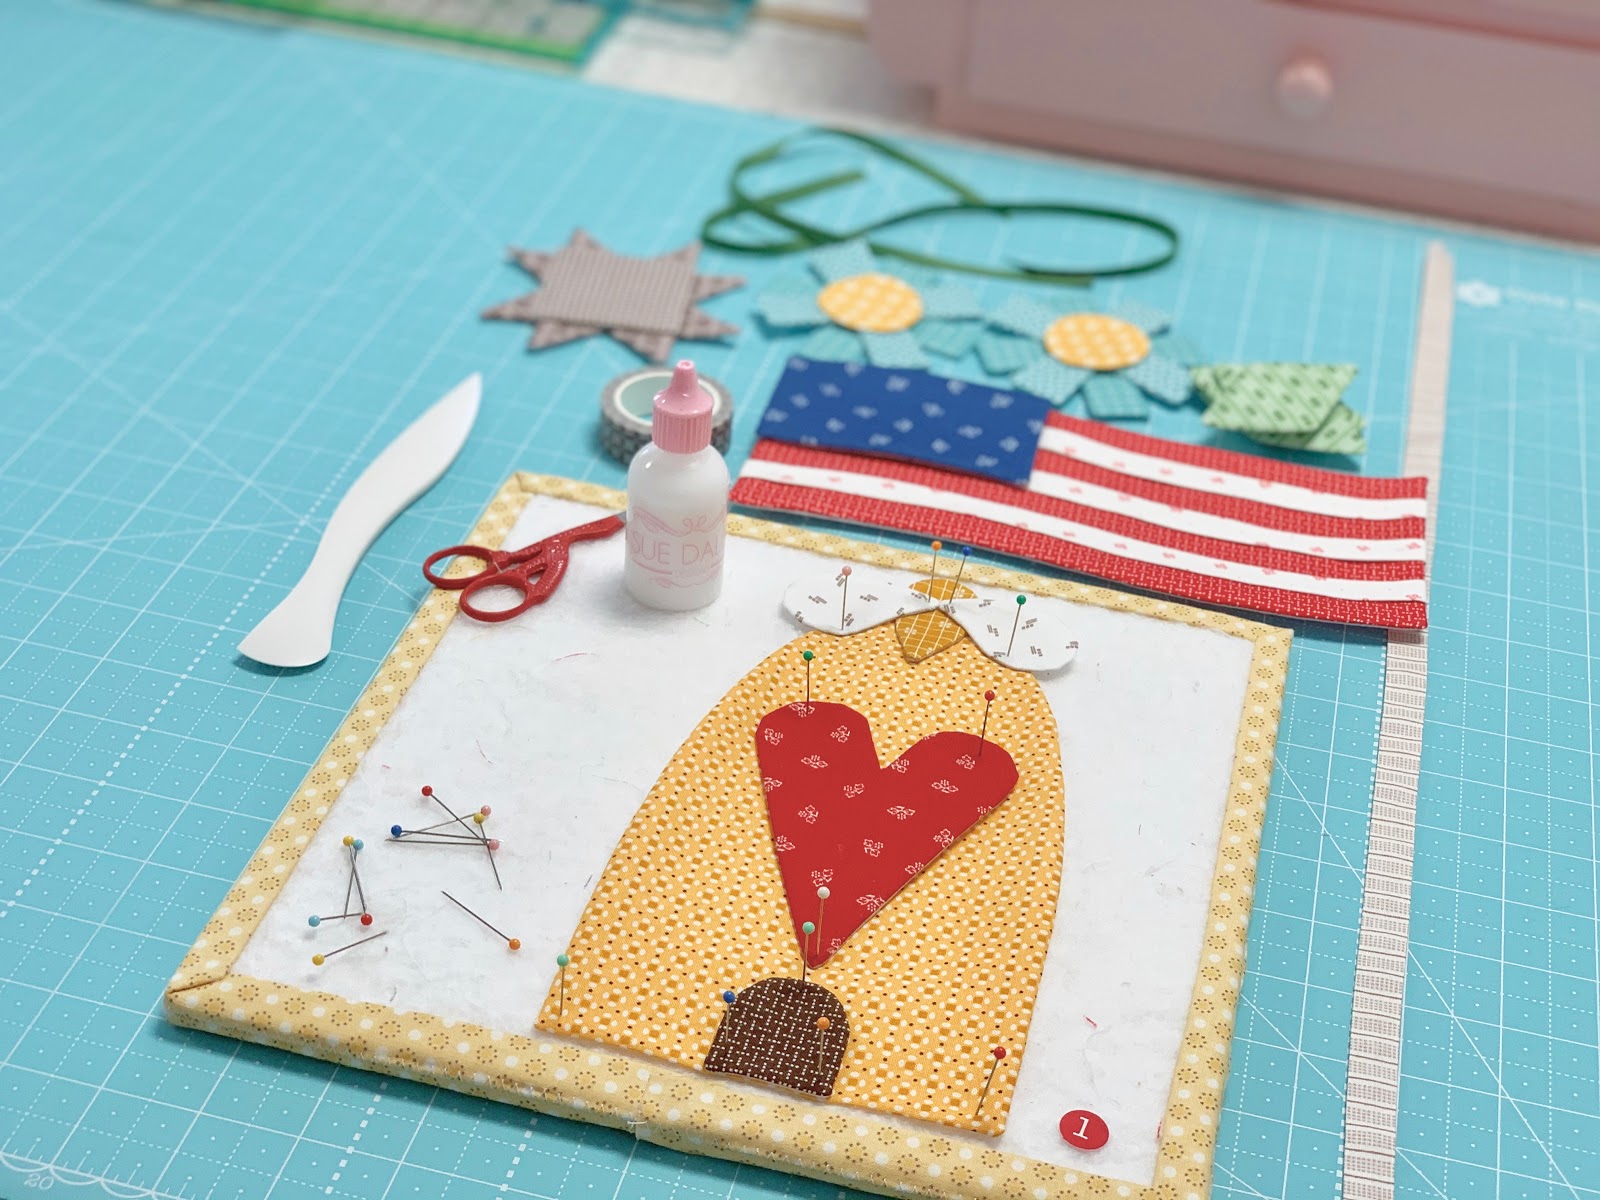
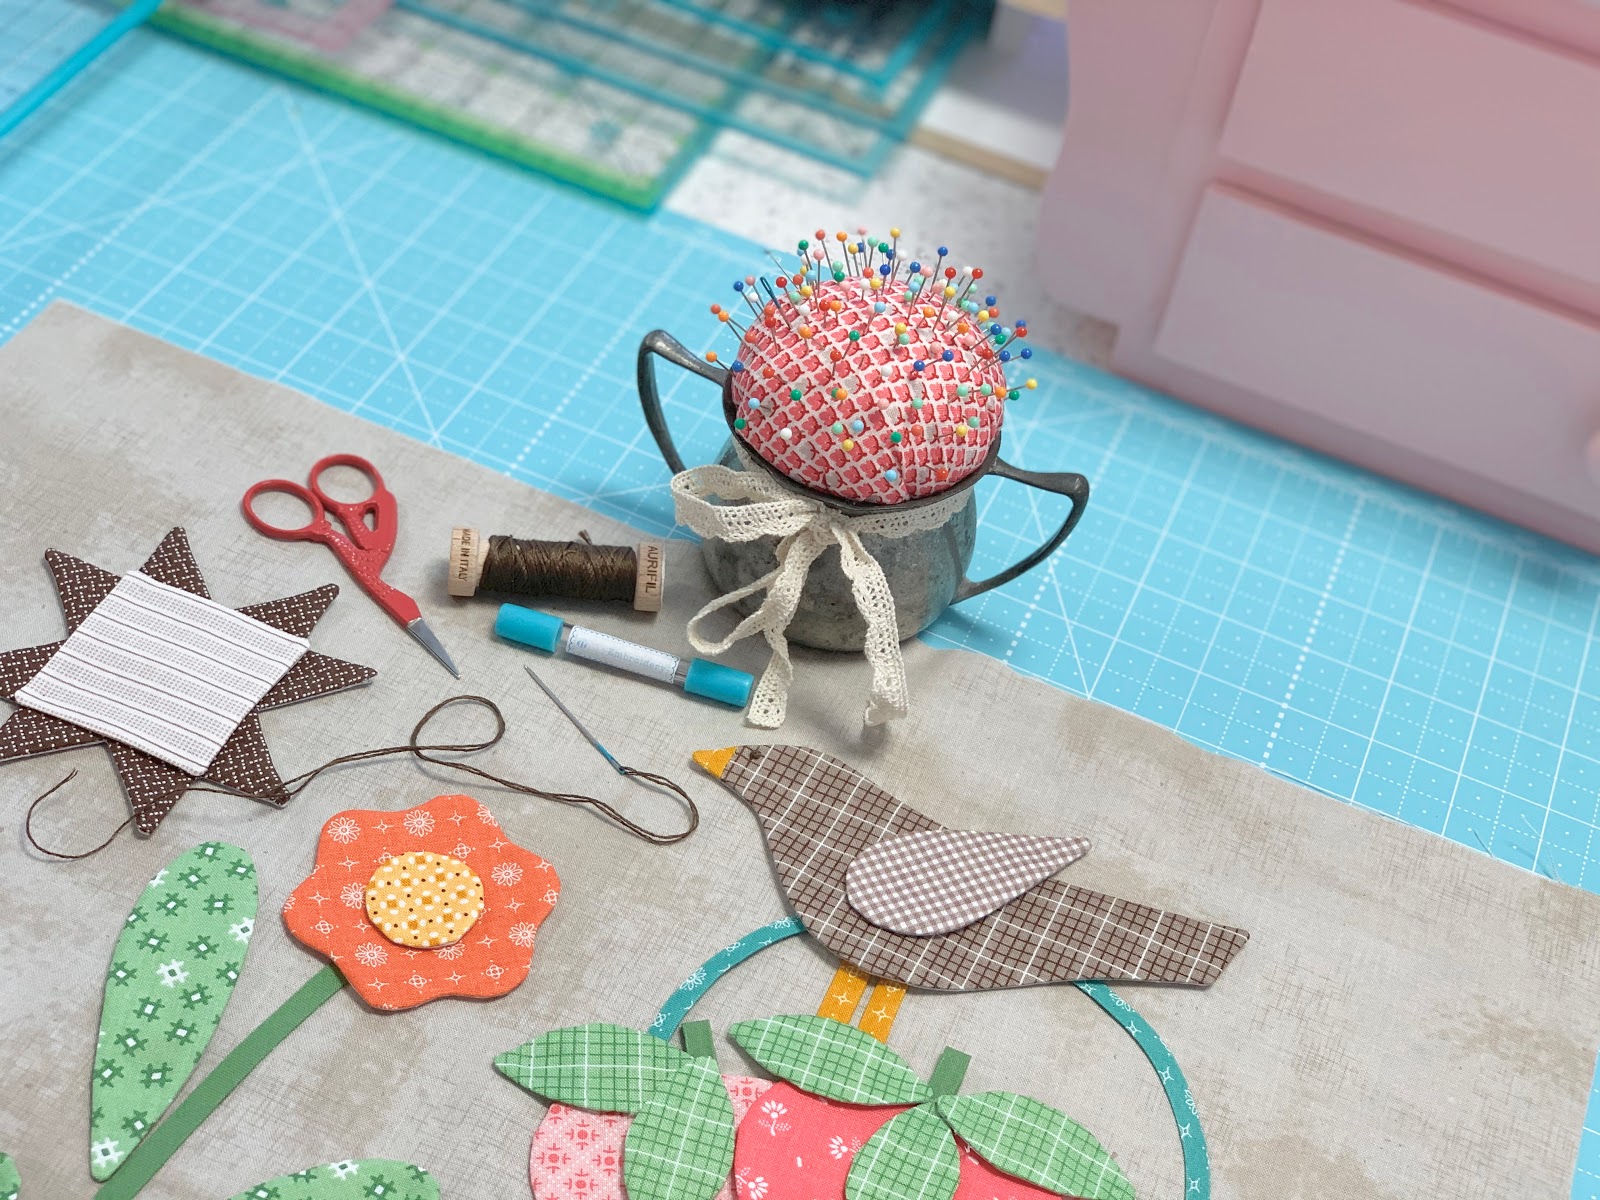
Sew and trim all of your appliqués.
The shapes that you sew
on my cutting mat
(not the design board)
are the ones that have inner curves
and cleavage areas to clip.

Block two is all
turned...shaped...pressed
and ready for pin basting!
I just love this part:)

Cut 2 bird legs 1 1/2" long and
save the remaining strips.
Cut the flower stems 7" long
and press one end under.
Each stem is curved in opposite directions.
Also from the long strip for the stems
cut 3 pieces 1 1/2" long
and press them in half
for the strawberry stems.
Leave the basket handle the full length...
you can trim ends off after tucking
under strawberries and glue basting:)

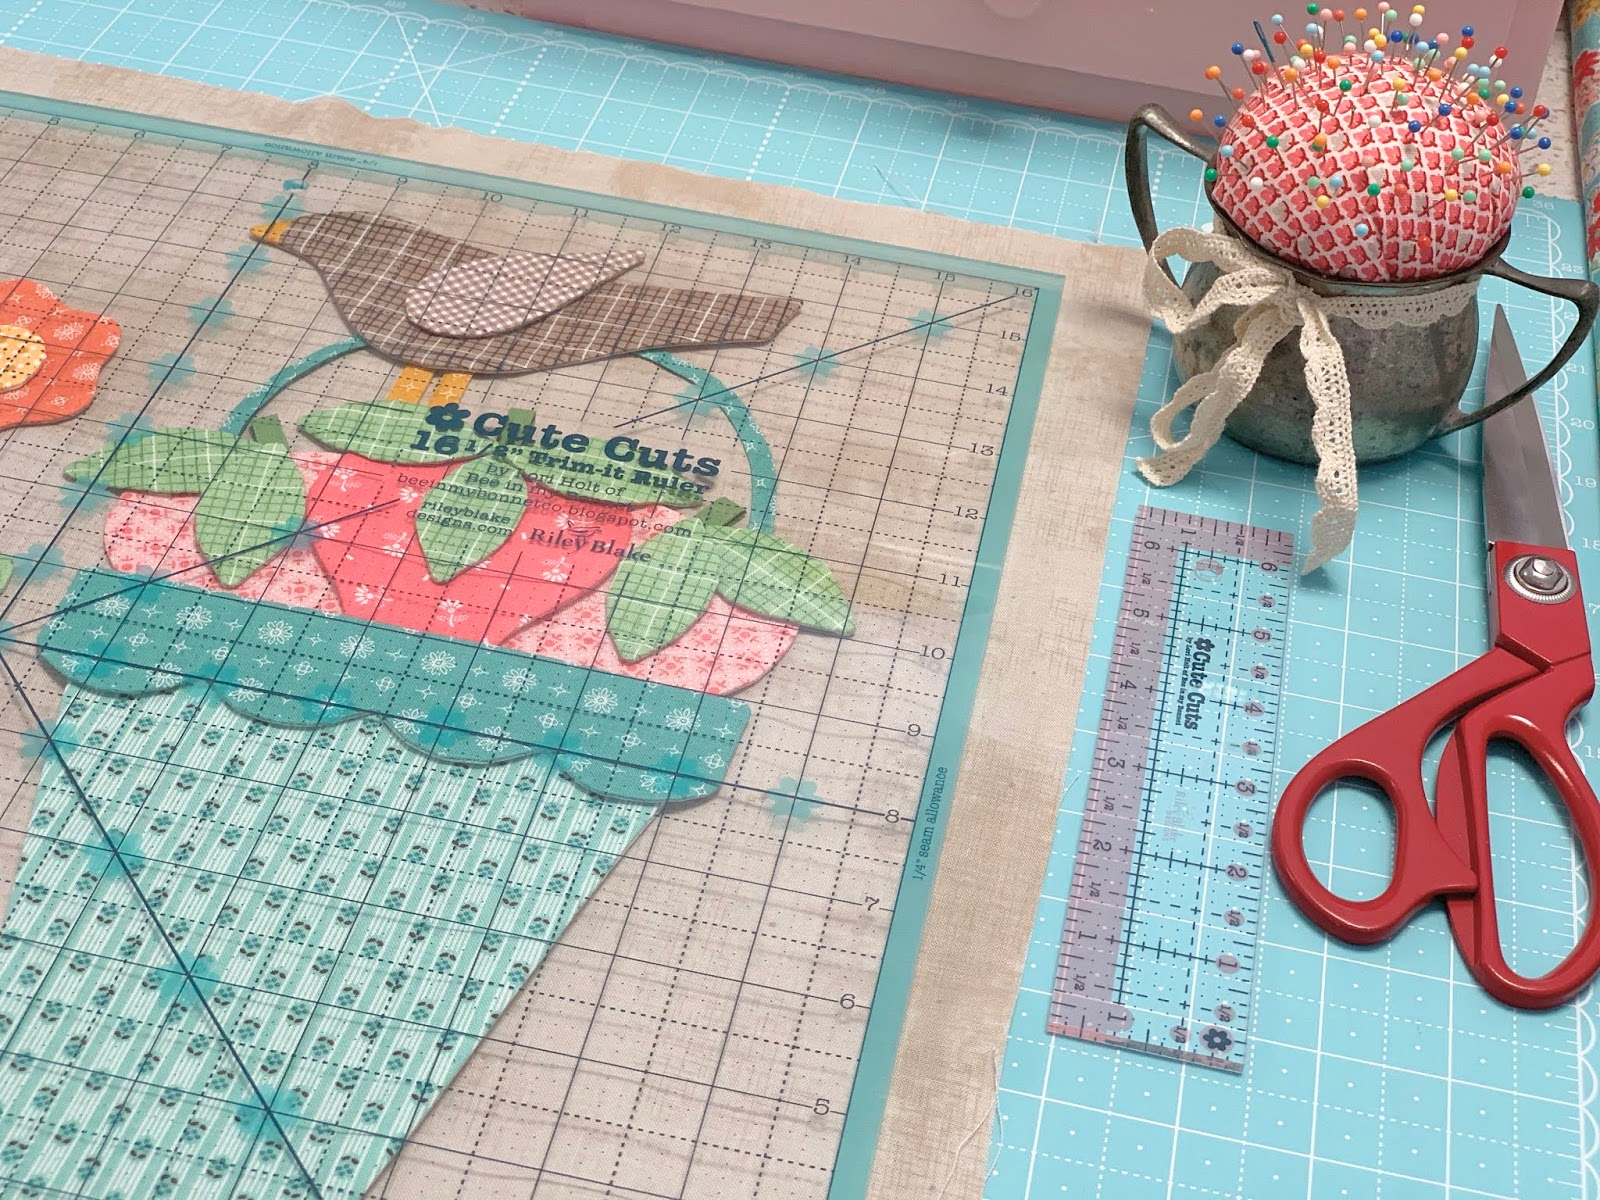
Lay your basket out onto your
background like this for placement
so that you can trace the
line for basket handle.
Use page 15 of the guide for that
and a light box.

I took pictures with my rulers
so that you can see how far
from the edge of my background
that I placed these shapes...

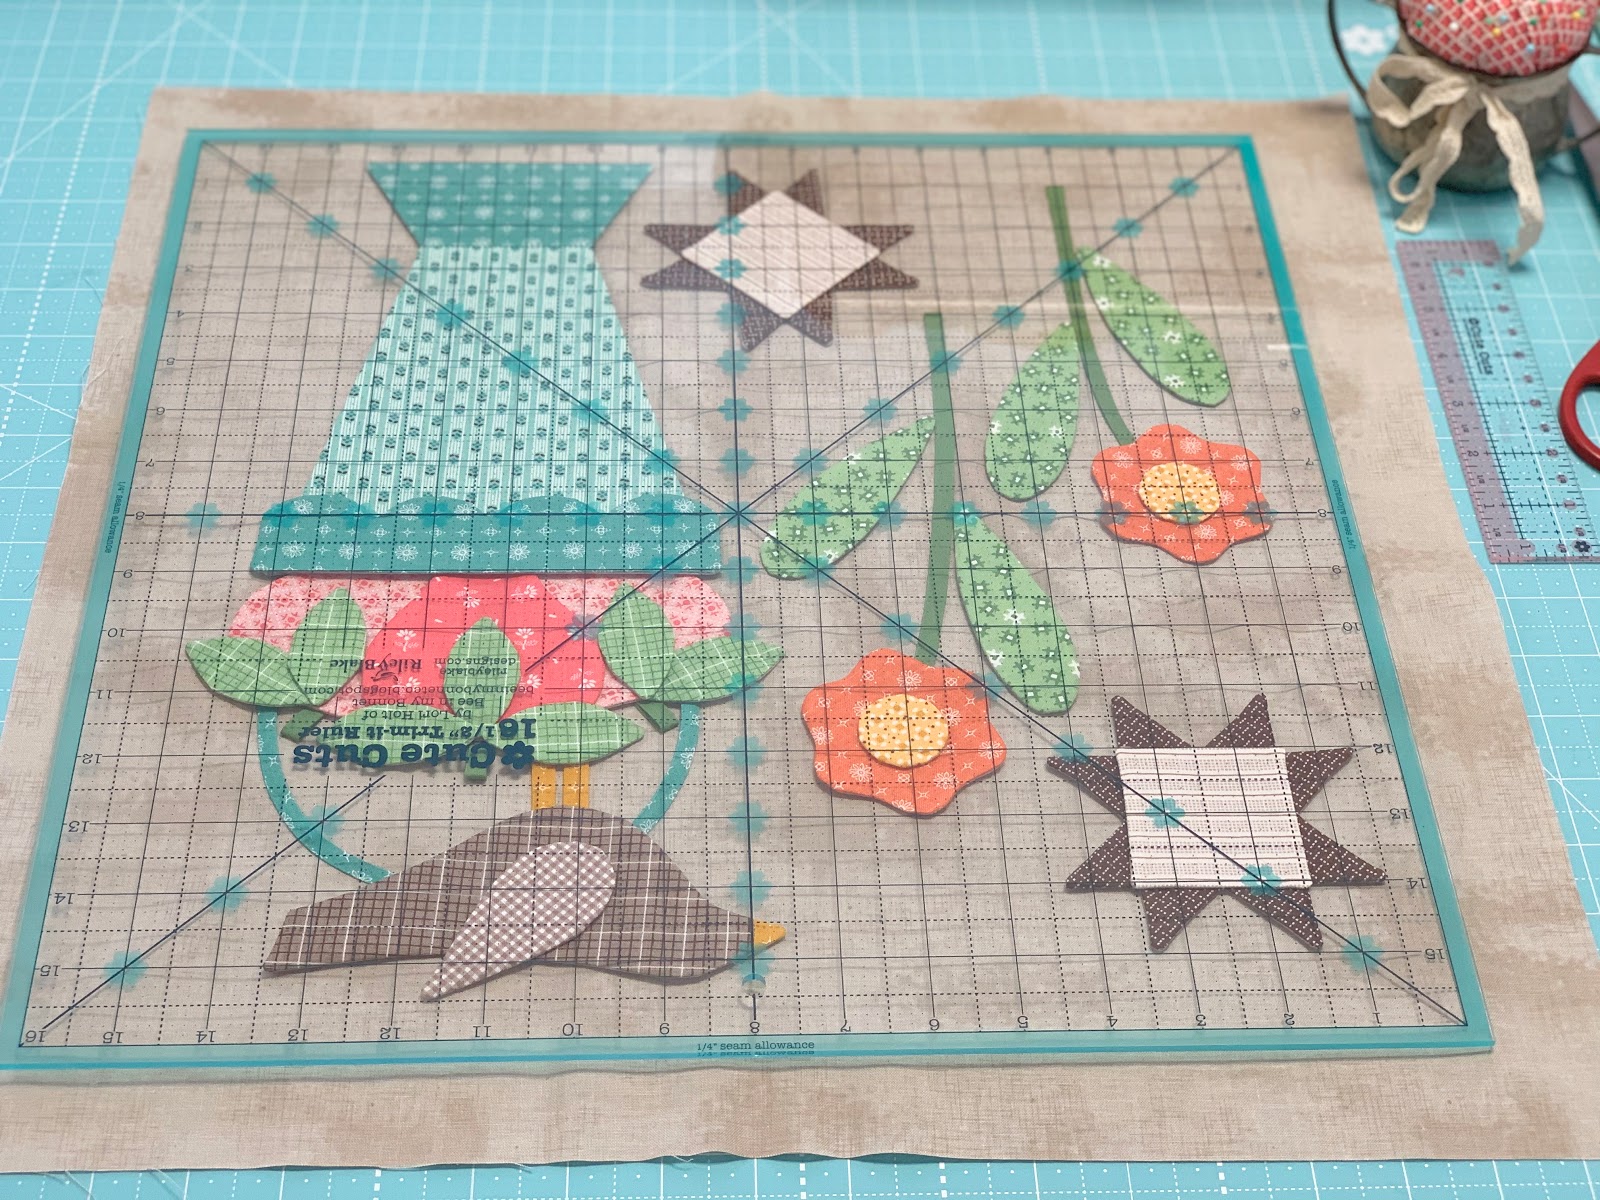
Pinning...pinning...pinning:)
Take note that the stars
in this block are placed
differently from each other.

Don't forget that your
16 1/2" TRIM IT RULER
is your best friend
when laying out your blocks!

The last thing that I do before glueing
is lay it on top of my pins
just to make sure my pieces
stay within the window and
will look nice when
appliquéd and trimmed up.

Time for the Sue Glue:)
Afterwards...
I remove my pins and lay my ruler
on top with something heavy
on top of that until the glue dries...
about 15 to 20 minutes.
*Have you ever wondered why
I use glue and not just pin my appliqués?
Sometimes I do use pins if it's just
an applique or two and a small block.
When I applique I like to
scrunch my fabric up in my hands
when stitching and the glue keeps
the shapes into place perfectly
and also I don't poke my hands
with pins during the process:)

With each weeks tutorial
I'm going to show you close up pics
of my blocks before applique.
I'll show from different angles and
one from all four sides so
that it will help you with the placement
of your shapes while preparing your blocks:)


I did a french knot for
the birds eye like this:)
I'm using 3 strands of floss
in the blocks that have some embroidery.

Joy and Contentment
is all ready for applique!
After the applique is complete
press on the BACK of the block....

and trim it to 16 1/2" square using the
Trim-It Ruler
so that it will fit into the quilt!

Have fun making your
Joy and Contentment Block
and I'll be right back here
next week for block three!
xx
Lori
P.S. Don't forget to share your
progress and your blocks on