

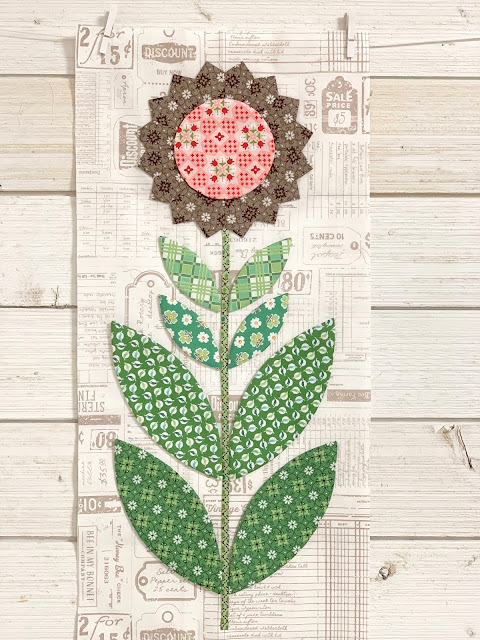
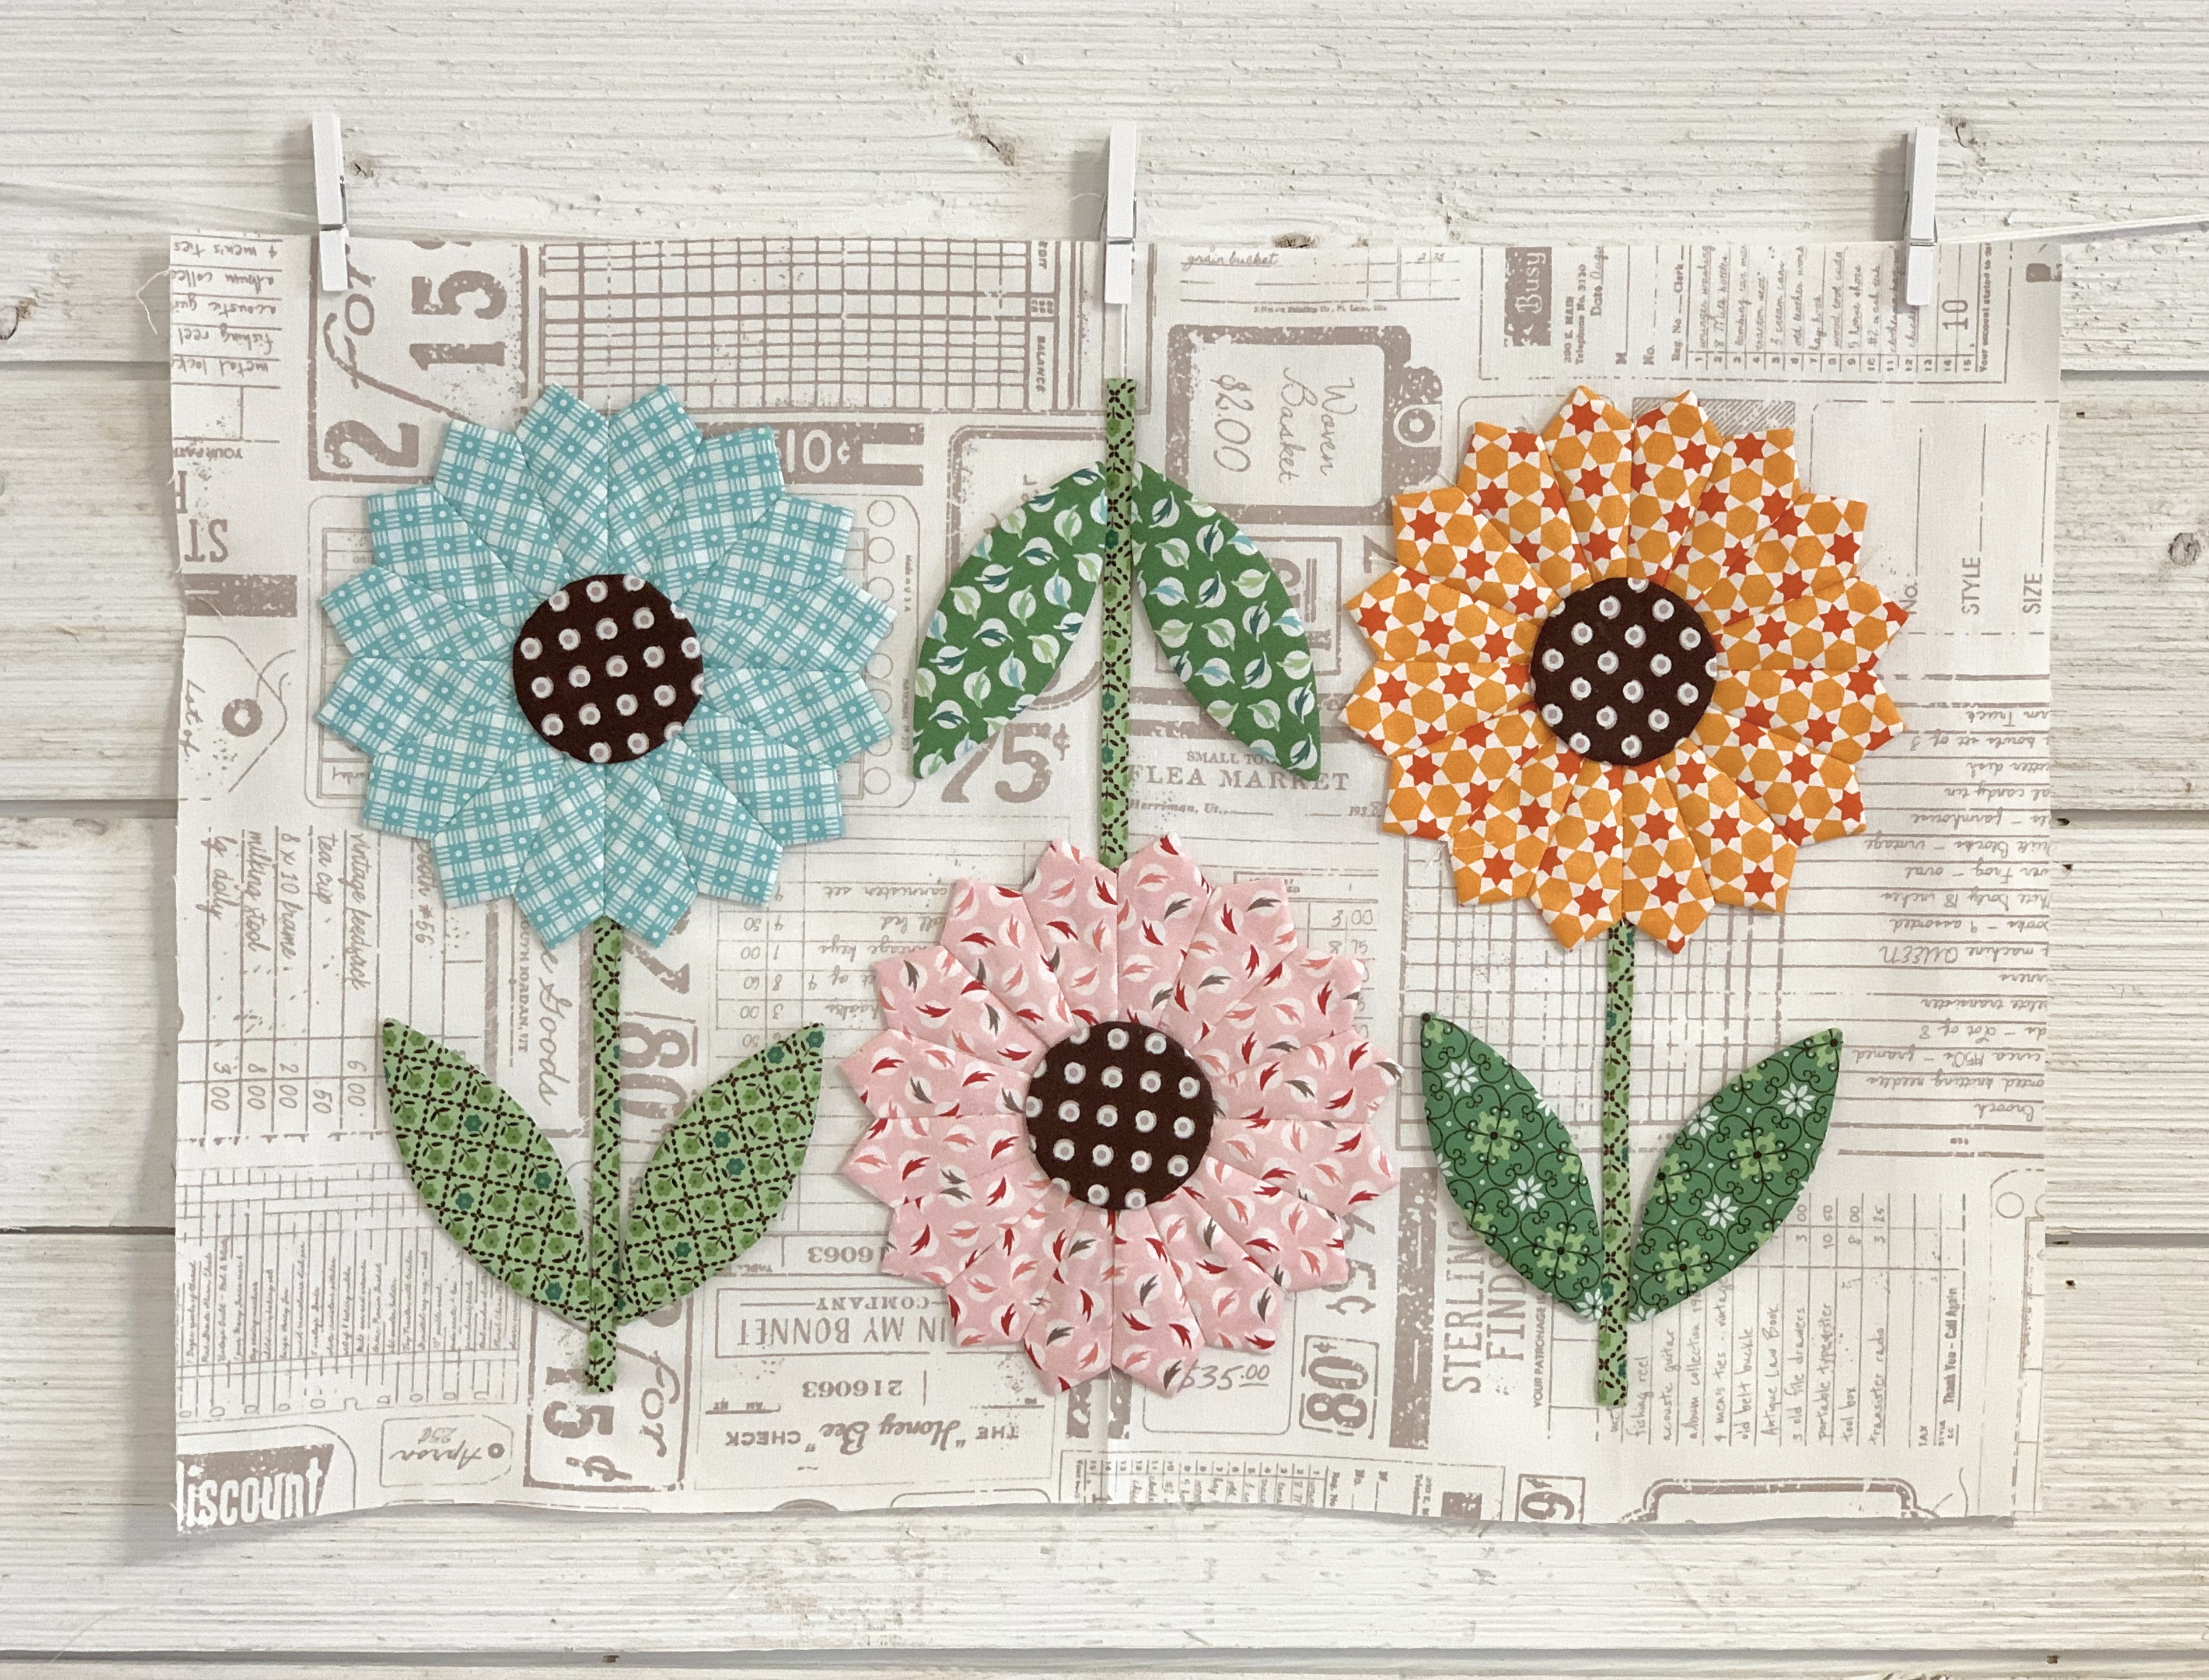
Flea Market Flowers
BLOCK "P"

Welcome to Week Three of the

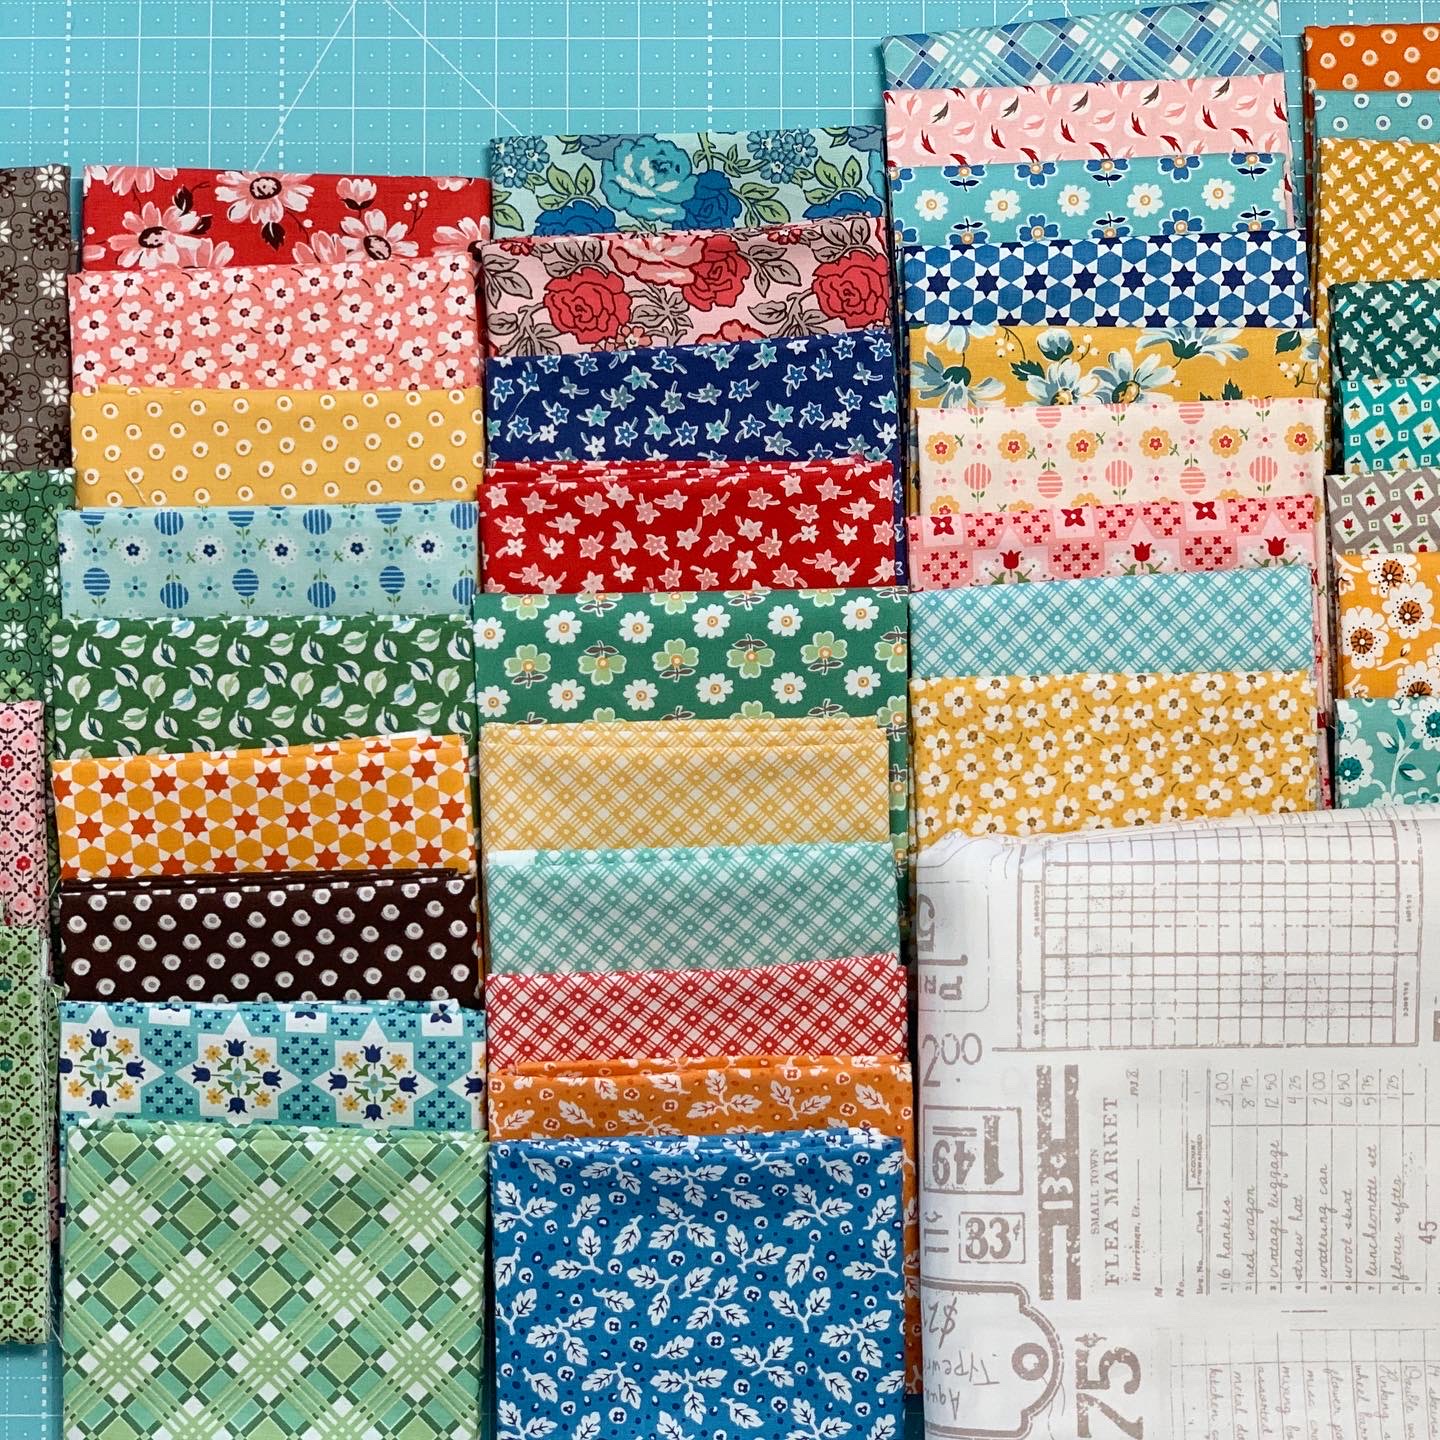
We are using my latest
fabric collection called
Flea Market
It's designed by me ...
and produced and distributed by the amazing
Riley Blake Designs:)

We are making my quilt
FLEA MARKET FLOWERS
76" x 86"

We are using my
PIE RULER
to make all of the flower petals...

This set of my
CIRCLE RULERS
for all of the flower centers...

And we are also using my
SEED RULERS
for all of the leaves in the quilt.

All of the other notions as well as fabric requirements are detailed within the
Flea Market Flowers Sew Along Guide
for the free PDF Download
I also have a "Bee Prepared" blog post
detailing everything that you will
need to know about this sew along...
to go to that blog post
if you have not read it
or you need to be "refreshed"
on any of the information!

As promised...
To kick off week one
I did a video tutorial on my
YouTube channel showing how to make
Flea Market Flower
BLOCK "M"
to go to that tutorial...
so that you can make this cute flower!!

I also did a tutorial during
week one right here
on my blog for
Block "L"
to go to week one and this block tutorial:)
As part of week two
I did the tutorial here for
Block "O"
For that tutorial

BLOCK "I"
is also in the week two tutorial:)

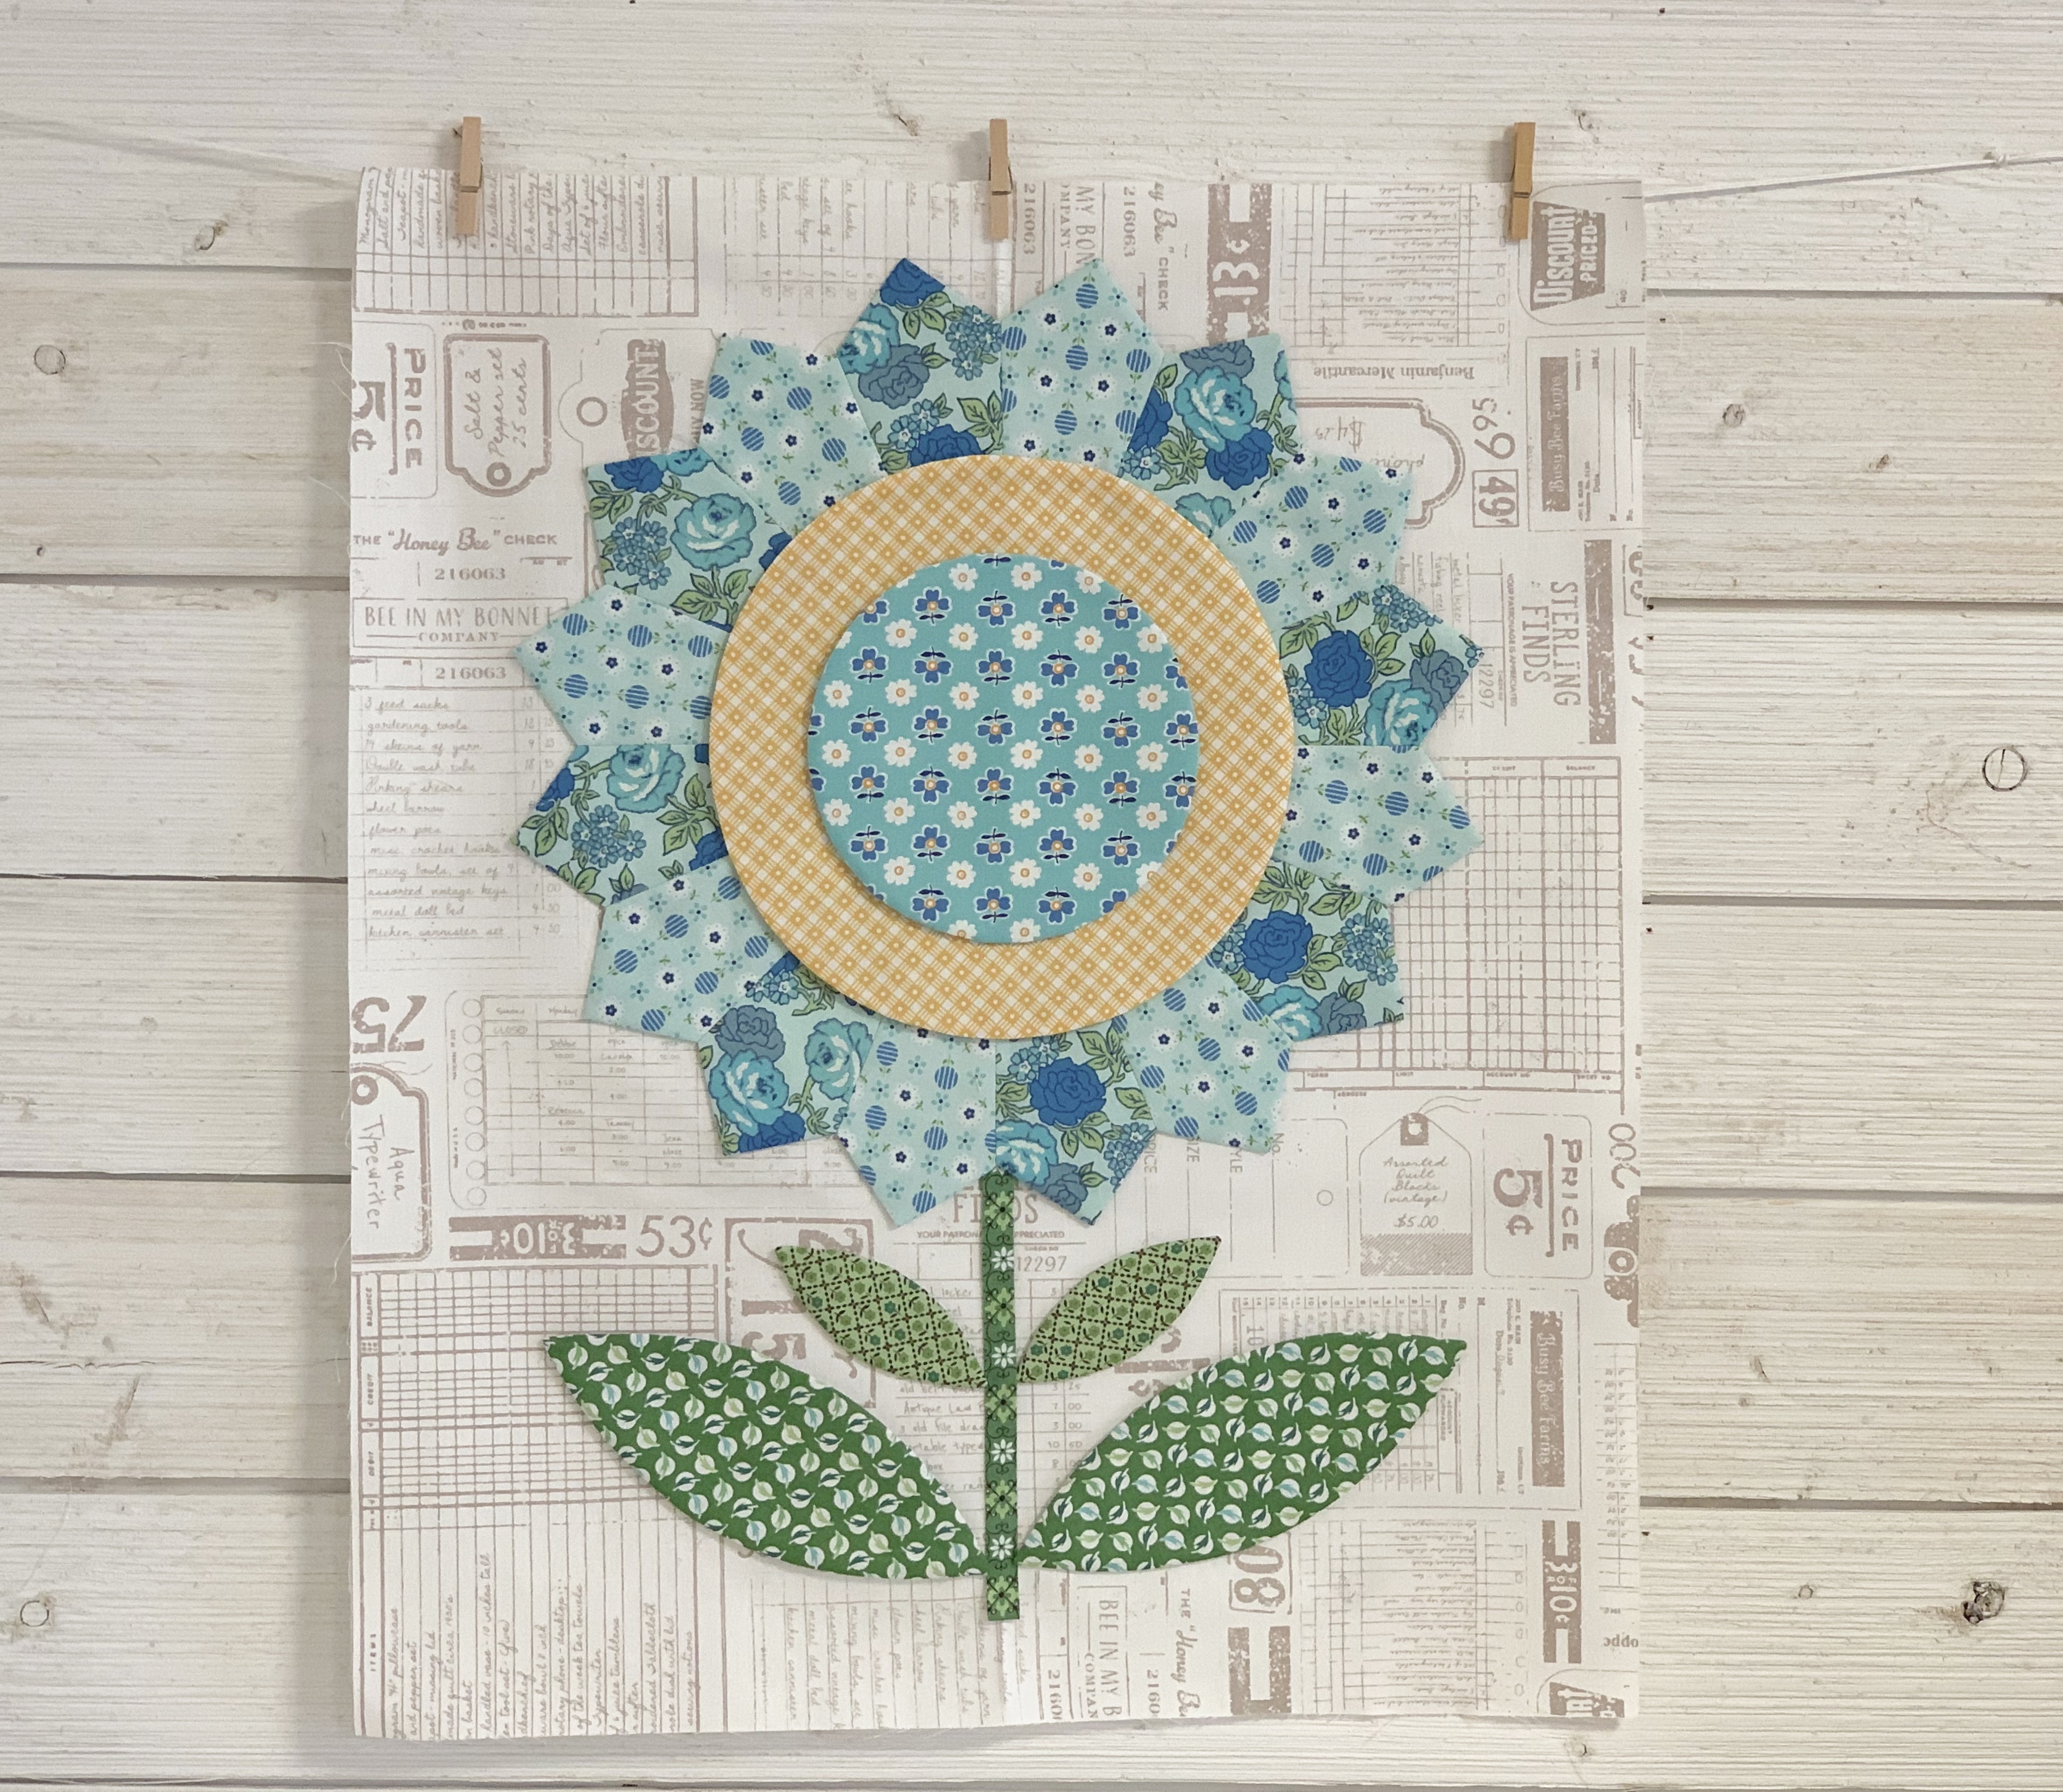
BLOCK "P"
You will need to make three -
6 1/2" Flea Market Flowers


And I glue basted the centers on


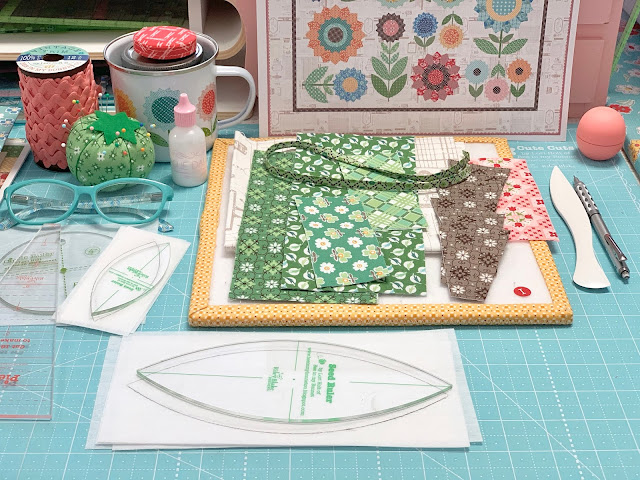


To make Block "P" you will need:
6 - small leaves
3 - 2" circles
3 - 1/4" stems cut 6" long
with one end pressed under
Background cut - 14" x 20"
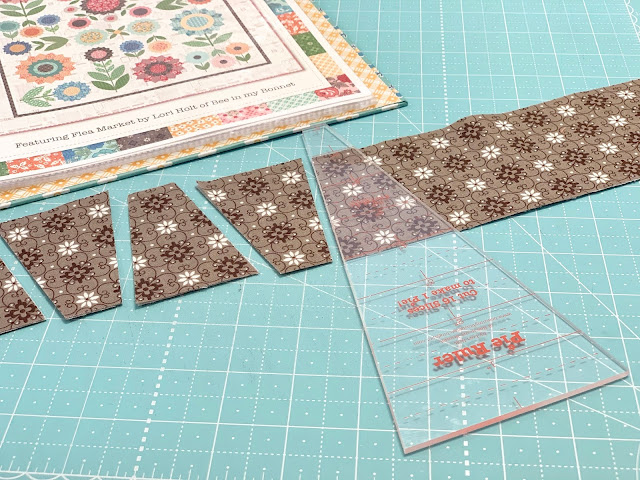
You will need to cut
two - 3" tall strips from EACH
of the three prints for the
6 1/2" flowers.
You will have leftover fabric
from the second strips:)
Cut 16 petals from the
3 prints to make 3 flowers.

Place your ruler like this
when cutting the petals.
Remember to alternate
the ruler each time you cut
just like I showed you
in the video from week one.

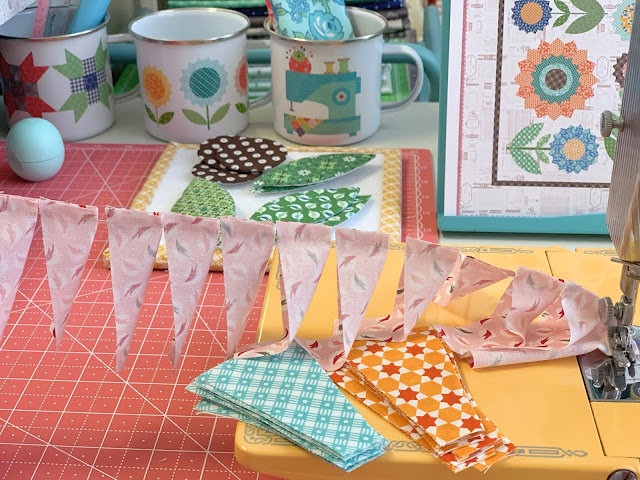
I sewed my circles and leaves...
and starting on the flower petals!


One down...
two more to go:)

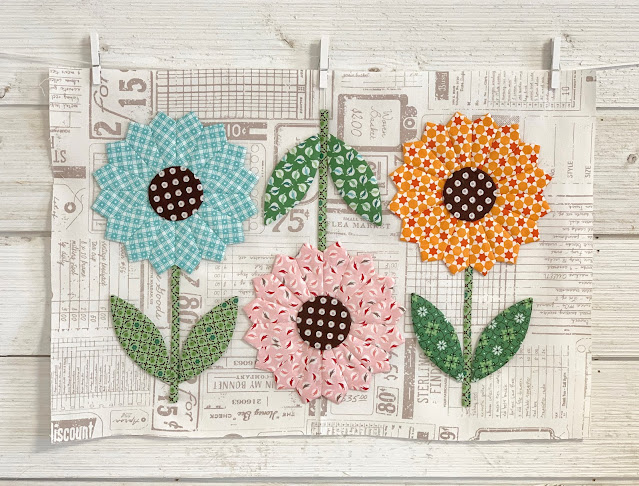
I have all of the flowers sewn...


and took a few cute photos!

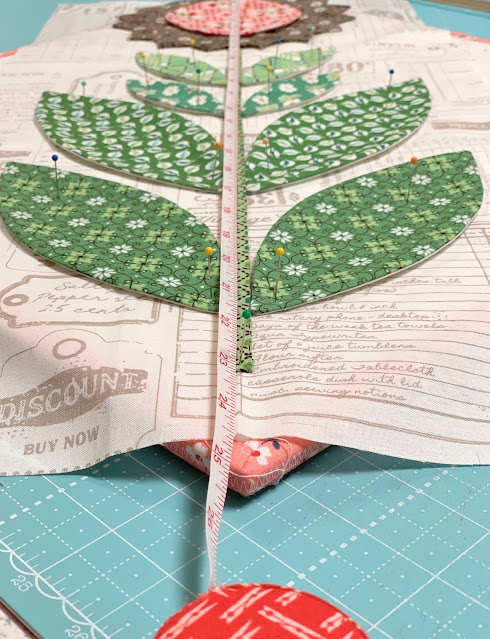
When pinning your flowers to the
background and the design board...
keep in mind that you want each flower
11" tall from top of flower points
to the bottom of the stems.
You want all three flowers together
to measure no wider than 17" across.

I placed a ruler across the edges
of the top and bottom when
I pinned to make sure that the bottom
of stems lined up with the tips
of the flowers straight across.

After pinning everything into place
I glue basted and took the
pins out when the glue was dry:)
This sweet Block "P"
is all ready for applique!!
After you have appliquéd you will
need to trim the block down to measure
12 1/2" x 18 1/2"
It will finish at
12" x 18" when sewn into the quilt.

Okay...that is the first tutorial
for this week...
now let's move onto the next one:)

Flea Market Flower
BLOCK "I"
Has one 7 1/2" Flower:)

For Block "I" you will also need:
4 - small leaves
4 - large leaves
1 - 4" circle
1 - 1/4" stem cut 18" long
with one end pressed under
Background cut - 12" x 26"

You will need to cut 16 petals from your
3" strip x WOF
to make one 7 1/2" flower.
Place the ruler like this
and alternate each time you cut.

*While we are working with this fabric
I wanted to let you know....

There is a typo in the sew along guide
that has been fixed of course
but I assume that you have already
copied yours off and so
I'm showing it to you now.
FYI *The typo has nothing to do with
this block but it has to do with
the flower size for block "K"
that we will be doing next week.
It should say 7 1/2" Flower
instead of 9 1/2"
The 7 1/2" flower for Block "I"
which is the one that we are
doing right now is correct:)
So to recap...
Block "K" is a 7 1/2" flower
NOT a 9 1/2" flower

Okay...
now let's get back to
growing this tall flower!!
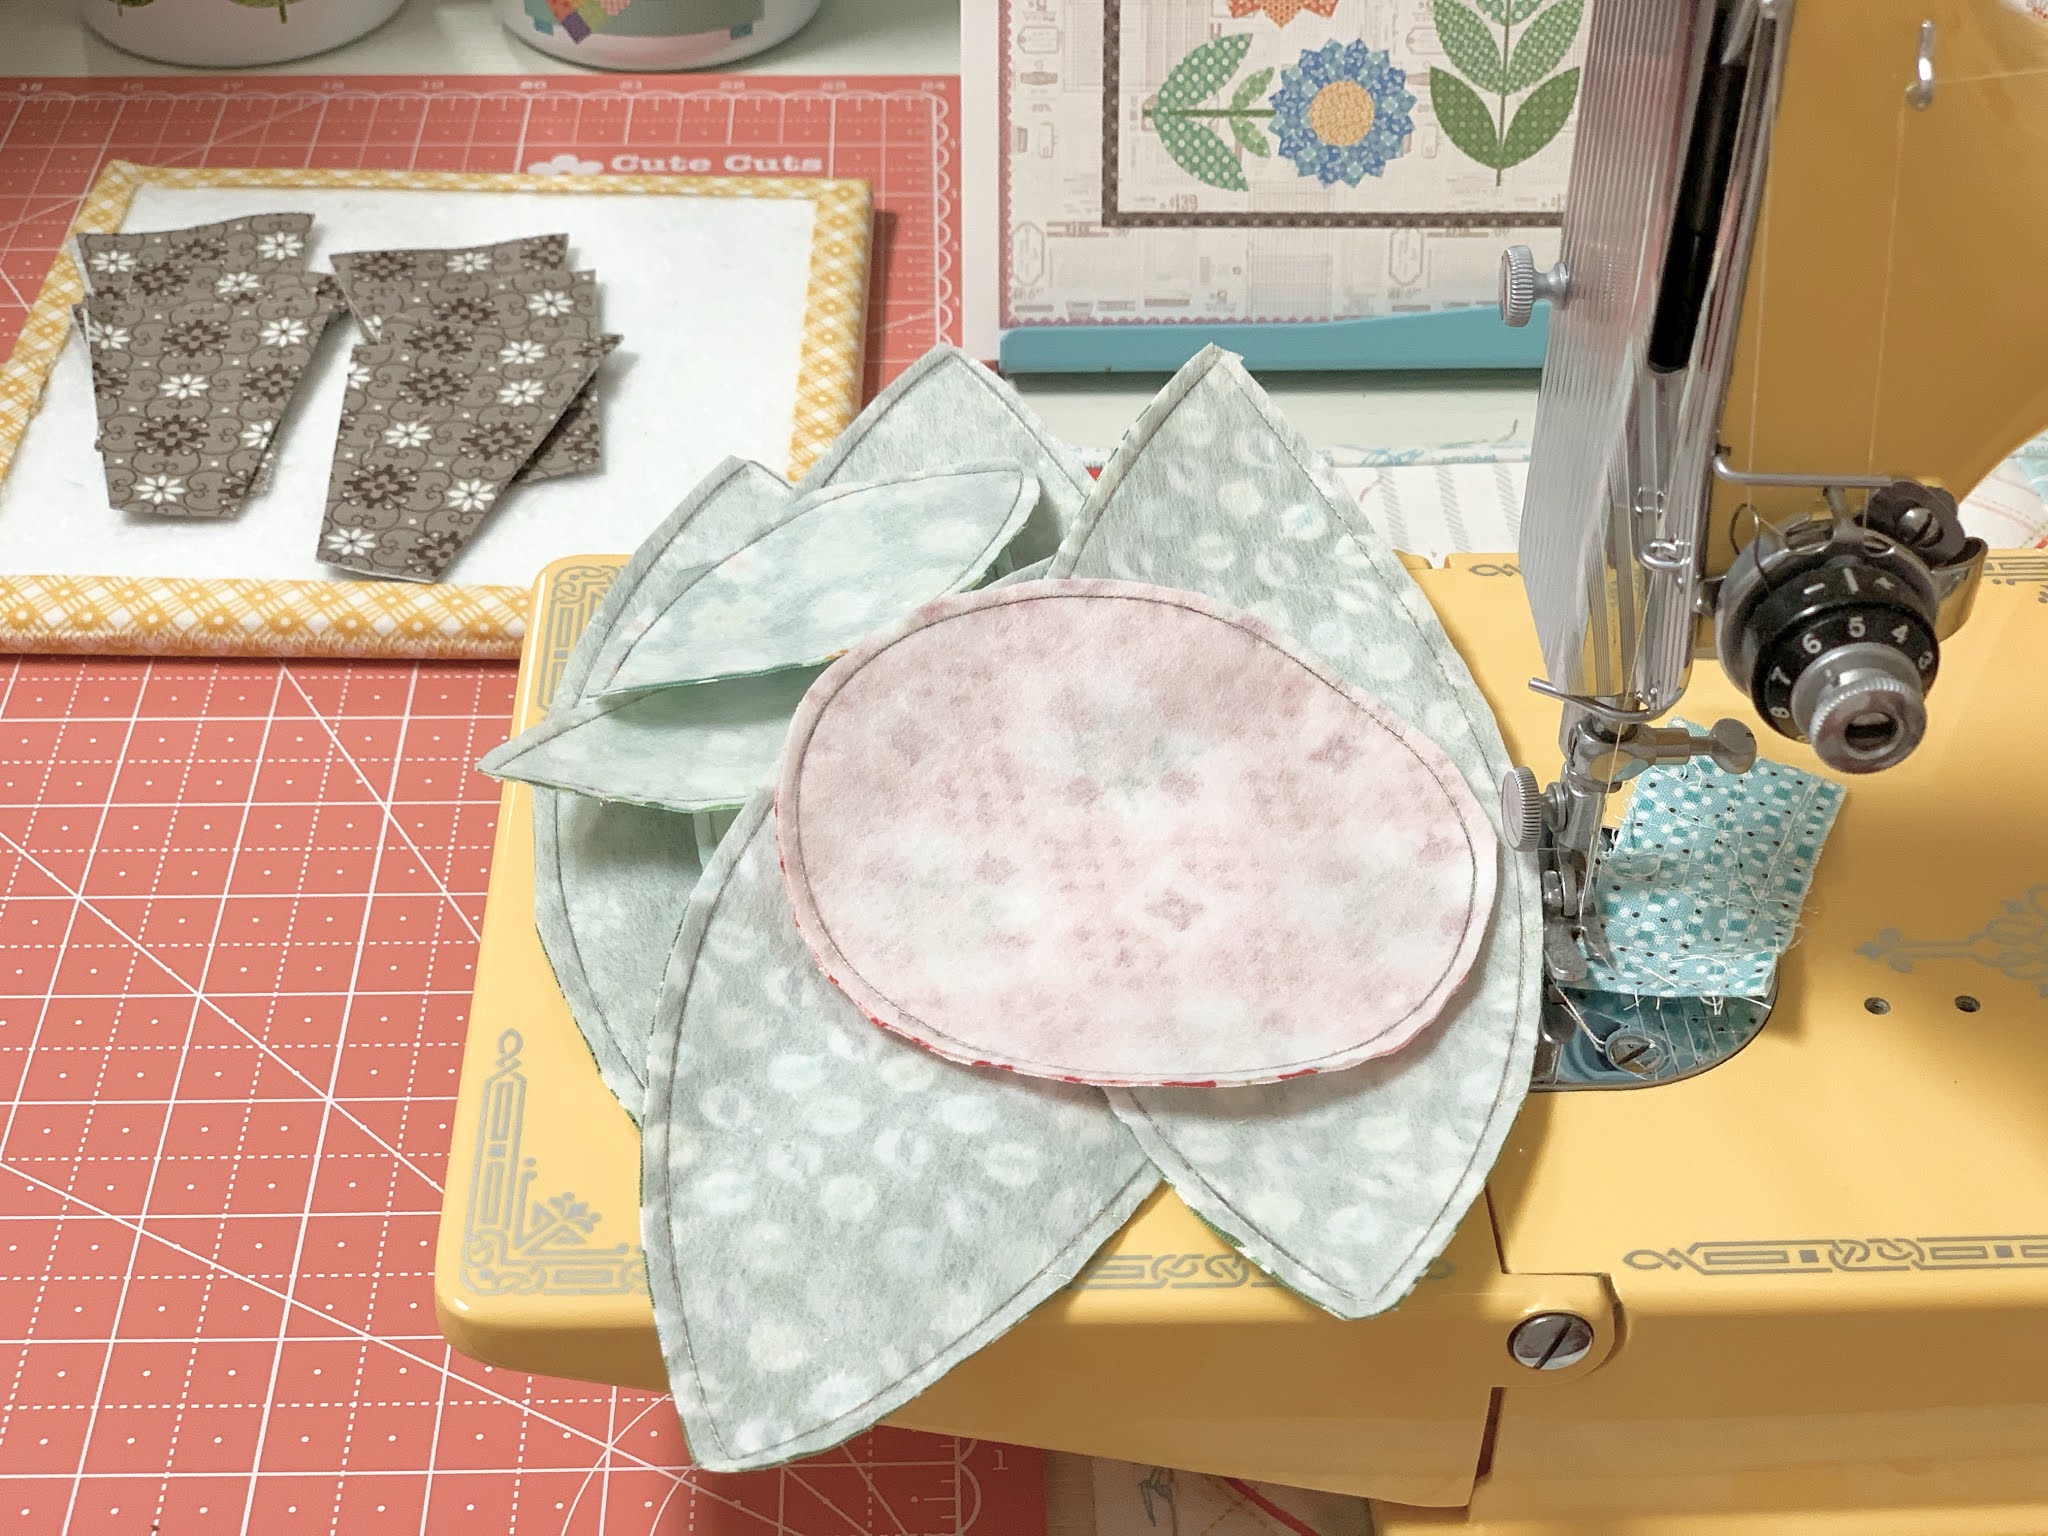
I've sewn all of the leaves
and the circle for the center:)
I just need to
turn...shape and press them!

I'm sewing another flower petal chain:)

And just like that...
a flower seed has been planted!!
Time to get everything
onto the design board:)

First I pressed my background fabric
in half to mark the center:)
The height of your flower
should measure 23" tall
from top to bottom.

My large leaves measure 9" wide.

I pinned and glued and let it dry...

And now it's ready for applique!!
After applique
BLOCK "I" should be trimmed down to
10 1/2" x 24 1/2"
and it will finish at 10" x 24"
when it's sewn into your quilt.

Thanks so much for joining me
for week three
and I'll be right back here
next week
to plant two more
Flea Market Flowers!
xx
Lori


1 comment:
I've never done applique before but this looks like fun , and so pretty!!
Post a Comment