Thursday, March 29, 2012

The Painted Piano...


Get ready for a lot of pictures
 of my aqua piano!

I'm so happy that I finally did it 
and I love love love the aqua.
 It fit's right in with my cottage decor
 and I think it adds a little more fun:)

 I just love painted furniture...don't you?


I love it soooo much!
 I still have to do a few more 
things to finish it up.

Can you see that it's still wearing
 fuzzy house slippers to 
protect the new floor?
I need to get some soft furniture
 thingys to put on the bottom of the legs. 


And I need to take the blue tape off 
the pedals and wheels ...
and add the cute little Martha Stewart
 brushed nickel knobs that I bought 
for it at Home Depot.
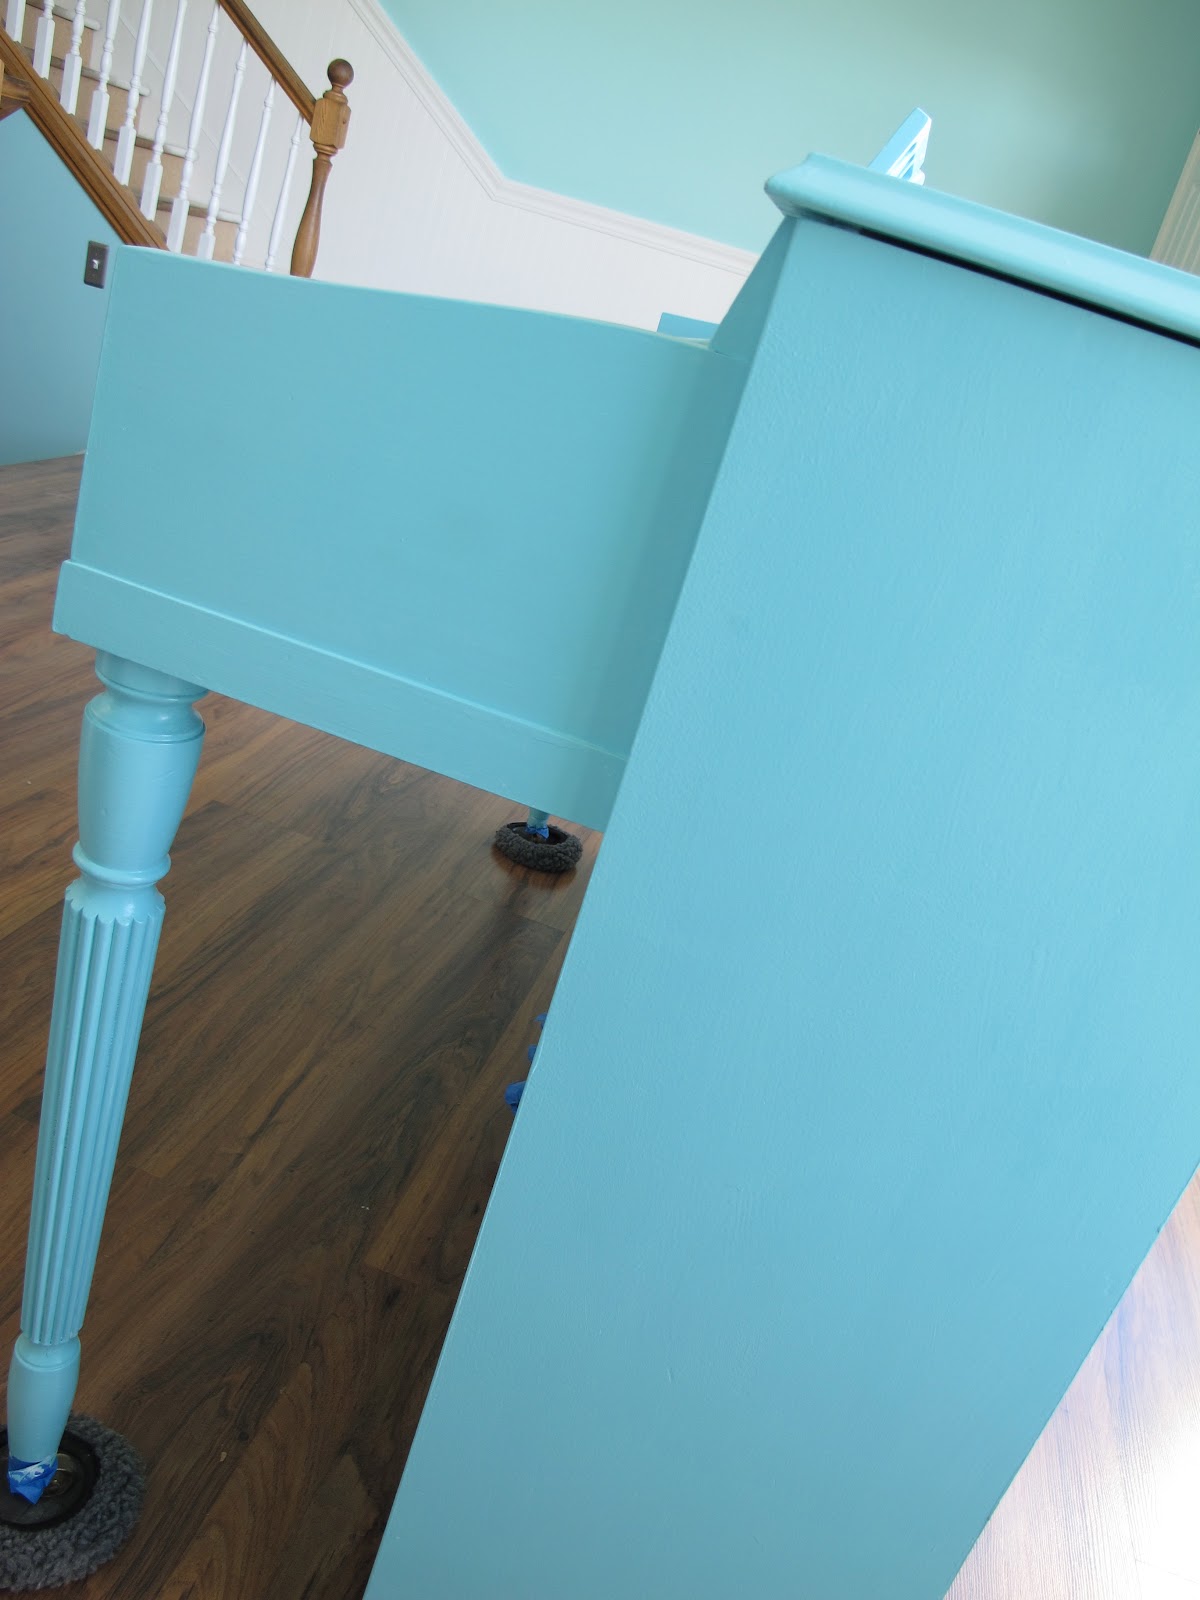

You can see that our floor in the front room of my cottage is almost complete...
we still have to do the stairs and
 paint and install the trim all the way
 around the base boards.

I love the new wall color and I'm noticing
 in this photo how much the color 
changes according to the light.
I love it!


This is the window it will go in!
 Kassidy is the piano player in our house 
(she has been playing since she was five)
and she wanted to put it in the window so that she can look outside while she plays:)


As you can see it's a sunny morning 
here in my little town!!!


 Our upper floor redo is still a
 work in progress but I'm happy to say
 that we are 90% complete!
Mr. Honey was so patient with me when I kept telling him that we just have to re-paint
 "one more thing" 
before we can install the floor...lol.
I have pretty much repainted everything that wasn't moving!!!! 


I'll show you each piece one by one after the flooring is totally complete and I can put things back into their place:)


Okay....
I'm off to the market for groceries 
and then I'm sure the rest of my 
day will involve sewing... 
that is AFTER carpooling and 
taxi driving my teenagers
 to rugby and dance...
oh... and a little cooking...
and maybe a quick stop at Home Depot
 for those fuzzy furniture feet...
and because Home Depot is "sorta"
 by the thrift shop...
maybe a quick stop there...
hmmm.....
maybe I'll just sew tonight while 
I'm watching American Idol:)
xx
Lori


Monday, March 26, 2012

Millie's Closet is Here!!!...


Hello cute people!!!
How the heck are ya?

Doesn't this fat quarter bundle 
look like a yummy dessert?
I think it does:)
Tonight I thought I'd fill you in on a 
few happenings around here...


First off...
I'm sew happy to say that
 Millie's Closet
 is here and is now available online
 and in quilt shops!


YAY!!!
I'm thrilled that it's finally here:)


Also a little family sharing...
The other day my cute little 
granddaughter Sophie Belle was here
 and I realized it had been a long time
 since I posted a picture of her....
as you can see it's not an easy task 
to get a good photo of her...


When she was actually sitting still
 (for about a half of a second)
I still couldn't get her to 
look at the camera...


But with a little coaxing and
 a promise of a cupcake...


I got a quick turn around just
 long enough to get a quick shot!
Sophie just turned 3 and
 she is sooo much fun:)


Today I've been in my studio...


Cutting and playing with 5" square's 
from some of
 the Millie's Closet prints...


I'm using them in a pieced border on one
 of my new quilt patterns....
I will show it to you when it's complete:)
I'll post more in a few days!
xx
Lori

Wednesday, March 21, 2012

Lined Travel Bag Tutorial...


Today I thought I would share a
 fun and easy tutorial for  
"Lined Travel Bags"
 I designed them to go with my new
 Millie's Closet fabric line.

I don't know about you...
but when I travel,
 I like to keep my things separated
 inside my suitcase to protect them.

Things like sweaters or delicate clothing
 items are good to keep separated so 
that they aren't roughed up during travel...
and I also like to keep my shoes 
in separate bags too.
This bag finishes at about 10" x 16"
 perfect for a pair of shoes or
 for whatever else you may need it:) 

For each bag you will need...
2 Fat quarters.
One for the outside of the bag...
 and one for the lining.
Cut EACH fat quarter to measure 17" x 21".
For the tie you will need one
 2 1/2" x 44" strip of fabric.


Fold the lining in half with 
right sides together so that it
 measures 10 1/2" x 17".
On the side that isn't folded,
 measure 7" down from the top and
 5" up from the bottom...
placing a mark on the seam allowance
 so that you know where to 
stop and start stitching....
this is your opening for turning
 right side out later.

Using a 1/4" seam allowance,
 sew along the bottom edge and the side, leaving the top open... 
and make sure to leave the opening
 that you have marked unstitched.
 Don't forget to backstitch each time
 that you stop and start again.


Fold the bag front in half with right sides together so that it measures 10 1/2" x 17".
You will need to leave an opening for
 the tie on this piece.
Measure 2" down from the top and mark...
then measure another 1 1/4" down 
from that line and mark again.
 You should have 2 marks 1 1/4"apart.

Stitch along the bottom and the side...leaving the area between your markings unstitched. Backstitch to secure stitches each time
 you stop and start again.


You will need to finger press the seams open on the bag front and stitch around the casing opening so that the seam allowance won't come out when you tie and untie your bag.
By the way...I used matching thread on my other bags but I used contrasting thread for this one so that you could see my stitches:)


For this next step,
 turn the bag front right side out but
 keep the lining turned wrong side out.

Place the bag front inside of the lining and line up the top edges and the
 side seam allowance.
Pin into place and stitch all the way 
around the top edges.


Like this.


Remember the opening in the lining?...
it's time to pull the 
front of the bag through it...


Like this.


Now both front and lining are sewn together 
at the top and both are turned 
right side out like this.
Now top stitch the opening in 
the lining closed...


Like this.


As I said before, your front and lining are sewn together at the top...
now push the lining inside of the
 bag front until they both lay 
as flat as possible and 
give your bag a nice press. 

To form your casing for the tie...
sew a line 1 1/2" down from the top...
and then another line 2 3/4" from the top.


You will have a casing that 
measures 1 1/4" wide..
and a finished opening in the 
 bag front for the tie!


Fold your 2 1/2" x 44" strip of fabric
 with right sides together and 
stitch down the side with 
a 1/4" seam allowance.


Use your favorite turning method and
 turn it right side out...
for this one I used the
 tried and true 
safety pin method 
that my mom taught me:)


After turning...
give it a nice press and 
tuck the seam allowance inside on
 each end and topstitch closed.


 I used the safety pin again 
to thread 
my tie thru the casing.


Lay your bag out flat until the end
 of the ties are even...


And stitch a small zigzag back and forth
 a few times over the center of 
the tie inside the casing 
so that it won't come out!


The tie is long enough to tie a cute bow:)


Your bag is ready for travel...
or gift giving:)
I think I'll make a few of these 
for
 my mom for Mother's Day 
and fill 
them with something fun!


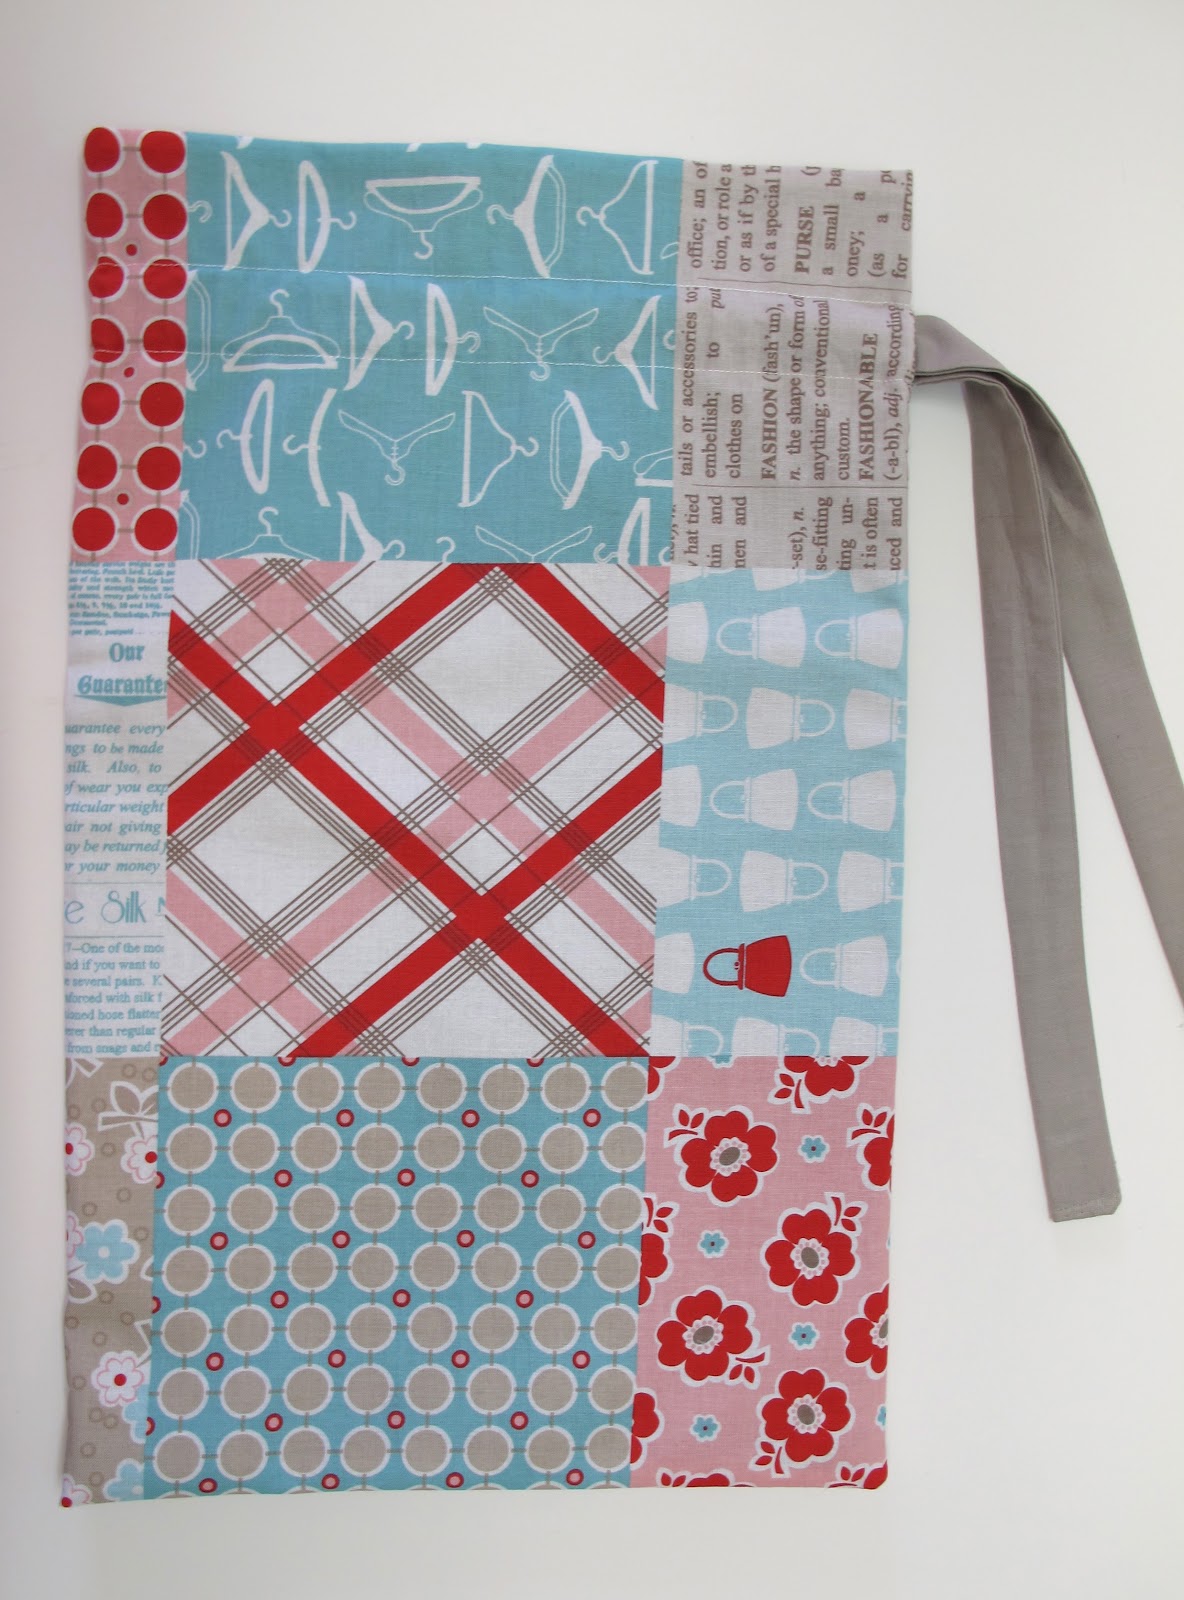
I wanted to show you one of the bags
 that I made using my fabric that 
looks like it's already been pieced...
but it wasn't...it just comes off the bolt 
that way!...that's how I designed it:)


I have made several of these bags already and I have even more cut out and ready to go.
I hope you all enjoyed my latest tutorial...
and until next time...
have a quilty kind of day!!!
xx
Lori


Related Posts with Thumbnails