Well hi there!
We are EXACTLY one week away
from the start of the
Let's Bake Sew Along
using my latest collection
Bake Sale 2!
For those of you who
have your kits...YaY!
I hope you've been having fun
playing with all of the prints...
And getting them all cut and
into your labeled block bags:)
If you missed last weeks post about
how to join, about the kits,
about the supplies needed and cutting...
and check it out!
Today I want to talk to you about
cutting and marking
a few pieces of the
There are a few pieces in
some of the blocks
that we will be marking directly
onto the Sew-In Interfacing
instead of using the
These shapes are various sizes
of rectangles and are easily marked
using a pencil and a ruler:)
The first rectangle is for the
Rolling Pin block.
Mark a 1 1/2" x 8" rectangle
onto the interfacing and
cut a 1/4" seam allowance around it:)
Next is for the Cocoa block...
and the Milk Bottle block.
Trace a 2" x 3" rectangle
and a
2 1/4" x 5 1/4" rectangle.
Cut a 1/4" seam allowance
around both.
For the Cannisters block trace a
3" x 4 1/4"
and a
3 1/2" x 5"
rectangle.
Cut a 1/4" seam allowance
around both.
For the Layer Cake block
trace a 1 1/2" x 4"
and a
2" x 5 1/2"
rectangle.
Cut a 1/4" seam allowance
around both.
All of these rectangles
of course have a
coordinating fabric piece
to go with them.
The yellow eggbeater print
that goes with the larger rectangle
should have a 2 1/2" x 6" piece cut.
If you haven't cut that piece...
do it now and add it to your
Layer Cake block bag:)
The last rectangle to trace
onto the interfacing is a
5" x 7"
for the dishtowel hanging
over the oven door
in the Stove block.
I had you cut the red gingham
for that 6" x 8"
just to give you a
little more room
to center the gingham
exactly where you want it
because the gingham on both sides
and also along the bottom
will need to be centered when sewing
because of the Chicken Scratch
stitching we will be doing there.
*FYI*
If you participated in my
Sweetie Pie Sew Along
you will remember this
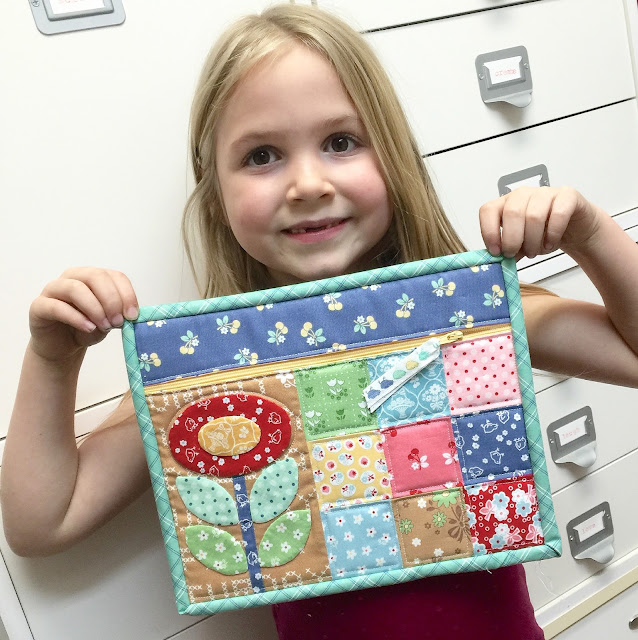
Quilty Zip Pocket
that I made to hold my
Fruit Salad Sew Simple Shapes:)
I just wanted to let you know
that the Let's Bake ones
fit inside perfectly as well...
just in case you want to
whip another one up!
for the tutorial:)
I also did a tutorial for my
Quilty Zip Bag
using my Calico Day's Fabric and
BLOOM Sew Simple Shapes...
and is modeled by my
cutie pie grand daughter Sophie:)
This one will work
just as well to hold the
Let's Bake Sew Simple Shapes.
for the tutorial:)
I'll meet you here next week
for the kick off...
I'm sew excited!!
xx
Lori


1 comment:
So beautiful pouch and the model is adorable.
Post a Comment