

Good morning my row along peeps!
Have you been waiting for row four?
Well here it is and I hope you like it because I had so much fun designing it and then picking the fabric and then stitching it up.
I love every step of making a quilt...
don't you?

It's apple picking season around here so I thought it was time for a cute row of apples:)...
and a few apple cores too!
(after all...you have to eat a few while you pick!)

It's time to "pick" a few apples from your stash!
I cut five apples in different shades of red...
Along with one Granny Smith (green)...
One Golden Delicious (yellow)...
and one Pink Lady (my favorite kind of apple)

My background fabric...
Okay...
I'm all cut...let's make some apples!

Easy Corner Triangles -
You all know the drill by now...
Place a square onto each corner of the apples and stitch from corner to corner.
Mark each of them first...or use the Angler 2.
Chain stitch for quick results:)

Trim off excess...leaving an approximate 1/4"seam allowance...

And press seam allowance towards the triangles.
Each apple should still measure the same...
but have a triangle in each corner:)

Set aside and move onto the leaves.

Trim...

Press and set aside.
Each leaf should
have 2 easy corner triangles.
Now onto stems!

Stitch the brown strip onto the top of the background strip and press the seam allowance towards the brown.

Measure in from the edge of your ruler...making sure all lines are straight...and cut.

Continue cutting...
each time checking to make sure all seam lines are straight with the lines on the ruler.
(you will have some fabric leftover)

Sew a leaf onto the left side of each stem as pictured.
Press the seam allowance towards the stem.

Decide which leaf goes with which apple...

And stitch them on....press seam allowance towards the apple.
YAY!
Your apple blocks are complete:)
GOOD JOB!

Now for the apple core blocks.

Stitch a square from corner to corner
onto each end of the apple core top and bottom...

and also cores.
Trim and press the seam allowance towards the triangle
on the apple pieces only...

I decided after I had pressed the seam allowance towards the triangle on the core pieces...that the block would lay flat and seams would line up better if I re-pressed the seam allowance towards the core fabrics.

Sew the remaining white rectangles to each side of the remaining stem segments.
Press the seam allowance towards the stem.

Here you can see how the block will go together.
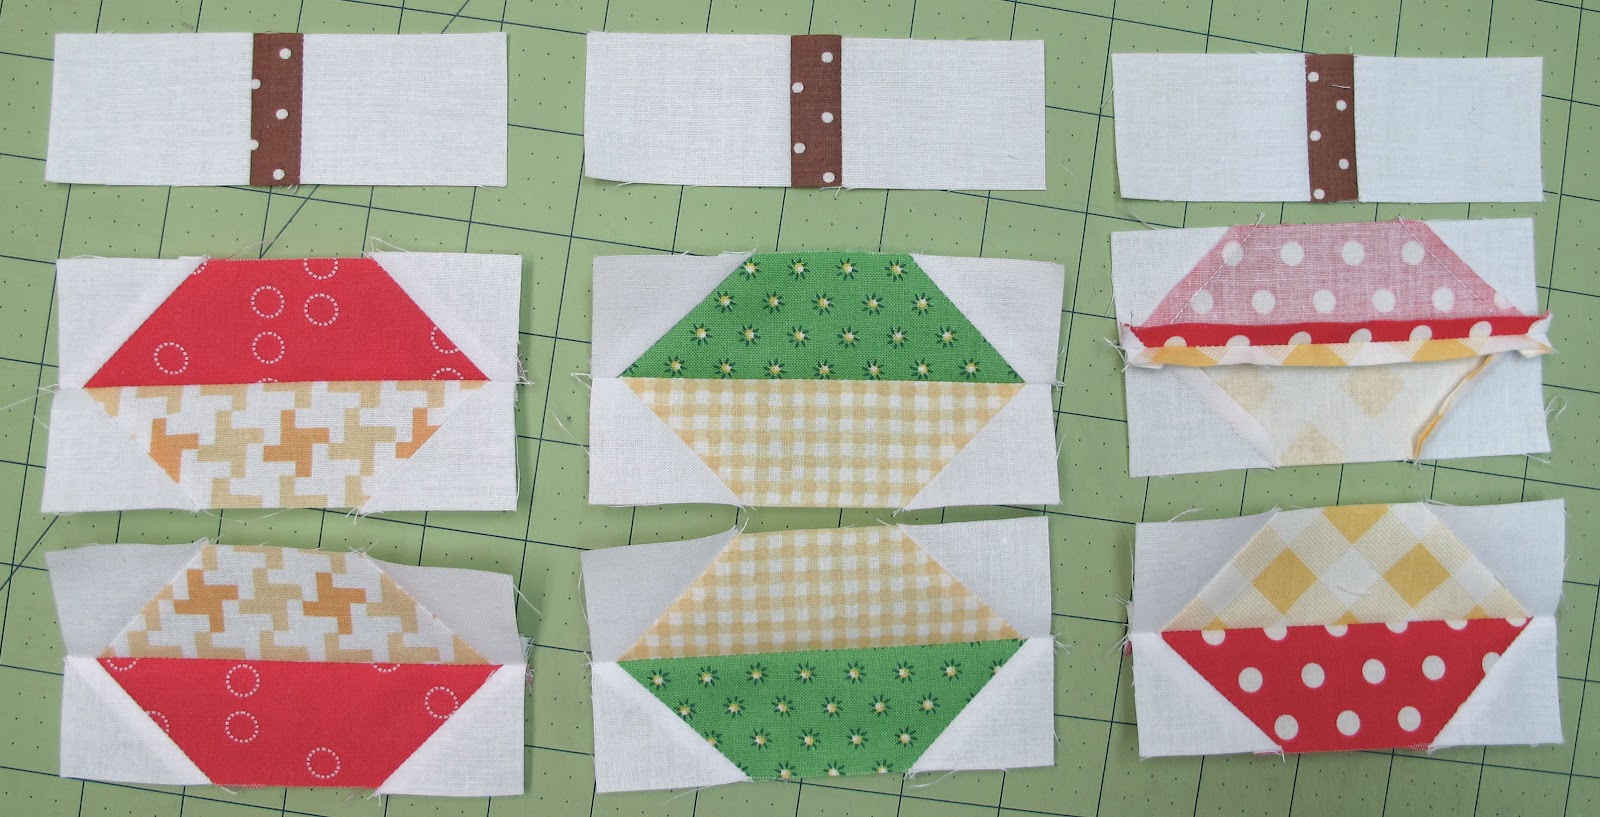
Start by joining the apple tops to a core top...and the apple bottoms to a core bottom... like this.

Press these seam allowances OPEN for less bulk.

Now join the cores together in the middle.
Press this seam open as well.
Now go ahead and stitch the stems to the apple cores.

Press this seam allowance towards the apple top.

YAY!!
3 cute apple core blocks complete.

Apple cuteness:-)

Time to sew them into a row!

As you stitch the sashing in between the blocks...make sure that you don't cut off the points on each side of the apple core blocks.

Add your background strips
onto each side and trim up!
Cut fabric strips just like
I explained in Row 2.

And now we have 4 rows!!!
Again...DO NOT stitch the rows together until all of the rows are complete.
We are not sewing them in the order that they will go in the quilt:)
Tell me what you think about todays lesson...do you like row 4?
I hoped that you would the entire time that I was designing it...and I'd love to know:)
Don't forget to post your finished rows onto the
they are all so inspiring for me as well as others in the row along.
Have an apple pickin' quilty kind of day:)
xx
Lori
***edit July 2013
The pattern and instructions for the apples
and the other rows in my
BIMB Row Along Quilt are in my new book
"Quilty Fun"
to reserve a copy today


