"CHERRY HOUSE BLOCK"
Welcome to week five of the
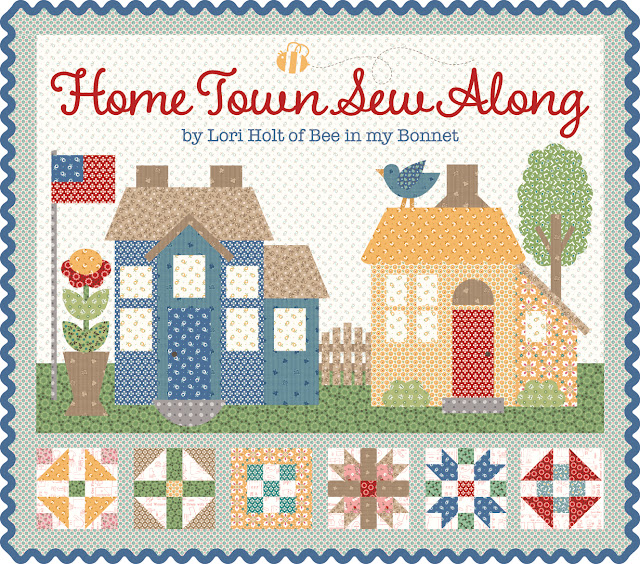
"HOME TOWN"
Sew Along!
Do you have all of your "tools"
together for building a house today?
Together we are making the
Home Town Quilt
75" x 84"
The quilt is made with my fabric
collection called Home Town:)
I hope that you all have all
received your
fabric kits by now...
and that we are all ready to begin!!
If you still need one ...
just do a quick google search for
"Home Town Quilt Kit"
to find shops who still have some left.
We are also using the
Home Town
Sew Simple Shapes
I have already posted the
post which details all of the supplies
for the sew along and how it works.
I have also given the link there
for the free PDF Download
of the Sew Along Guide
to download the sew along guide
if you have not downloaded yet.
As per usual for the first block in my
Sew Simple Shape Sew Alongs
that FIRST tutorial is a video.
Because I now have my own
I have posted the
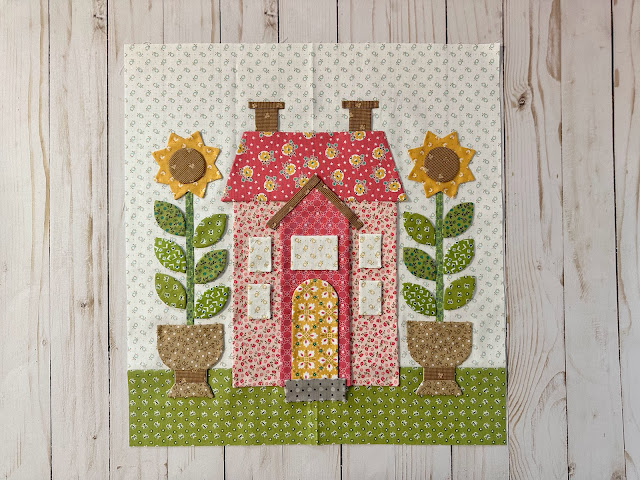
Flag House Block
Tutorial there.
to visit my channel and watch the
tutorial and I hope that you love it!
Pretty please leave me a comment
over there and let me know:)
If you like what you see
and my other videos there...
click on subscribe and click on the bell
to be notified whenever
I post another tutorial:)
for the tutorial!
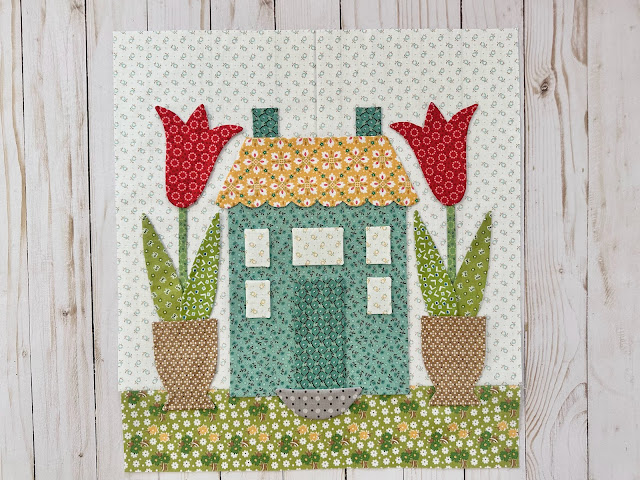
Tulip House Block
for that tutorial
Today we are building the
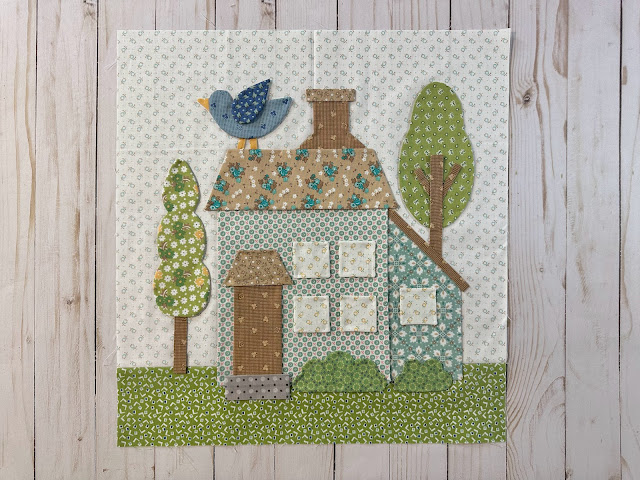
Cherry House!!
Here is a list of the
Home Town
Sew Simple Shapes
needed for this block:
1 - Q-1
1 - Q-4
1 - Q-7
1 - Q-11 (short version)
1 - Q-12
5 - Q-15
1 - Q-18
2 - Q-22
2 - Q-33
2 - Q-28
1 - Q-63
You will need prepared
1/4" cut straight bias strips:
*cherry stems 1 - 1 1/4" long
after both ends pressed under
1 - 2" and 1 - 1 1/2" long
*side tree branches 2 - 1 3/4" long
You will need prepared
3/8" straight bias strips:
*Roof on side addition measuring 5" long
after pressing one end under.
*5 - fence pickets
1 - 3"
2 - 2 3/4"
2 - 2 1/2"
long after you've pressed both ends
under on all five pickets.
2 - 4" long for fence rails
You will also need a prepared
1/2" straight bias strip for the
tree trunk 4 3/4" long
after pressing one end under.
Lastly you will need a 1" prepared
straight bias strip for the front porch.
It should measure 3" long
after both ends are pressed under.
Cut your background
14" x 16"
and sew it to the 3 1/2" x 16" grass
pressing the seams open.
Now press in half for
pinning and glue basting your block:)
*TAKE NOTE*
Trace the Q-4 SSShape
for the side addition in reverse.
Time to sew the shapes!!
After trimming and before turning
you will need to clip the cleavage
in both of the shrubs...
the roof...the tree and chimney as well.
Turned...shaped and pressed.
It's at this point that I realized
that I made a mistake:(
*My Whoopsie*
The Q-11 SSShape for the roof
is the short version just like
we did in the Tulip House...
but for some reason
I did not trace mine short version
and sewed and pressed it long version.
So this is how I fixed it!
I turned it back to
wrong side out and pressed.
Then I went ahead and traced the line
onto the interfacing just like
I would have for the short version...
And then sewed on my newly
traced line and trimmed the excess.
Then turned it right side out again...
re-shaped and pressed:)
Just like it never happened! lol
Okay...now that the roof is fixed
we can build our house:)
I just couldn't wait
so I started with the cherries.
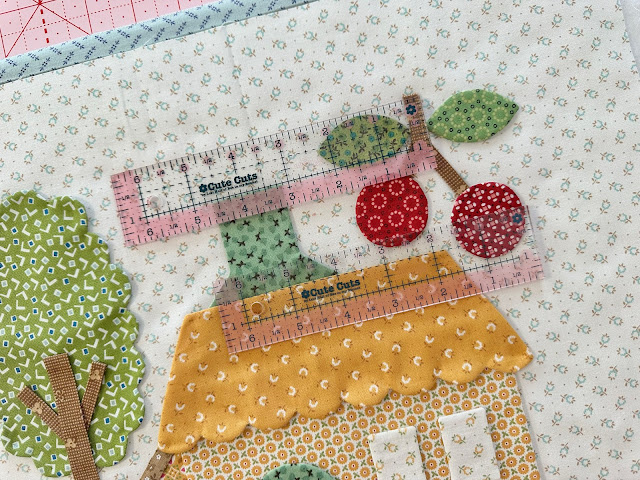
Here is a close up of what I did...
Both cherries together measure
about 3 1/4" wide and the
top of the stem
to the bottom of cherries
measures 3 1/2" tall.
Back view:)
Of course the leaves will go on later.
Next thing I did was glue the
tree trunk to the tree measuring
2 1/2" up from tree bottom.
I tucked in the side branches
how I thought they looked good.
I also glued the roof
onto the side addition and
I also glued the side addition window
3" up from bottom and 1 1/2"
from it's left side.
Then I glued the house and roof together.
I also glued the
chimney to the roof
.
The chimney is 2" up from the roof.
Together from the top of chimney
to bottom of house it's 11 1/2" tall
(to the bottom of the
front porch makes it 12 1/4" tall)
I glued the door and front porch
together and glued it 1" in
from the left side of the house.
I glued the half window
centered 1/4" above the door.
I placed the four house windows 3" up
from the house bottom and 3/4"
in from the right sides of
the house and the door.
The windows are 1/4" apart
from top and bottom rows.
Next place the house onto your background.
This house is NOT in the center
of the block so use your center pressed
crease to line up the right side
of the door with that center crease
as in photo.
Place the bottom
of house 1 1/4" into the grass.
Use your ruler to keep it all straight.
Let's build the gate to the backyard:)
Place the bottom rail 1/4" up
from the grass and then the top rail
1/2" above the bottom rail.
The left ends tuck under the house
and the right ends will be
trimmed up and sewn into seam allowance
when the blocks go together.
Now glue the two shortest pickets
to the outsides.
They should measure 2 1/2" wide together
and the left picket is a little under
1/4" away from the side of the house.
Now add the center picket.
It measures 3/4" away
from the others on both sides.
Lastly add the remaining two in-between.
Use your ruler at the bottom
to keep them lined up.
the outside edges of the house
and slightly down from the house bottom.
I placed the cherries so that
the top of stem measures
1" taller than the chimney top
and the outside of bottom cherry
measures 1 3/4" away from top
corner of the roof.
Okay!!!
It's time to Sue Glue everything down
and then check your measurements
using the 14 1/2" Trim-It Ruler.
YaY!
My cherry House is built...
and
it's ready for applique!!!!
Afterwards I'll press from the back and
trim down to 14 1/2" square:)
I just had to include
a house with cherries in my quilt!
We had many cherry trees on our farm
(and they are still there)
The pink blossoms in spring
are gorgeous and smell like heaven.
Fresh cherries are my favorite fruit!
My dad has always taken very good care
of his fruit trees and
we always had a good crop:)
We picked the cherries using very
tall ladders and bottled many jars and
made them into jams and pies...
and yes cherry is my favorite pie:)
Thanks so much for sewing with me again
today and for joining me
for the fifth week of the
Home Town Sew Along
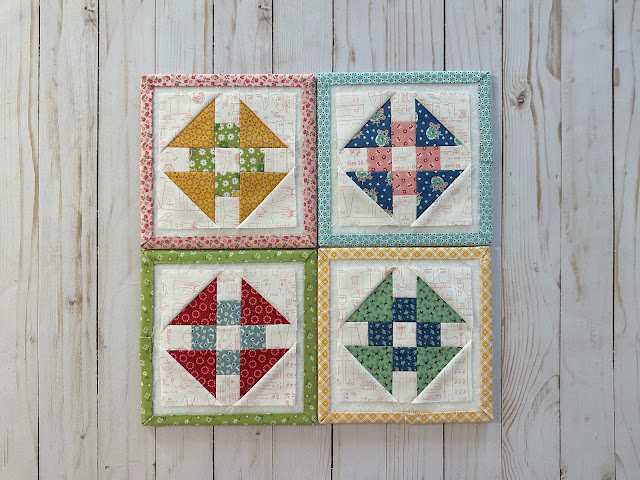
I did the seventh tutorial
for the 5" Home Town Pieced Blocks
on my YouTube channel as per usual.
These are the four blocks made with the
called for prints in the guide
that you will need to make for our quilt.
***NOTE***
The easy corner triangles are
cut 2 1/2" x 2 1/2" square
and I show you when to sew them on
in my video tutorial.
It's a fun and easy method that
I always use to make a churndash:)
And of course I also did another
10" bonus block as well
for my table runner project:)
I will continue the tutorials twice
weekly during the sew alongs that we
can be making our pieced blocks
in-between the applique blocks!
If you are subscribed to my channel
and have hit the notification bell
you will be notified immediately
as soon as each video tutorial is
published and on my way from my
sewing room to yours!!
I'll meet you right back here
on my blog Monday for the
Tea House Block tutorial...
xx
Lori










No comments:
Post a Comment