

"TEA HOUSE BLOCK"

Welcome to week six of the
"HOME TOWN"
Sew Along!
Do you have all of your "tools"
together for building a house today?

Together we are making the
Home Town Quilt
75" x 84"

The quilt is made with my fabric
collection called Home Town:)
I hope that you all have all
received your
fabric kits by now...
and that we are all ready to begin!!
If you still need one ...
just do a quick google search for
"Home Town Quilt Kit"
to find shops who still have some left.

We are also using the
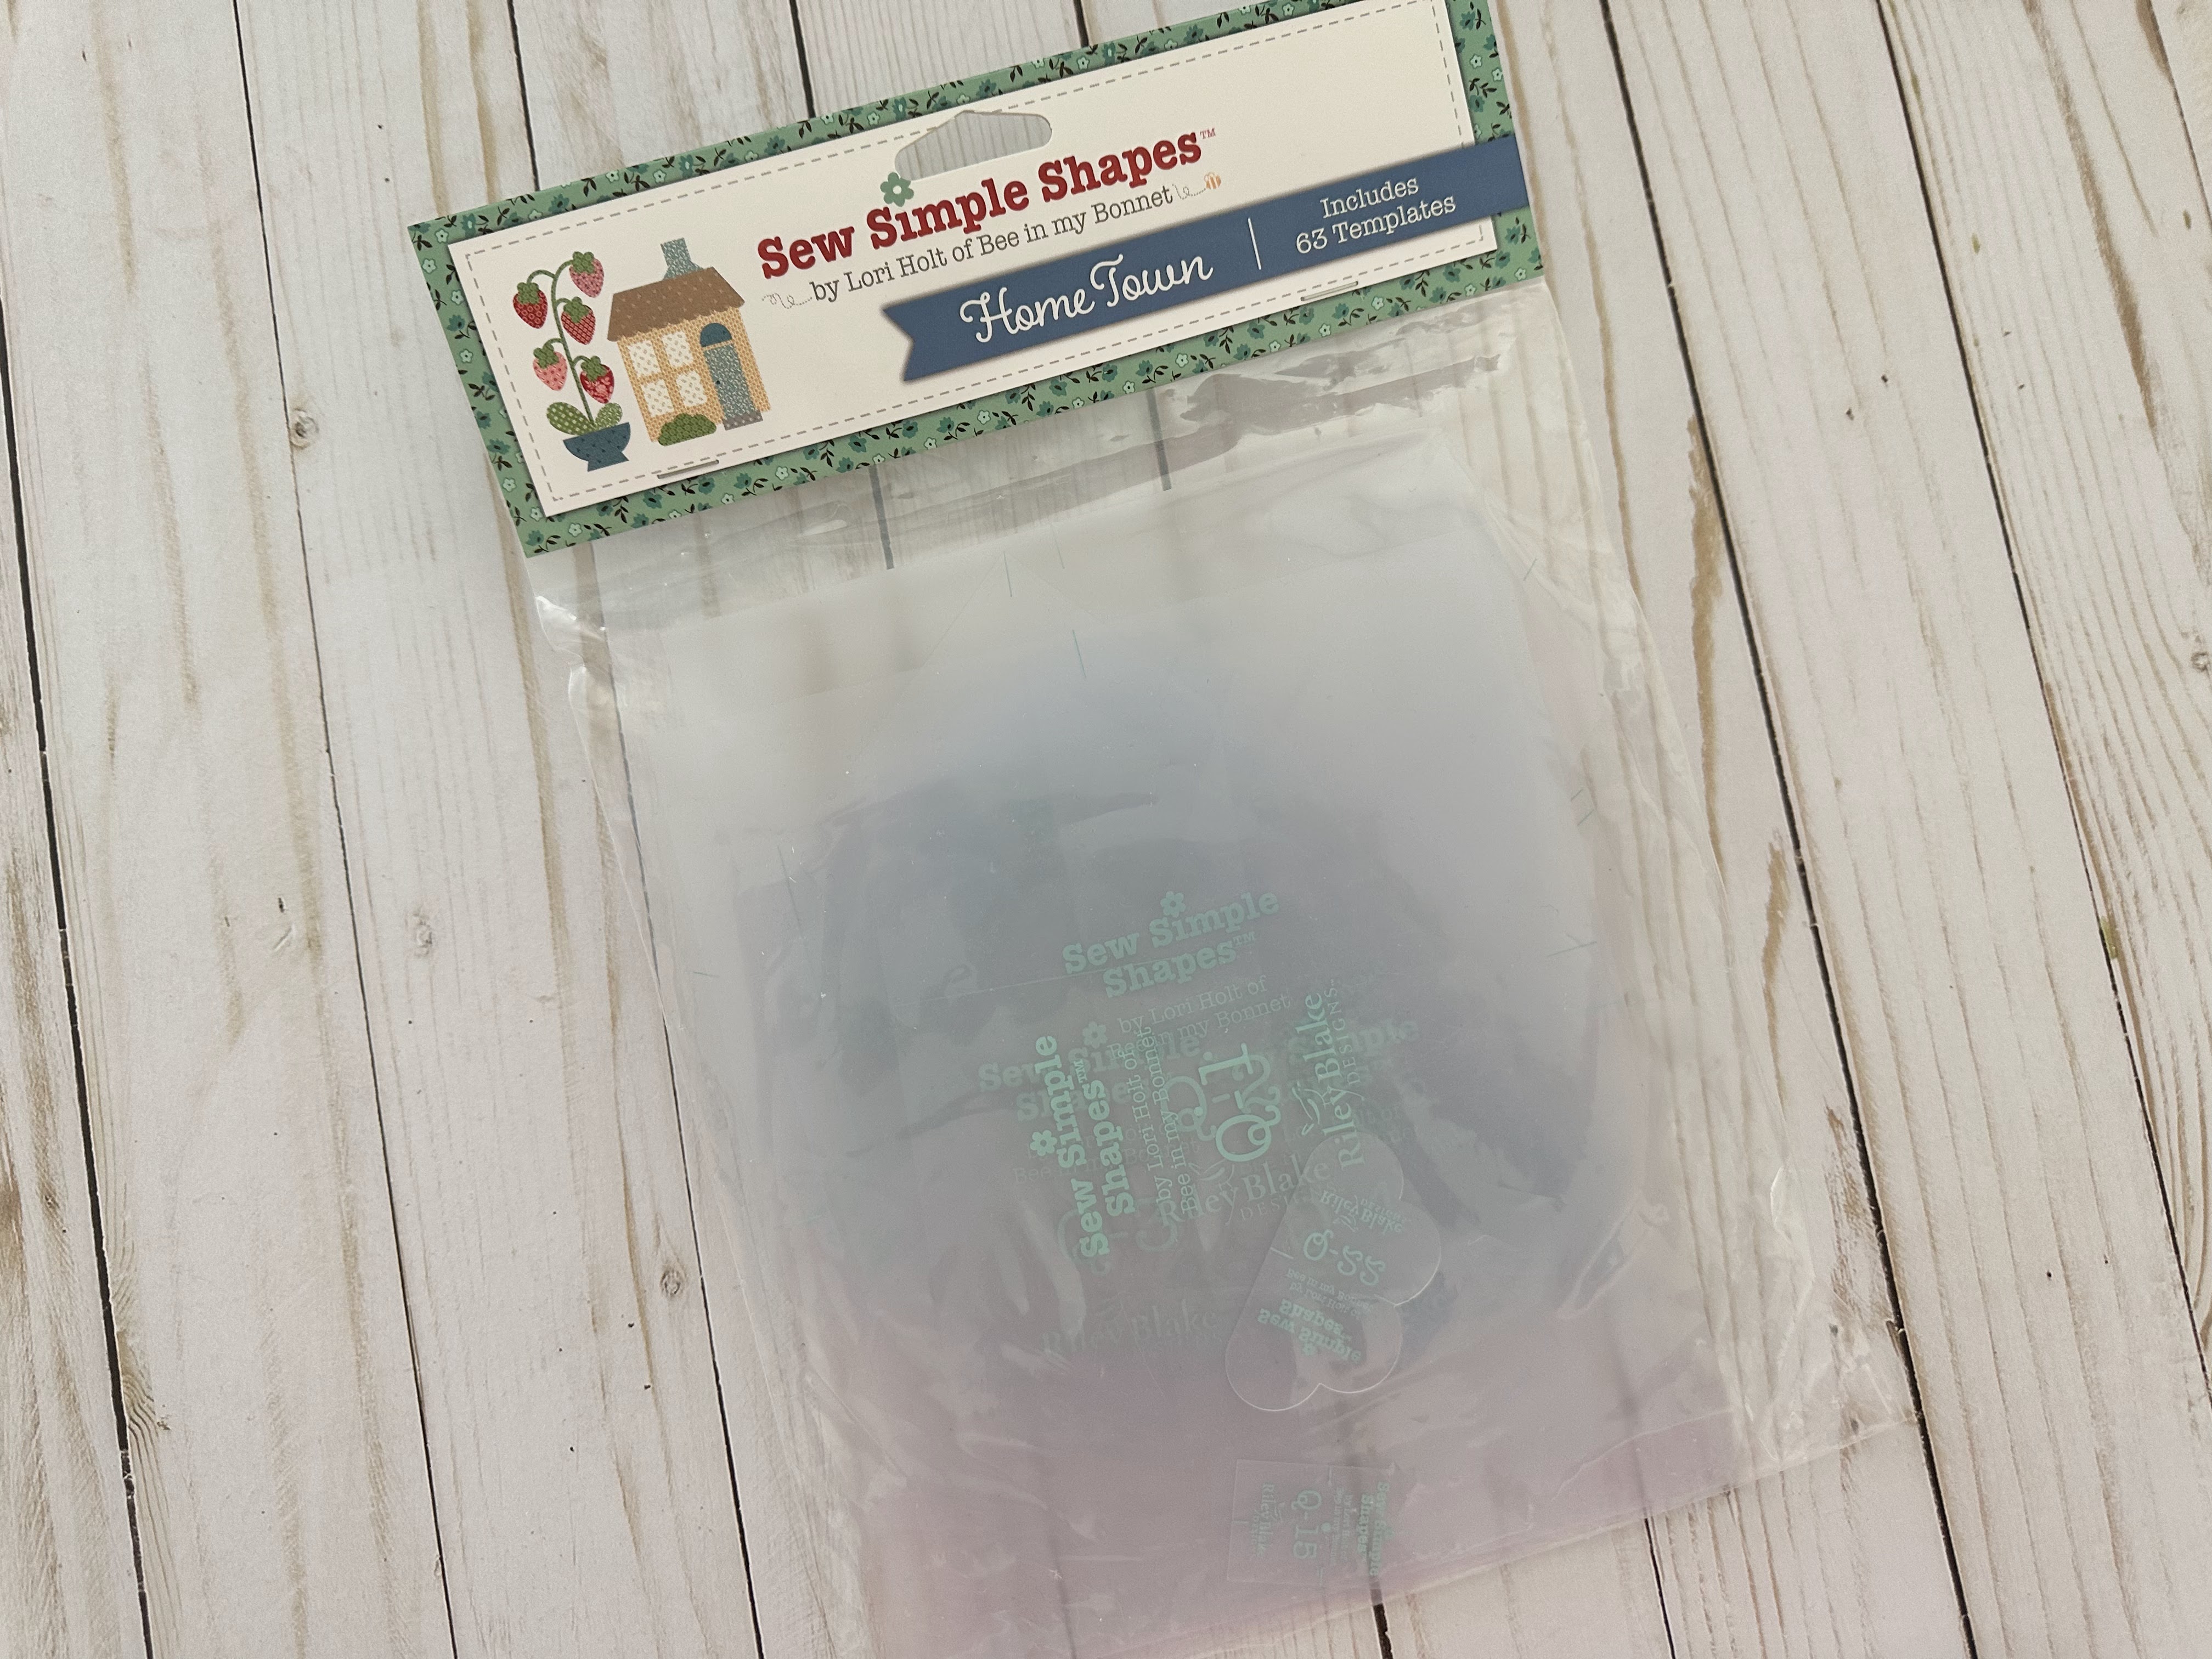
Home Town
Sew Simple Shapes
I have already posted the
post which details all of the supplies
for the sew along and how it works.
I have also given the link there
for the free PDF Download
of the Sew Along Guide
to download the sew along guide
if you have not downloaded yet.

As per usual for the first block in my
Sew Simple Shape Sew Alongs
that FIRST tutorial is a video.
Because I now have my own
I have posted the
Flag House Block
Tutorial there.
to visit my channel and watch the
tutorial and I hope that you love it!
Pretty please leave me a comment
over there and let me know:)
If you like what you see
and my other videos there...
click on subscribe and click on the bell
to be notified whenever
I post another tutorial:)

for the tutorial!


Tulip House Block
for that tutorial


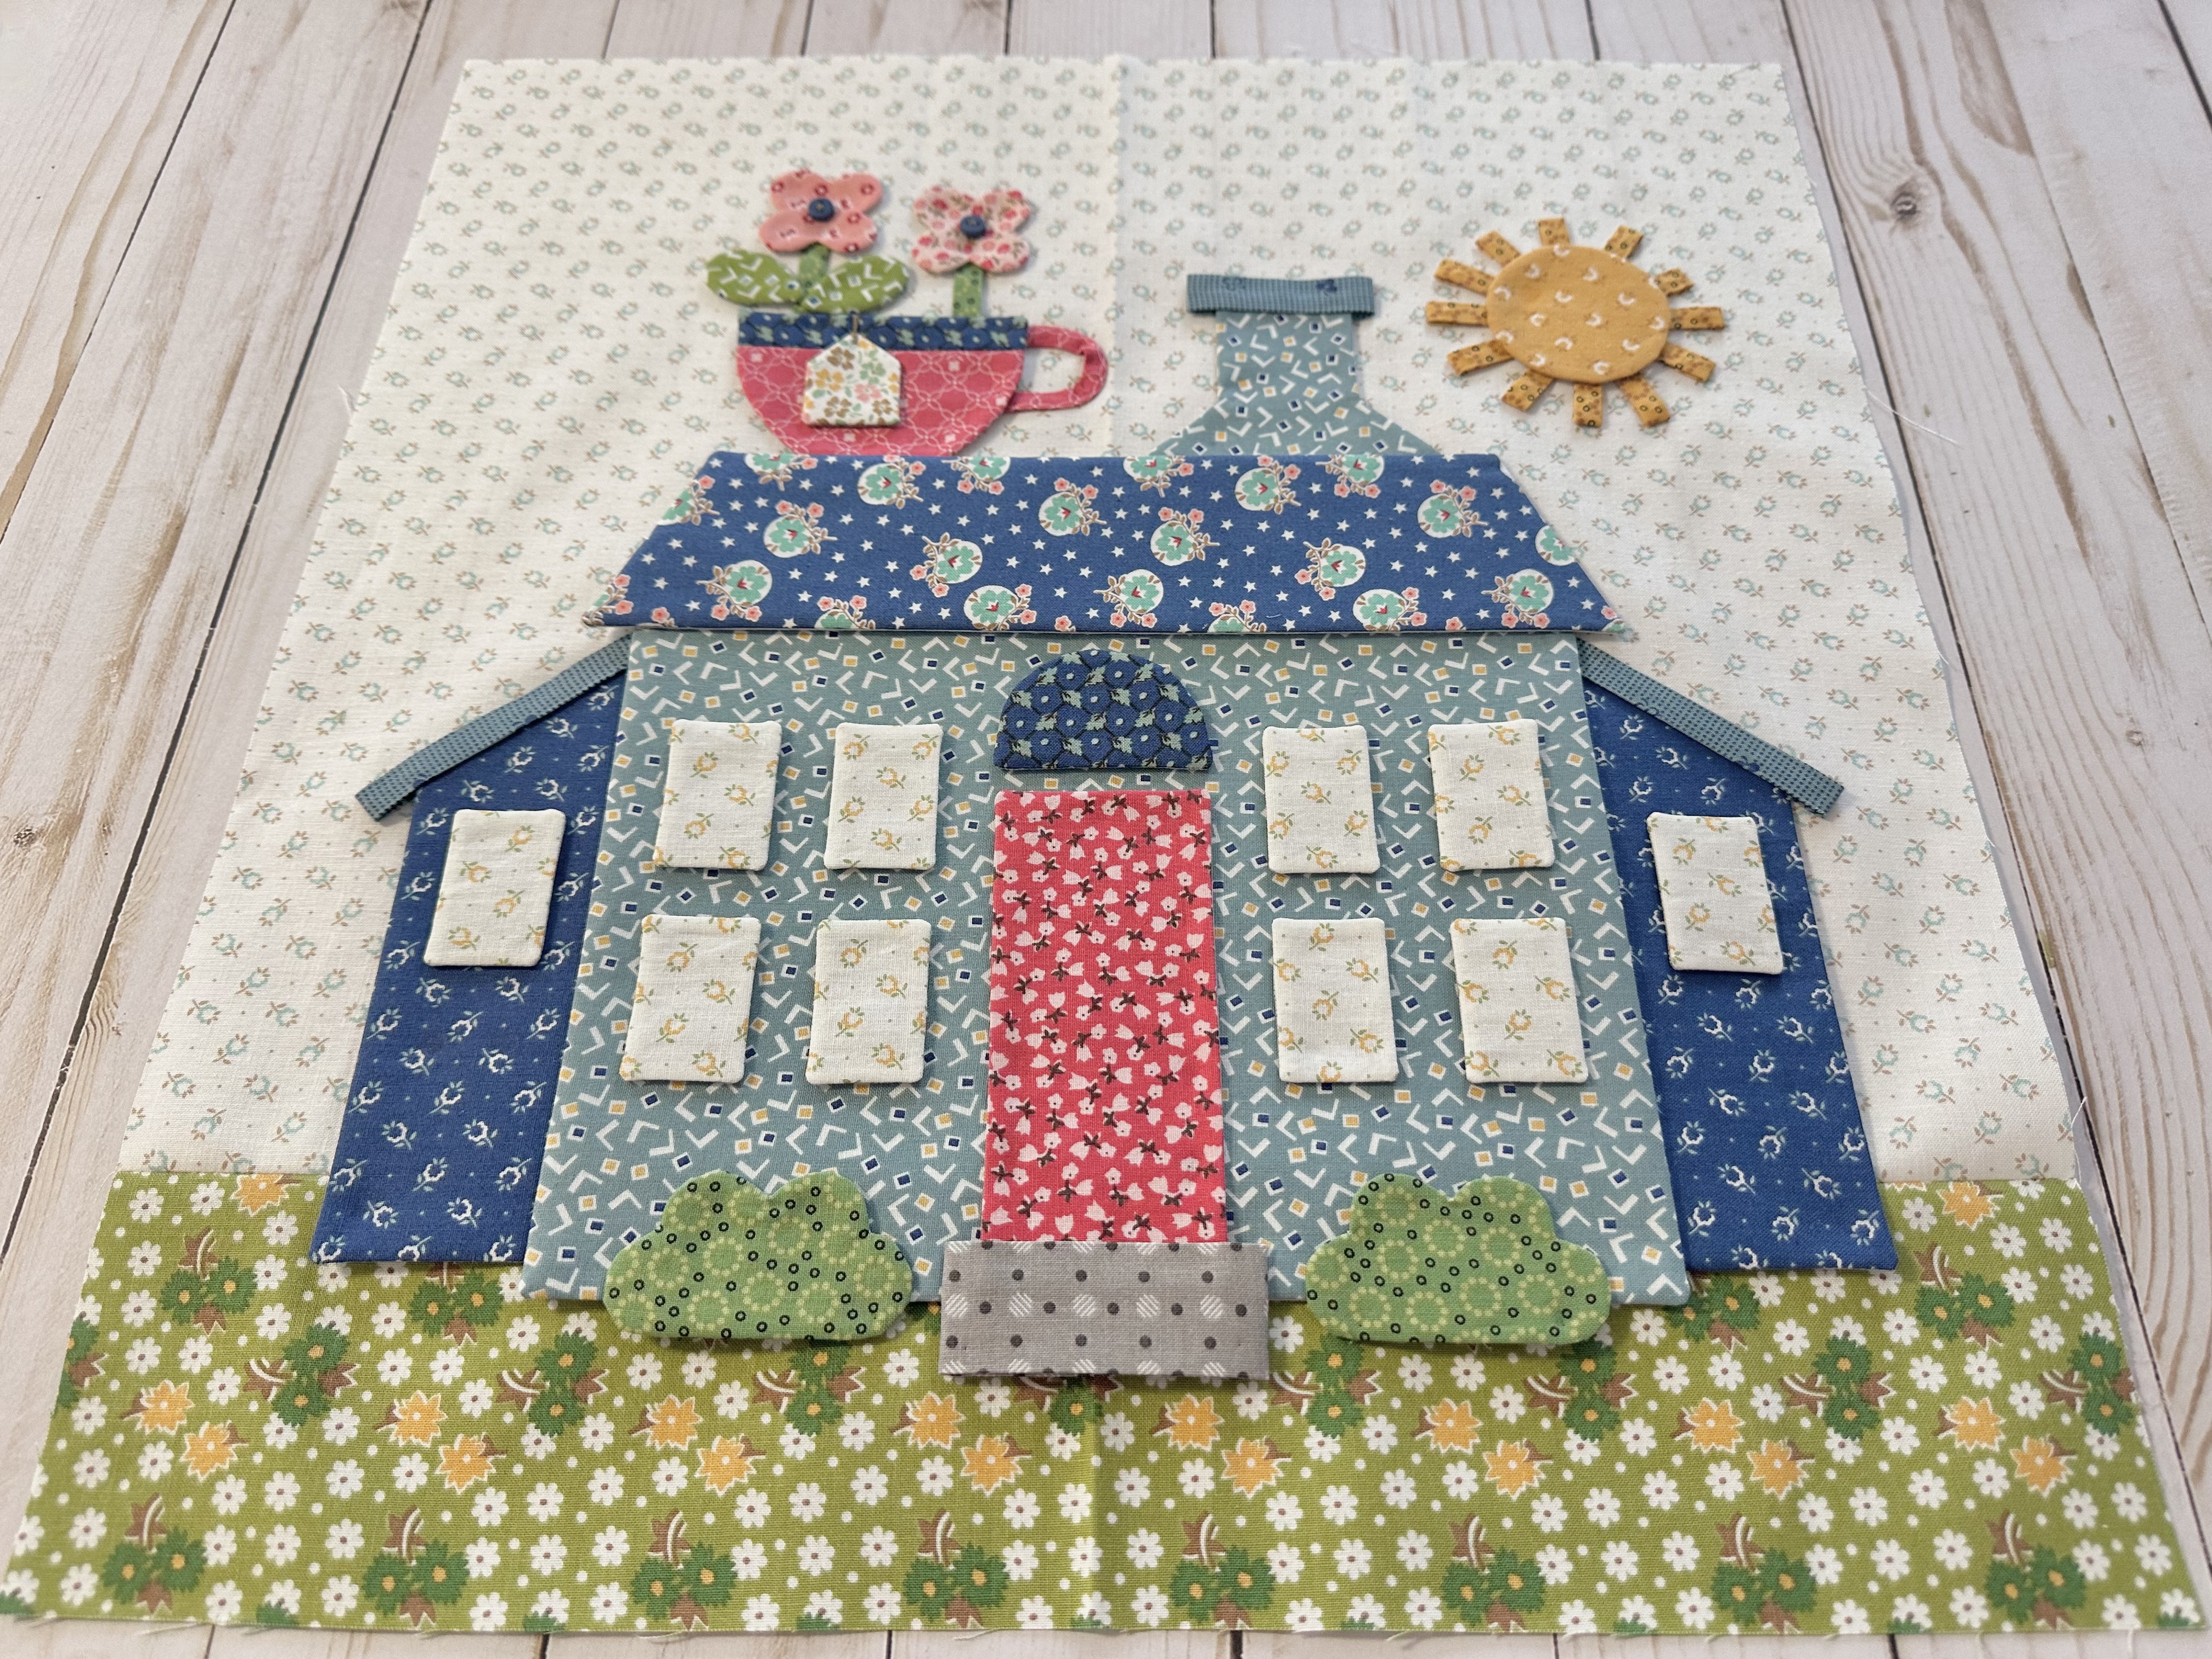
Today we are building the
Tea House!!

Here is a list of the
Home Town
Sew Simple Shapes
needed for this block:
1 - Q-2
2 - Q-5
1 - Q-7
1 - Q-8
1 - Q-12
10 - Q-15
2 - Q-22
2 - Q-25
2 - Q-31
1 - Q-34
1 - Q-48
1 - Q-49
1 - Q-63
You will need prepared
1/4" cut straight bias strips:
*2 -flower stems - 2" long
*12 - sun rays 3/4" long
after pressing one end under
You will also need a prepared
on the bias 1/4" pressed into a
tight curve for the teacup handle.
You will need 2 prepared
3/8" straight bias strips:
*Roof on side additions measuring
3 1/2" long
after pressing one end under.
Lastly you will need a 1" prepared
straight bias strip for the front porch.
It should measure 2 1/2" long
after both ends are pressed under.
Cut your background
14" x 16"
and sew it to the 3 1/2" x 16" grass
pressing the seams open.
Now press in half for
pinning and glue basting your block:)

*TAKE NOTE*
Trace one of the Q-5 SSShape
for the side additions in reverse.

*TAKE ANOTHER NOTE*
When tracing the Q-48 SSShape
for the teacup mark the line that is
on the shape for sewing
these two prints together:)

Time to sew the shapes!!
Press the seam allowances open
when you sew the teacup fabrics
so that the applique will lie flat:)

After trimming and before turning
you will need to clip the cleavage
in both of the shrubs...
both of the flowers and the chimney.


I started by gluing the rays to the sun:)
It's about 3 1/4" x 3 1/4"

Then I assembled and glued the
teacup and the flowers...
leaving the leaves until
all goes onto the background.

I placed the flower stems
1/2" from each side of the teacup.
The tallest flower on
the left is 1" up on the stem
and the other is 3/4" up.
I also sewed the
1/4" Cute Little Buttons
onto the flower centers and embroidered
the string to the teabag:)
I glued the bias strip handle
onto the cup as well.

Back views:)

Next thing I did was the house.
I was able to build this one entirely
before I glued it to my background!
First I glued the house and roof together.
I also glued the
chimney to the roof
and the trim on top of the chimney.
The chimney is 2 1/2" up from the roof.
Together from the top of chimney
to bottom of house it's 11" tall
(to the bottom of the
front porch makes it 11 3/4" tall)
I glued the door and front porch
together and glued it
in the center of the house.
I glued the half window
centered 1/4" above the door.
Let's talk windows!

I placed the bottom row
of windows 1 3/4" up
from the house bottom and
1/2" in from the sides of
the house and the door.
The windows are 1/2" apart
from top and bottom rows.

I glued the side additions to the house
after glueing their roofs on.
Take note that the side additions
are NOT even with the bottom of
the house...they are placed 1/4" up.
The entire width of the
house measures 12 1/4" wide.

The side addition windows are
2 1/2" up from the bottom and
then centered side to side.
I glued the shrubs 5/8" in from
the outside of house corners.

We can place the house onto our background!
This house is directly in the
center of the block so use your center
pressed crease to line up the
house center with that center crease.
Place the bottom
of house additions 3/4" into the grass.
Use your ruler to keep it all straight.

Now place the teacup on the roof:)
Place it so that the left side of cup
is even with the top corner of roof.
Now you can add the leaves!

Last thing to add is the sunshine!!
Place it 1" taller than the
chimney top and 2 3/4" out from
the top right corner of roof.

Okay!!!
It's time to Sue Glue everything down
and then check your measurements
using the 14 1/2" Trim-It Ruler.
YaY!
My Tea House is built...
and
it's ready for applique!!!!

Afterwards I'll press from the back and
trim down to 14 1/2" square:)

I just had to include
a house with tea in my quilt!
Herbal teas were enjoyed in the
afternoons at my grandmas house.
I'm sure you know by now that my grandma
lived just a few houses away from me.
She also collected teacups
and I have loved both tea and teacups
(and teapots) ever since.

Thanks so much for sewing with me again
today and for joining me
for the sixth week of the
Home Town Sew Along

5" Home Town Pieced Blocks
#8 - #16 - #23 - #36


I did the eighth tutorial
for the 5" Home Town Pieced Blocks
on my YouTube channel as per usual.
These are the four blocks made with the
called for prints in the guide
that you will need to make for our quilt.


And of course I also did another
10" bonus block as well
for my table runner project:)
I will continue the tutorials twice
weekly during the sew alongs that we
can be making our pieced blocks
in-between the applique blocks!

If you are subscribed to my channel
and have hit the notification bell
you will be notified immediately
as soon as each video tutorial is
published and on my way from my
sewing room to yours!!
I'll meet you right back here
on my blog Friday for the
Strawberry House Block tutorial...
xx
Lori

No comments:
Post a Comment