Showing posts with label Bee in my Bonnet Row Along. Show all posts

Thursday, March 28, 2013

Polka Dot Stitches Fat Quarter Bundle Winners!!!...


Well I usually say good morning but somehow it 
got away from me before I could get this up and posted:)
So anyhoo...
Good afternoon cute people!


My rotary cutter and me have been busy
 cutting lots of fat quarters of Polka Dot Stitches...
and when I say me...
I mean Kassidy Grace.
After all...
she is my daughter and live in stunt double!


I have been occupied with some secret stuff
(announcement to come later)
and she has been my life saver:)
She has 3 bundles all stacked and cut...


Each tied up with a generous yard of my 
Polka Dot Stitches ribbon.
Did you know that I get to design a ribbon to 
match each of my fabric lines?
Riley Blake is so awesome:)

This weekend I'll be sending
 one of these fabric bundles
 to 
Carol, Kris and Sasha
because they are the winners of my


giveaway.

YaY!!!

I have emailed all 3 winners
 and they have responded and sent me their addy's.
Thanks sew much girls...
and a big
THANK YOU!!!
to all of you for stitching along
 with me and 
sending so much bloggy love my way:)


I loved doing the row along so much and
 I'm equally excited about the
 Saddle Up and
 join me!!!

Have a quilty kind of day...
xx
Lori


Friday, March 22, 2013

The Bee in my Bonnet Row Along - The Big Finish!...


You're invited to my
YaY!!!
my 
is finished 
photo shoot!


I just can't believe that the little
 row along  
that I started last August is over!
As I have said before...
all of the measurements in my row along tutorials will remain on my blog until this summer.
(July 1st)
After that...
I will be making it into a book...
so hurry up and finish!
You have 3 more months!

***(edit)
 Yay!!!
My book is now available for pre-order!
to reserve your copy:)

It's been so fun rowing along with all of you.
A big thank you to everyone who
 joined in the fun and played along with me:)

You have all been so sweet and 
all of you are A+ students!!!


To celebrate the end of the 
I am having a giveaway!

YaY!

I will be giving away 
3 Fat Quarter Bundles of my current collection...
Polka Dot Stitches
Please leave me a comment 
on this post 
and tell me
 what your favorite 
things were/are about the row along.

I will have my stunt double
 Kassidy Grace 
draw 3 names on March 28th
from your comments and 
I will notify the winners by email.
I will announce the winners  
Friday March 29.

I'm looking forward to hearing your thoughts
 about the row along and I really hope
 that you will continue the fun and are playing 
with me too!
xx
Lori


Thursday, March 21, 2013

Preparing Your Quilt Backing and Scrappy Binding Tutorial ...


Good morning...
did you get your borders on???
Good Job:)
Because now it's time to prepare the backing.
This is how I did mine...


First I finished off the edges of my bumblebee label by
 laying it face down on a square of
 white fabric about 1" larger all the way around.


I sewed around the block 1/4" in from the edge...
leaving an opening in the bottom for turning.
Then I trimmed off the excess white even with the
 block edges and turned the block right side out...
 like this.


I pressed the opening edges under 1/4".
You will sew it closed when you stitch it onto the backing.
 Set it aside for now.


Cut the backing to be a
 generous 5" larger  all the way around the quilt...
or in other words...
10 - 12 inches longer and wider
 than the quilt top. 


Place right sides together and sew one long seam down the center.
I don't cut my selvedge off of my backing 
so I use a wider seam allowance for this ...
just enough to go past the selvedge.


Give it a nice pressing.
Now wasn't that easy?
It's all ready except for the label:)


Pin your  label onto the backing wherever you want it.
I pinned mine on the bottom left corner.


I used a ruler when pinning just so that I would pin it straight.
I also pinned it about 10 - 12 inches from the side and the bottom
 leaving plenty of room for the quilter to
 put it on the frame without bothering the label.


I used a whip stitch and sewed it to the quilt back.


 I didn't worry about taking tiny stitches...
just nice and neat and secure.
Remember that it will be quilted also and
 it won't be coming off...
 so don't stress too much over the stitching:)


All ready for quilting!


Press the block...
fold the backing and set it aside until the quilting!


I've already done a tutorial on how to bind a quilt.
and read my tutorial which shows you every step 
of binding a quilt from start to finish.
I'll wait.

Okay...
now I'll show you how to make your scrappy binding!


I used some of the fabrics that I used in my rows and
  2 1/2" strips.


Join them together just like I have showed you before!


The strips are just different fabric
 and shorter than normal:)


When you trim the triangles off...


Put them in a pretty candy dish that you keep in your studio...
 because when your cutie pie granddaughter comes over
this is just the thing she likes to play with while you are sewing:)


Press all of the seams open and then press the strip
 in half with wrong sides together just like I showed you in 


Then to keep it from getting wrinkled and distorted...
wrap it around one of your mini design boards...


And pin it with a cute little bee pin for safe keeping
until your quilt is off of the frames!

My quilt is all quilted...
 bound...
photographed...
 and hanging on my wall:)

Tomorrow I will show it to you
and announce the end of my 
 Bee in my Bonnet Row Along
give away!

See you then...
xx
Lori

***(edit)
YaY!!!
The row along quilt pattern is now in a book!
to reserve your copy.
My book is called Quilty Fun and includes 
new blocks and 10 "spin off" projects
 from the row along!


Wednesday, March 20, 2013

The Bee in my Bonnet Row Along - Outer Borders Tutorial!


Hello.
It's me again:)
You can see here that my 
 top is complete...
and soon yours will be too:)
The row along is over!

***(edit)
YaY!
My book is now ready for pre-order!
The book includes the pattern for the row along quilt
 plus new blocks and 10 "spin off" projects!


Now that your inner borders are finished...
It's time for the final outside border:)

I have showed you about a bajilloion times 
the fabrics that I have chosen for the borders of my quilt!!!


But as I have said...if you want it scappy...
you can easily make it scrappy and it will look something
 like the outside border in my 
Now that you have an idea of what 
the scrappy verses one fabric looks like...
you can decide!
Both will be pieced exactly the same...easy peasy:)


Cut Width of Fabric strips.


From each strip cut squares.


If you are making a scrappy border...
Cut a bunch of different fabric squares:)


Cut your background fabric.


These are the squares for the easy corner triangles.


Now cut strips and join together like you did for the inner borders.

Set them aside for later:)


You will need 4 squares for the corners.
Sew an Easy Corner Triangle onto opposite sides of all four squares.


Trim and press towards the triangles.
Set them aside for later.


Now sew easy corner triangles onto the
 top 2 corners of your remaining squares.
You know the drill...
do I even have to say it?
(okay...trim and press towards the triangles)


Sew them together in a row like this.
Press the seams open:)

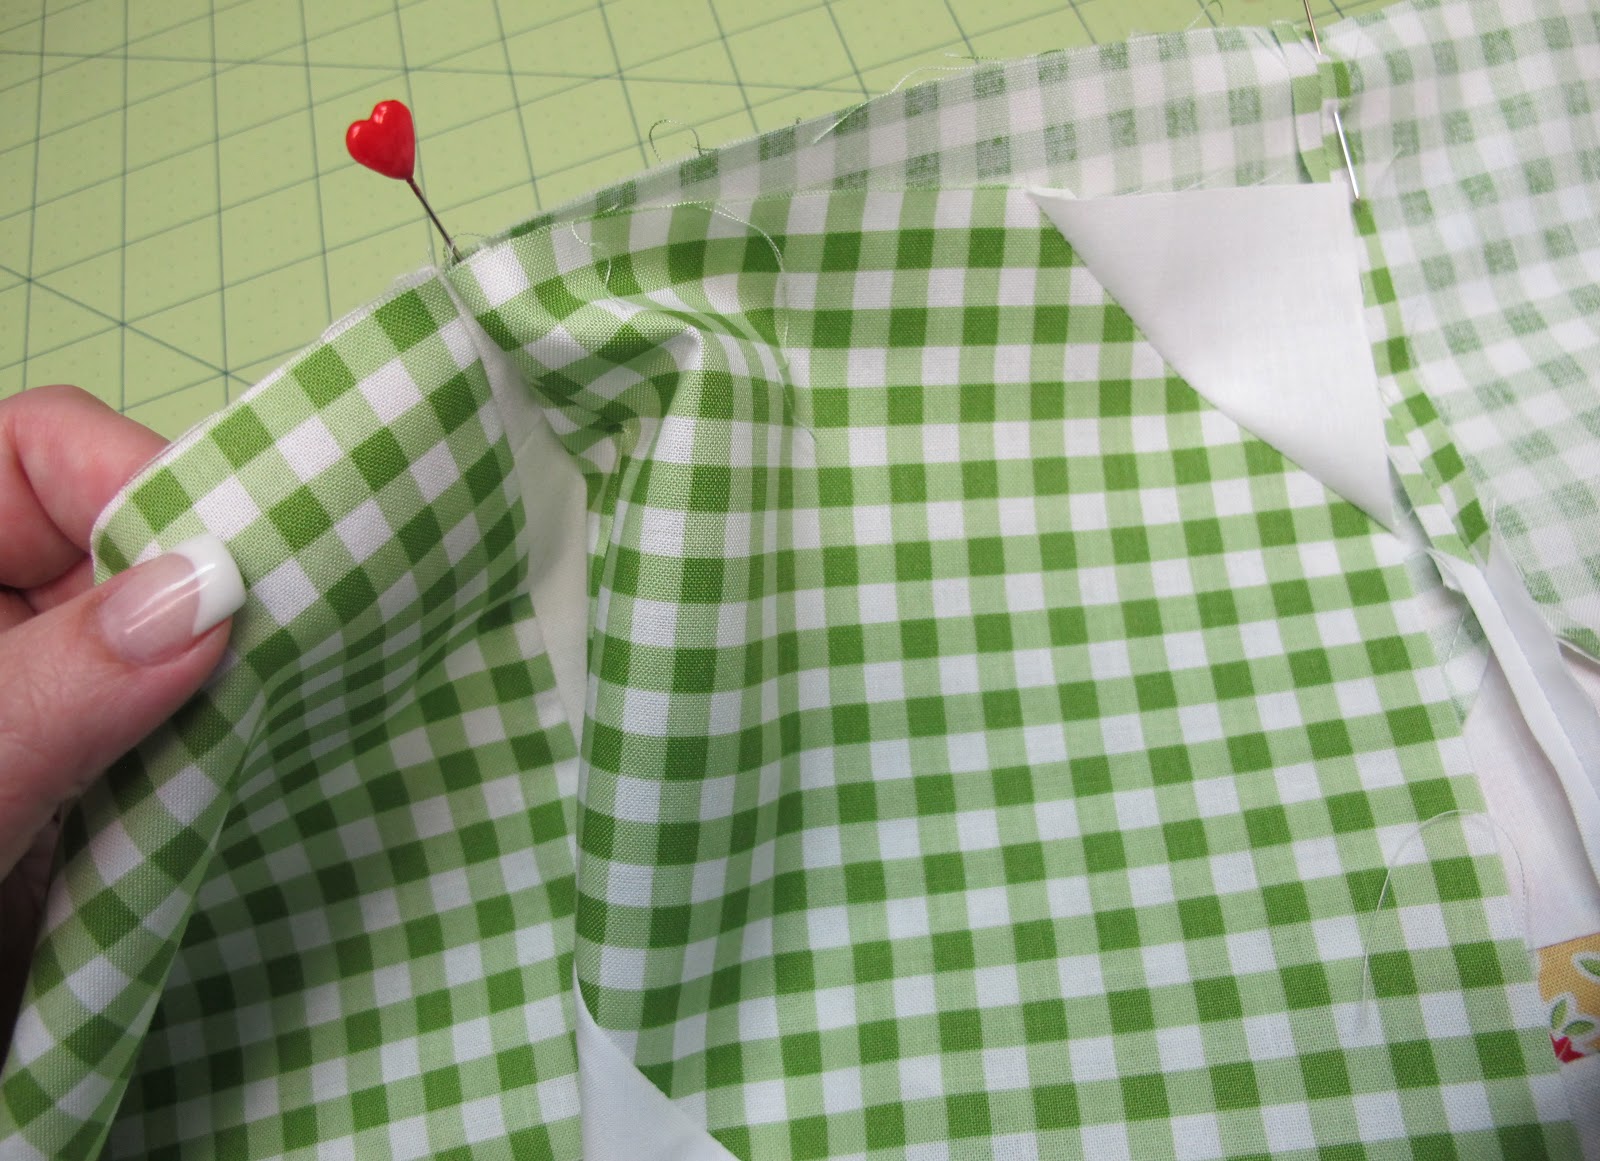
Pinning...
You know the drill for that too...from the inner border tutorial
so I really won't repeat it all again.
Just do it the same way!


Sew to the side of your quilt starting at the top ...


and ending at the bottom like this.
Press the seams towards the outer border.
Repeat for the other side.


Now join squares together in a row and 
then sew a corner piece on each end.


Then sew one of your previously cut  
background strips to the top like this.
Press towards the background.


Now pin and sew it to the top of your quilt.


Make sure to line up and pin the seams right at the intersection
where the top and side of the outside borders meet
 so that you will have a nice crisp corner:)


Press seams towards the outer border and 
repeat process for the bottom of the quilt.


Pin and sew one of the background strips
 to the side of your quilt.
Press seam towards the background.
Repeat for the other side.


Give yourself a big pat on the back because
 you now have your row quilt top completed:)
YaY!!!
I'm so proud of you!!!

Stay tuned...
 because tomorrow I have a 
"preparing the back 
and the
scrappy binding tutorial"

Have a finishing up your row quilt top kind of day...
xx
Lori

Related Posts with Thumbnails