Showing posts with label Bee Backings and Borders Sew Simple Shapes. Show all posts

Monday, July 24, 2023

Bee Vintage Sew Along - Week Three - Vintage Umbrella Block!!


"VINTAGE UMBRELLA BLOCK"


Welcome to week three of the 
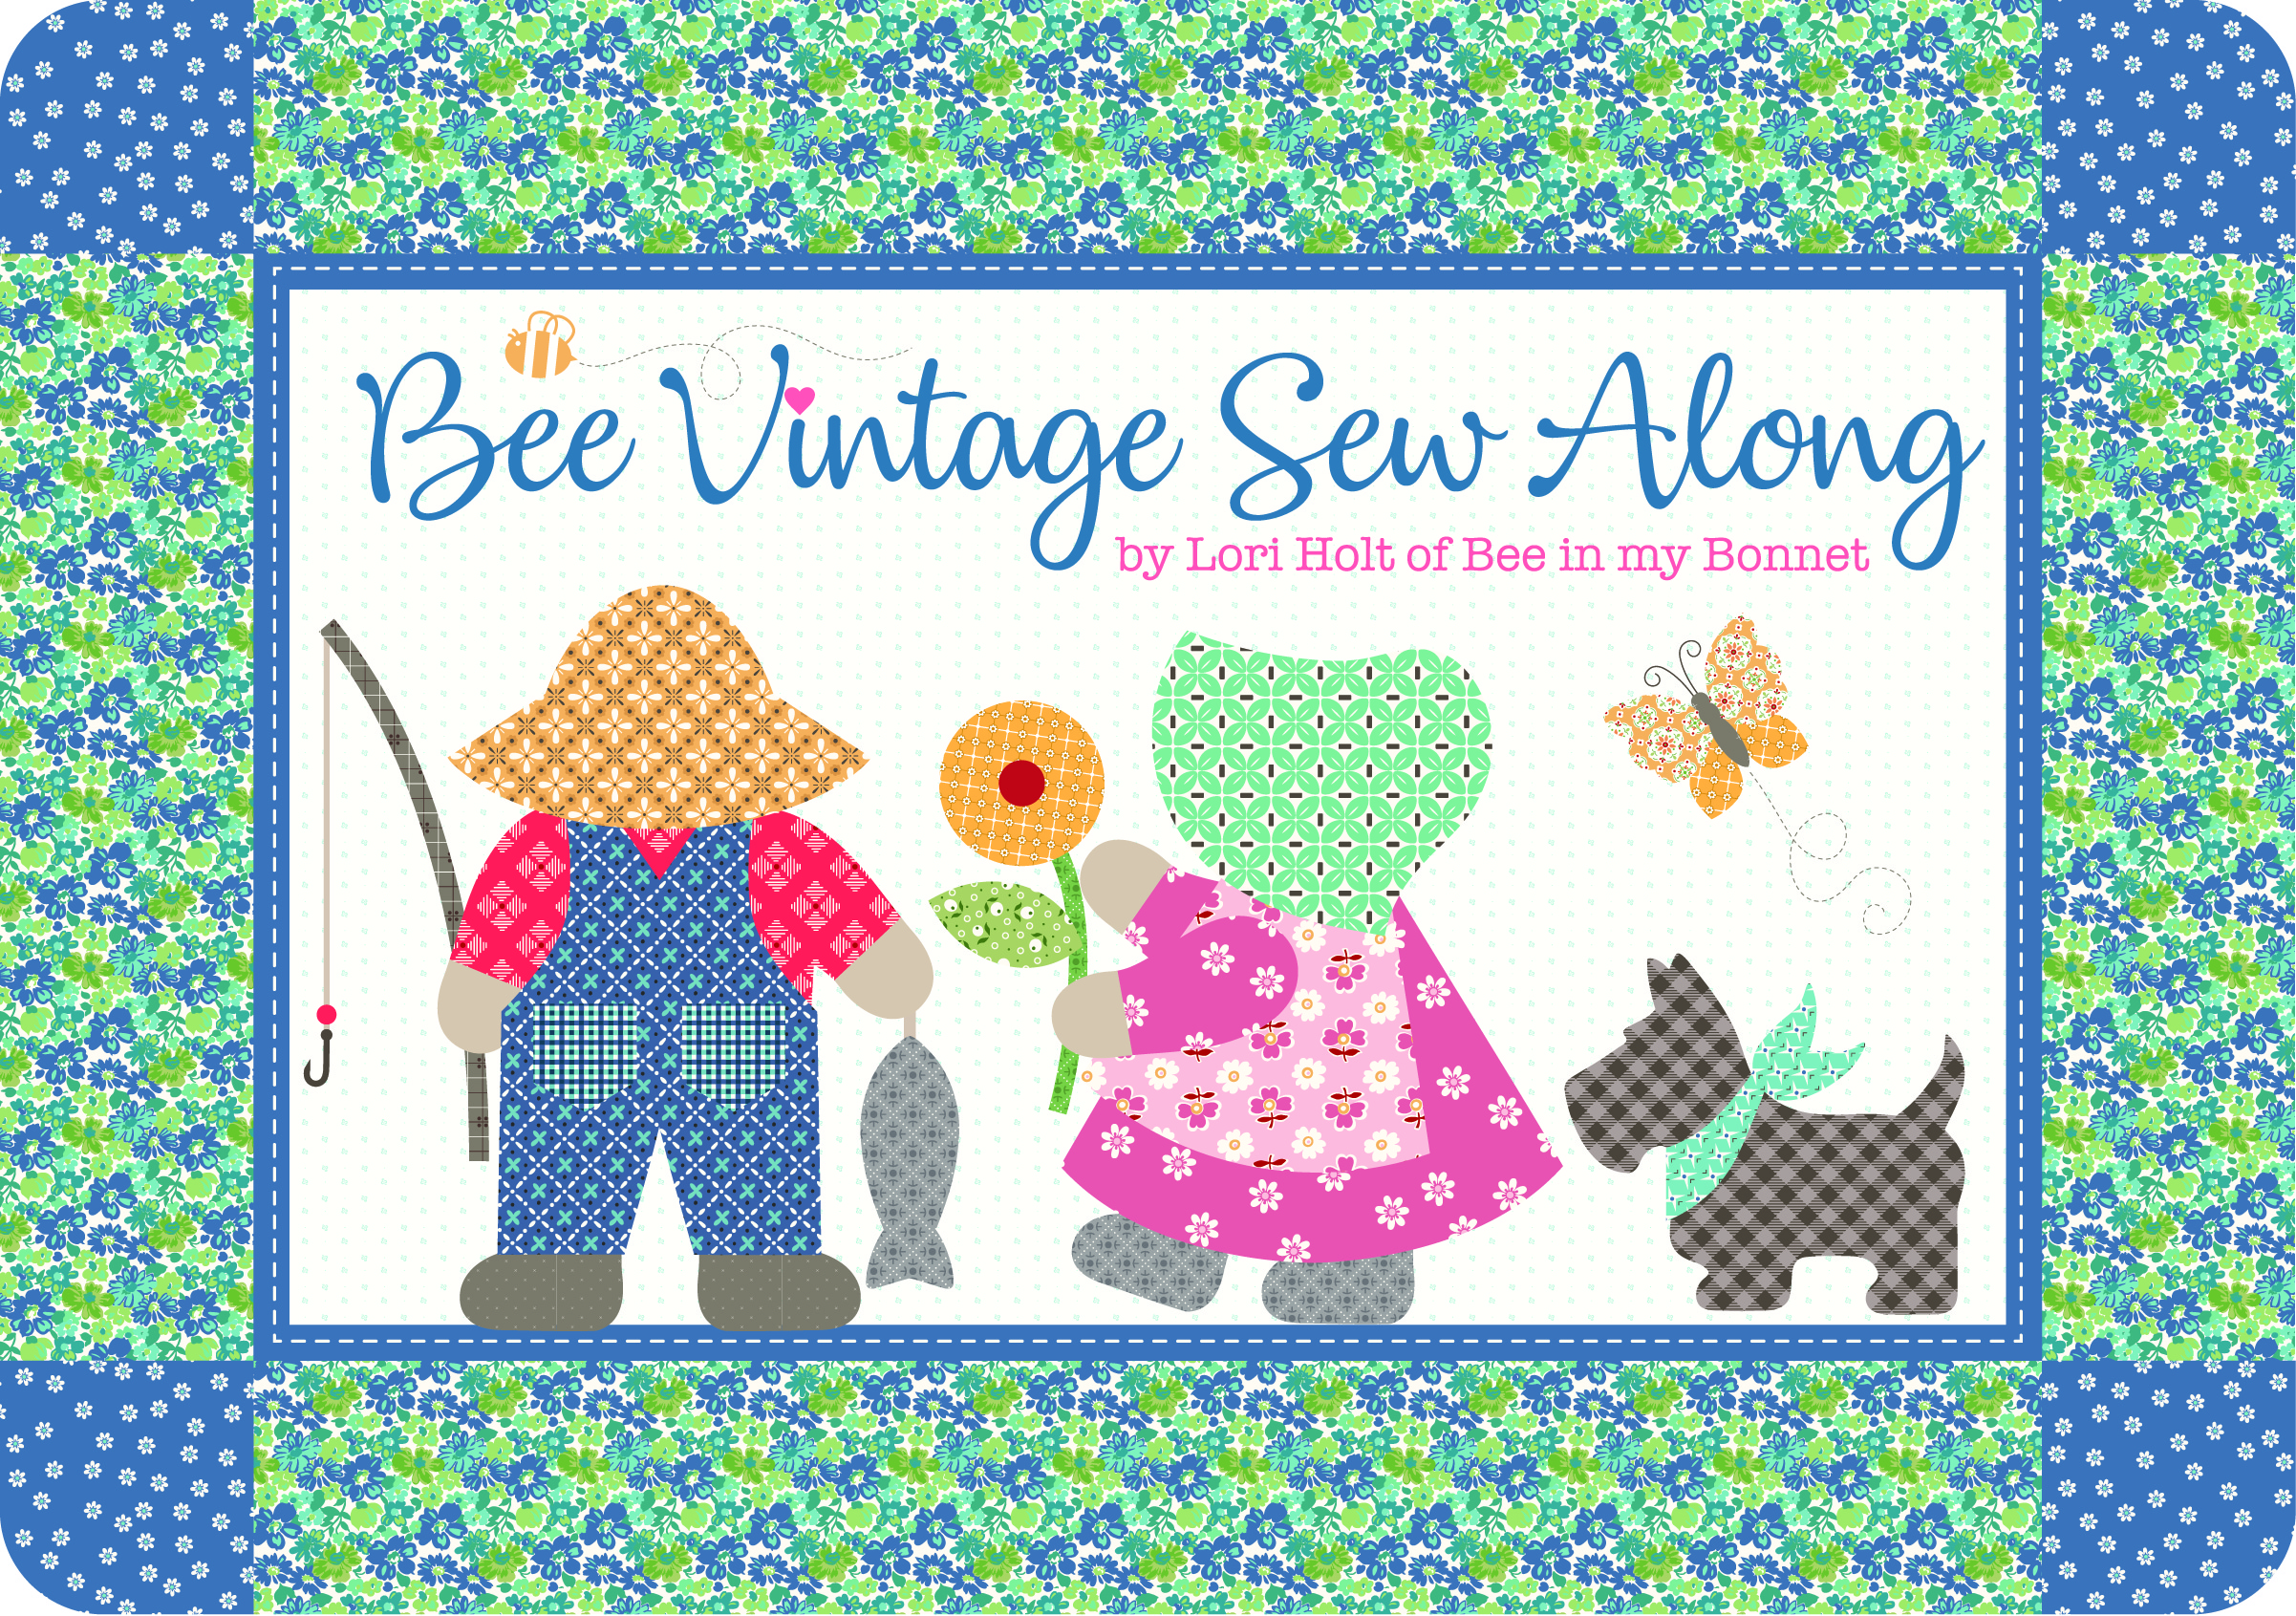
"BEE VINTAGE"
Sew Along!
Join me here each week 
when I will be doing 3 tutorials
 on three blocks for the quilt.

Of course because we are all sewing 
from all around the world  
we all have different time zones...
But I will be posting each 
Monday - Wednesday - Friday 
right here on my blog 
and you can follow my tutorials 
any time during the week that 
 is convenient for you.


We are making the 
Bee Vintage Sampler Quilt
71" x 84"
 
I've been getting ready for
when it was time to begin...
and now that time is here!!


The quilt is made with my fabric
 collection called Bee Vintage...
and a few other prints from my basics collections as well!

I hope that you all have all 
received your 
fabric kits by now...
 and that we are all ready to begin!!


If you still need one ...
just do a quick google search for 
"Bee Vintage Quilt Kit"
to find shops who still have some left.


We are also using the
Bee Vintage
Sew Simple Shapes

I have already posted the
 post which details all of the supplies
 for the sew along and how it works.
I have also given the link there 
for the free PDF Download 
of the Sew Along Guide

to download the sew along guide
if you have not downloaded yet. 


As per usual for the first block in my 
Sew Simple Shape Sew Alongs
 that FIRST tutorial is a video.

Because I now have my own  
 I have posted the 
 Vintage Strawberry Block
Tutorial there.
to visit my channel and watch the 
tutorial and I hope that you love it!
to read my blog post too


for the tutorial on the
VINTAGE APPLE BLOCK


for the tutorial on the
VINTAGE CHERRIES BLOCK


for the tutorial on the 
VINTAGE BUTTERFLY BLOCK


for the tutorial on the
VINTAGE MAPLE LEAF BLOCK


Last time we made the
VINTAGE SCOTTIE DOG BLOCK
for that tutorial

Today we are making an umbrella!


Here is my Vintage Umbrella Block 
 All cut...traced and ready to go!

Here is a list of the
  Bee Vintage 
Sew Simple Shapes 
needed for this block:
1 - P-3
1 - P-50

You will also need to cut your 
3/4 yards of Beehive Lg. Vintage Trim
in half for two pieces


***TAKE NOTE***
That you will need to 
trace a line 3/4" above the bottom line
of the traced shape and then another line
 on top of that 3/4" above as well.

We will use the Sue Glue 
to glue the trim onto the fabric
 before sewing like this!

Cut your background  
12" x 12"


First thing to do is to pin your 
traced interfacing onto your fabric
on the top of the umbrella only
so that you can lift up the bottom
tp lace and glue the Vintage Trim.


Use the two drawn lines as a guide 
for placement and glue the two
Vintage Trim pieces onto the fabric only
(not the interfacing)

Let the glue dry completely and then
 sew your shape as usual...
encasing the Vintage Trim ends
 as you are sewing.

*At this point before sewing the shape 
you could top stitch the Vintage Trim 
down using matching thread but I
like to hand applique mine down
at the same time that I am
doing the applique the block.

Easy Peasy!


Both shapes are all sewn and 
now for trimming...


As per usual:)


You will need to clip the inner curves 
of the handle and I took a close up
 photo so that you could see that 
when it is a tight curve
 you simply make your clips
 closer together like this.


When I am working with a 
long narrow shape this is how
 I clip before turning:)


I shaped and pressed the ends 
and the outside edges first 
and left the inside curve for last...


Don't forget to use the Seam Roller
because it really helps
when shaping and pressing!!


And finally cut the end off so that
 your cut off piece measures 2"


Alrighty... 
Both shapes are ready to go!
(or should I say three now:)

Let's go over to glue and pin.


This block is super simple to layout
and here is your placement photo:)


From top to bottom it measures 11 1/2"


Pinned and Sue Glued and ready for applique.


After applique press from the back...


 and trim down to 10 1/2" x 10 1/2"


VINTAGE UMBRELLA BLOCK


Thanks so much for sewing with me
 today and for joining me 
 for the start of week three of the 
Bee Vintage Sew Along


I'll meet you right back here
on my blog next time for the 
Vintage Flower Block tutorial...
xx
Lori

Monday, March 25, 2019

Farm Sweet Farm Sew Along - Week Nine - Cow and Beehive Block!!


Well hello and welcome!!
It's the very last
 block tutorial in the


Today we will be doing the
 very last block...
Cow and Beehive!

Grab your 
 and let's get started:)


Grab your Farm Girl Vintage fabric
 pieces that you have cut for this block:)


Here are all of mine...ready to sew!
Sew Simple Shapes 
that you will need are:
H1 - 1
H4 - 3
H5 - 1
H10 - 1
H11 - 4
H12 - 1
H15 - 12
H17 - 1
H19 - 1
H27 - 1
H35 - 1
H36 - 2
H37 - 1
H38 - 2


You will need to cut your
 prepared bias strips 
into these lengths:
1/4" geen for flower stems- 
one 7 1/2" - three 6" and one 2 1/2"
(I forgot to put the 2 1/2" in the photo)

1/2" dk.teal for the beehive stand - 
one 10" and one 4 1/4" with both ends
 of that one pressed under 1/4"

Cut two 1/4" ones 
2" long for the beehive stand brackets

1/4" wide coral-
cut three 1" long strips and
 press one end under on each.

For the cat tail and legs...
use the strip that I had you cut 
on the bias for the 3/8" maker and
 curve the shape for the tail when pressing.

The legs are not curved but I 
used the same strip for those 
and each leg is cut 3" long 
with both end pressed under 1/4"


Before you sew your shapes...
take one of the H-38 pieces(a cow spot) 
 that you traced and draw a line up 
from the bottom about 3/4"...


Like this.
This line is a new sewing line 
for ONE of the cow spots.
This one goes across the top of her back:)


Here are my pieces after they
 have been sewn and trimmed.
The pieces on the mat are ones 
that have inner curves and cleavage
 areas that need to be 
clipped before turning.


Turn and shape all of your pieces 
using the point to point turner.
Make sure that your background 
linen edges are zig zagged or served.


Before I layed my pieces
 out for glue basting...
I embroidered the barn cats face!
I used 3 strands of Aurifloss for
 everything because his face is tiny:)


Also take note that I cut one end off 
of the H-10 Sew Simple Shape 
to use for the door on the beehive:)


When I laid out the udders...
 I pinned one leg down first and then 
the udder and the back leg on top.
I trimmed the large circle used
 for the udder down for less bulk.


Here's a close up of my barn kitty:)
You cam make your tail longer
 or shorter...you're the boss 
of your own block!


This is where I put the spot on the cow...
the one that I had you 
mark a line on before sewing.


This block finishes at
 12" tall x 19" wide.
You will trim it down to 
12 1/2" x 19 1/2" 
when applique is complete.

When you are laying out your block...
do not let the pieces
 be wider than 18 1/2"...


Or taller than 11 1/2".


Once you have pinned everything down...
check your measurements one more time...


And it's time to use your Sue Glue!


Remove the pins...
lay your rulers on top with 
something heavy on top of that 
and let your glue dry 
for 10 to 15 minutes.


Trace your embroidery lines on and applique!


Fast forward and it's all done!
I used 3 strands of dark gray Aurifloss
 for the top of the beehive 
and the hens legs, eye and beak.

Embroider the hen's comb and wattle 
just like the others:)
I used the brown Aurifloss for the 
cows eyes and horns...
just like the goat block!


I used 2 of the Nutmeg colored
 tiny buttons for her nostrils:)


The 1/4" sized collection 
comes in this bag of 


I painted the lid of one of my 
original Cute Little Button jars
 yellow and put a few little 
packages in there to keep and use...cute!


I got so excited to add the buttons
that I almost for got to 
trim the block down first:)

You will need to trim this block to 
12 1/2" tall x 19 1/2" wide.
Take note...
that is 19 1/2" for this one 
which is 1" wider than
 the last two blocks...


so you will need to use 
a wide ruler for that part.


Now to sew on the rest of the
 buttons onto the flowers:)


Yippee and YeeHaw!!!

The last block is completed 
and you can now sew your last row together:)

It should measure 12 1/2" tall and be 55 1/2" wide just like the first two rows.

All of the tutorials are now completed 
and I have loved doing each 
and every one of them for you:)


Refer to your sew along guide 
where all of the measurements 
for putting the quilt together 
are there for your convenience.

Next week for the big finish 
I'll show you my quilt 
all quilted and bound!
And...
I may just have a fun surprise
 for you as well:)
xx
Lori


Related Posts with Thumbnails