Monday, February 13, 2023

Calico Garden Sew Along - Week Three!!


"PRIMROSE BLOCKS"


Welcome to Week Three of the 
"CALICO GARDEN"
Sew Along!
Join me here each week 
when I will be doing tutorials
 on the blocks for the quilt.

Of course because we are all sewing 
from all around the world  
we all have different time zones...
But I will be posting each Monday 
right here on my blog 
and you can follow my tutorials 
any time each week that 
 is convenient for you.
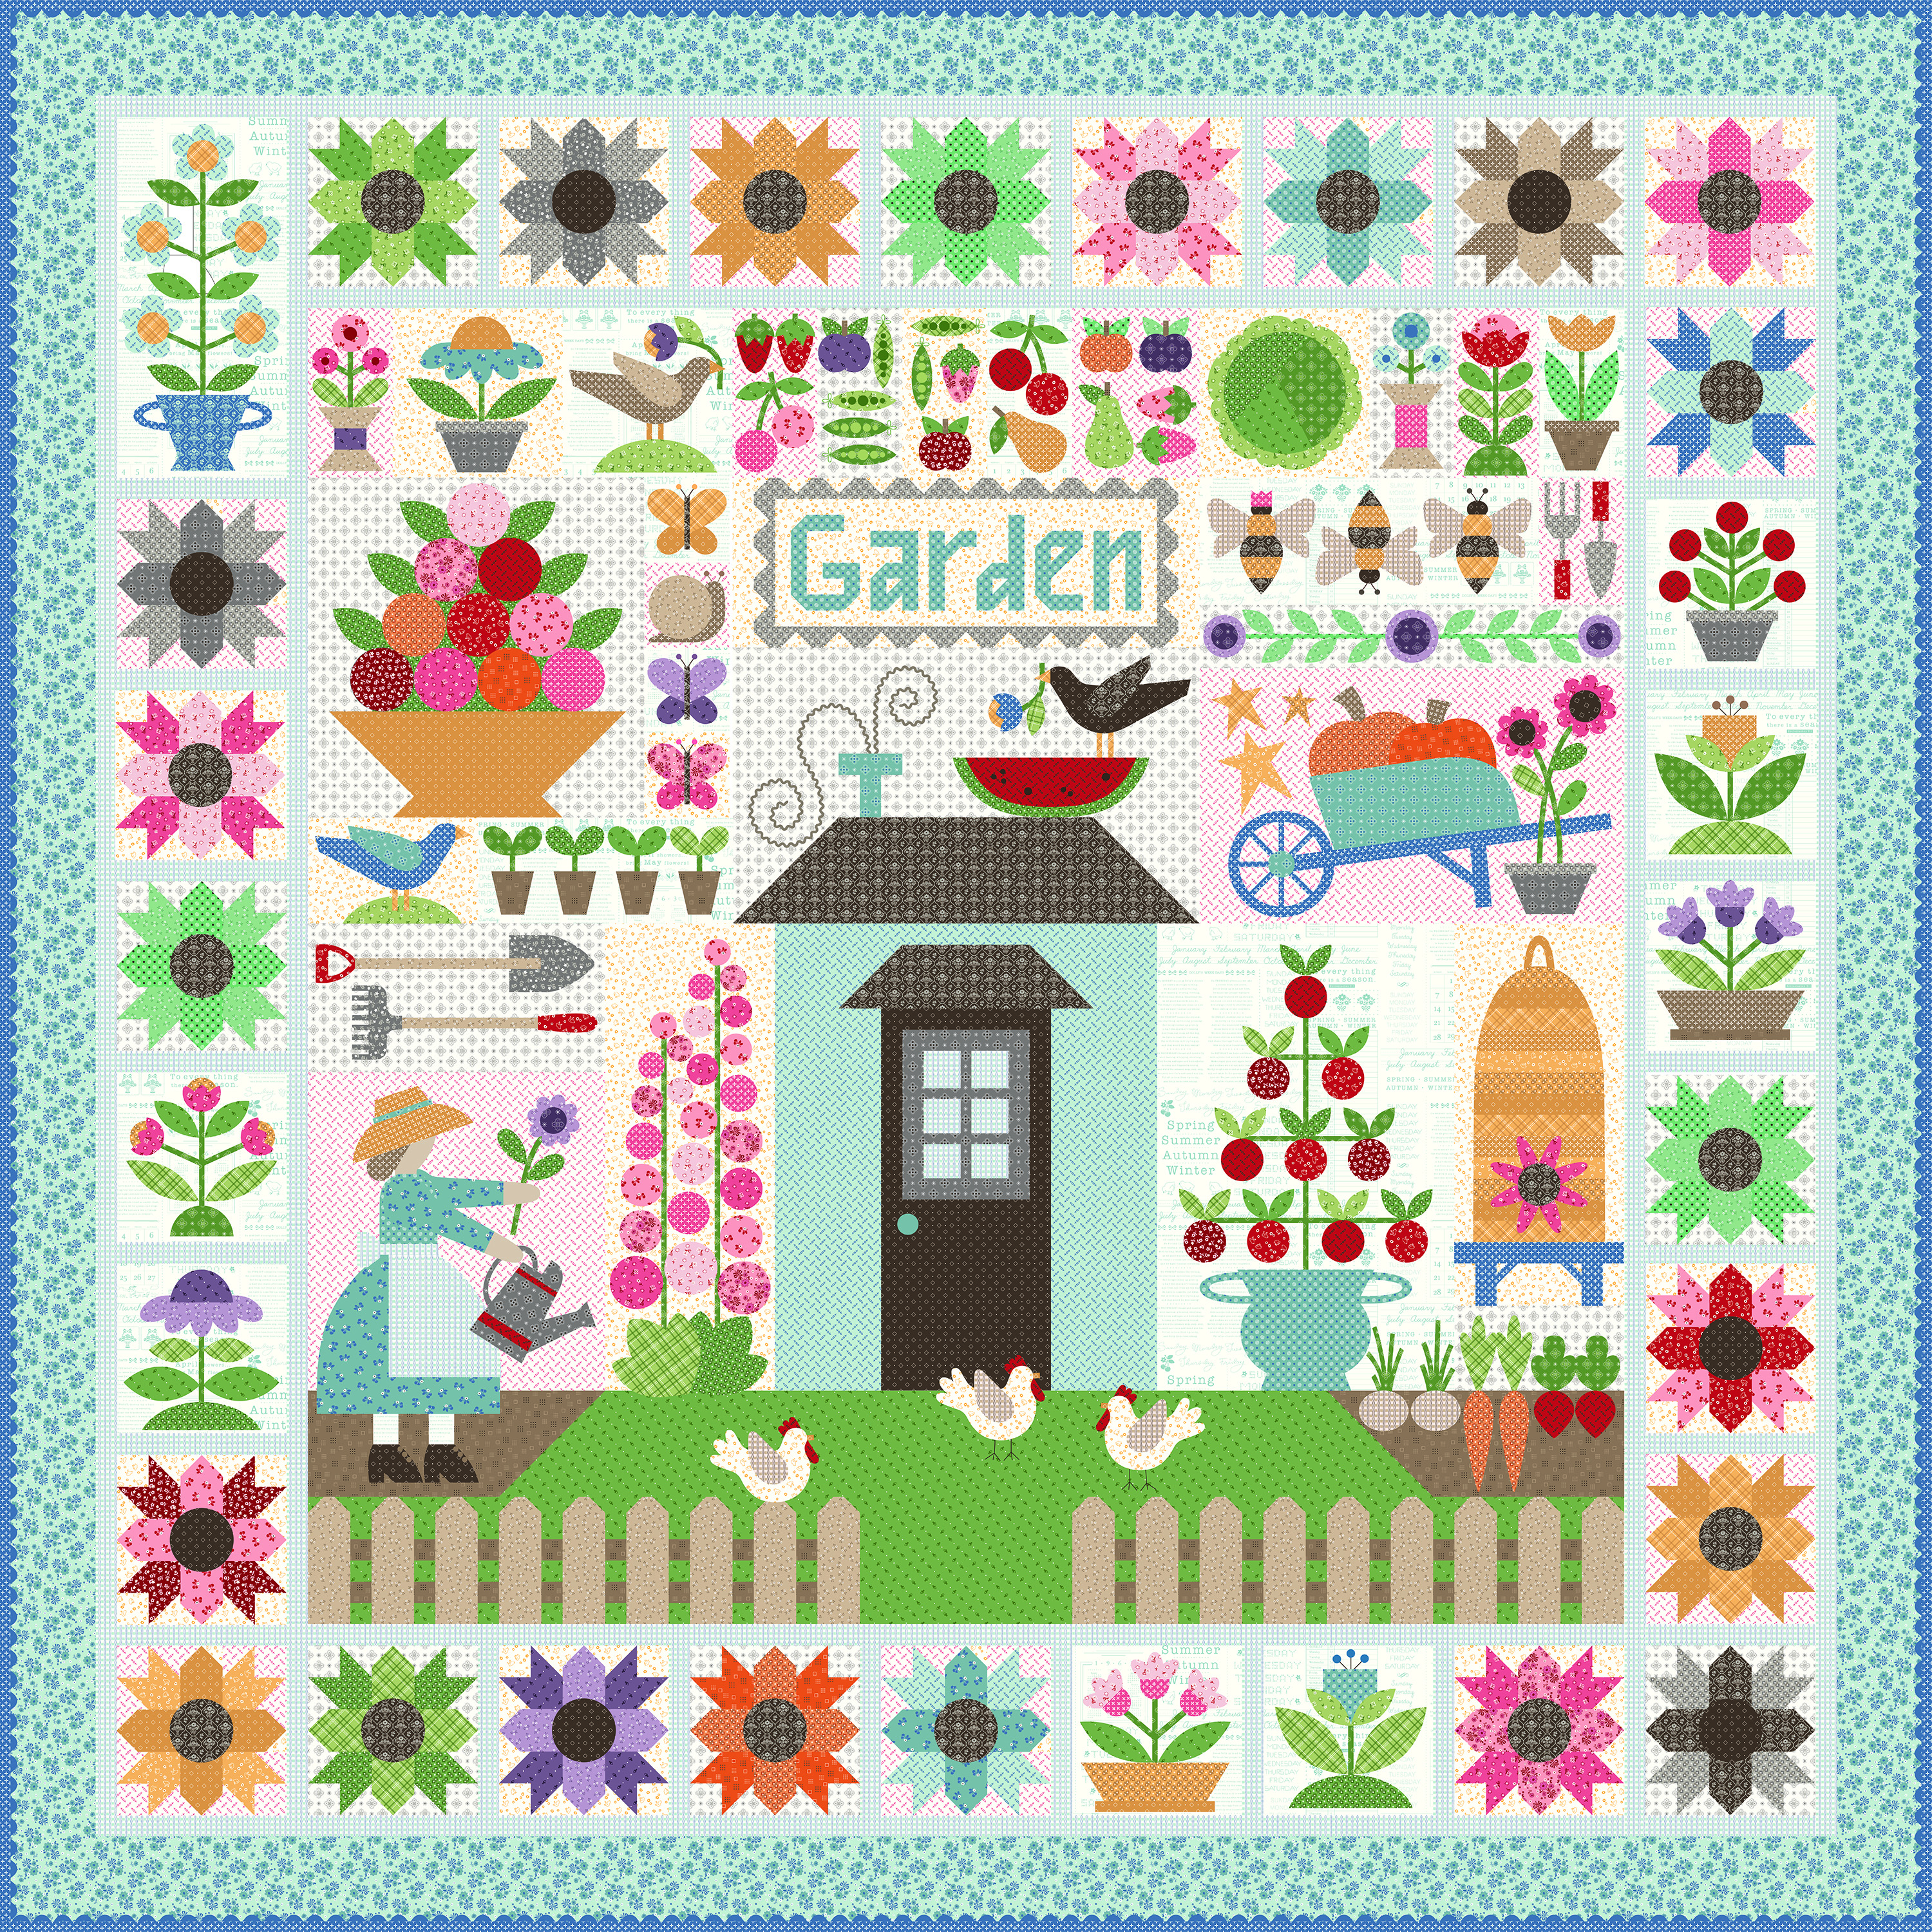

We are making the 
Calico Garden Quilt
90" x 90"


The quilt is made with my latest fabric
 collection called Calico...

I hope that you all have all 
received your 
fabric kits by now...
 and that we are all ready to begin!!


If you still need one ...
just do a quick google search for 
"Calico Garden Quilt Kit"
to find shops who still have some left.


We are also using the
Calico Garden
Sew Simple Shapes

I have posted the
 post which details all of the supplies
 for the sew along and how it works.
I have also given the link there 
for the free PDF Download 
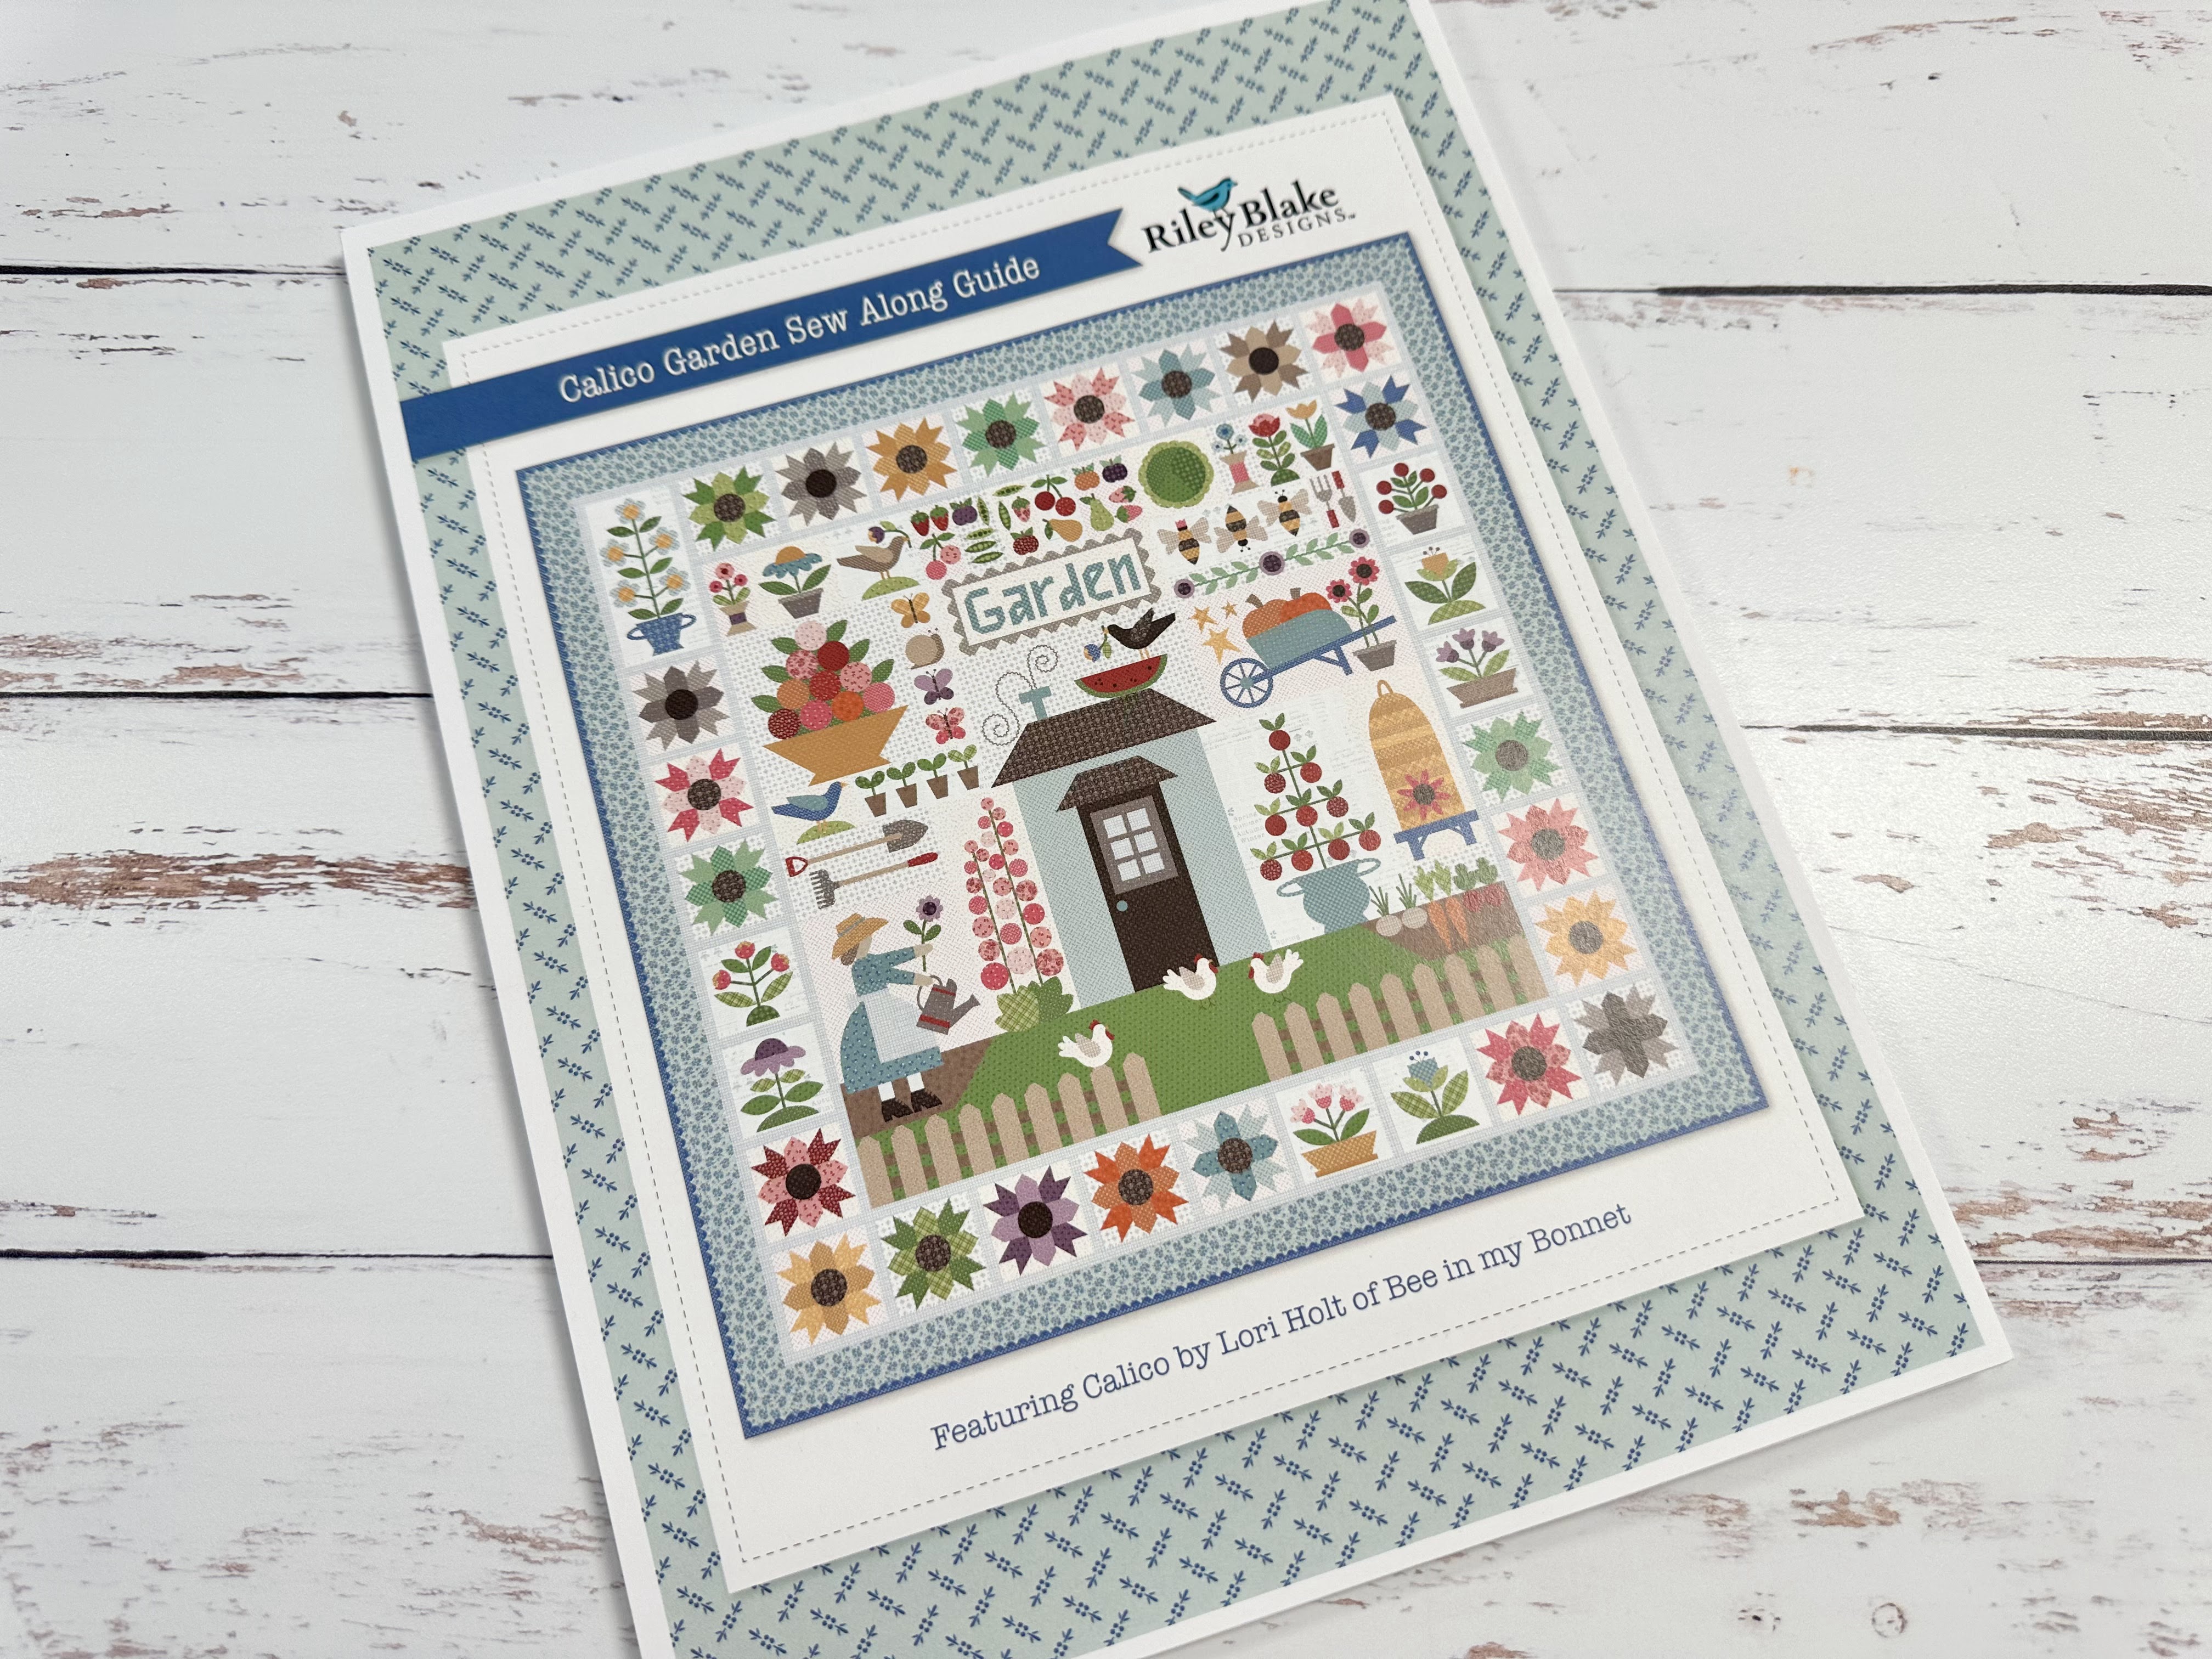
of the Sew Along Guide

to download the sew along guide.

As per the sew along guide 
cutting instructions
 you should have everything for your
  Primrose Blocks 
 all cut and ready to go!

As per usual for week one in my 
Sew Simple Shape Sew Alongs
 the FIRST week tutorial is a video.

Because I now have my own 
 I have posted the 
 Blue Coneflower Block
Tutorial there.
to visit my channel and watch the 
tutorial and I hope that you love it!
Pretty please leave me a comment
over there and let me know:)

If you like what you see 
and my other videos there...
click on subscribe and click on the bell
 to be notified whenever
 I post another tutorial:)


Here's my Blue Coneflower Block 
that I showed you 
how to make in my video:)


for the tutorial on my
PURPLE CONEFLOWER BLOCK


to go to my tutorial for the
CALICO STAR FLOWER BLOCK

to go to my tutorial for the
Morning Glory Blocks


This week we will be making the 
Primrose Blocks

Both blocks are exactly the same 
with the only difference 
being the fabric prints.
Of course you know what prints they are
 from the cutting section in the guide.

I'm going to show you how I made the
 Purple Primrose Block 
and then you'll also know how to make the 
Pink Primrose Block


Here is my Purple Primrose Kit
 Everything is all cut...
all traced and ready to go!

Here is a list of the
  Calico Garden 
Sew Simple Shapes 
needed for this block:
1 - O-19
3 - O-42
2 - O-56
3 - O-65


You will also need to cut
and prepare 1/4"
straight bias strip for the stem: 
1 - 4" long 
2 - 2 1/2" long
You will need a 1/2" prepared bias strip
to measure 5 1/2" long AFTER 
both ends are pressed under.

Cut your background  
10" x 10"
as it says in the guide
and press it in half for 
centering the flower and stem 
when pinning and glue basting:)


All of the shapes are sewn...
trimmed...turned and shaped
just like I showed in my video
that I did for week one.

Don't forget to clip the cleavage areas
 in the flower before tuning:) 


*Note*
If you sometimes struggle turning
 smaller shapes...
 a pair of hemostat could help.
Also if you have a shape
that is smaller and you will be
 manipulating it a lot during 
the turning and shaping process...
use a smaller stitch and then
just go ahead and sew on that line
 as usual but keep going 
and sew around it twice!
This will help to strengthen that seam.
This also works particularly well
on small curved shapes like the 
flower parts in this block
 or small circles or leaves.

 With the being said...
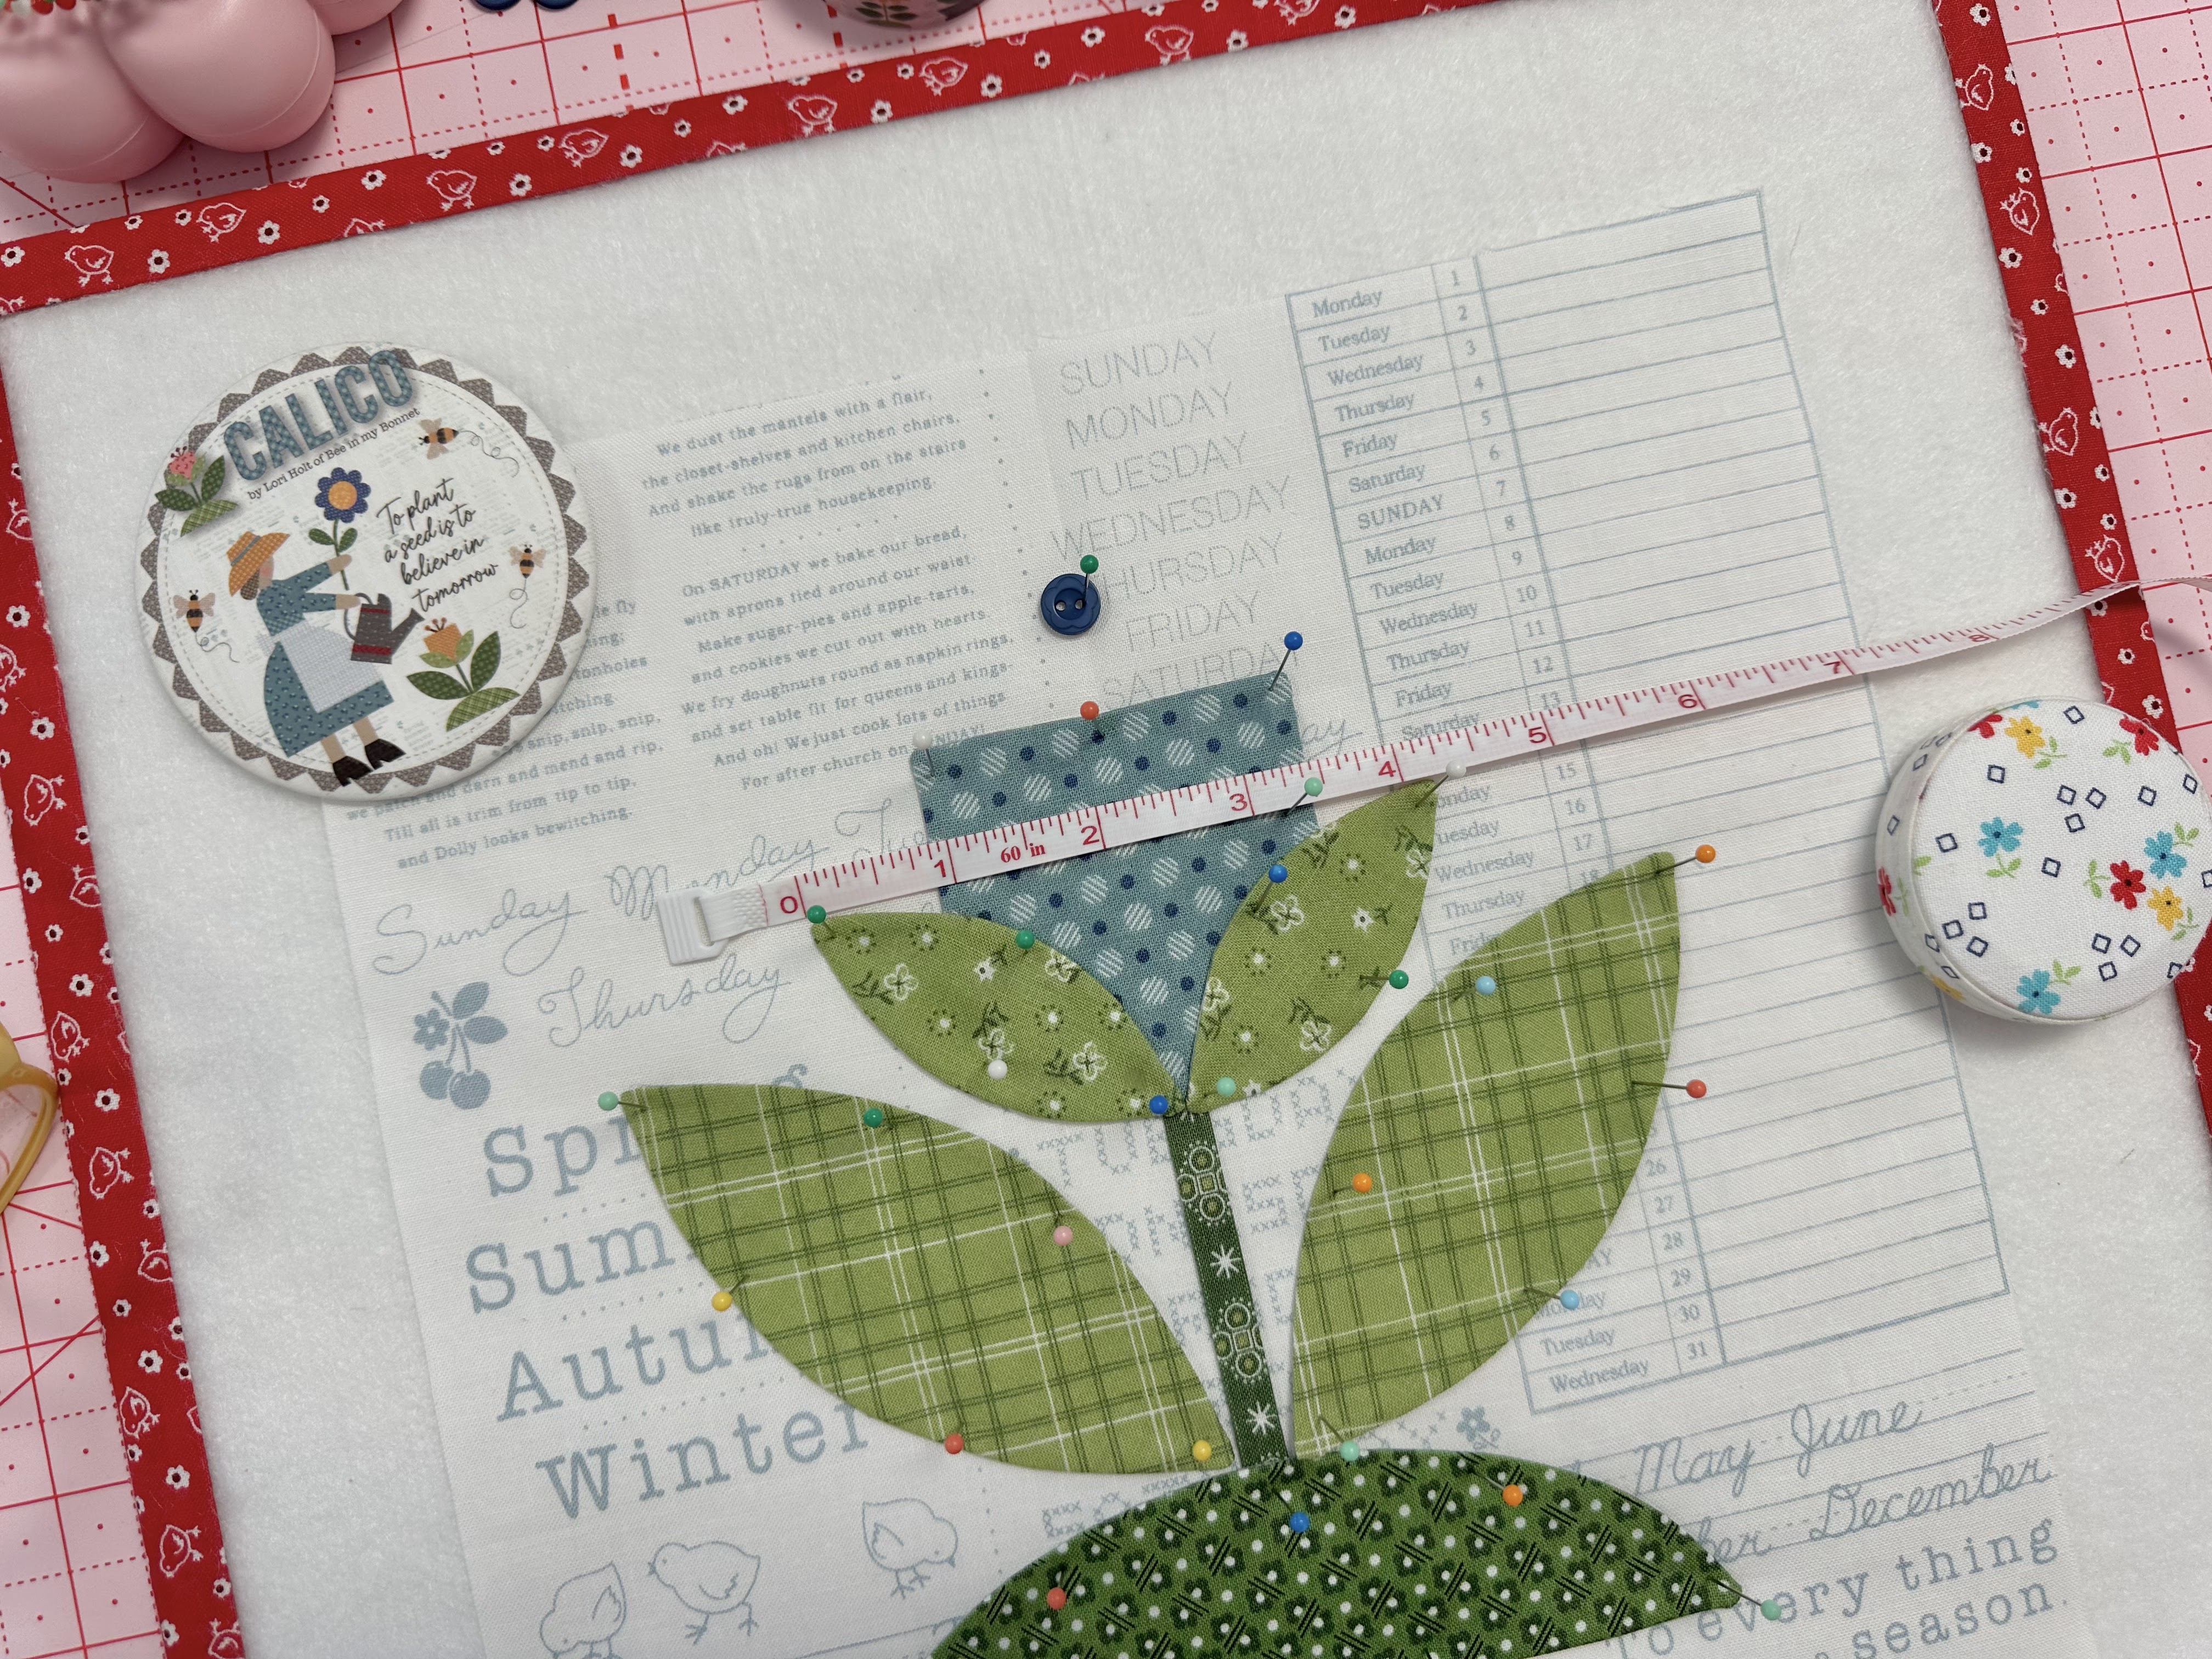
Now I'll show you all of the 
measurements for this block 
after I glue basted and pinned it:)


This flower is also  7 1/2" tall 
from the top of the flower to 
the bottom of the basket trim.
Also take note that you will need to
 trim the inside ends of each of the
 side stems on an angle so that 
they can be tucked underneath
the center stem.
You will need to remember this
little trick when doing the Mum...
 Red Roses and Forget Me Not Blocks.


Also...when there are side stems 
that need to be tucked under 
I make sure that I do NOT glue the
 center stem down until those 
side stems are glued into place.
I just center it and glue down the 
bottom part to keep it into place.

Pressing your background in half 
is invaluable during this step 
to keep those stems placed 
where they need to be.

I hope these little tips help you
 as you are laying out your blocks
but the biggest tip I can give you...


Is to always use the Trim-It Rulers 
when laying out your blocks...
especially if they are symmetrical.


Pinned...glued and drying:)
Now for a few more helpful measuring!
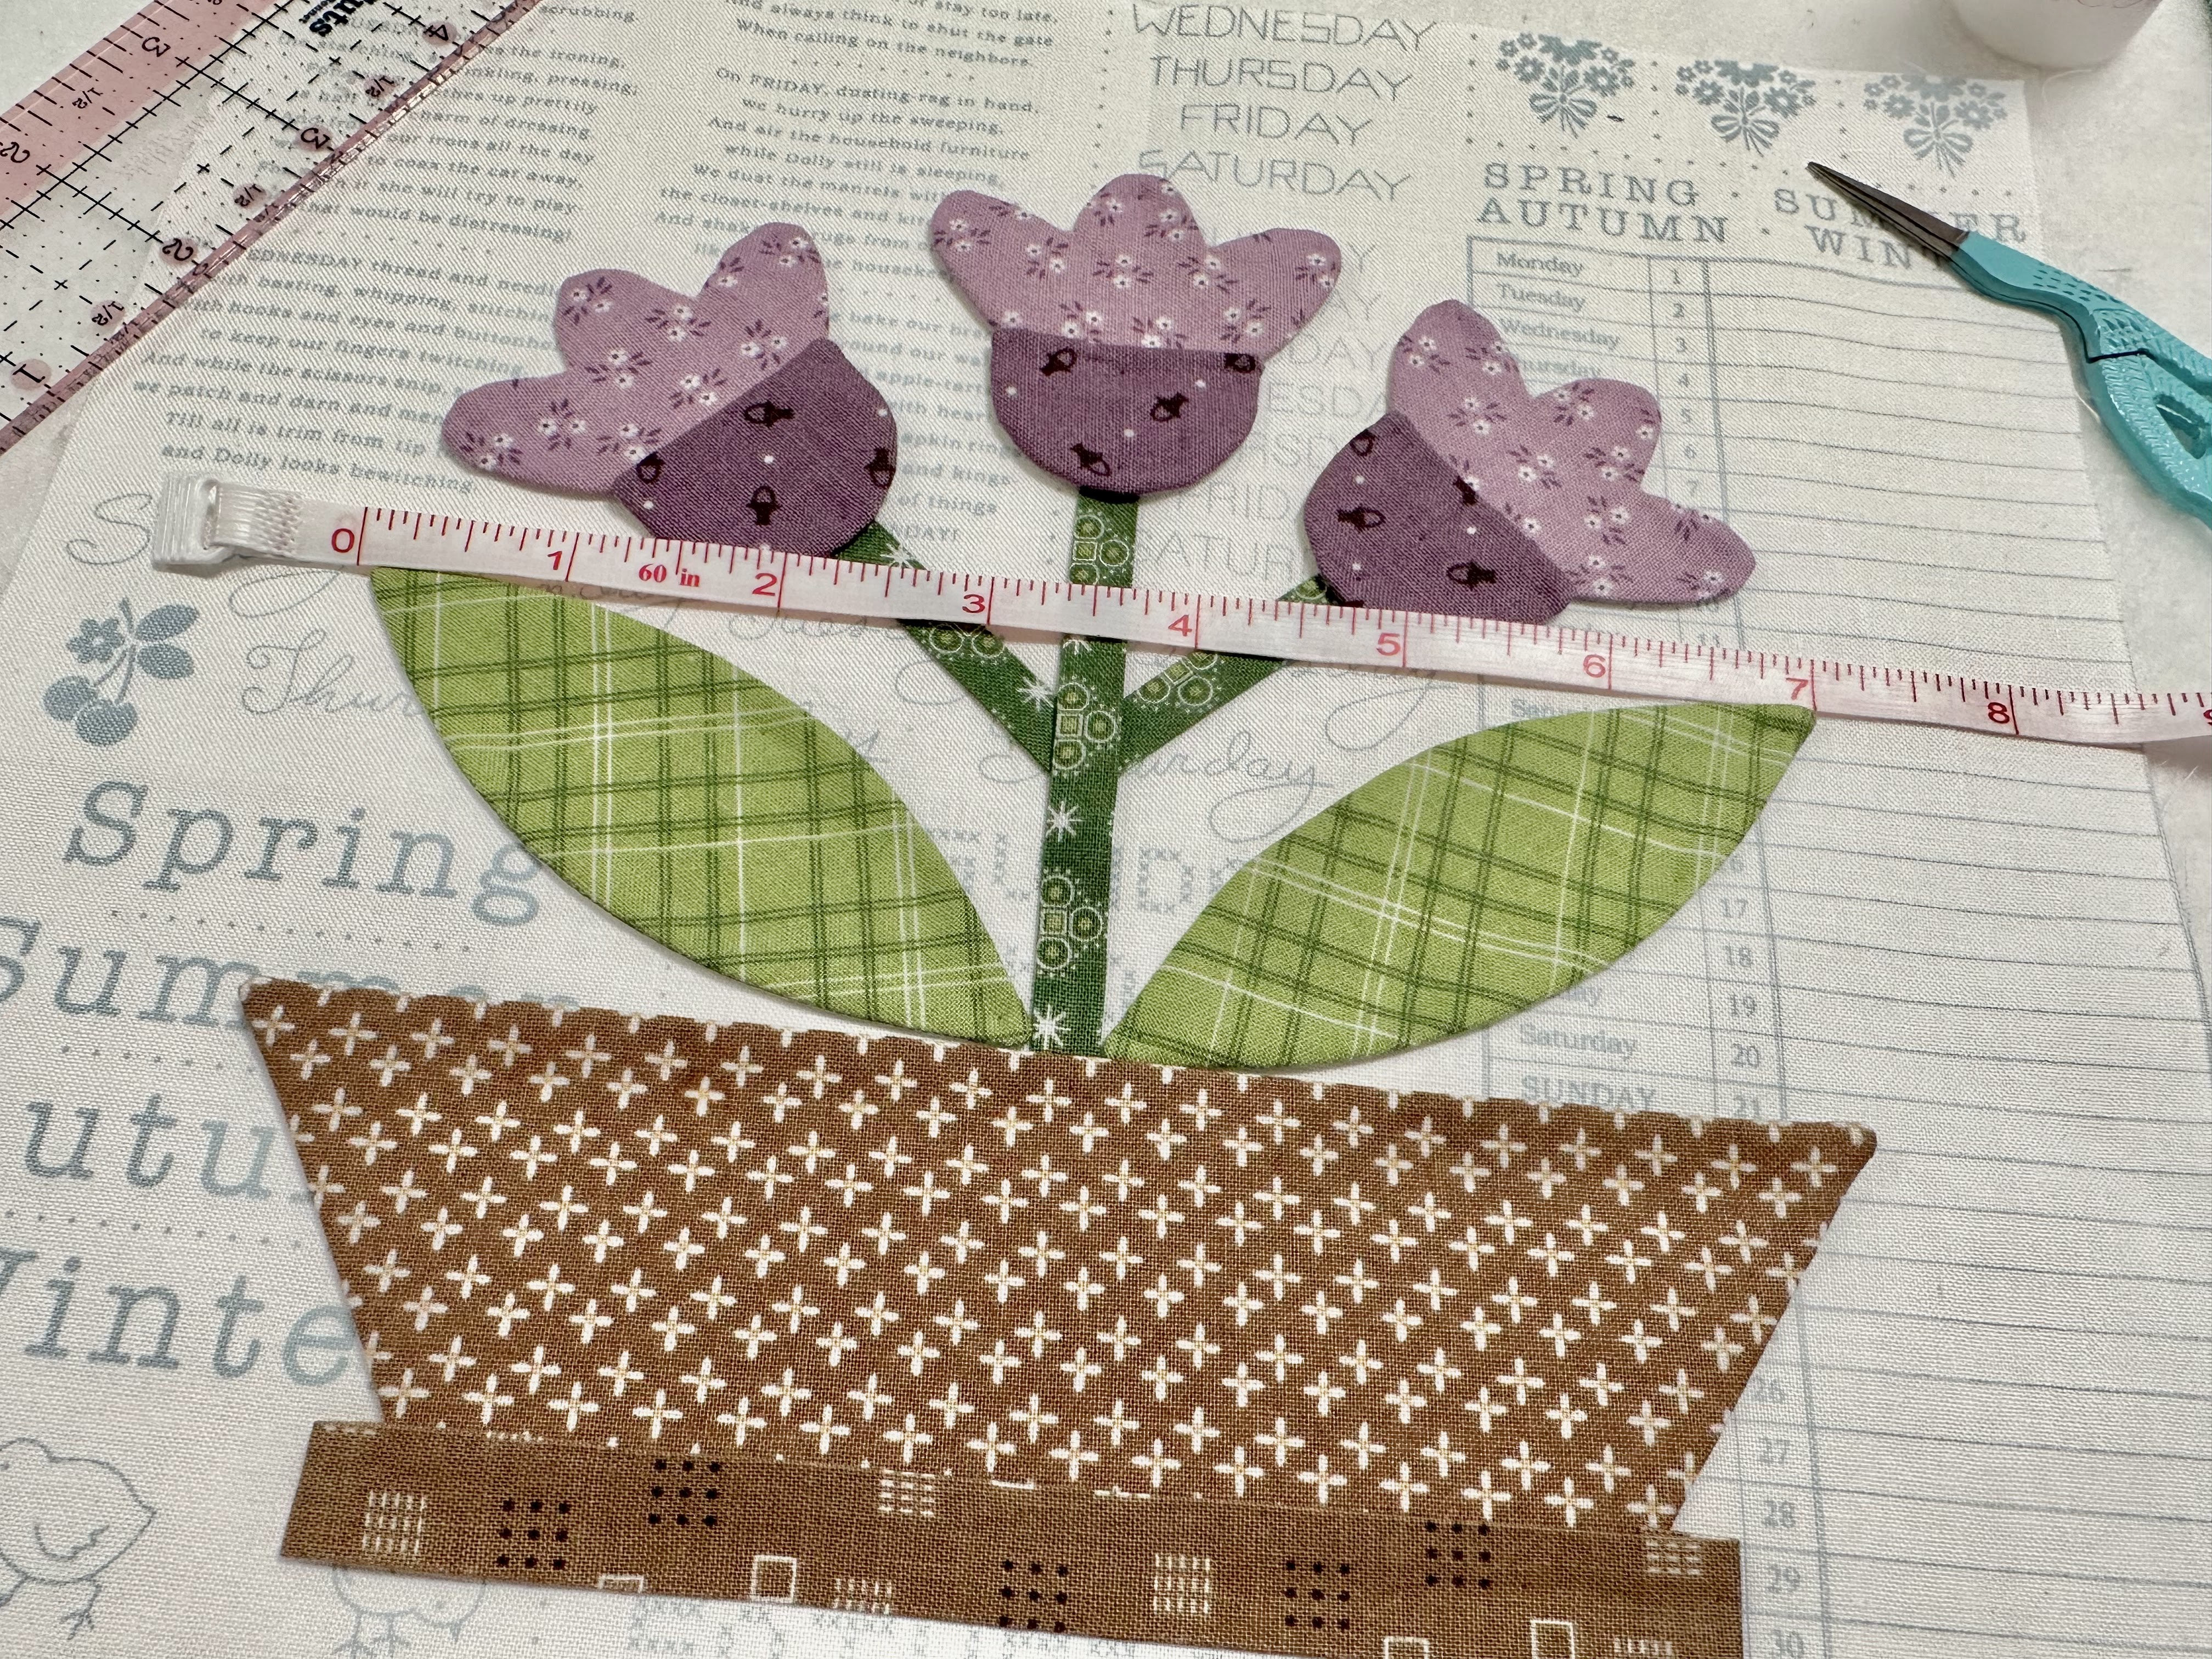

The leaves are 7" wide


The flowers are 6 1/2" wide 


The flowers are 1/2" wide 
(at the top of the ruler)


The side stems begin about 
1 1/4" up from the top of the basket.
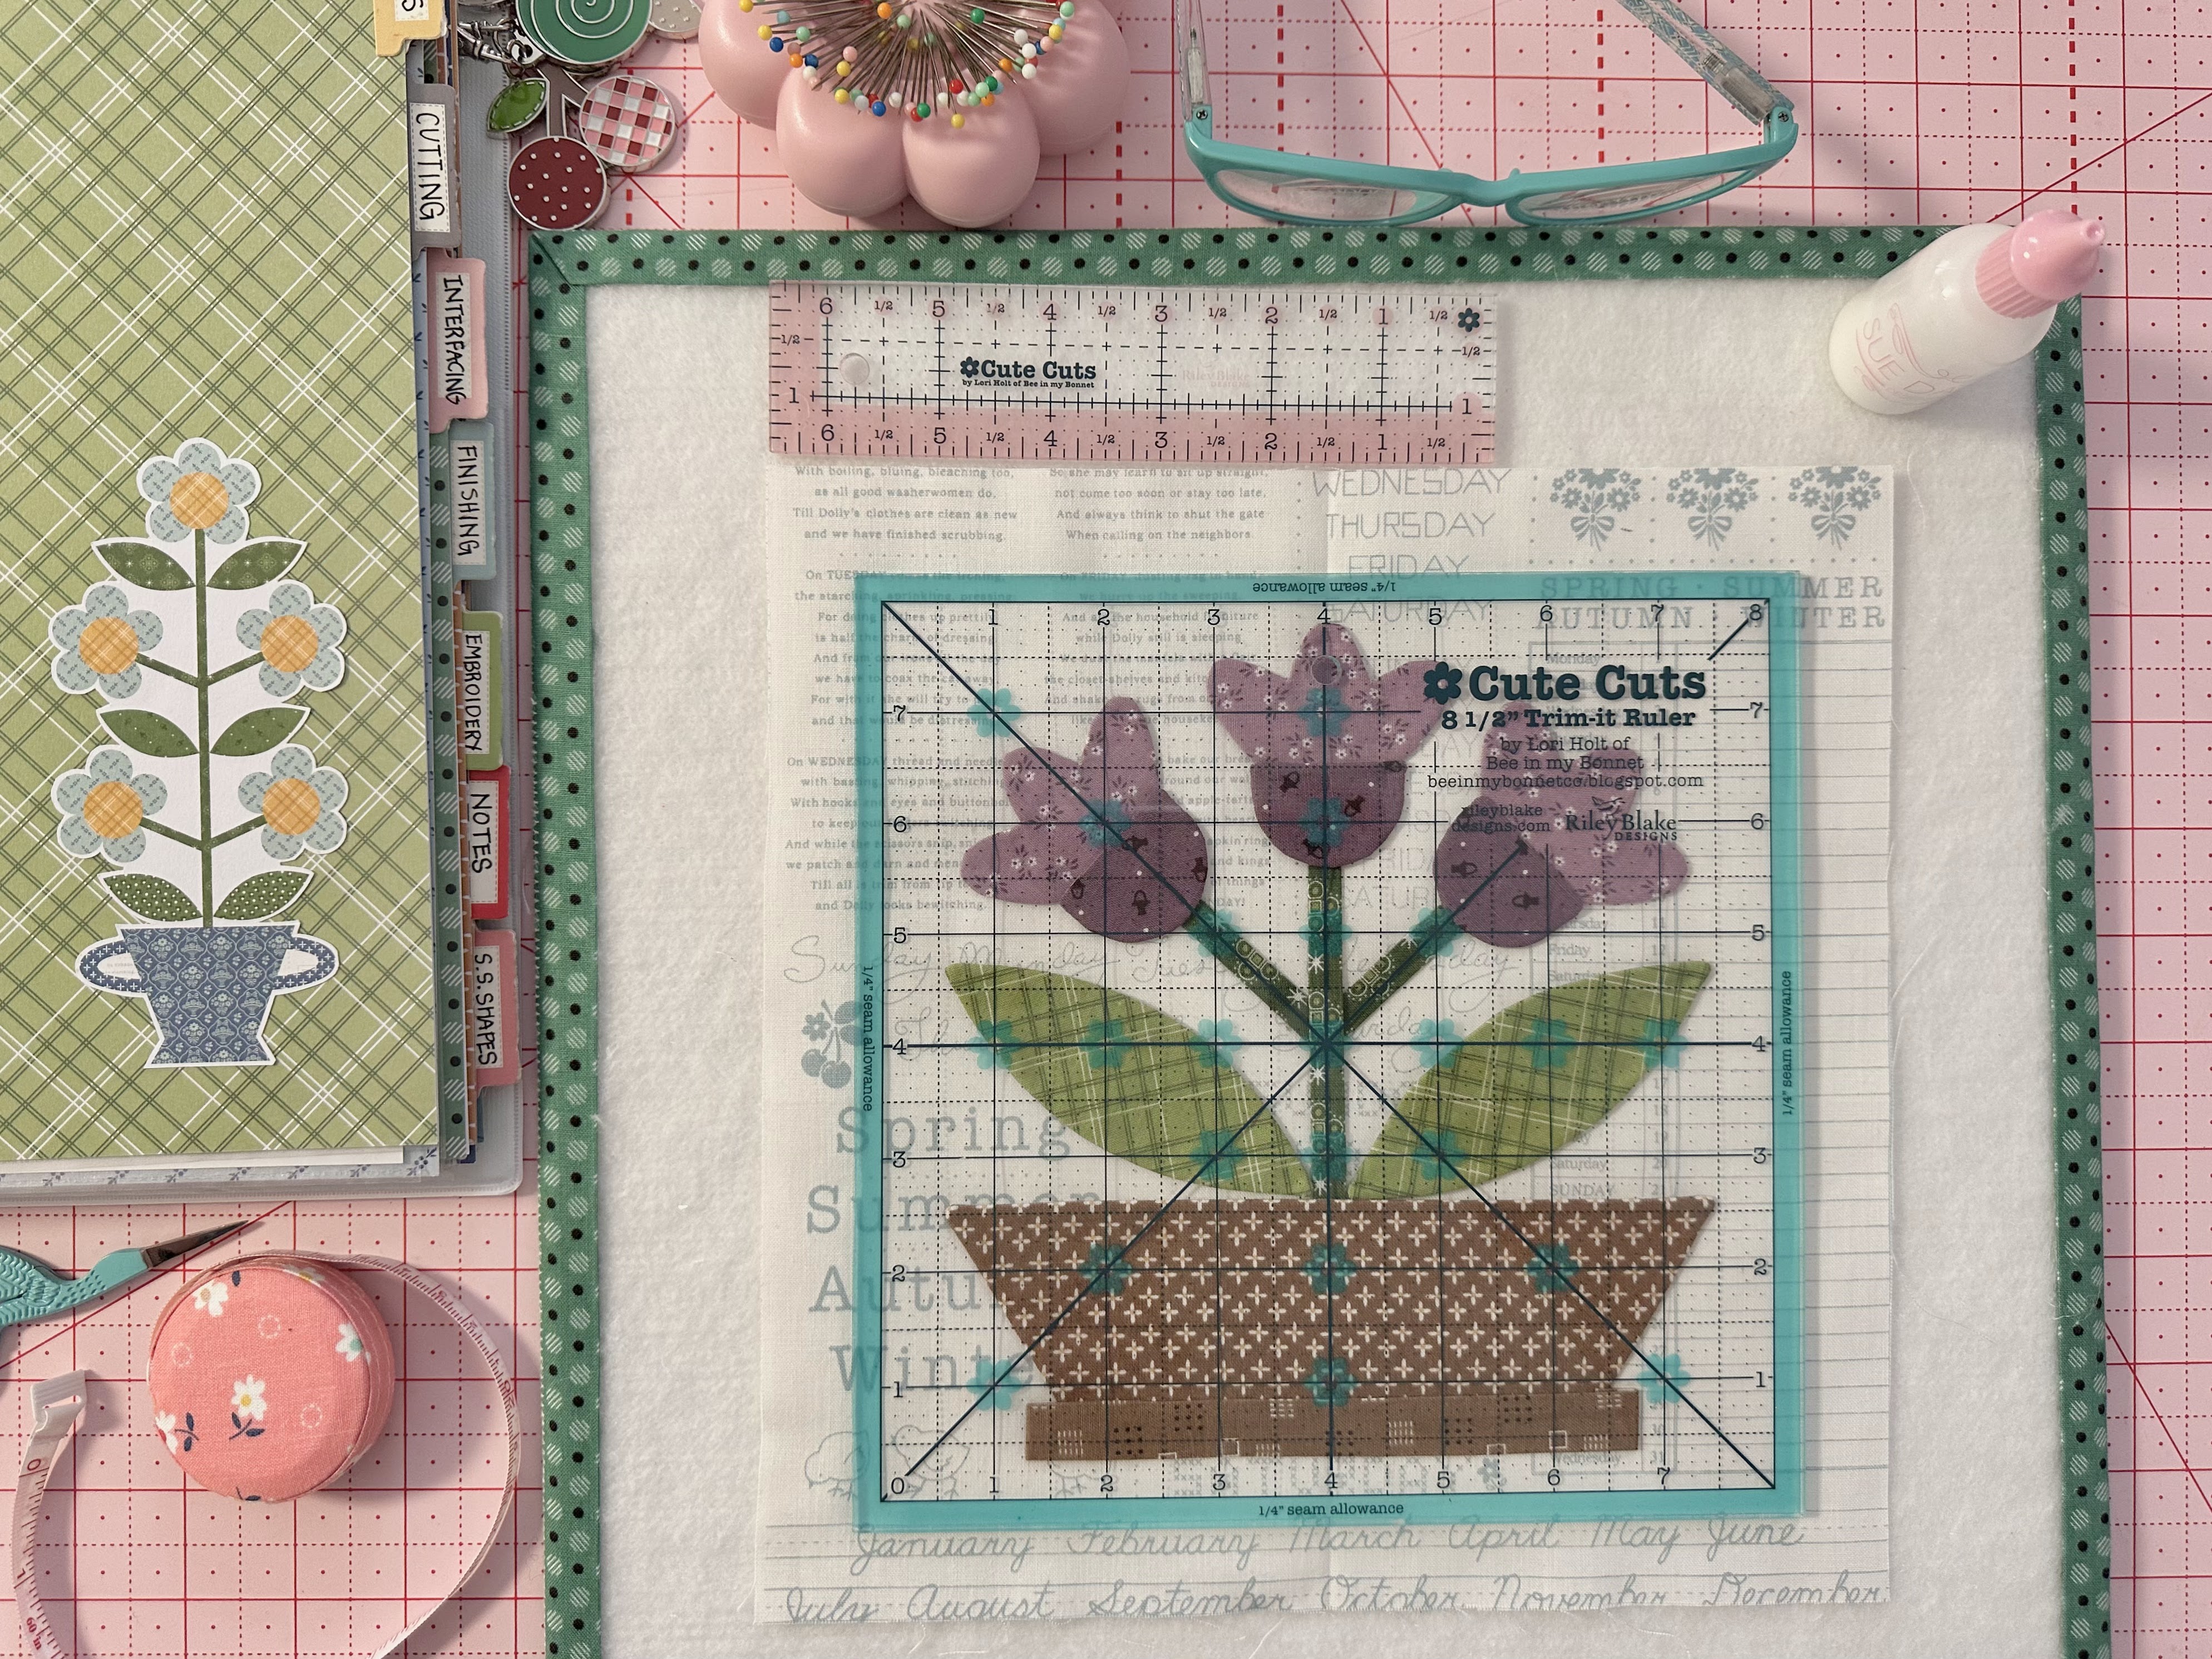

Okie Dokie...
I hope these measurements will
 help you as you pin and 
Sue Glue your blocks:) 


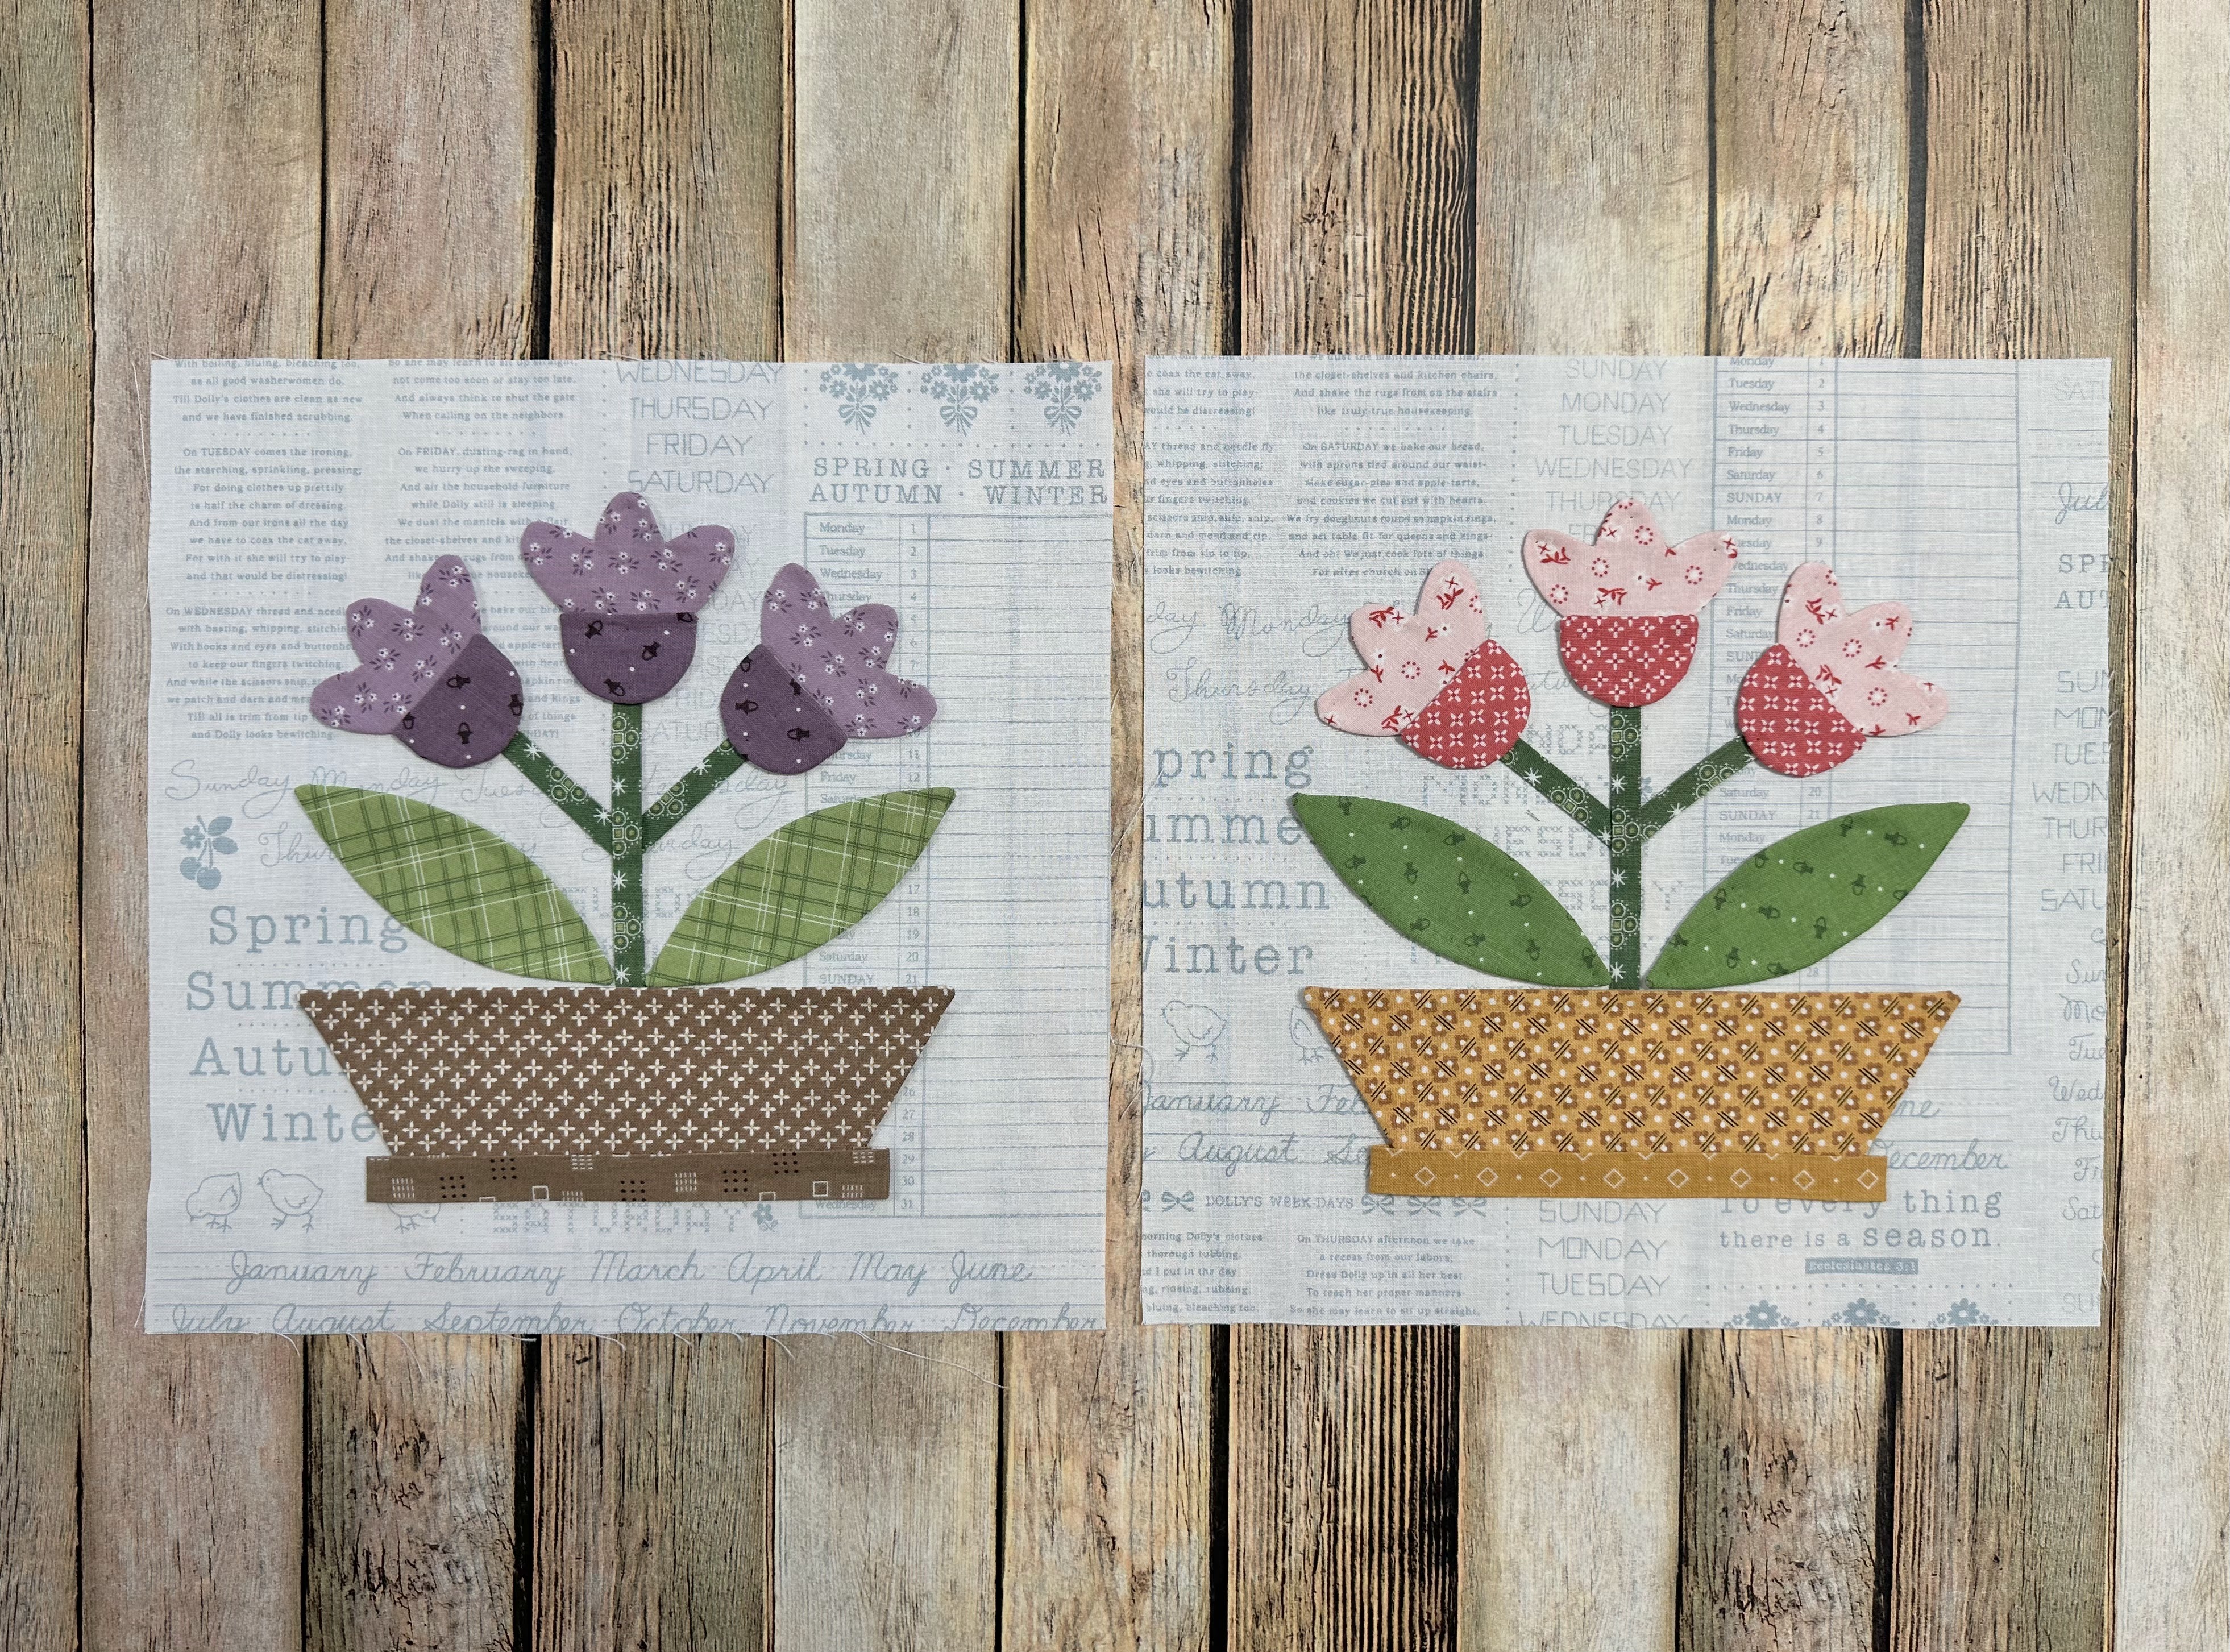
Purple Primrose Block 
all ready for applique:)

Afterwards I will 
press from the back and then 
I will use my 
8 1/2" Trim-It Ruler
to trim down the block before 
I sew it into the quilt.


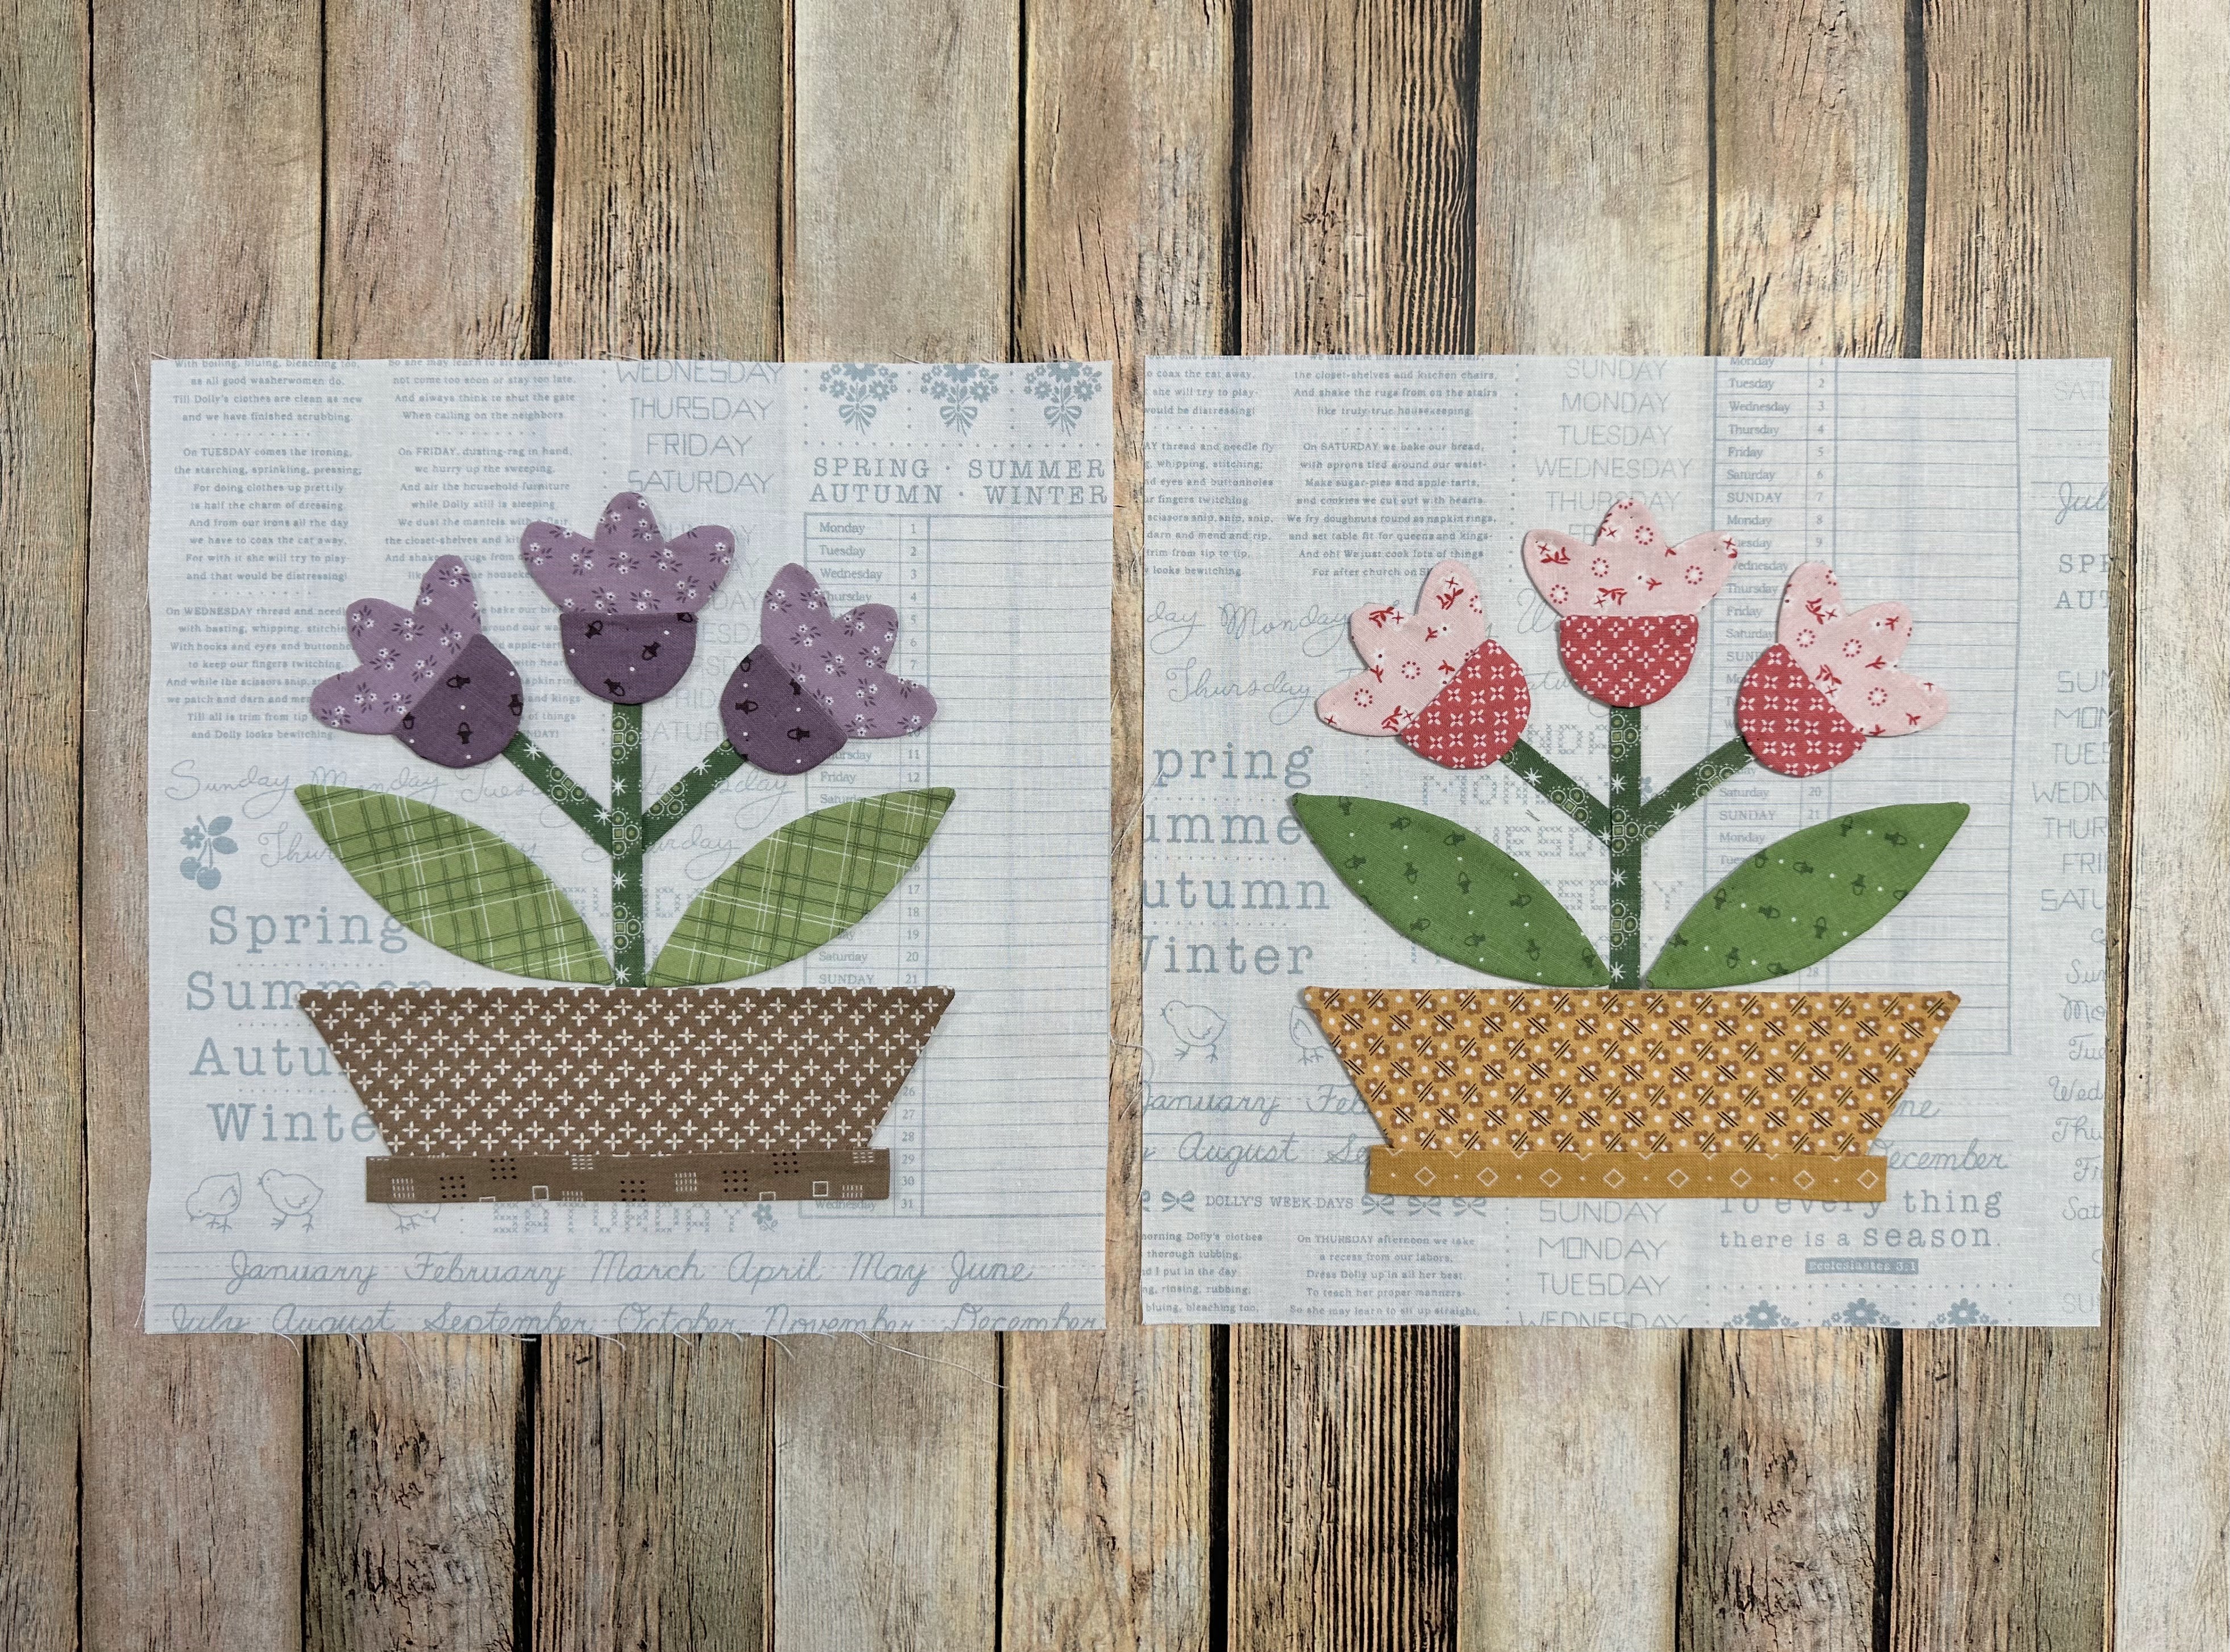
Of course I made the 
Pink Primrose Block
using the exact same process and 
measurements as I did with the
Purple Primrose Block


And now we have planted six flowers
to live in our Calico Garden:)
YaY!

Thanks so much for sewing with me today
 and for joining me for the 
Calico Garden Sew Along

I'll meet you right back here
on my blog next week for the 
Red Roses Block tutorial.
As you know...
I have already made my Mums Block
so I'll give you all of the 
tips and important measurements 
for it next week as well!!

Chat with you then...
xx
Lori

Monday, February 6, 2023

Calico Garden Sew Along - Week Two!!


"MORNING GLORY BLOCKS"


Welcome to Week Two of the 
"CALICO GARDEN"
Sew Along!
Join me here each week 
when I will be doing tutorials
 on the blocks for the quilt.

Of course because we are all sewing 
from all around the world  
we all have different time zones...
But I will be posting each Monday 
right here on my blog 
and you can follow my tutorials 
any time each week that 
 is convenient for you.


We are making the 
Calico Garden Quilt
90" x 90"


The quilt is made with my latest fabric
 collection called Calico...

I hope that you all have all 
received your 
fabric kits by now...
 and that we are all ready to begin!!


If you still need one ...
just do a quick google search for 
"Calico Garden Quilt Kit"
to find shops who still have some left.


We are also using the
Calico Garden
Sew Simple Shapes

I have posted the
 post which details all of the supplies
 for the sew along and how it works.
I have also given the link there 
for the free PDF Download 
of the Sew Along Guide

to download the sew along guide.


As per the sew along guide 
cutting instructions
 you should have everything for your
  Morning Glory Blocks 
 all cut and ready to go!

As per usual for week one in my 
Sew Simple Shape Sew Alongs
 the FIRST week tutorial is a video.

Because I now have my own 
 I have posted the 
 Blue Coneflower Block
Tutorial there.
to visit my channel and watch the 
tutorial and I hope that you love it!
Pretty please leave me a comment
over there and let me know:)

If you like what you see 
and my other videos there...
click on subscribe and click on the bell
 to be notified whenever
 I post another tutorial:)


Here's my Blue Coneflower Block 
that I showed you 
how to make in my video:)


for the tutorial on my
PURPLE CONEFLOWER BLOCK


to go to my tutorial for the
CALICO STAR FLOWER BLOCK

This week we will be doing the 
Morning Glory Blocks


Both blocks are exactly the same 
with the only difference 
being the fabric prints.
Of course you know what prints they are
 from the cutting section in the guide.

I'm going to show you how I made the
 Blue Morning Glory Block 
and then you'll also know how to make the Yellow Morning Glory Block


Here is my Blue Morning Glory Kit
 Everything is all cut...
all traced and ready to go!

Here is a list of the
  Calico Garden 
Sew Simple Shapes 
needed for this block:
1 - O-32
2 - O-54
2 - O-62
1 - O-85


You will also need to cut
and prepare 1/4"
straight bias strip for the stem: 
1 - 4" long 

Cut your background  
10" x 10"
as it says in the guide
and press it in half for 
centering the flower and stem 
when pinning and glue basting:)

You will also need 3 buttons.
I used three denim colored buttons
from my stash of 
Cute Little Buttons
I have many different packages 
and sizes of Cute Little Buttons available
 if you want to do the same!

*Take note that on shape O-85 
grass mound
for this block we will be 
using the full size template:)


All of the shapes are sewn...
trimmed...turned and shaped
just like I showed in my video
that I did for week one.

There are no inner curves or 
cleavage areas that need clipping 
before turning in any of these shapes.

Okay!
Now I'll show you all of the 
measurements for this block 
after I glue basted and pinned it:)

*Take note* that your measurements
in any of your blocks 
do not have to match mine exactly
but are meant to be helpful.

As long as you know what size 
you will be trimming each 
applique block that you
 layout for your quilt...
 just be sure to stay at least 
1/4" in around all four sides
 of the FINISHED block size...
you will be good to go!


This flower is 7 1/2" tall 
from the top of the button 
to the bottom of the grass mound.


I placed the top of flower 
1/2" down from the button.


The small leaves are 4 1/4" across


The large leaves measure 7"across


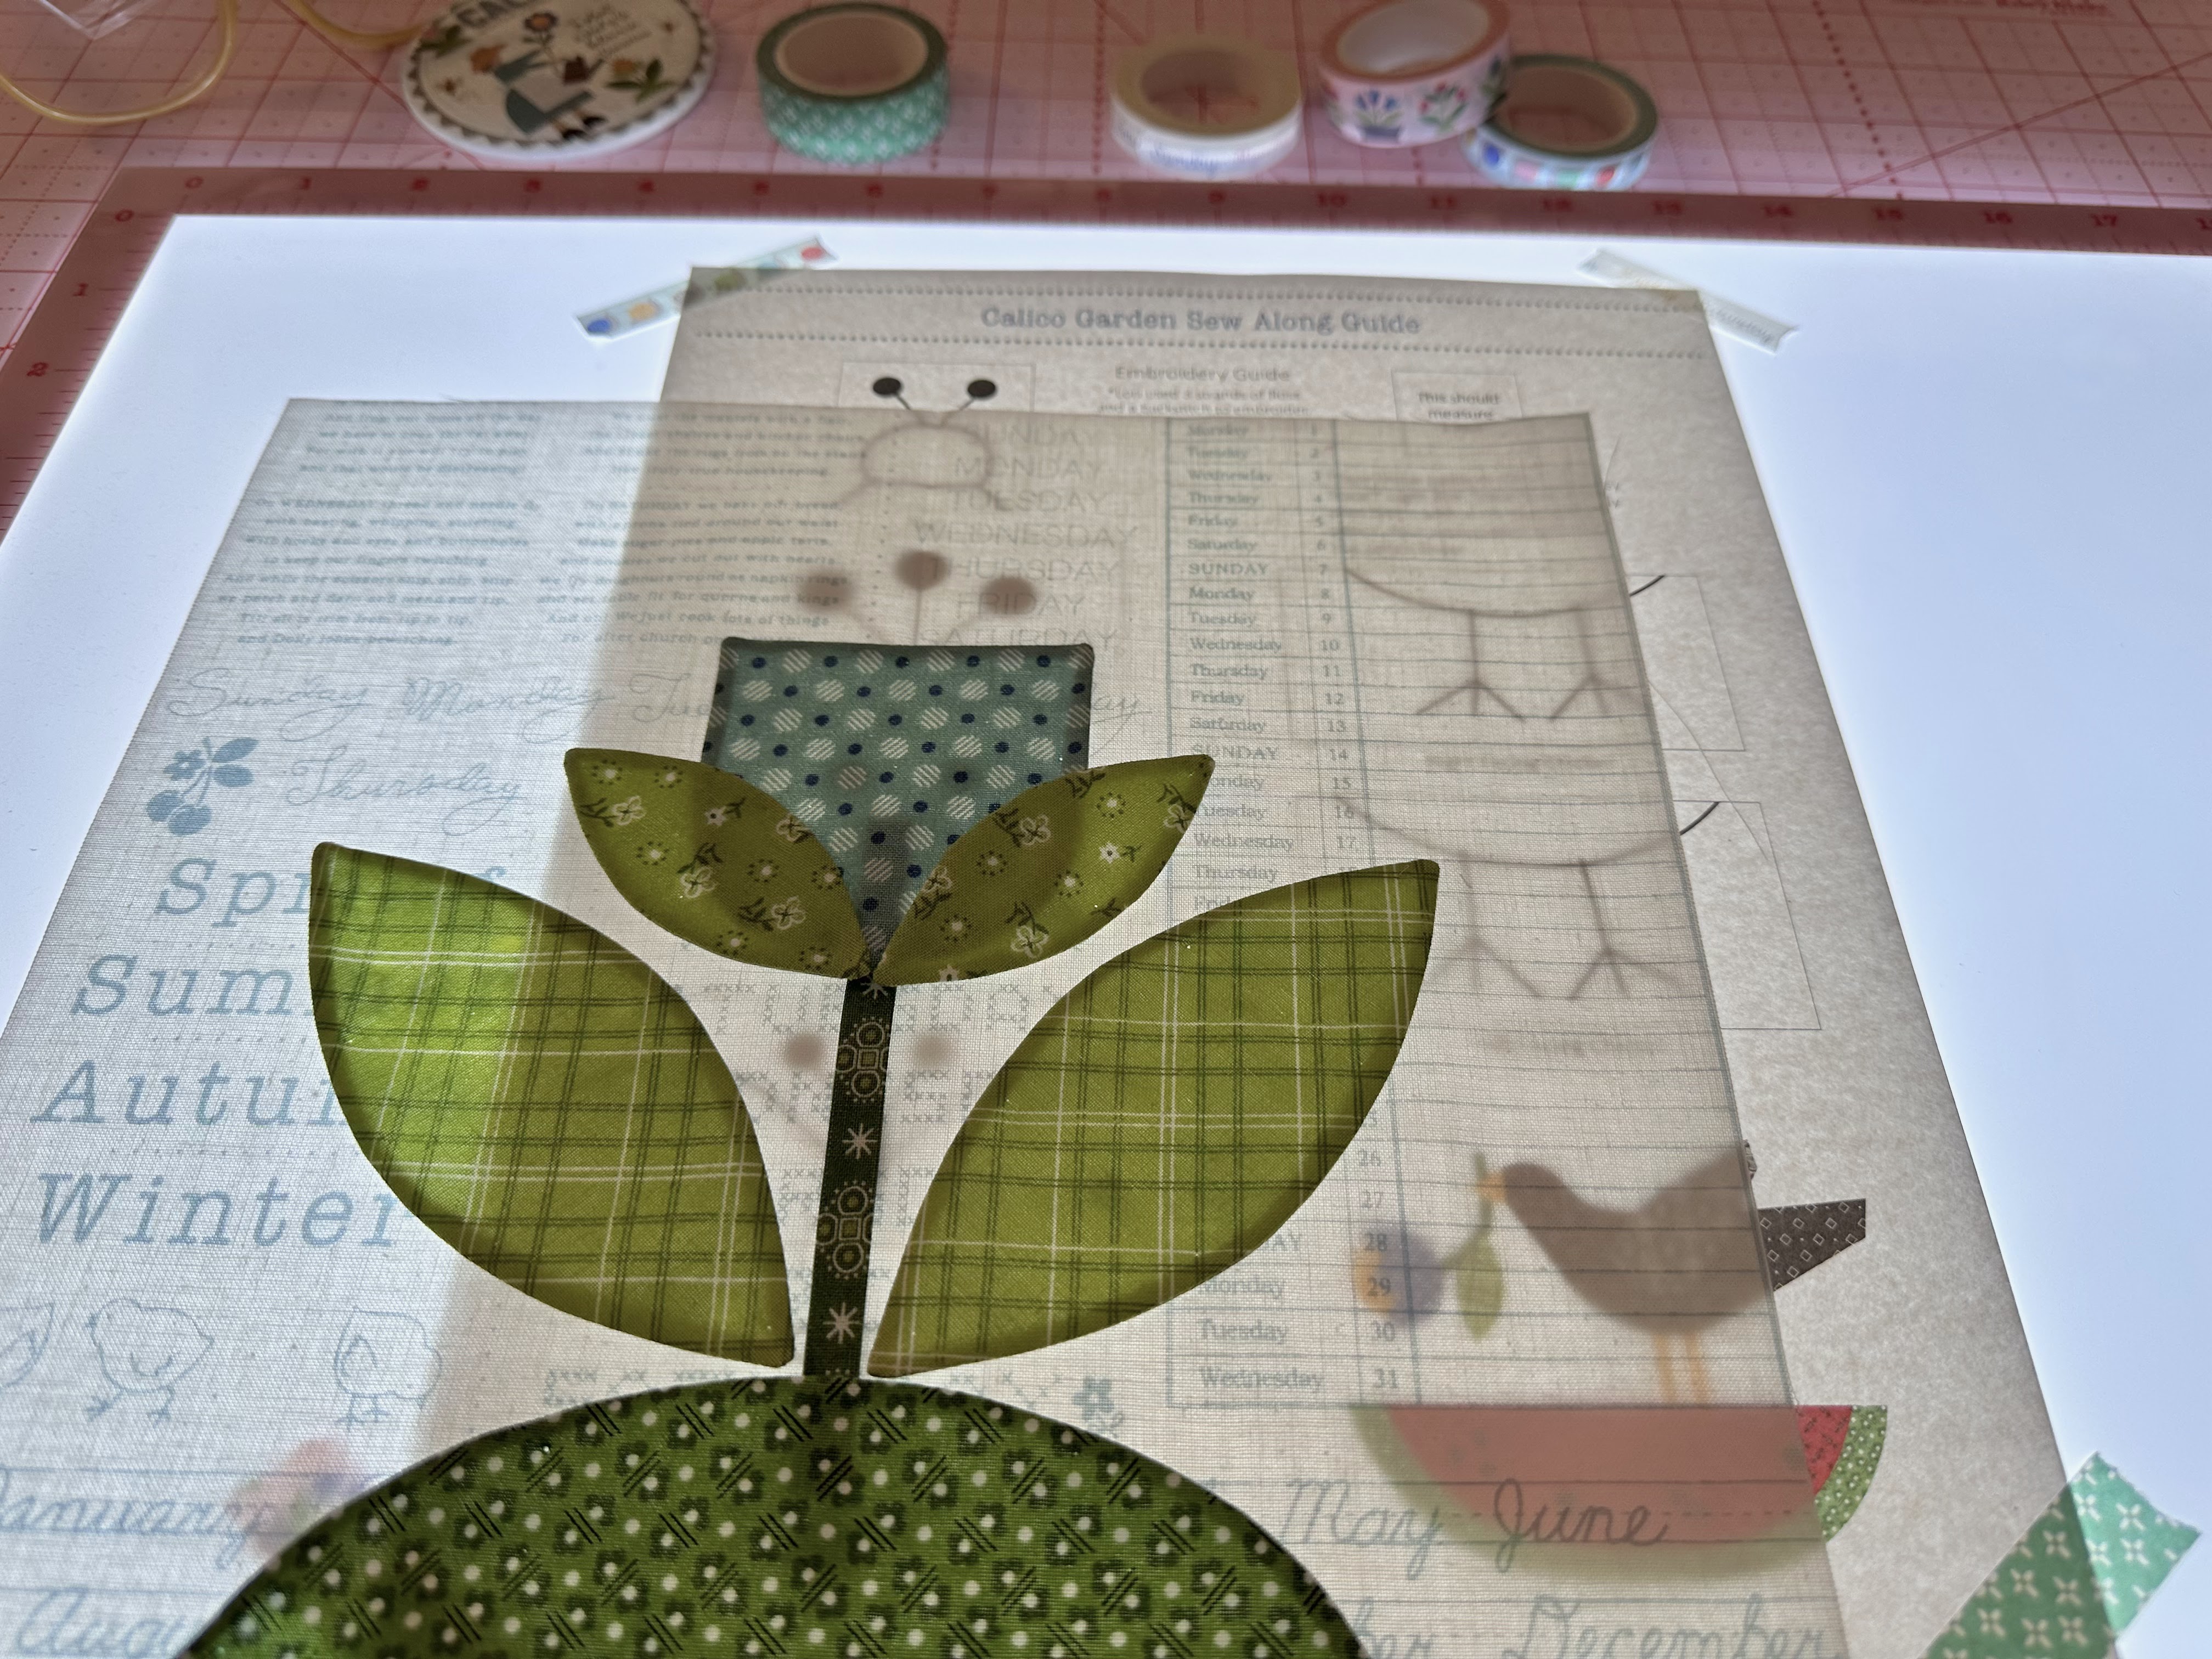
All pinned and glued!
Now for the embroidery:)

Turn to the embroidery section
 of your sew along guide...


And tape it to your 
Easy Trace Light Box.
I always use Washi Tape for this...
it is not permanent and is 
easily removable without leaving any
 residue on your paper or the light box.


Now trace the embroidery lines and mark the center of where the buttons go.
I use a mechanical pencil for this.
My embroidery covers the traced lines.


The other page in the embroidery section 
of the guide is for tracing the placement
 of the small Vintage Trim for the 
chimney smoke when we do that block later:)


I used my Nifty Needles Pack 
and grabbed the aqua one for embroidery.


I used 2 strands of floss and did a 
simple backstitch for the stamen
 and then sewed on my buttons.

I like to sew my buttons on 
at this point because my quilter
 does not mind and because I want to 
show you what they look like
 when I'm taking photos for you.

You and your quilter can decide when you
 would like to sew your buttons on.


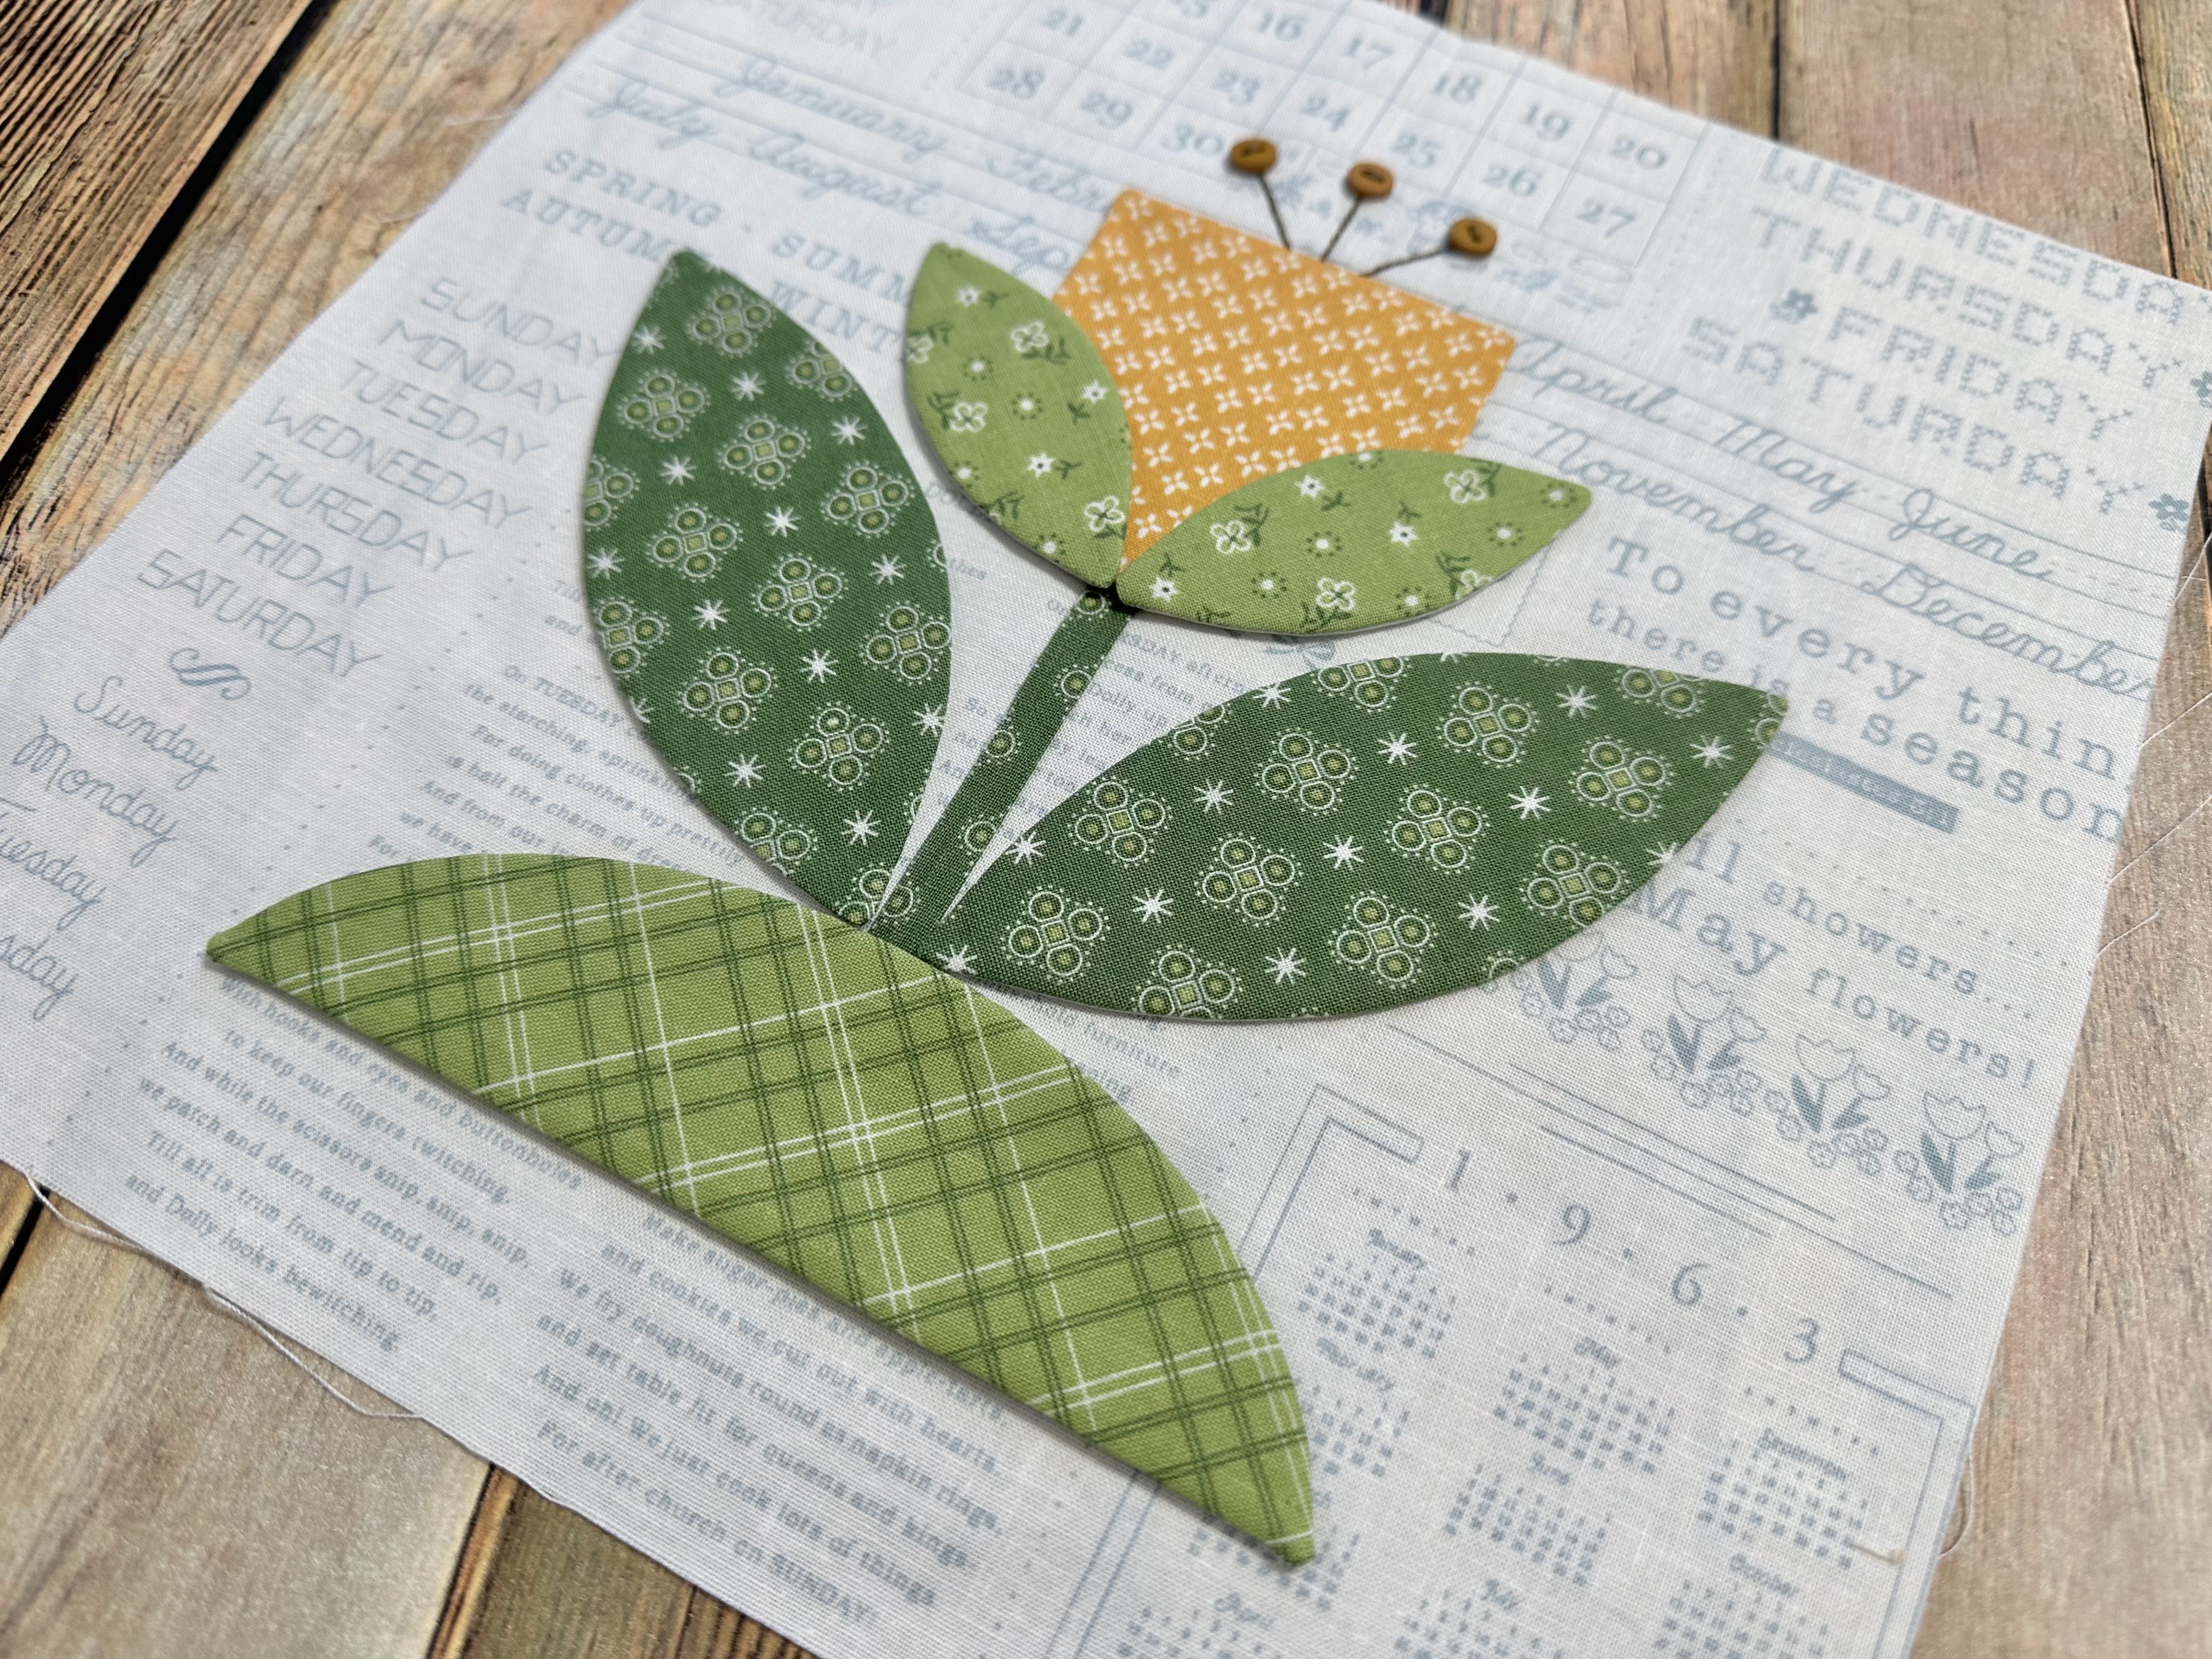
Blue Morning Glory Block 
all ready for applique:)

Afterwards I will 
press from the back and then 
I will use my 
8 1/2" Trim-It Ruler
to trim down the block before 
I sew it into the quilt.


My Yellow Morning Glory Block 
is ready for applique as well:)


I love these sweet simple flowers
 and their Cute Little Buttons:)


We have a nice little start on our
 applique blocks for the border:)
YaY!
 

Thanks so much for sewing with me today
 and for joining me for the 
Calico Garden Sew Along


I'll meet you right back here
on my blog next week for the 
Primrose Block tutorial...
xx
Lori

Related Posts with Thumbnails