

"HENS and ROOT VEGGIES"

Welcome to Week Six of the
"CALICO GARDEN"
Sew Along!
Join me here each week
when I will be doing tutorials
on the blocks for the quilt.
Of course because we are all sewing
from all around the world
we all have different time zones...
But I will be posting each Monday
right here on my blog
and you can follow my tutorials
any time each week that
is convenient for you.
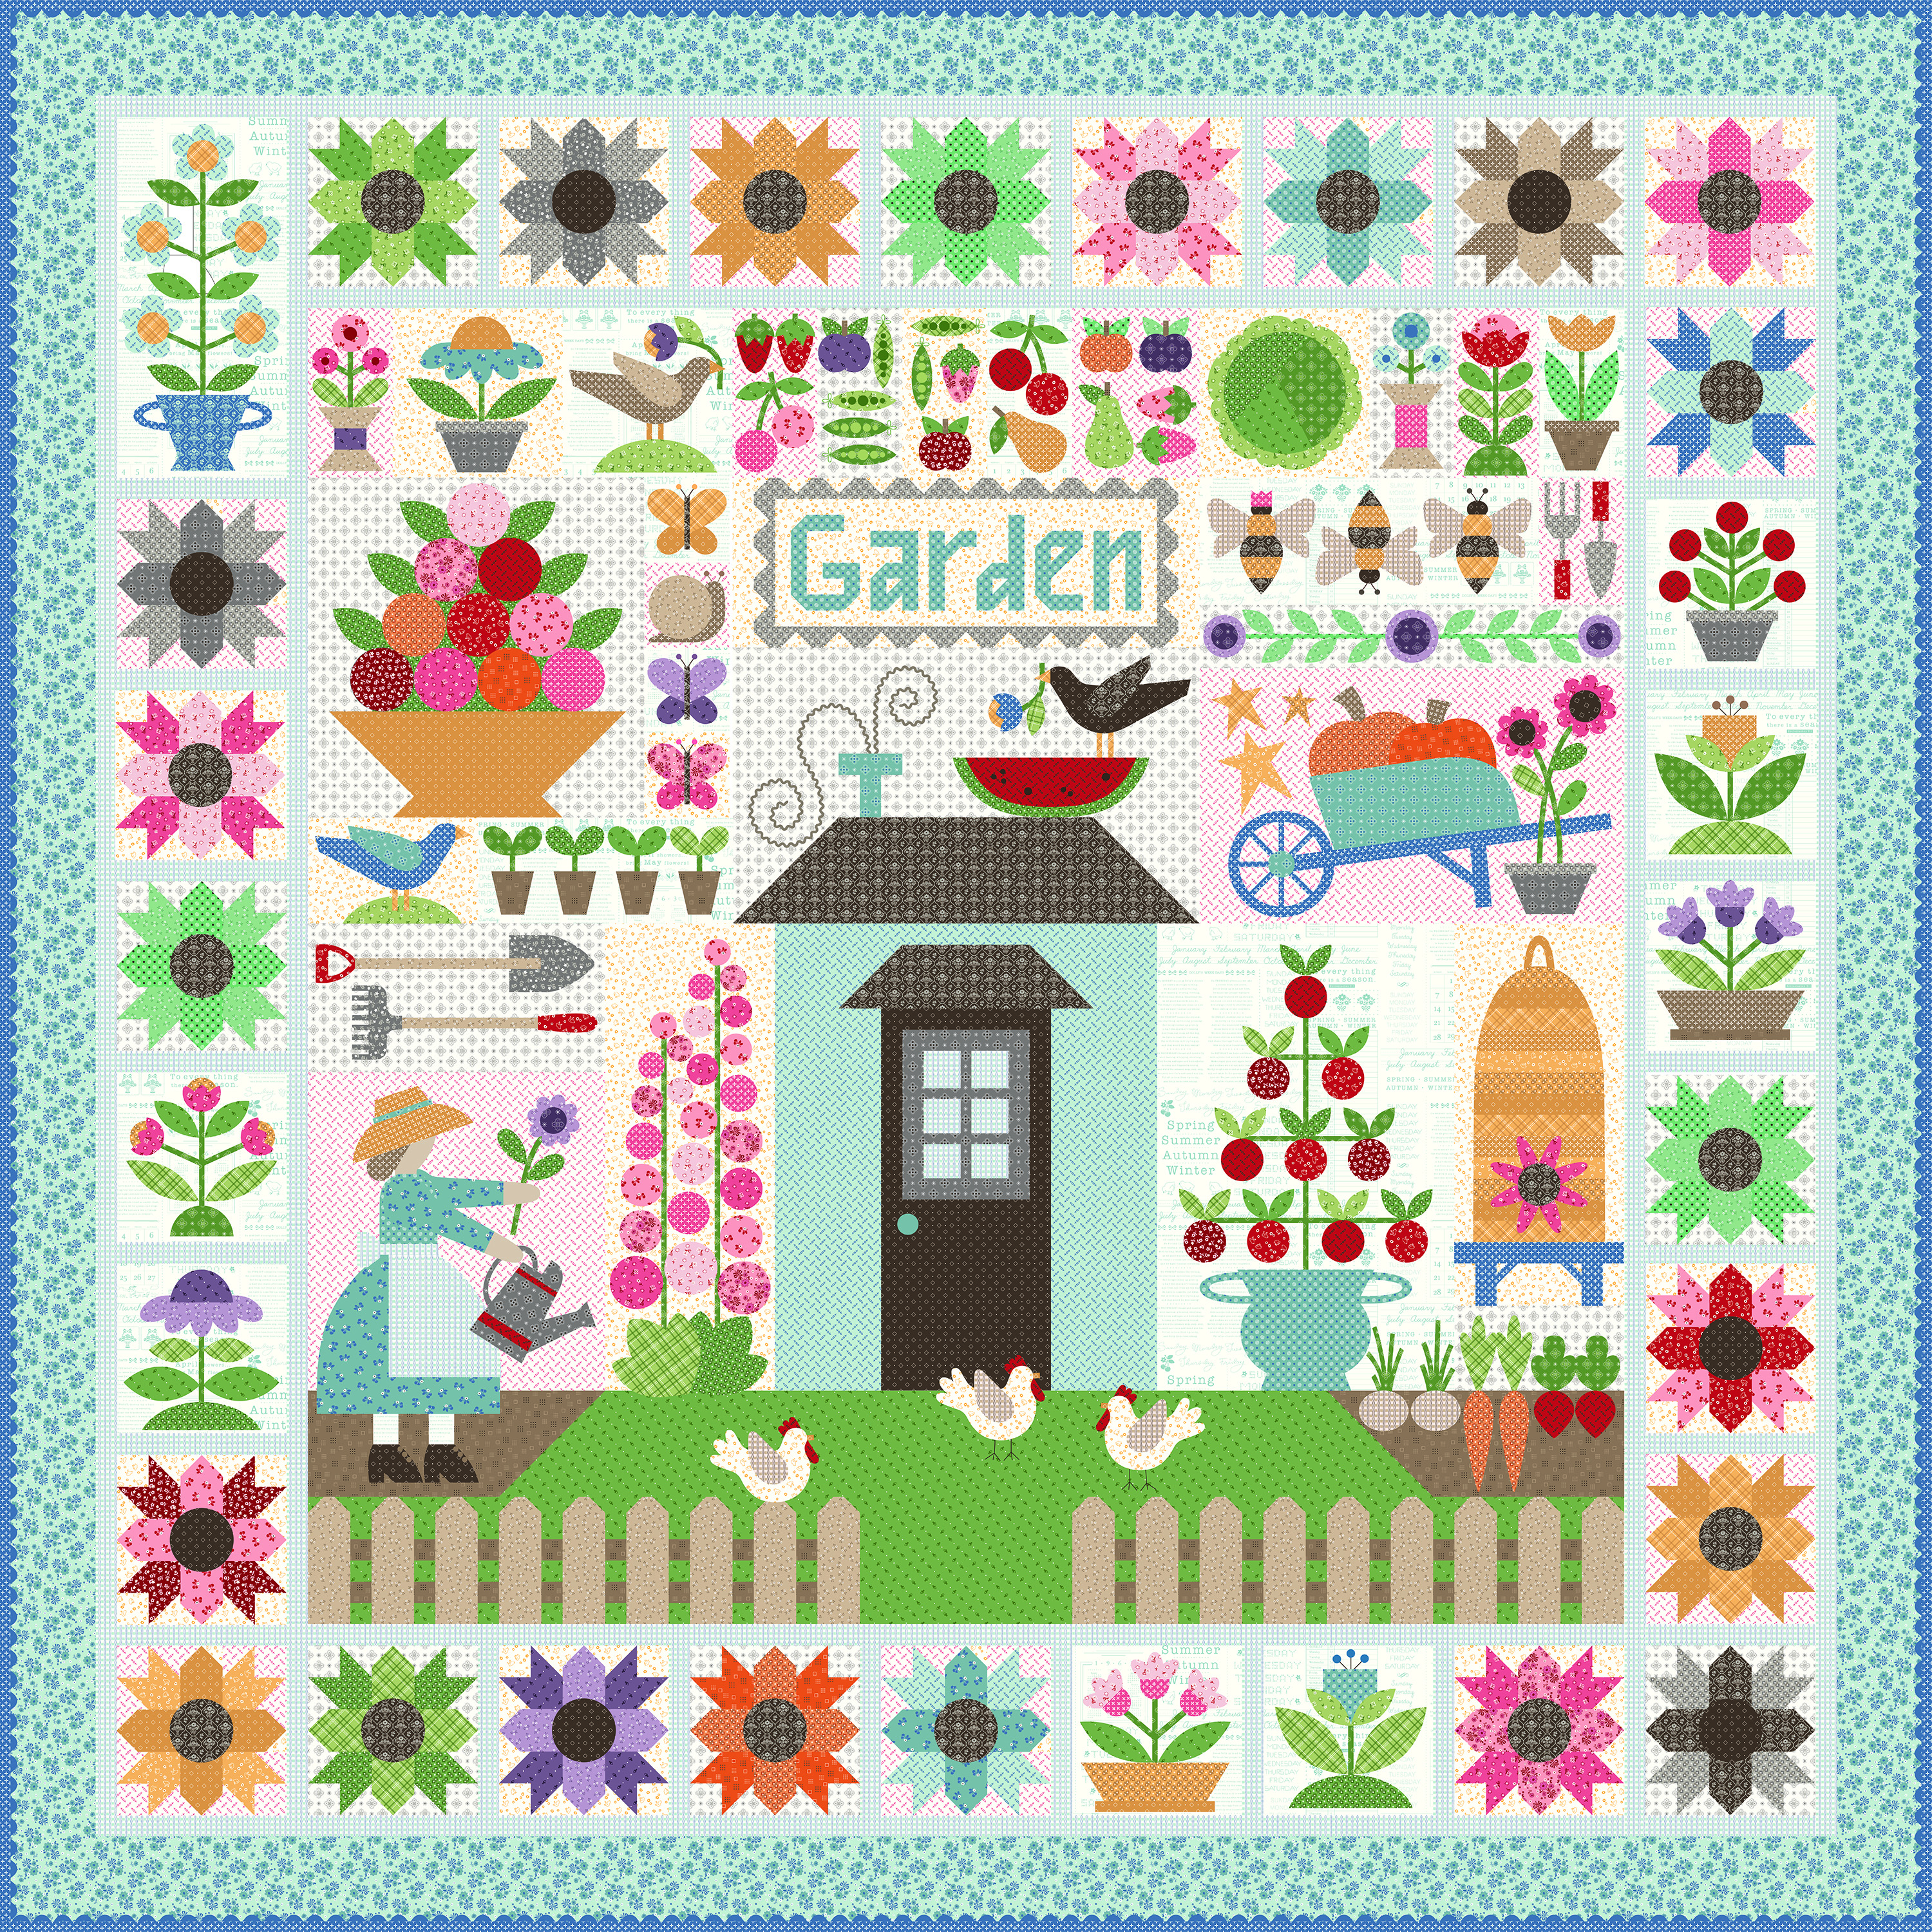
We are making the
Calico Garden Quilt
90" x 90"

The quilt is made with my latest fabric
collection called Calico...
I hope that you all have all
received your templates and
fabric kits by now...
and that we are all ready to begin!!
If you still need them ...
just do a quick google search for
"Calico Garden Quilt Kit"
to find shops who still have some left.

We are also using the
Calico Garden
Sew Simple Shapes
I have posted the
post which details all of the supplies
for the sew along and how it works.
I have also given the link there
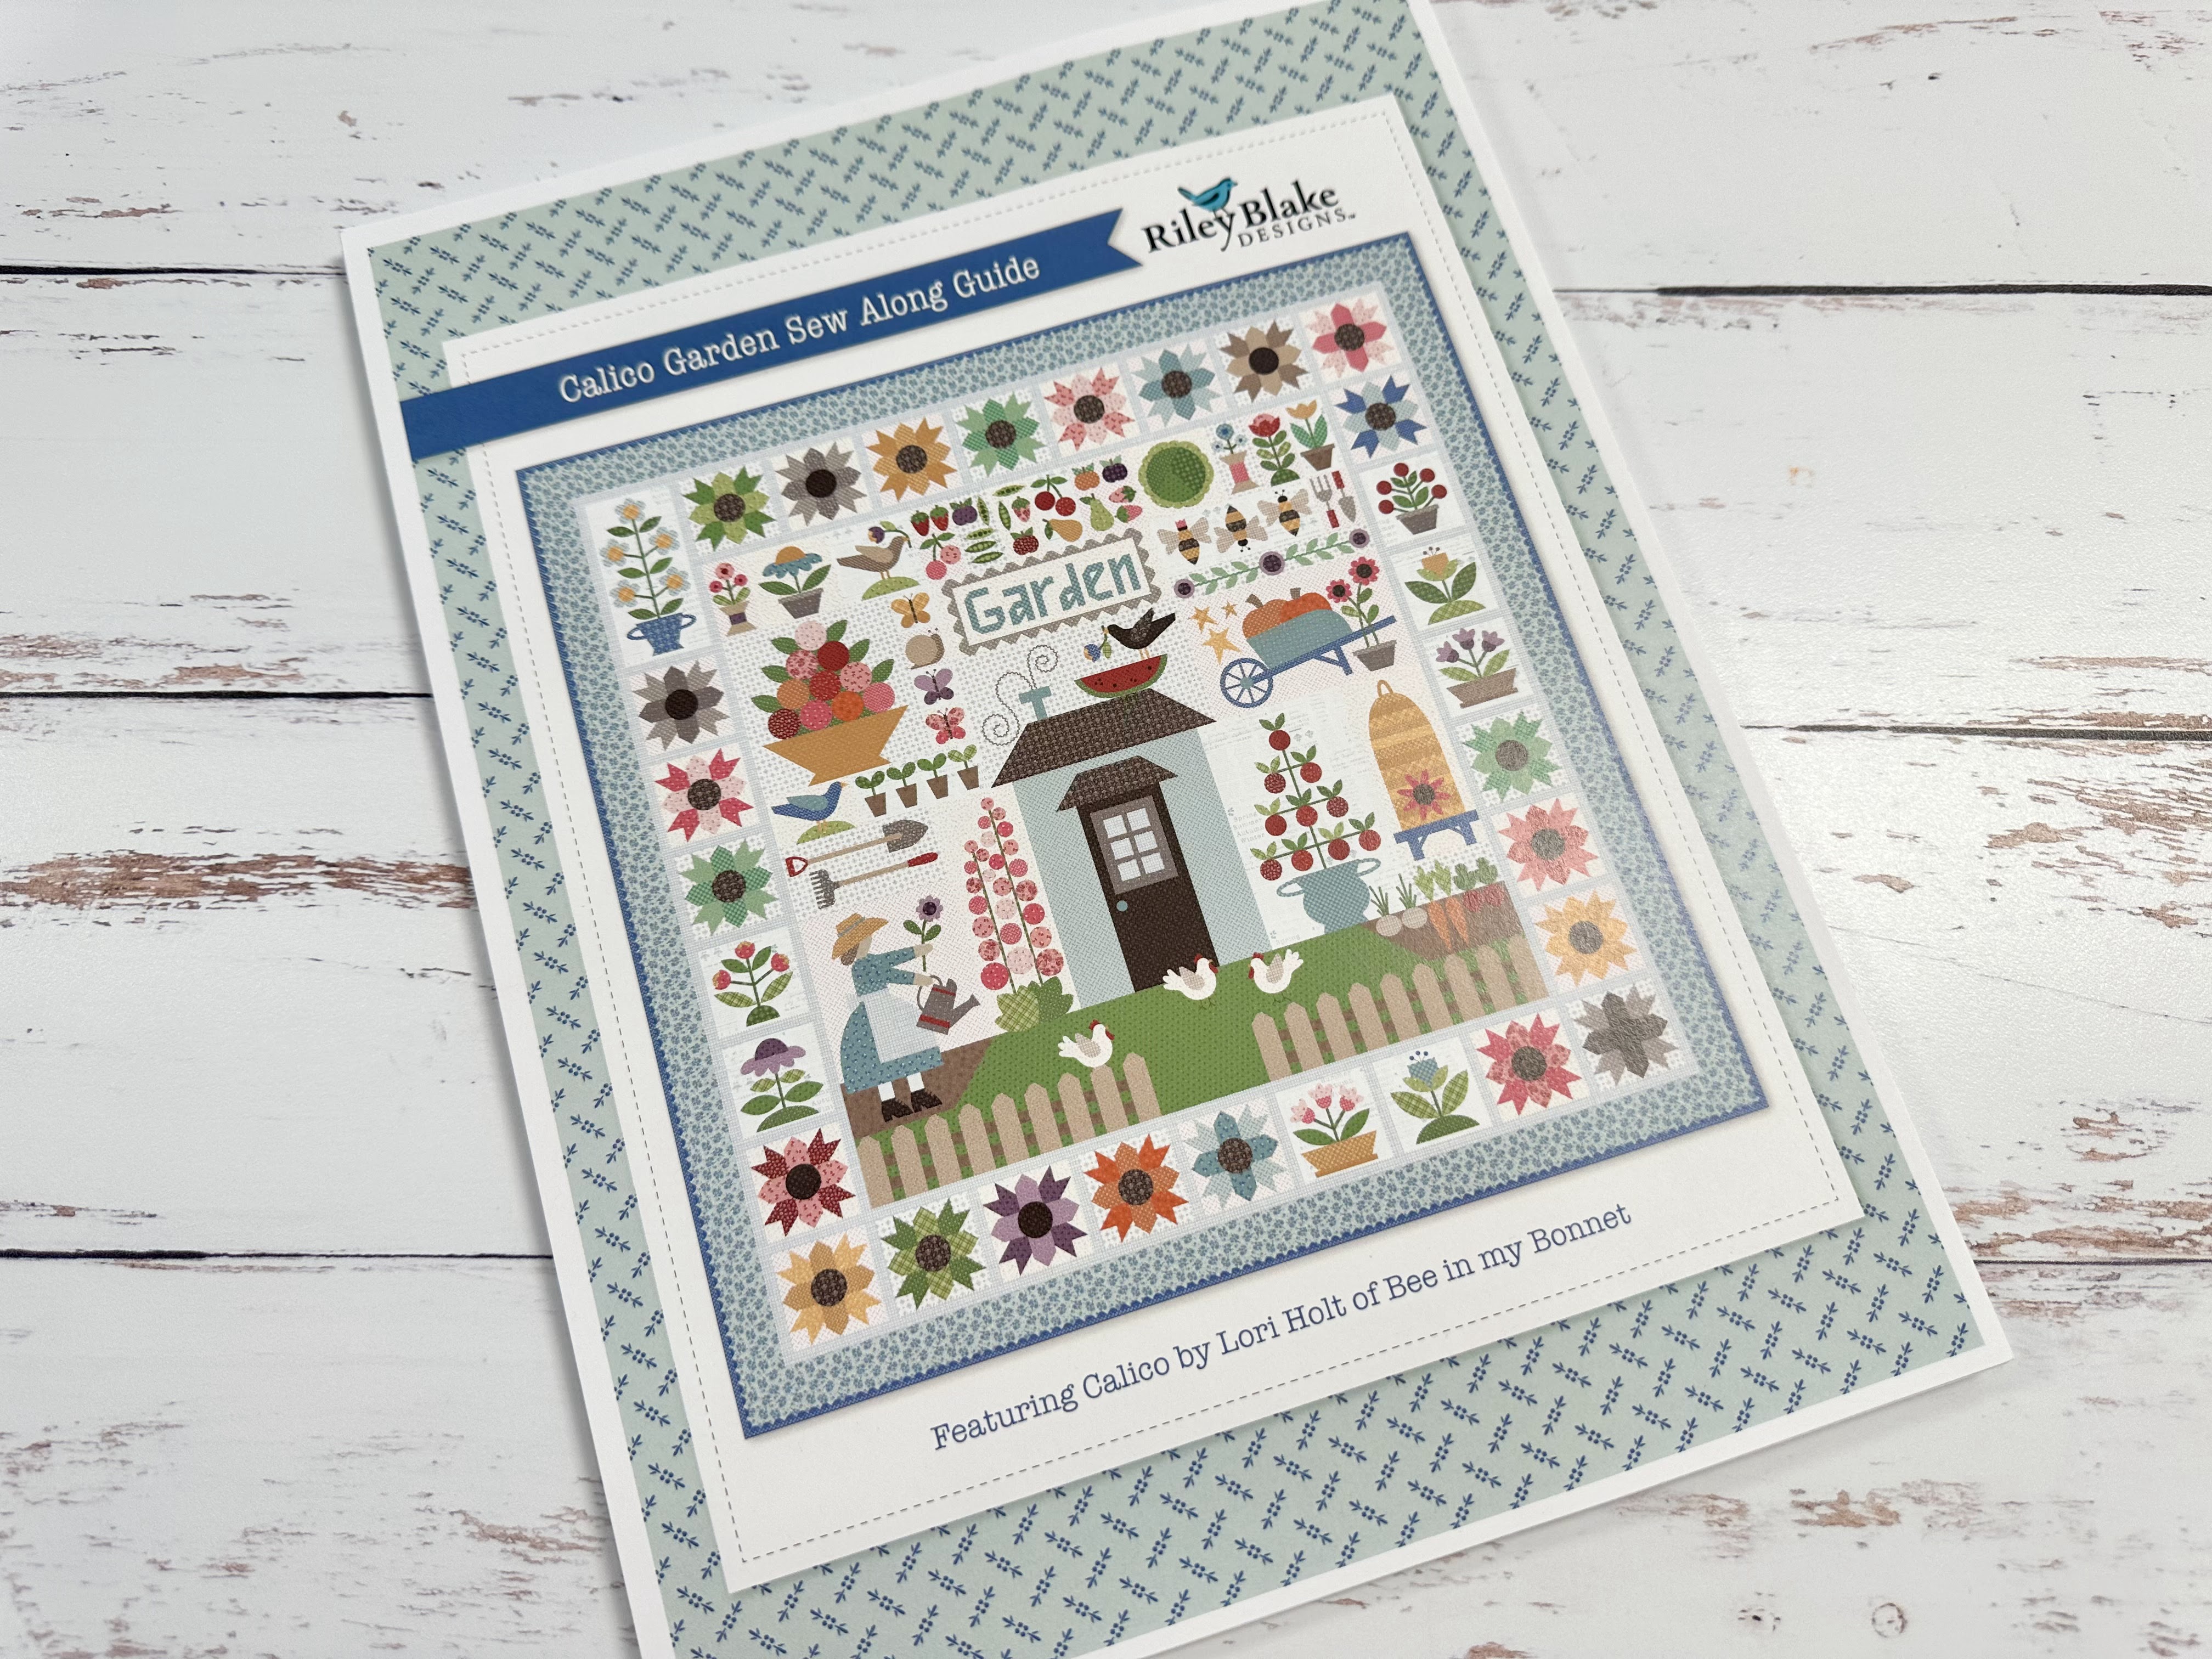
for the free PDF Download
of the Sew Along Guide
to download the sew along guide.
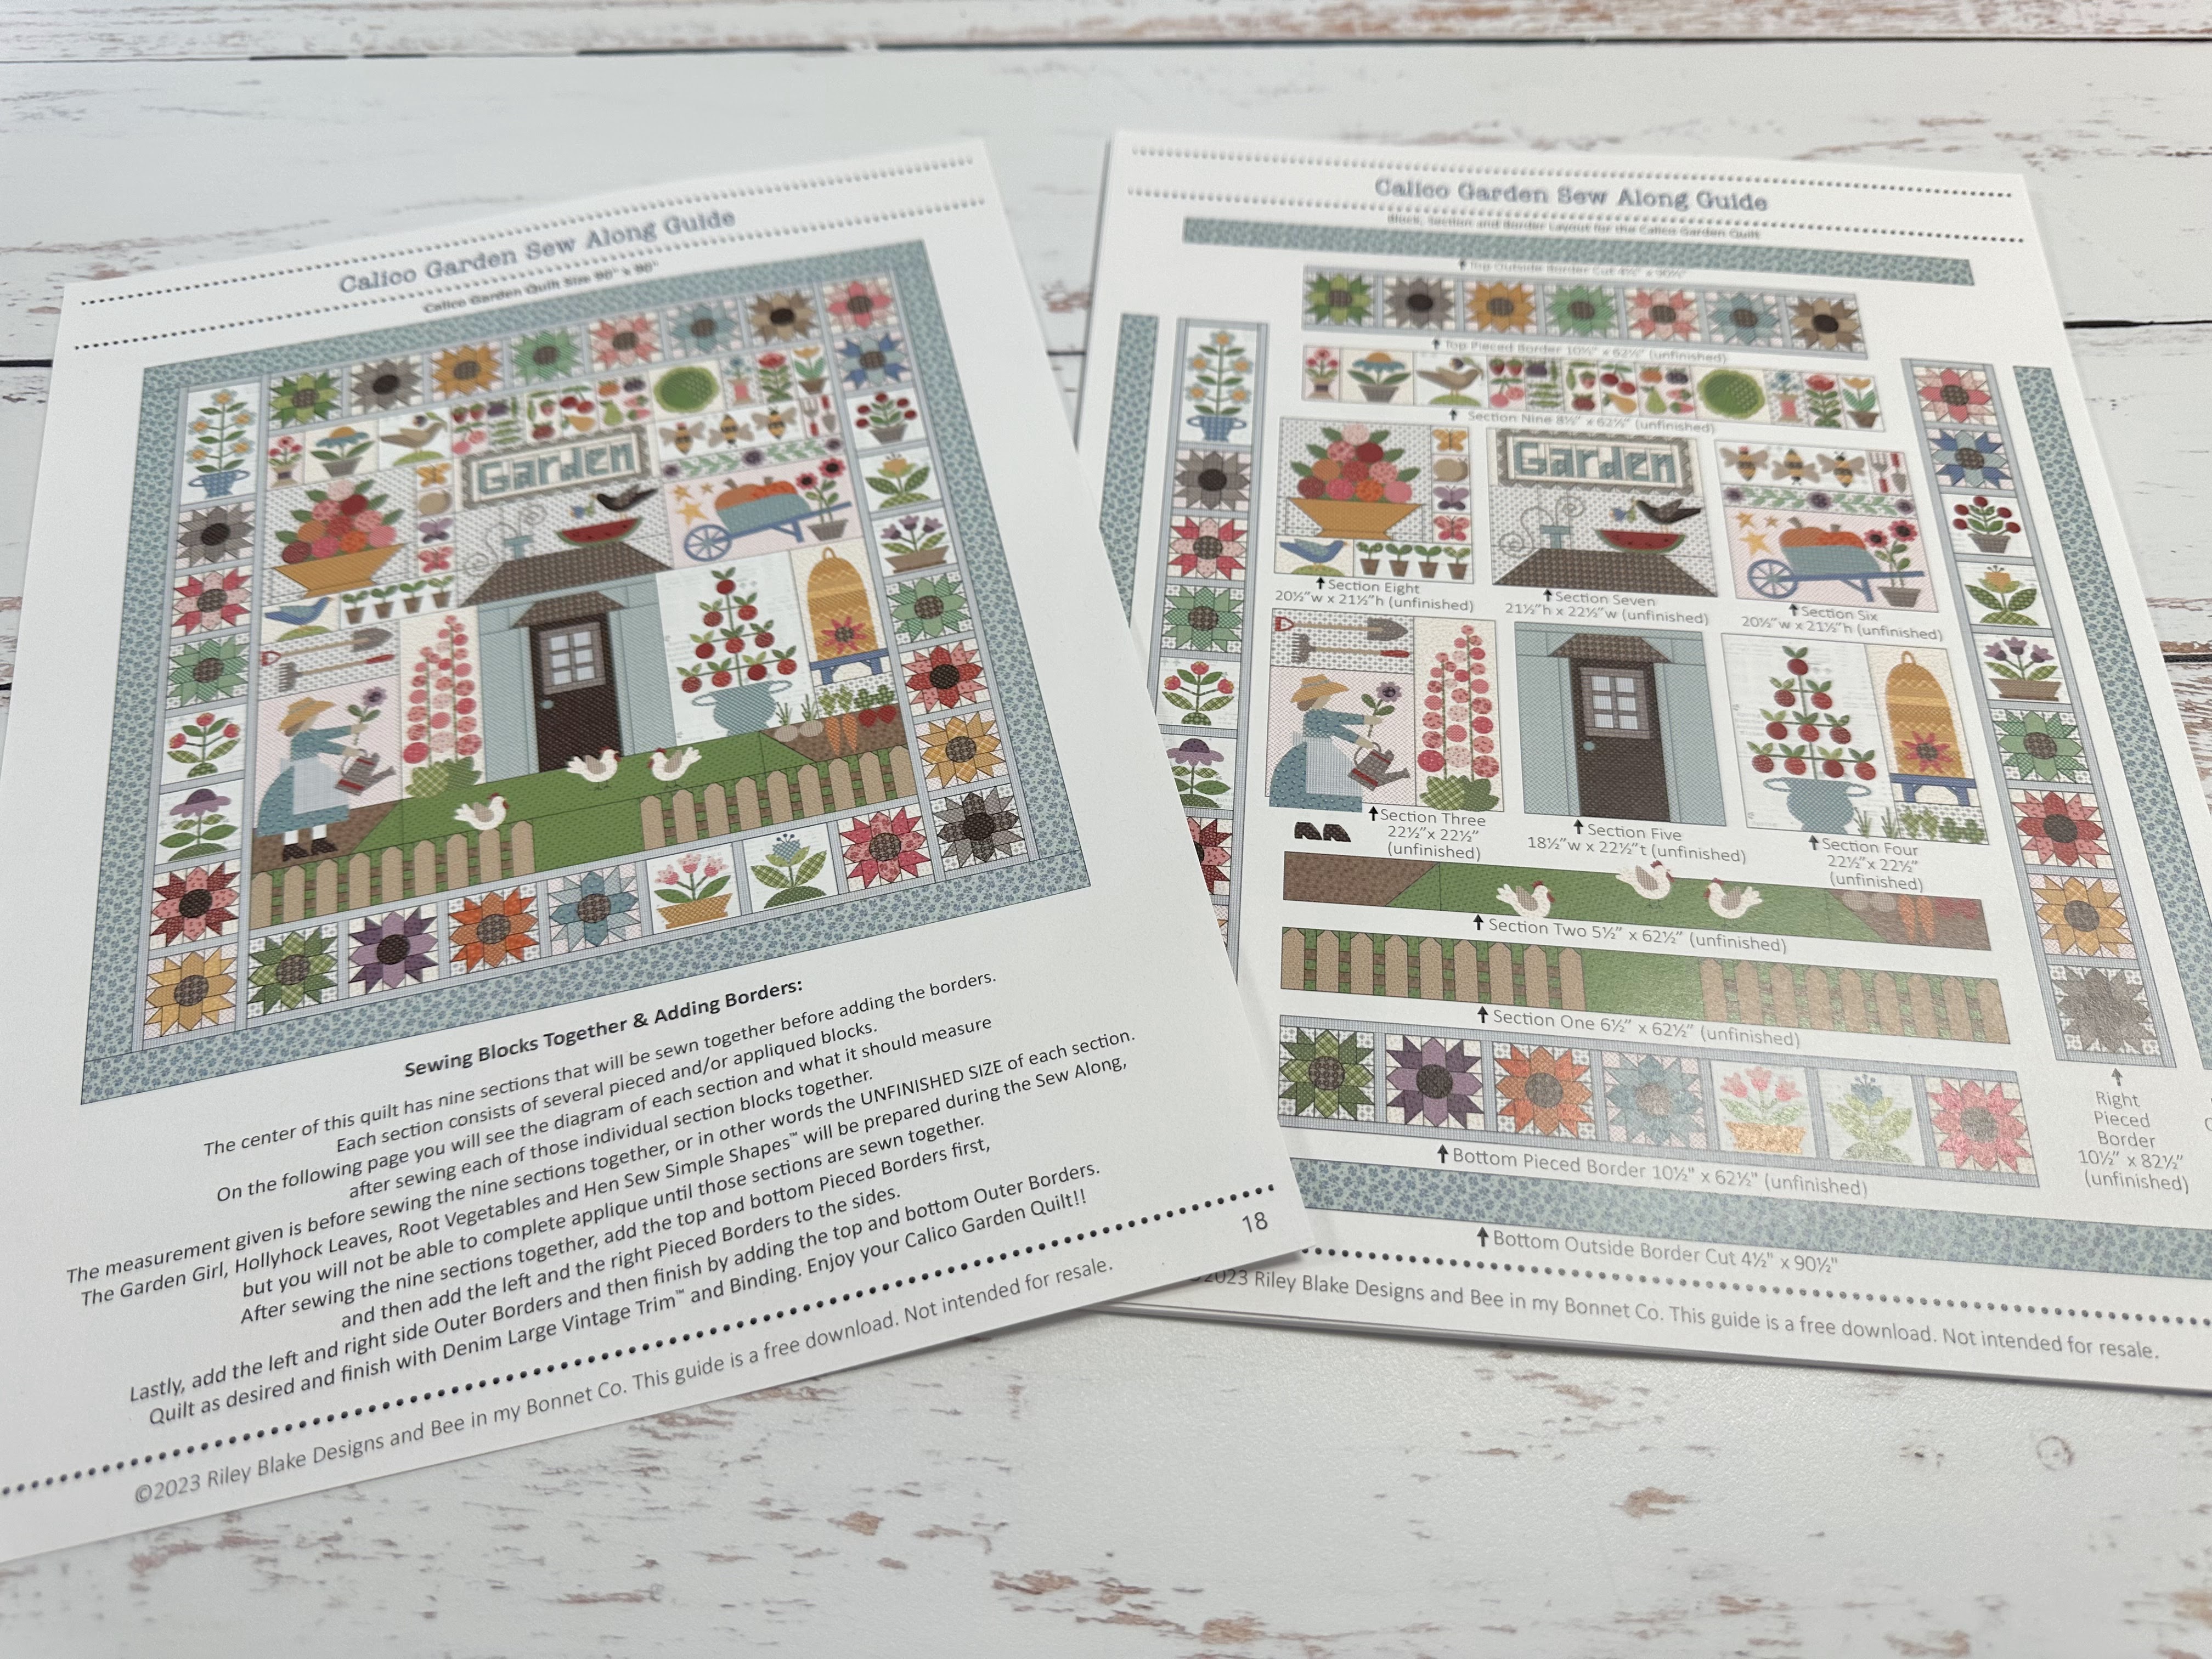
As per the sew along guide
cutting instructions
you should have everything for your
Hens and Root Veggies
all cut and ready to go!
As per usual for week one in my
Sew Simple Shape Sew Alongs
the FIRST week tutorial is a video.
Because I now have my own
I have posted the
Blue Coneflower Block
Tutorial there.
to visit my channel and watch the
tutorial and I hope that you love it!
Pretty please leave me a comment
over there and let me know:)
If you like what you see
and my other videos there...
click on subscribe and click on the bell
to be notified whenever
I post another tutorial:)

that I showed you
how to make in my video:)

for the tutorial on my
PURPLE CONEFLOWER BLOCK

to go to my tutorial for the
CALICO STAR FLOWER BLOCK

to go to my tutorial for the
Morning Glory Blocks

to go to my tutorial for the
PRIMROSE BLOCKS

to go to my tutorial for the
RED ROSES and MUMS BLOCK

to go to my tutorial for the
Forget Me Not Block

for the Picket Fence and
the Grass and Soil and posted it
yesterday in a separate post...

to go to my tutorial for the
PICKET FENCE and GRASS BLOCKS

Here are three Hens for the Grass Block.
Everything is all cut...
all traced and ready to go!
Here is a list of the
Calico Garden
Sew Simple Shapes
needed for this block:
3 - O-77
3 - O-78
3 - O-79
You will also need to cut
and prepare 1/4"
straight bias strip for the beaks:
3 - 1 1/2" long
and then press in half.

***NOTE***
You will need to trace one hen
and one wing in reverse by tracing with
the Sew Simple Shape facing down.
This is for the hen on the far right
of the block...she is facing
towards the left and the
other two hens face to the right:)

This is what they
look like all sewn but before turning
clip the two cleavage areas on the
red shapes and the hen tail feathers
and the inner curves on each hen on
both sides of the neck and tail feathers.

Because these cleavage areas are deep
be sure to use the seam roller
in these areas like I talked about
in the week one video.

We will not be able to applique
the Hens onto the grass block until
that section of the quilt is
sewn together but we can assemble
and glue each Hen in preparation:)

I simply glued the wings first...
then the beaks next...
and finally the comb/wattle.
After your Hens are dry set them aside
in a safe place until time for applique.
Take note that when it's time
to applique these Hens
(after we sew the sections
above the grass all together
and then sew them to the grass)
I will embroider legs on the hens
except for the hen on the far left...
because she is sitting on the picket fence!
Okay...
now let's prepare the Root Veggies!!

Here are the Veggies for the
Soil Block on the right side of the quilt.
Everything is all cut...
all traced and ready to go!
Here is a list of the
Calico Garden
Sew Simple Shapes
needed for this block:
2 - O-33
2 - O-34
2 - O-35
2 - O-57
2 - O-59
You will also need to cut
and prepare 1/4" cut on the bias
strips for the onion tops:
3 - 4 1/2" long
4 - 3" long
3 - 2" long
and then press one end under
1/4" on each one.
The other end will be
placed underneath the onions.
***NOTE***
When it comes time to
glue baste these onion tops...
you can easily press a slight curve in
them where you want to at that time
because they were cut on the bias.
***Another NOTE***
I had you cut the background for
the veggie tops 6" x 10"
as per the sew along guide
but as I've decided it will be
much easier to applique them after
those sections are pieced...
you will need to cut that background
to exact piecing size which is
4 1/2" x 8 1/2" wide
and sew it to the bottom of the
Bee Skep Block
AFTER
Bee Skep is appliquéd and trimmed down.

!!!WHEW!!!
That was a lot of information
but it was very important:)
With that being said...
let's sew our veggies!
Before you turn...
clip the cleavage areas
in the carrot and beet tops.

Again...
remember to use the Seam Roller
in those deep cleavage areas
and your clappers after pressing.

My veggies are all ready to go!
Set yours aside at this point
until time for applique
which will be the same time
as it is for the hens.

On another note...
you could do a French Knot for the
hen eyes if you would like:)

Did you notice the cute container
that I've been keeping my notions in
for the Calico Garden Quilt?
I thought I'd show you here what it is.
It's the Mason Jar shaped container
that my Calico Snails Boxed Kit comes in!

It's plastic and reusable and
oh sew cute for storing Quilty things!

And just sew you know...
it measures about 7" x 9"
and is almost 4" tall.
I love it!!

I hope that you have fun prepping
your appliqués this week:)

Thanks so much for sewing with me
and Miss Dolly
and for joining me for the
Calico Garden Sew Along
I'll meet you right back here
on my blog next week for the
Hollyhock and Rake/Shovel Blocks!
Until then...happy sewing!!
xx
Lori

1 comment:
The creating of the appliqué pieces has become easier as we continue. The curves were hard to achieve when we started but they are becoming more rounded now.
Post a Comment