

"VINTAGE OVERALL BILL BLOCK"
Welcome to week six of the
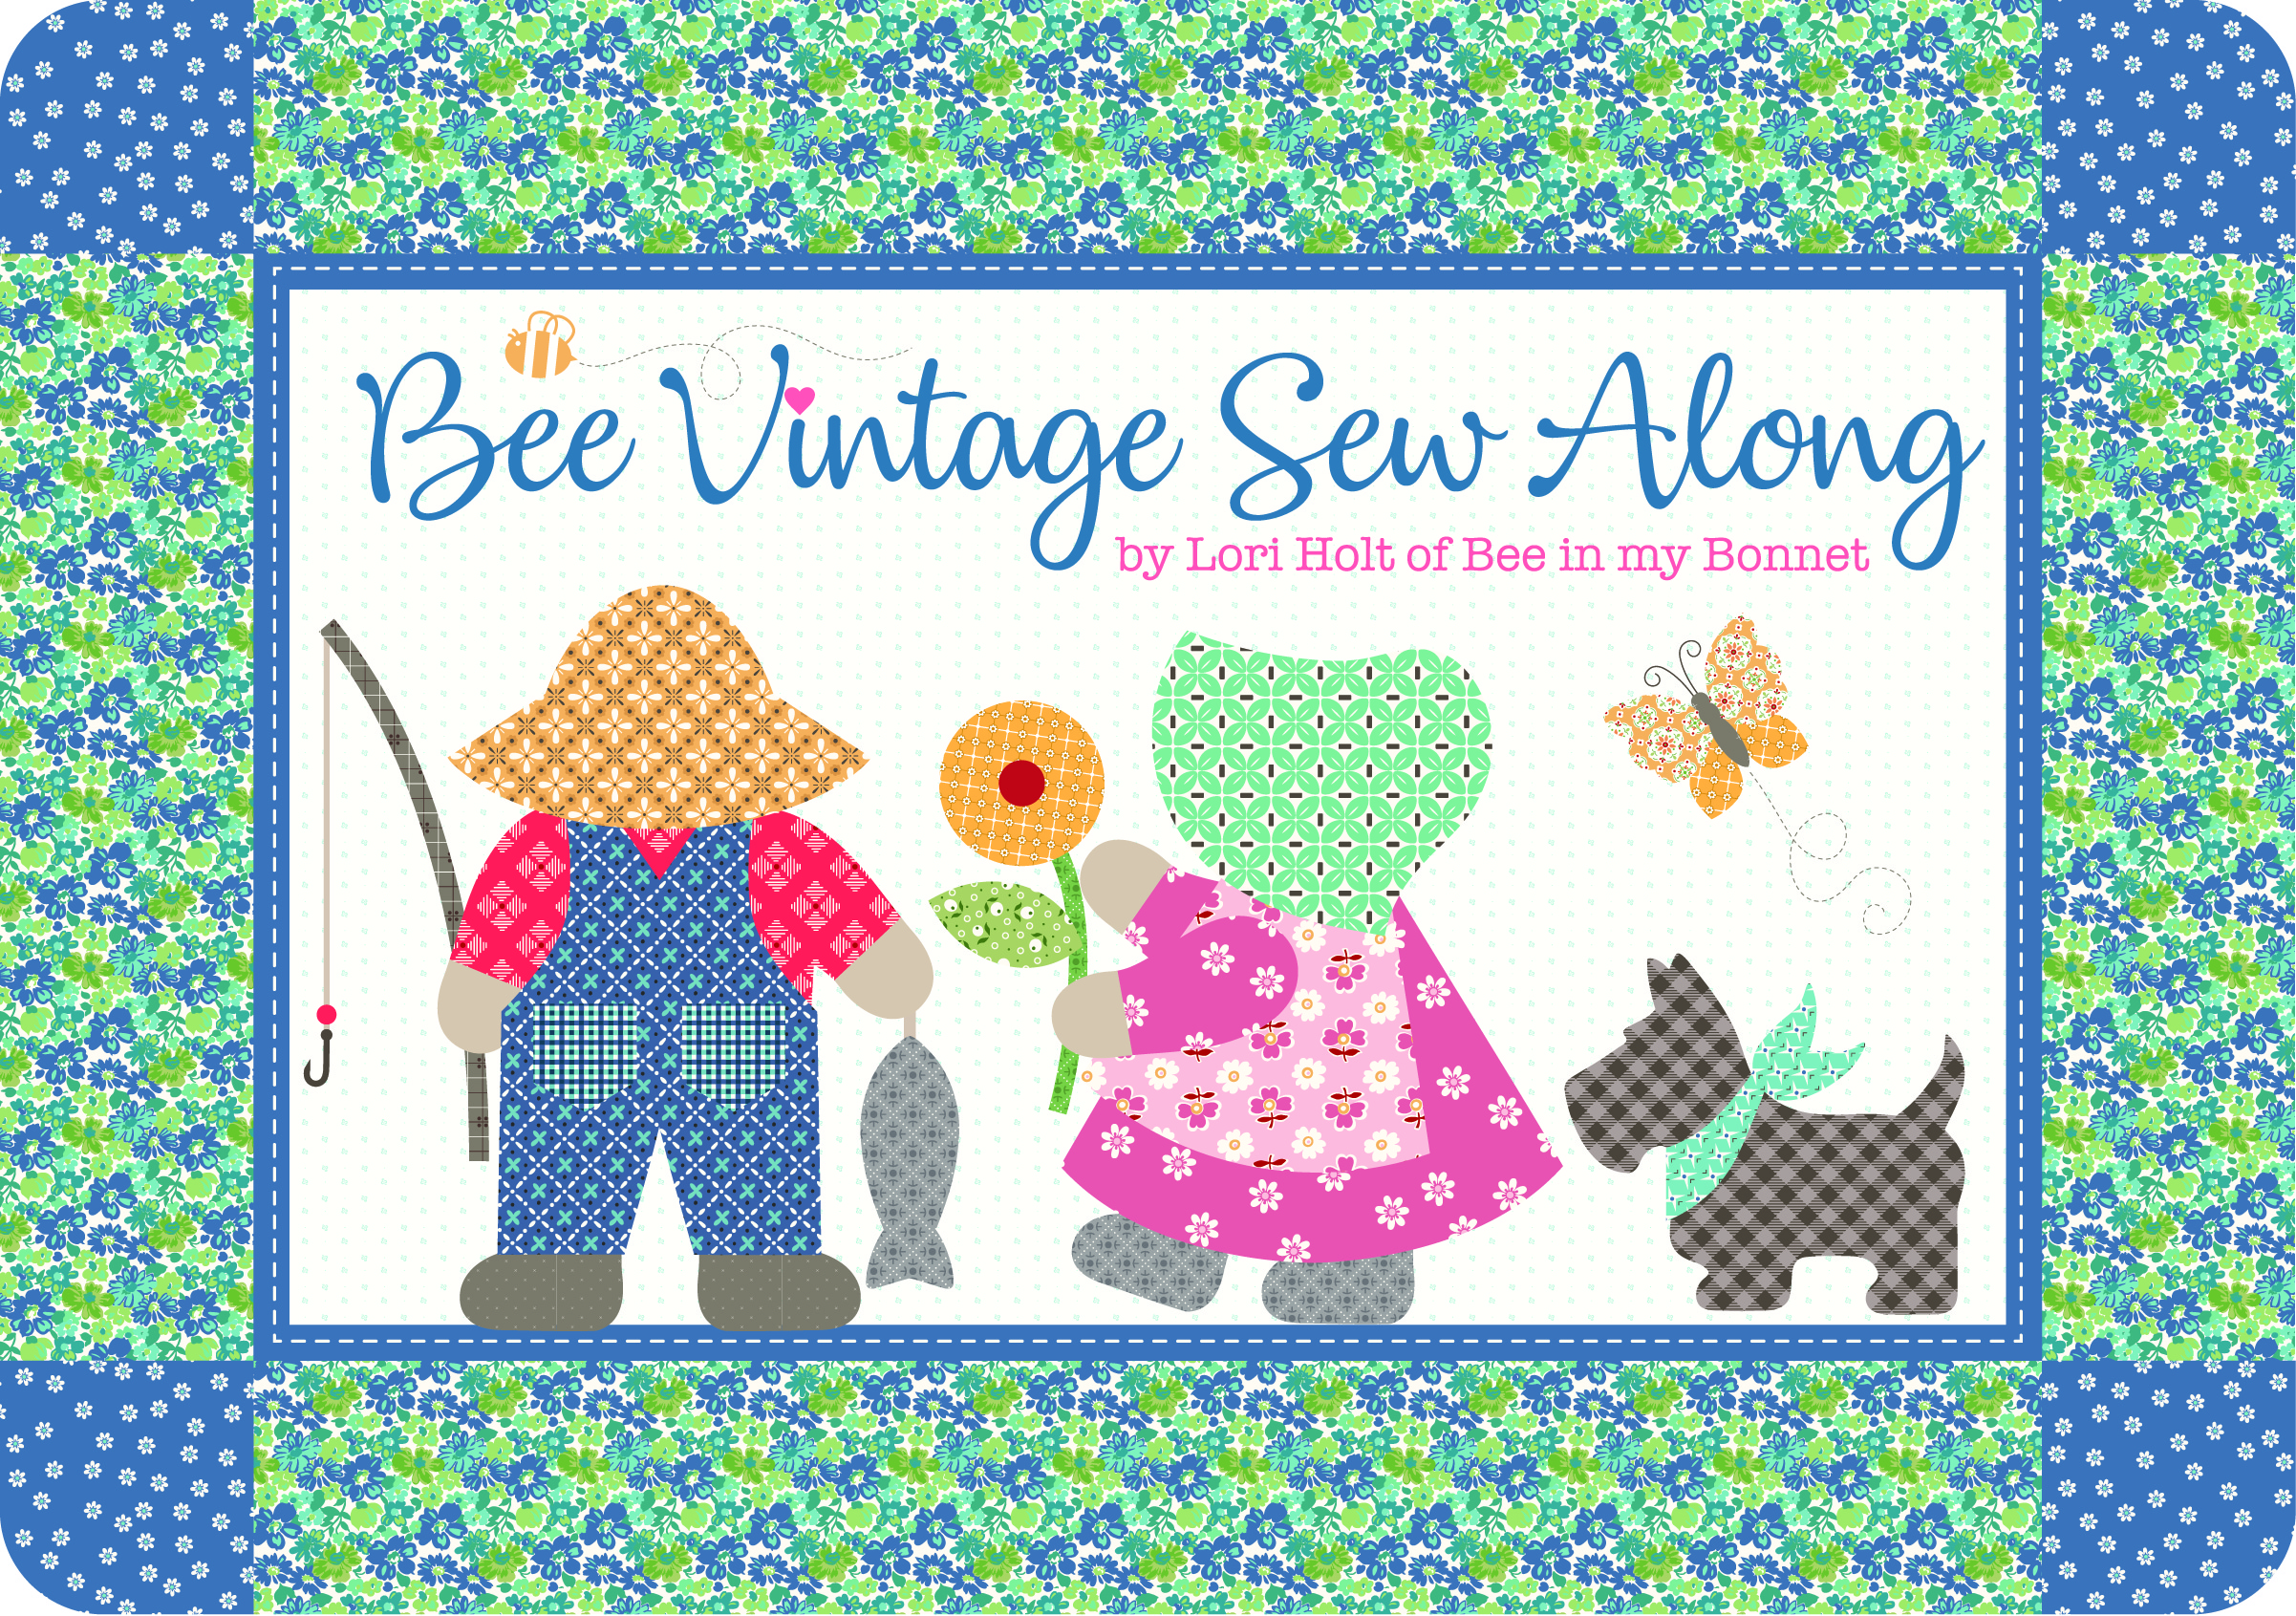
"BEE VINTAGE"
Sew Along!
Join me here each week
when I will be doing 3 tutorials
on three blocks for the quilt.
Of course because we are all sewing
from all around the world
we all have different time zones...
But I will be posting each
Monday - Wednesday - Friday
right here on my blog
and you can follow my tutorials
any time during the week that
is convenient for you.

We are making the
Bee Vintage Sampler Quilt
71" x 84"

The quilt is made with my fabric
collection called Bee Vintage...
and a few other prints from my basics collections as well:)
I hope that you all have all
received your
fabric kits by now...
and that we are all ready to begin!!
If you still need one ...
just do a quick google search for
"Bee Vintage Quilt Kit"
to find shops who still have some left.

We are also using the
Bee Vintage
Sew Simple Shapes
I have already posted the
post which details all of the supplies
for the sew along and how it works.
I have also given the link there
for the free PDF Download
of the Sew Along Guide
to download the sew along guide
if you have not downloaded yet.

As per usual for the first block in my
Sew Simple Shape Sew Alongs
that FIRST tutorial is a video.
Because I now have my own
I have posted the
Vintage Strawberry Block
Tutorial there.
to visit my channel and watch the
tutorial and I hope that you love it!

for the tutorial on the
VINTAGE APPLE BLOCK

for the tutorial on the
VINTAGE CHERRIES BLOCK

for the tutorial on the
VINTAGE BUTTERFLY BLOCK

for the tutorial on the
VINTAGE MAPLE LEAF BLOCK

for the tutorial on the
VINTAGE SCOTTY DOG BLOCK
for the tutorial on the
VINTAGE UMBRELLA BLOCK

for the tutorial on the
VINTAGE FLOWER BLOCK


for the tutorial on the
VINTAGE SPRING BASKET BLOCK

for the tutorial on the
VINTAGE COTTAGE BLOCK

for the tutorial on the
VINTAGE CORSAGE BLOCK

for the tutorial on the
VINTAGE SUNBONNET SUE BLOCK

for the tutorial on the
VINTAGE SONGBIRD BLOCK

Last time we made the
VINTAGE TULIP POT BLOCK
for that tutorial:)
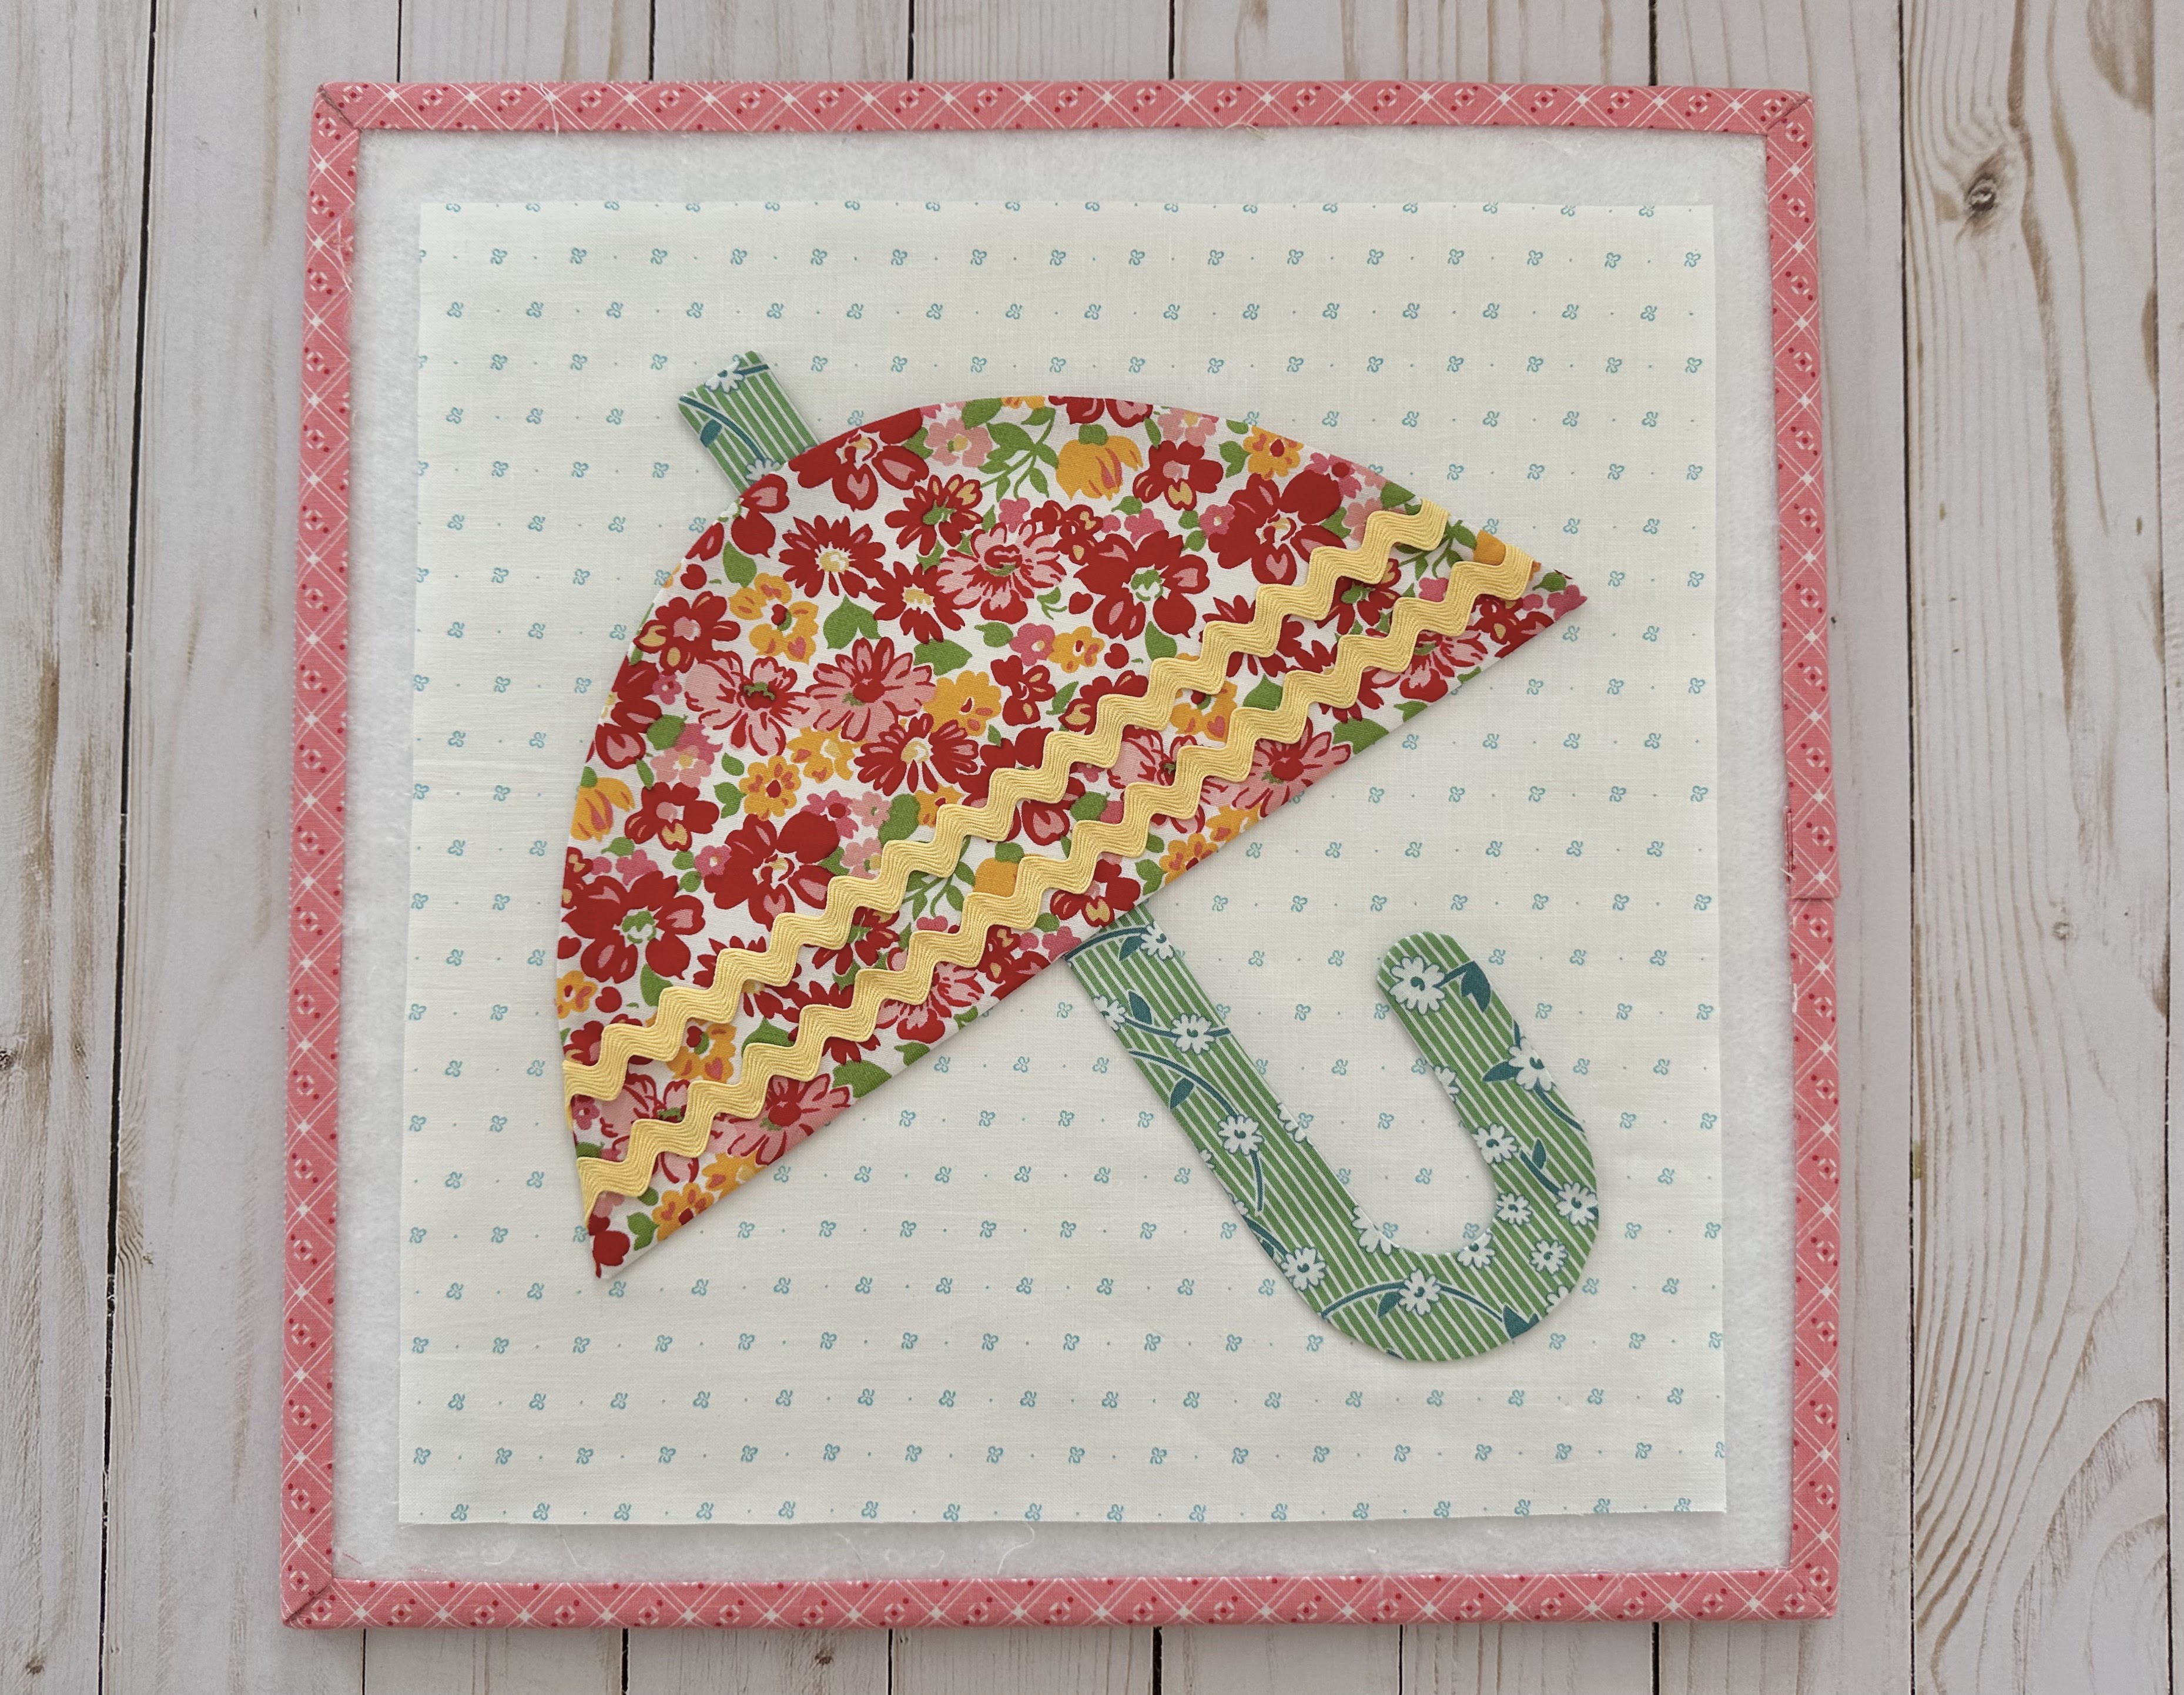
Today we are making Overall Bill!!

Here is my Vintage Overall Bill Block
All cut...traced and ready to go!
Here is a list of the
Bee Vintage
Sew Simple Shapes
needed for this block:
2 - P-37
2 - P-38
1 - P-39
2 - P-40
1 - P-41
1 - P-42
1 - P-44
You will also need a 9" piece
of prepared 1/4" slightly
curved bias strip for his fishing pole.
After pressing both ends under
it should measure about 7 1/4" long.
***NOTE***
You can either cut your strip
on the bias or straight across
your fabric like I did.
The fishing pole has a slight
curve that when I pressed the curve
(as I showed in THIS VIDEO)
it held the curve just fine
even though it was not cut on the bias.
Take note that this info goes for
ALL of the bias strips
in this quilt...but as always
YOU are the boss of your own quilt
so you can decide how you want to do it:)
Cut your background
12" x 12"

***TAKE NOTE***
That you will need to
trace ONE each of the P-38 and P-40
shapes for his arms and shoes in reverse.

Before you sew the shapes or his arms
sew the hand fabric to the ends
of the sleeve fabric
using a 1/4" seam allowance
and press both seams open.

Now you can place your traced interfacing pieces all the way to the bottom
of the hand fabric like this
before sewing as per usual:)

After sewing and trimming up the
seam allowances you will need to
clip each cleavage area in the overalls
and hat and shoes and fish.
Also clip inner curves of
the sides of the overalls and the arms.

Shaped...pressed and ready for the
work table to lay out for applique prep:)

Because this design is NOT
symmetrical you will for sure need to
use this photo and the lines on your
10 1/2" Trim-It Ruler
to help you when laying out Bill!
Remember to start with the appliqués
that go underneath others first
and continue to use the ruler
to line things up...

until you are happy with
how he looks before you
go ahead with pinning and then glueing.
Mine measures about 9 1/2"" tall
from the tip of his hat to the
bottom of his shoes.

And about 6 1/4" wide from the
outside edges of his hands.

From the top of the outside of the
fishing pole to the outside of the fish
he measures about 8 1/2" wide.

He is pinned and glued
and while the glue dried...

I prepared for embroidery.
I also grabbed a red 1/4"
Cute Little Button
to sew on for the
bobber on his fishing line.

I used 3 strands and a straight stitch
for his fishing line and then the hook.

I also added a French knot above the hook...

And a long stitch for the fish
on the stringer in his hand.

And now ready for applique:)

After you have appliquéd...
press Bill from the back
and trim him down to
10 1/2" square to sew into the quilt.
I just love everything about
Overall Bill
from his plaid pockets
to his fishing pole
and his catch if the day!

VINTAGE OVERALL BILL BLOCK

Thanks so much for making
your Overall Bill with me today
and for joining me
for week six of the
Bee Vintage Sew Along
I'll meet you right back here
next time to continue week six and the
Vintage Pennsylvania Dutch
Block tutorial...
xx
Lori

No comments:
Post a Comment