I have always loved this
traditional quilt block.
It has several names but the
most common and oldest name that
I know for it is called the
Traditionally it has always been
fairly simple to construct...
but the down side is that
because all of the angles are on a bias
it is super hard to have made the
block accurate when
piecing the traditional way.

So when I was given the opportunity to
design foundation paper piecing blocks
for It's Sew Emma...
I jumped on it right away
and the first block that I chose
was the Economy Block!
Piecing it on paper takes out
all of the distorting of the block
because of the bias and your blocks
will come out perfect and accurate every time!
YaY!
It's Sew Emma is also doing a
blog post today about
these amazing foundation papers.
to read their blog post.

There are 2 sizes available...
12" and 6" finished blocks.
The blocks are made using my
current fabric collection called
PRIM
Of course you can use
any fabric to make yours!

This simple block makes into a
beautiful and easy patchwork quilt
and will add to the comfort of your home:)

This is the 6" Block paper pad.
There are 42 papers in each one.

And here is the 12" paper pad which
also has 42 papers.
The 12" has another option to it...

You can replace the center 3 rounds
of the block with a 6"
pieced or appliqué block like this!

And I did that very thing!!!
I also added borders around my
12" block to make an 18" pillow.

I love how the pillow looks
with these 2 Economy Block PRIM Quilts.
The one on the wall is made with
42 - of the 12" blocks
and the one on the ladder is made with
42 - of the 6" Blocks.

Wouldn't it be fun to add a flower
in the center of all those
12" quilt blocks?
This is how I made the
flowers and the pillow:

First I started by using
3 of the shapes from my
PRIM Sew Simple Shapes set.
The shapes I used are:
K9 - flower center
K51 - leaves
K61 - flower
If you have never used my
Sew Simple Shapes applique method
to go to my week one blog post tutorial
during my PRIM Quilt Sew Along.

You will need a stem about
6" long for the flower.
Make the stem by cutting a strip of
fabric 5/8" wide and running it through
a 1/4" bias tape maker.
This tutorial is also on week one
of my Prim Sew Along.

I cut my background fabric about
8 1/2" square and pressed
in half to mark the center.
All of the backgrounds that I used
are from my Bee Backgrounds Collection
for Riley Blake designs.
I used the Sue Glue and
lightly glue basted
the stem on the center crease.

Use the 6 1/2" Trim It - Ruler
to lay out the flower.

Then either machine or hand applique
using matching thread
for each applique piece.

After applique...
press from the back and use the
6 1/2" Trim-It Ruler to trim down
your block to 6 1/2" square.
Now it is ready to go into
the center of the 12" ECONOMY BLOCK.

I love this little flower block...
so I made a few more:)


The 6" flower block easily fits
in the center of the 12" Economy Block.
Keep in mind that it should measure
6 1/2" square before you sew it in.

like this!

To make the pillow top 18" square
for the pillow form...
I cut 2 borders
3 1/2" x 12 1/2" for the sides
and then I cut
2 - 3 1/2" x 18 1/2"
for the top and bottom.
Easy peasy!

Kimberly did a video tutorial
on her YouTube channel on how she
made her project using the
Economy Block Foundation Papers.
to watch it.
I love these papers!!
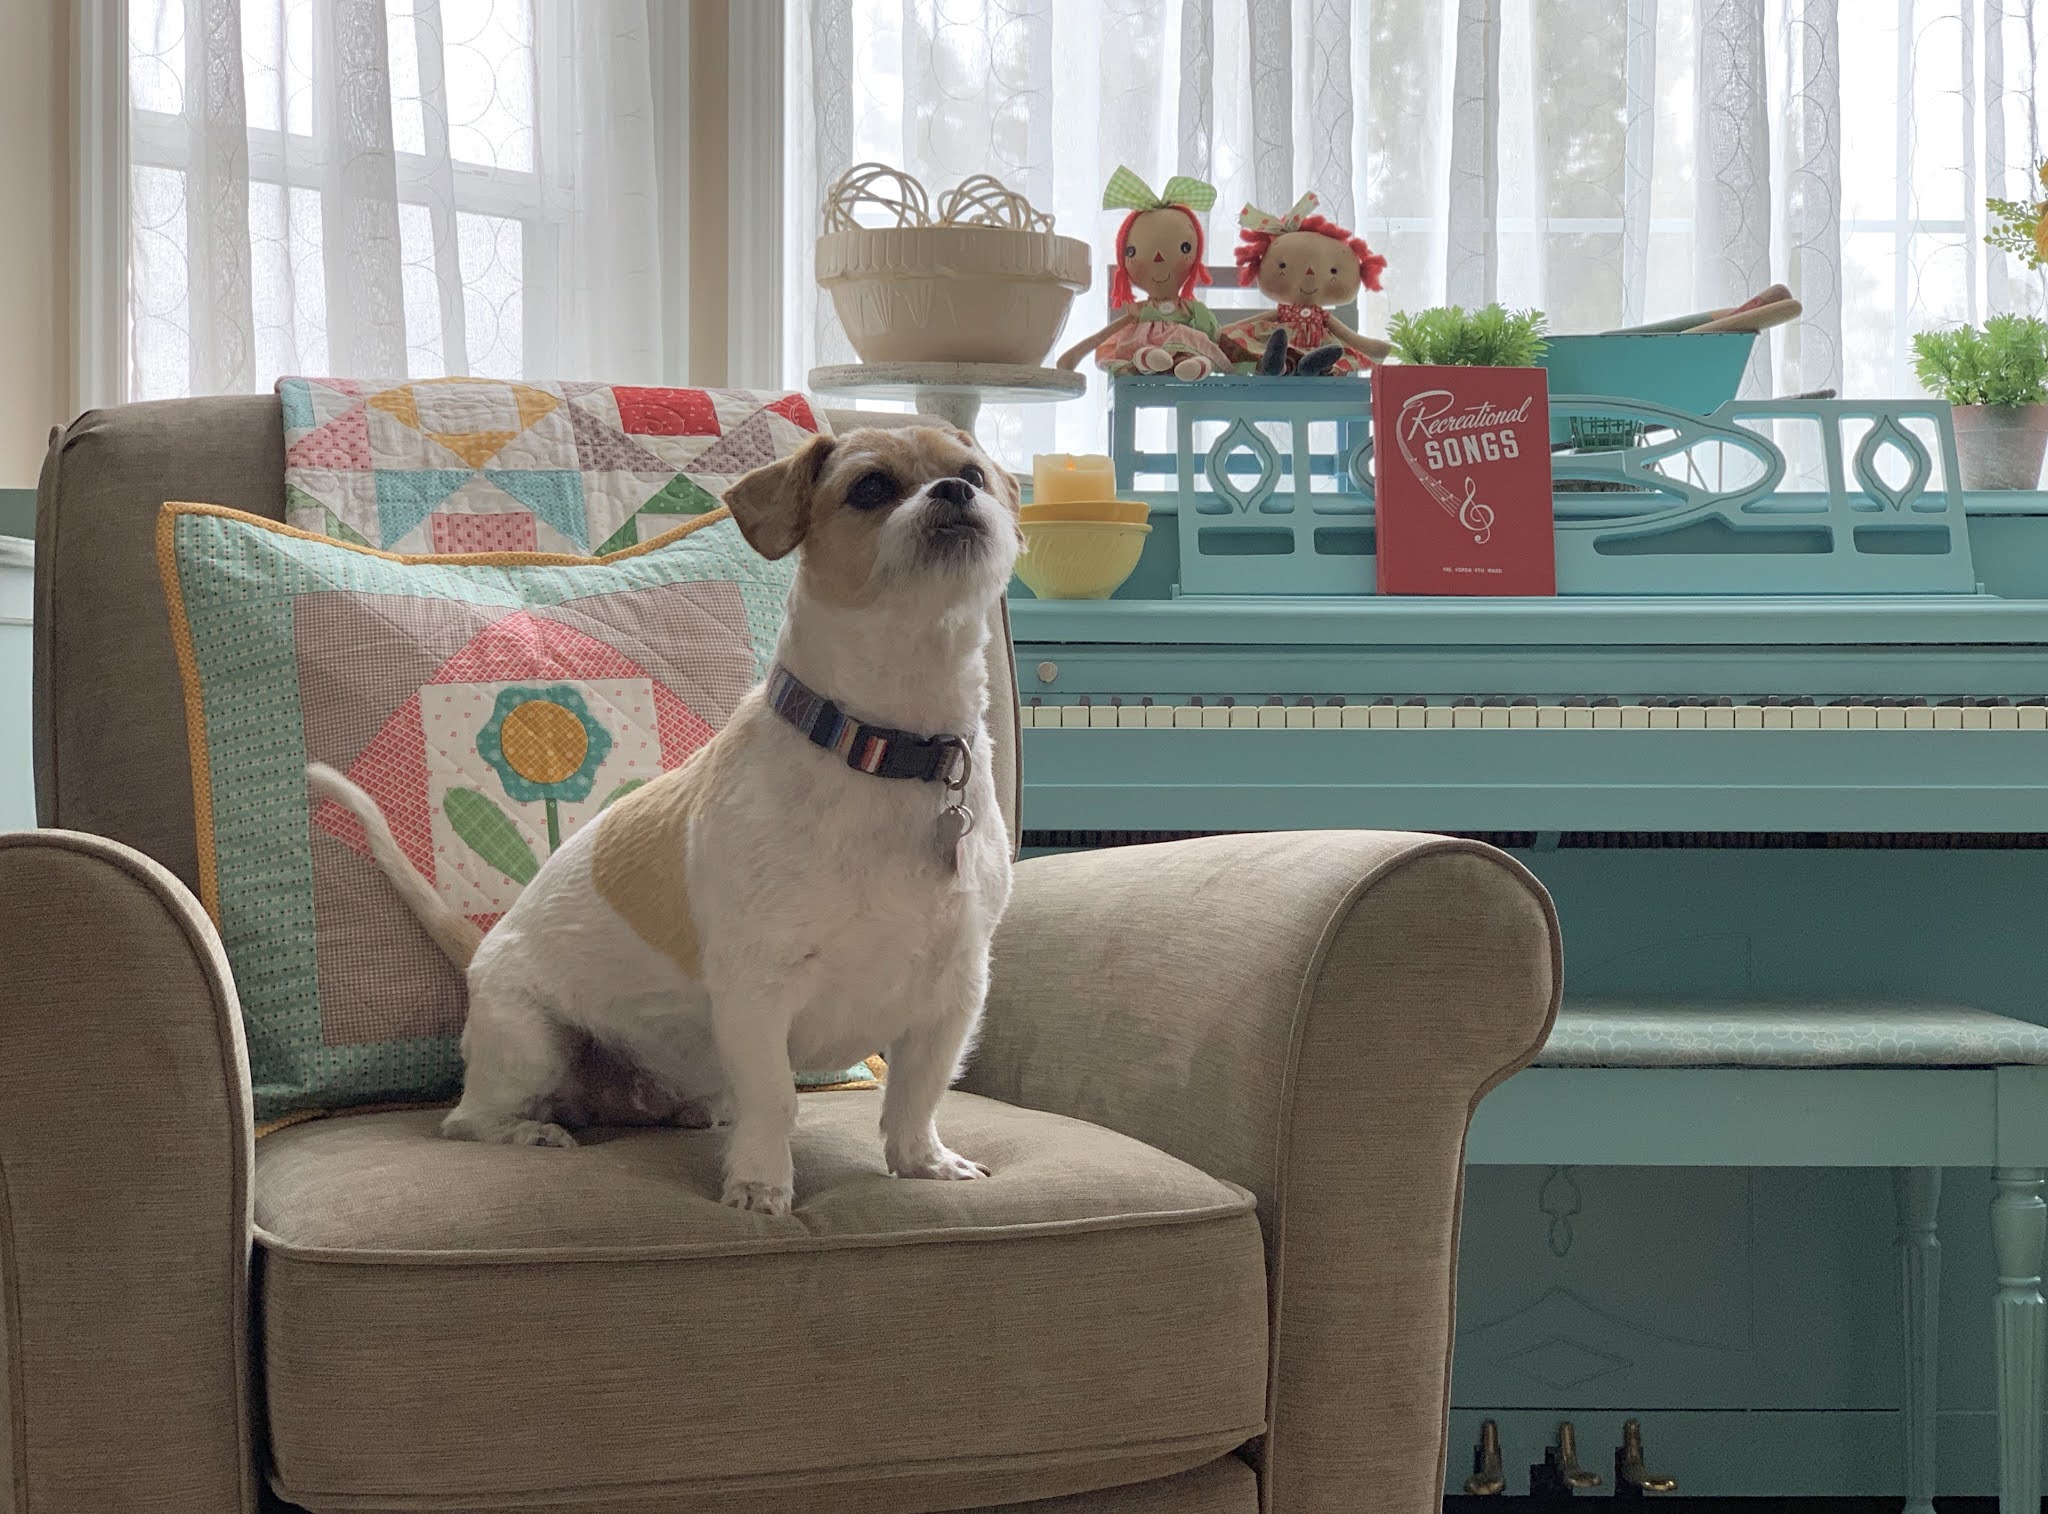
I just had to show you that
when I was taking pictures of the pillow
and the quilts for this blog post
our dog Toby of course had to
get in on the action...
he thinks he's a model
and he is always ready
for his close up:)

He does it every time...LOL

I hope you try out my
Chances are you will love it
as much as I do!!
xx
Lori