Welcome to Week 22 in the
Vintage Block Along!
Today I'm sharing another block
with you from my
Grandma's pattern basket...
and all of our blocks will
eventually become a quilt!


I'm using my
Farm Girl Vintage fabric collection
for all of my blocks...

Along with my Bee Backgrounds

This block is a good old
tried and true vintage block
and it's original name is
Old Maids Puzzle
which was then made by cutting templates
and piecing with difficult
on the bias angles.
I've re- drafted it for rotary cutting and
I'm naming my block
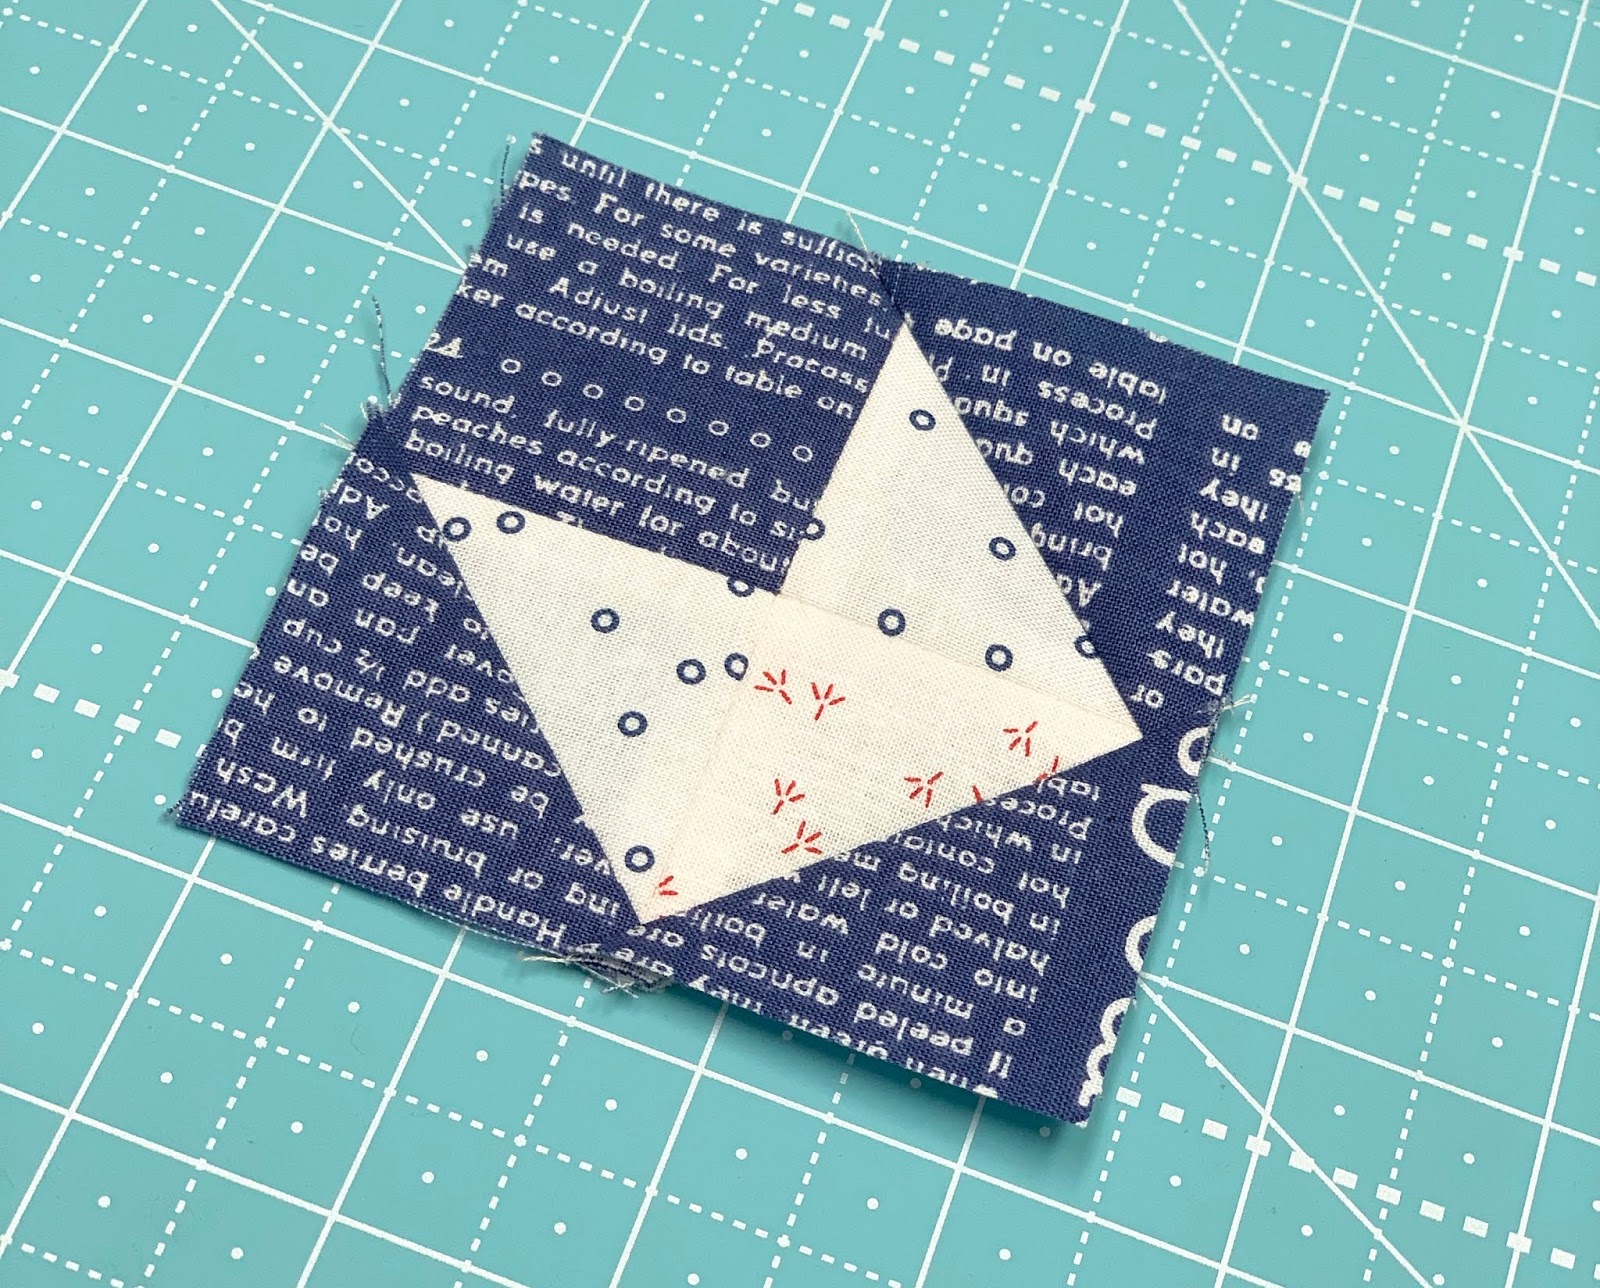
PLAYING CARD
because of the many hours
that I spent (and my family spent)
playing cards with grandma:)
From the time we were young...
we rarely left grandma's house
without playing a game with her
and it was cards most of the time.

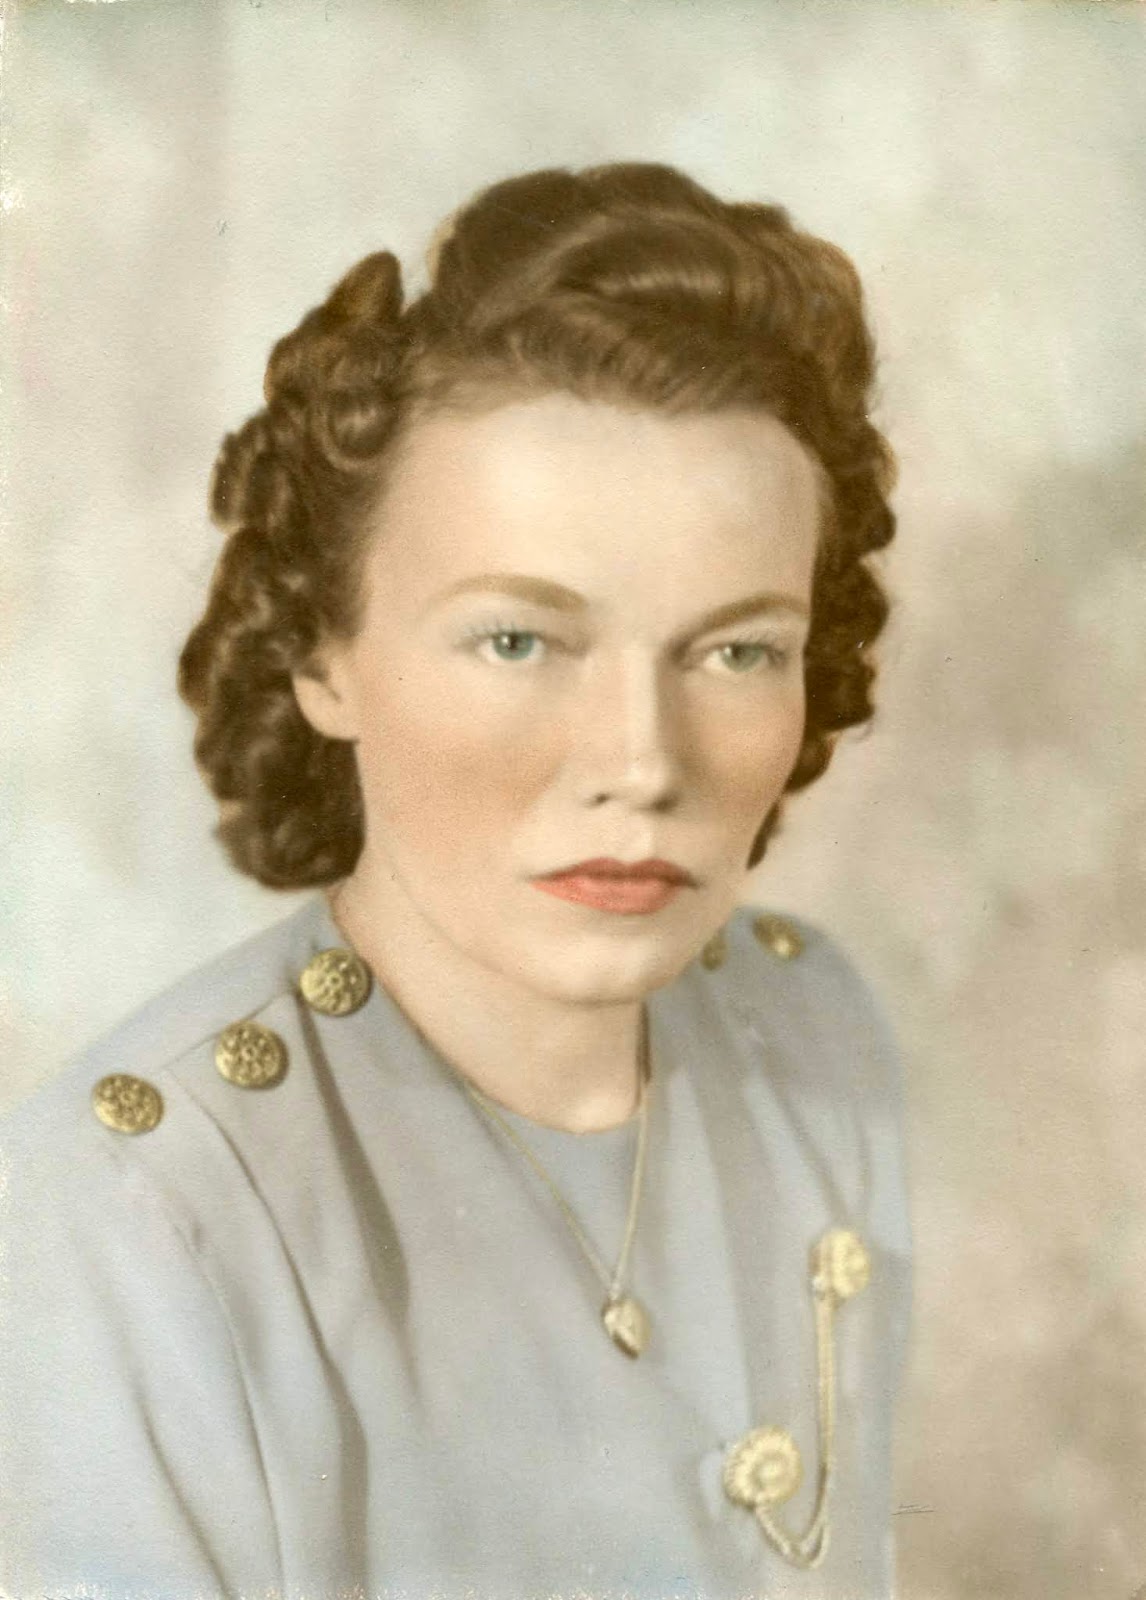
I snapped this photo of her
during one of those card games
just a few months before she
passed away at age 95.
She loved the competion and
she was fierce lol!...
and she loved visiting while we played:)

I miss so many things about her...
especially her smile and her laugh.
She always wore jewelry and
most of the time she had a necklace on
and she would constantly be
playing with it...
this picture reminds me of that:)

I just had to include a block named
Playing Card and so this is the one
that I chose from her basket
that looked like it was
meant to be the one.
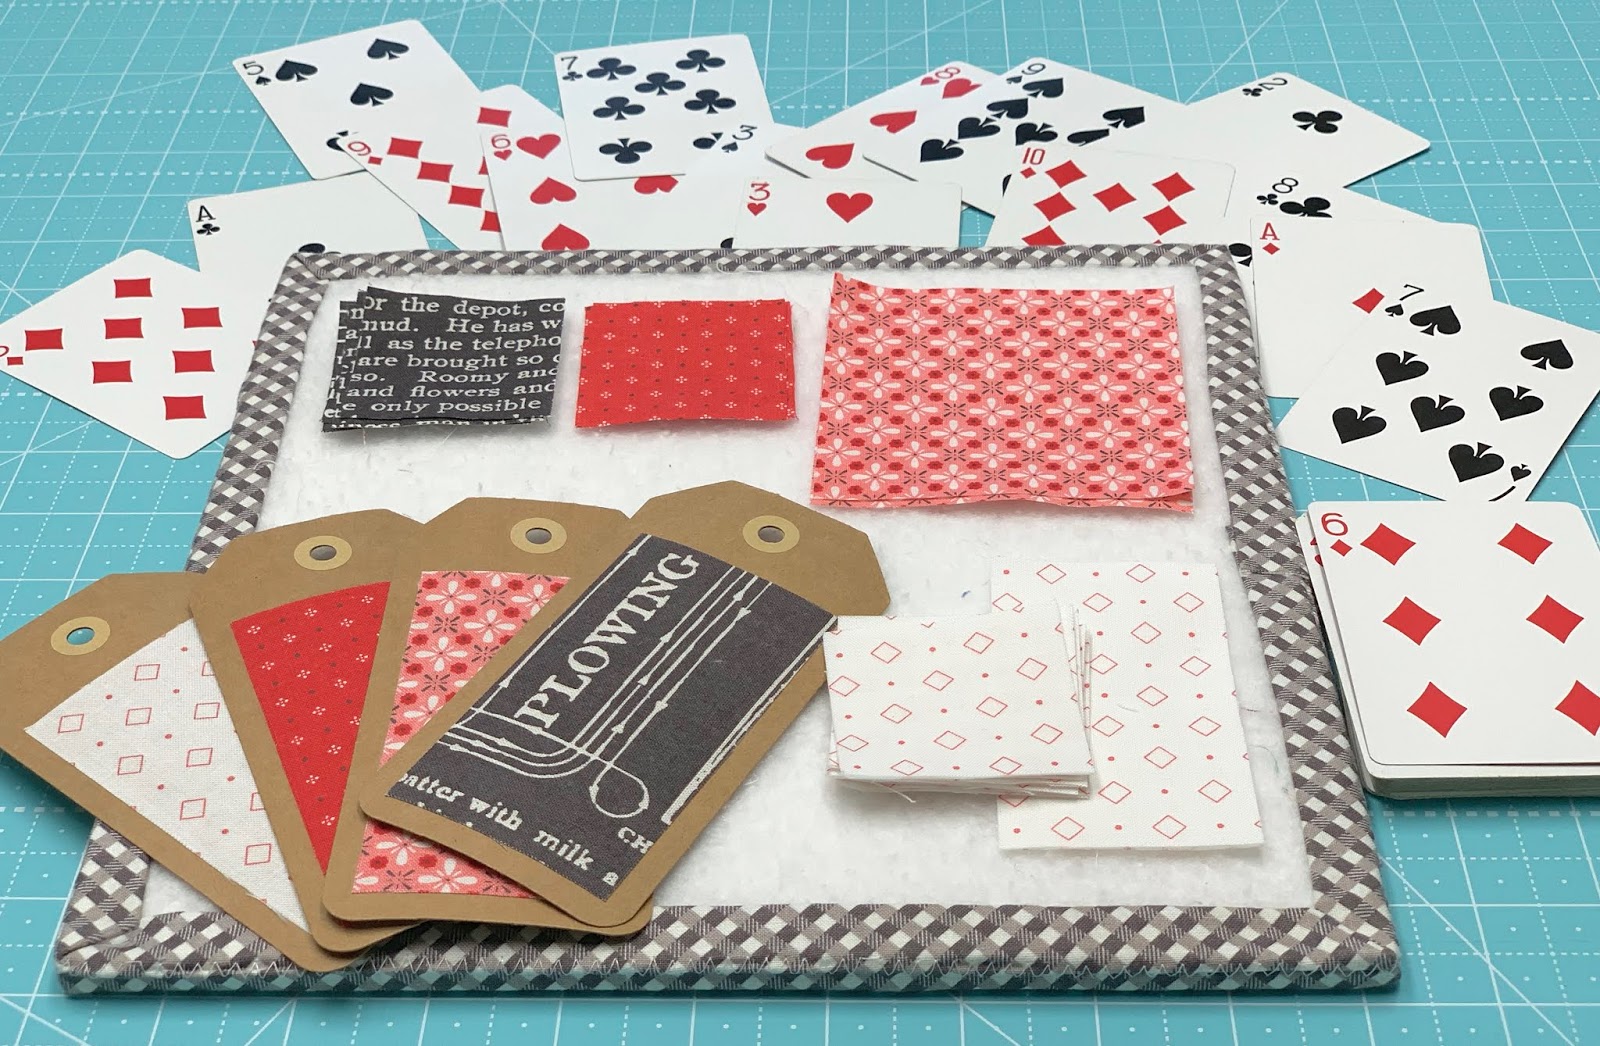
I used one background and three prints ...
in red and black of course!

From the the background
you will need to cut:
2 - 2" x 3 1/2 rectangles
12 - 2" squares
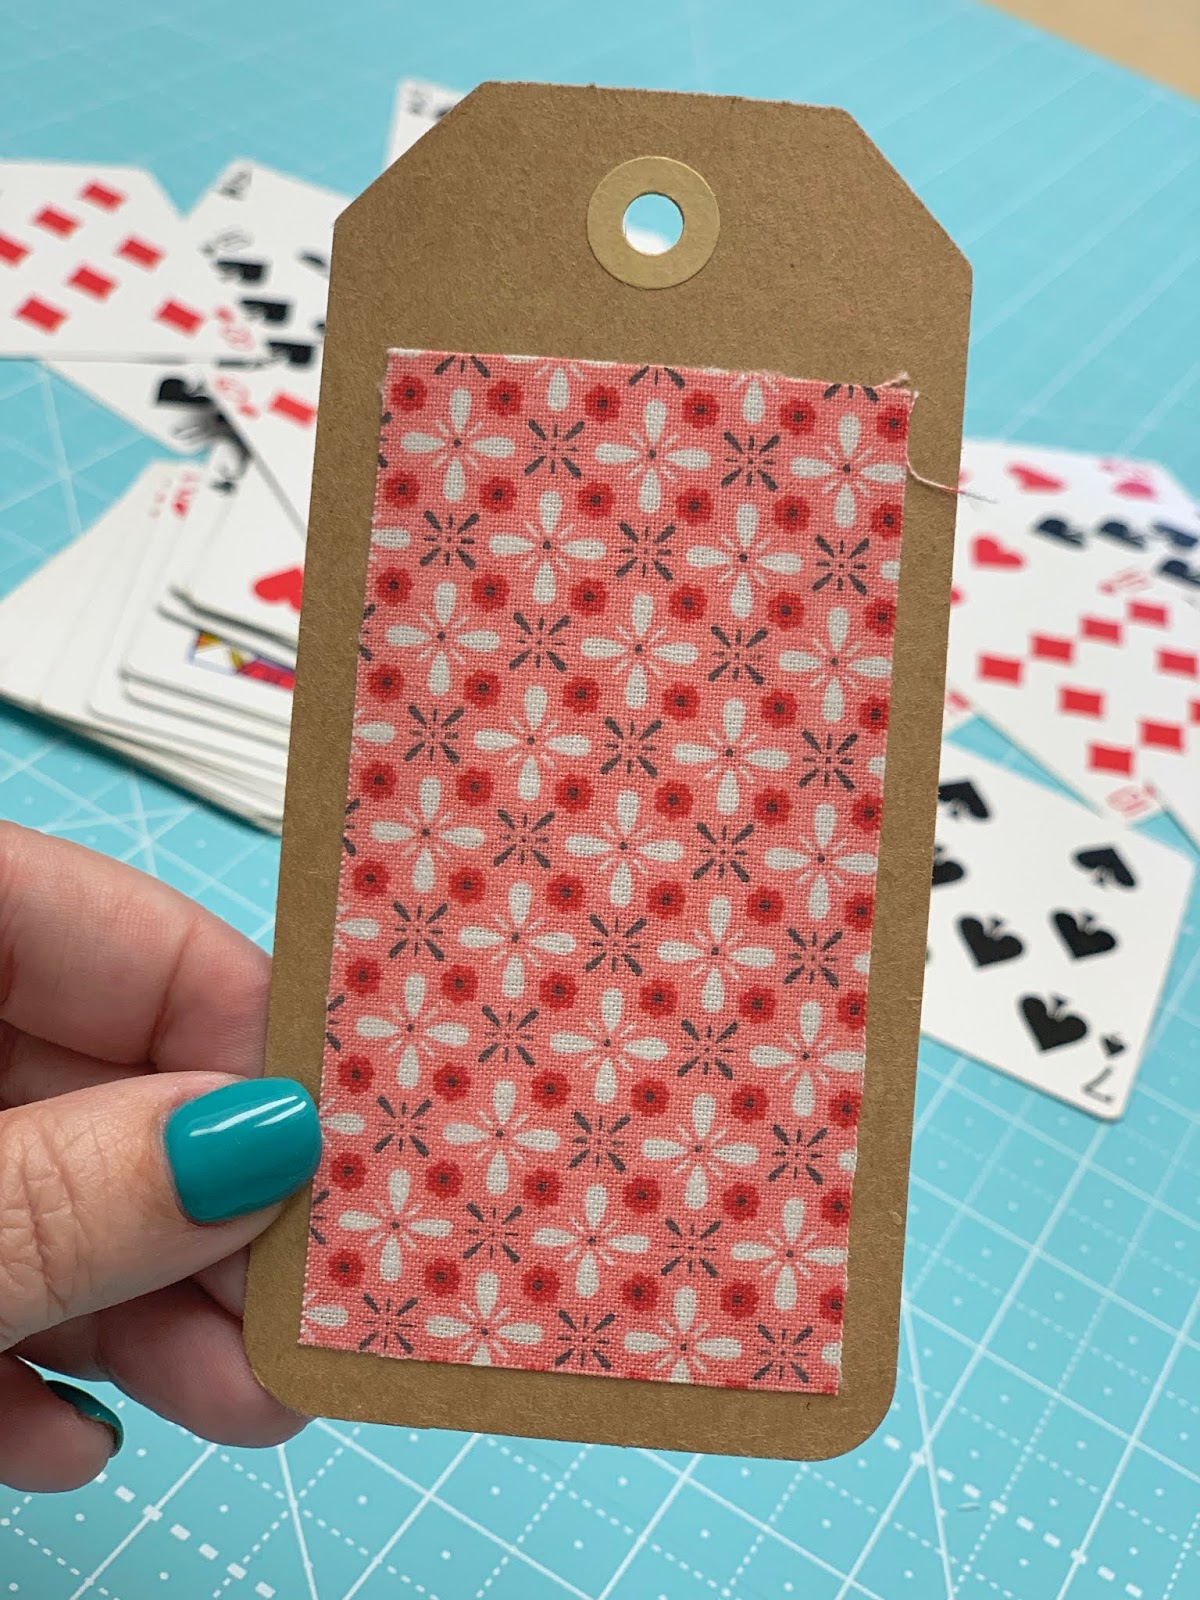
From this print cut:
2 - 3 1/2" squares

From this print cut:
2 - 2" squares

From this print cut:
4 - 2" squares

Let's get started on the first segments.
Grab 2 of the background and
red squares along with the
2 background rectangles...
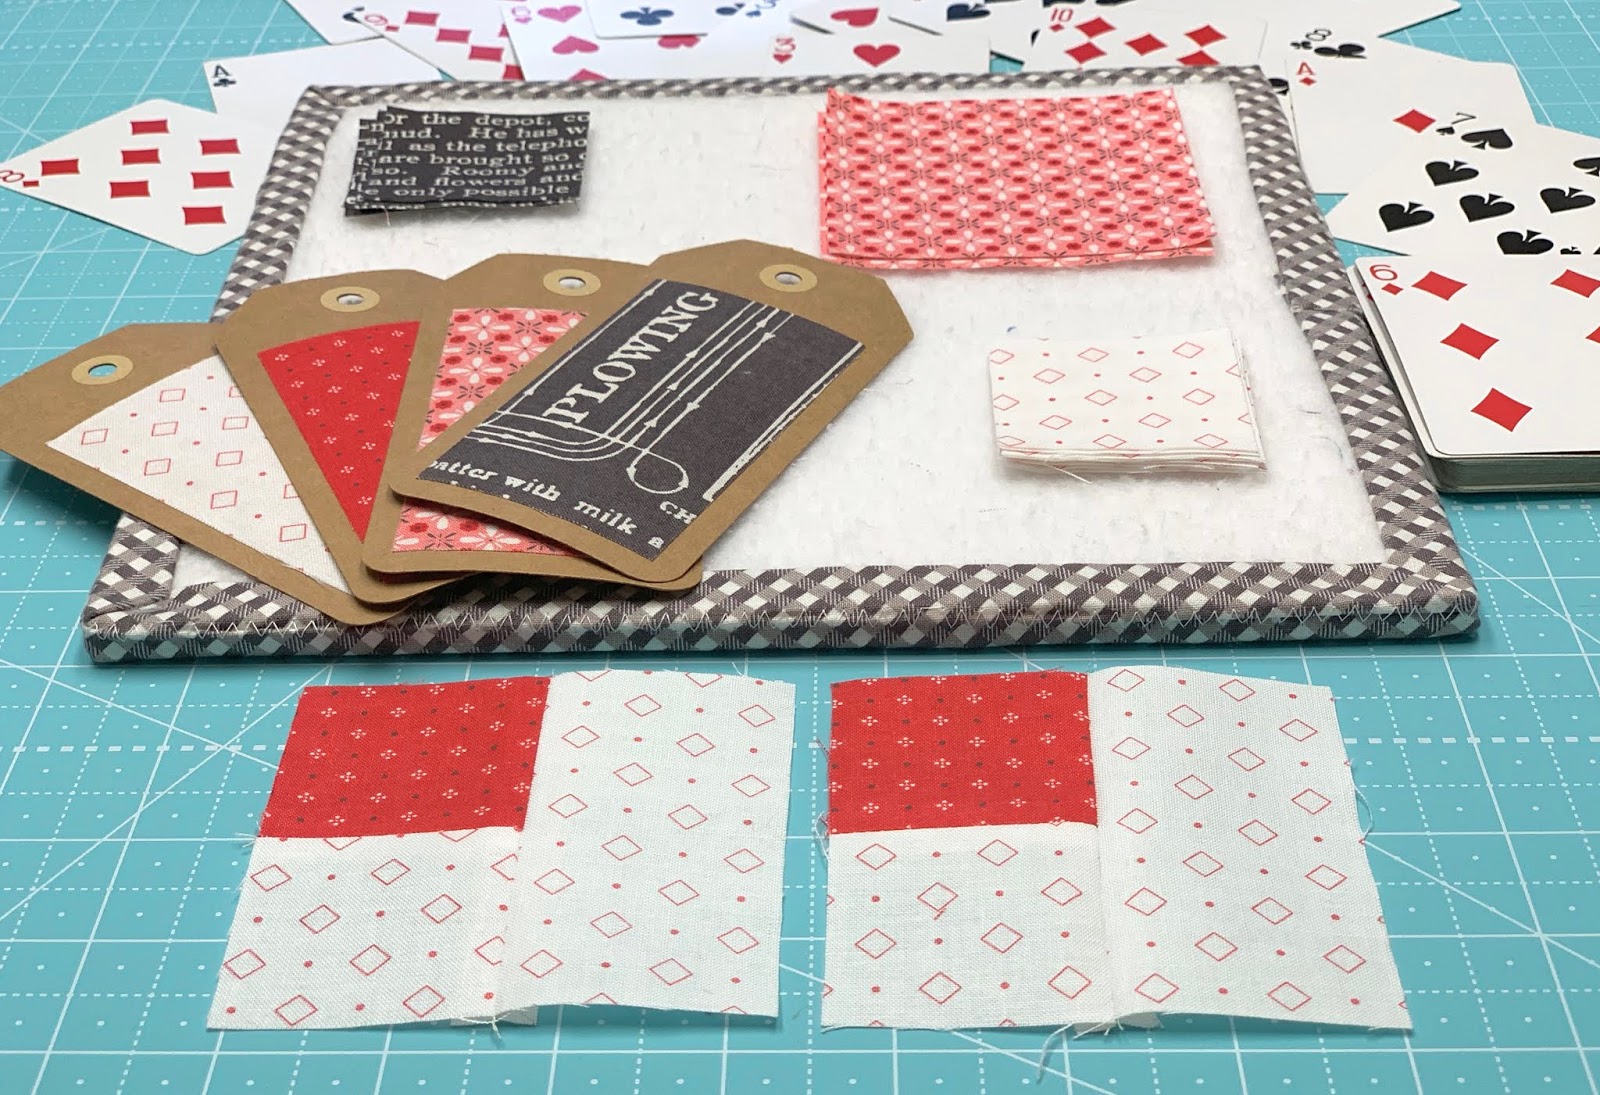
And sew them together like this.
They should each measure
3 1/2" square at the point.
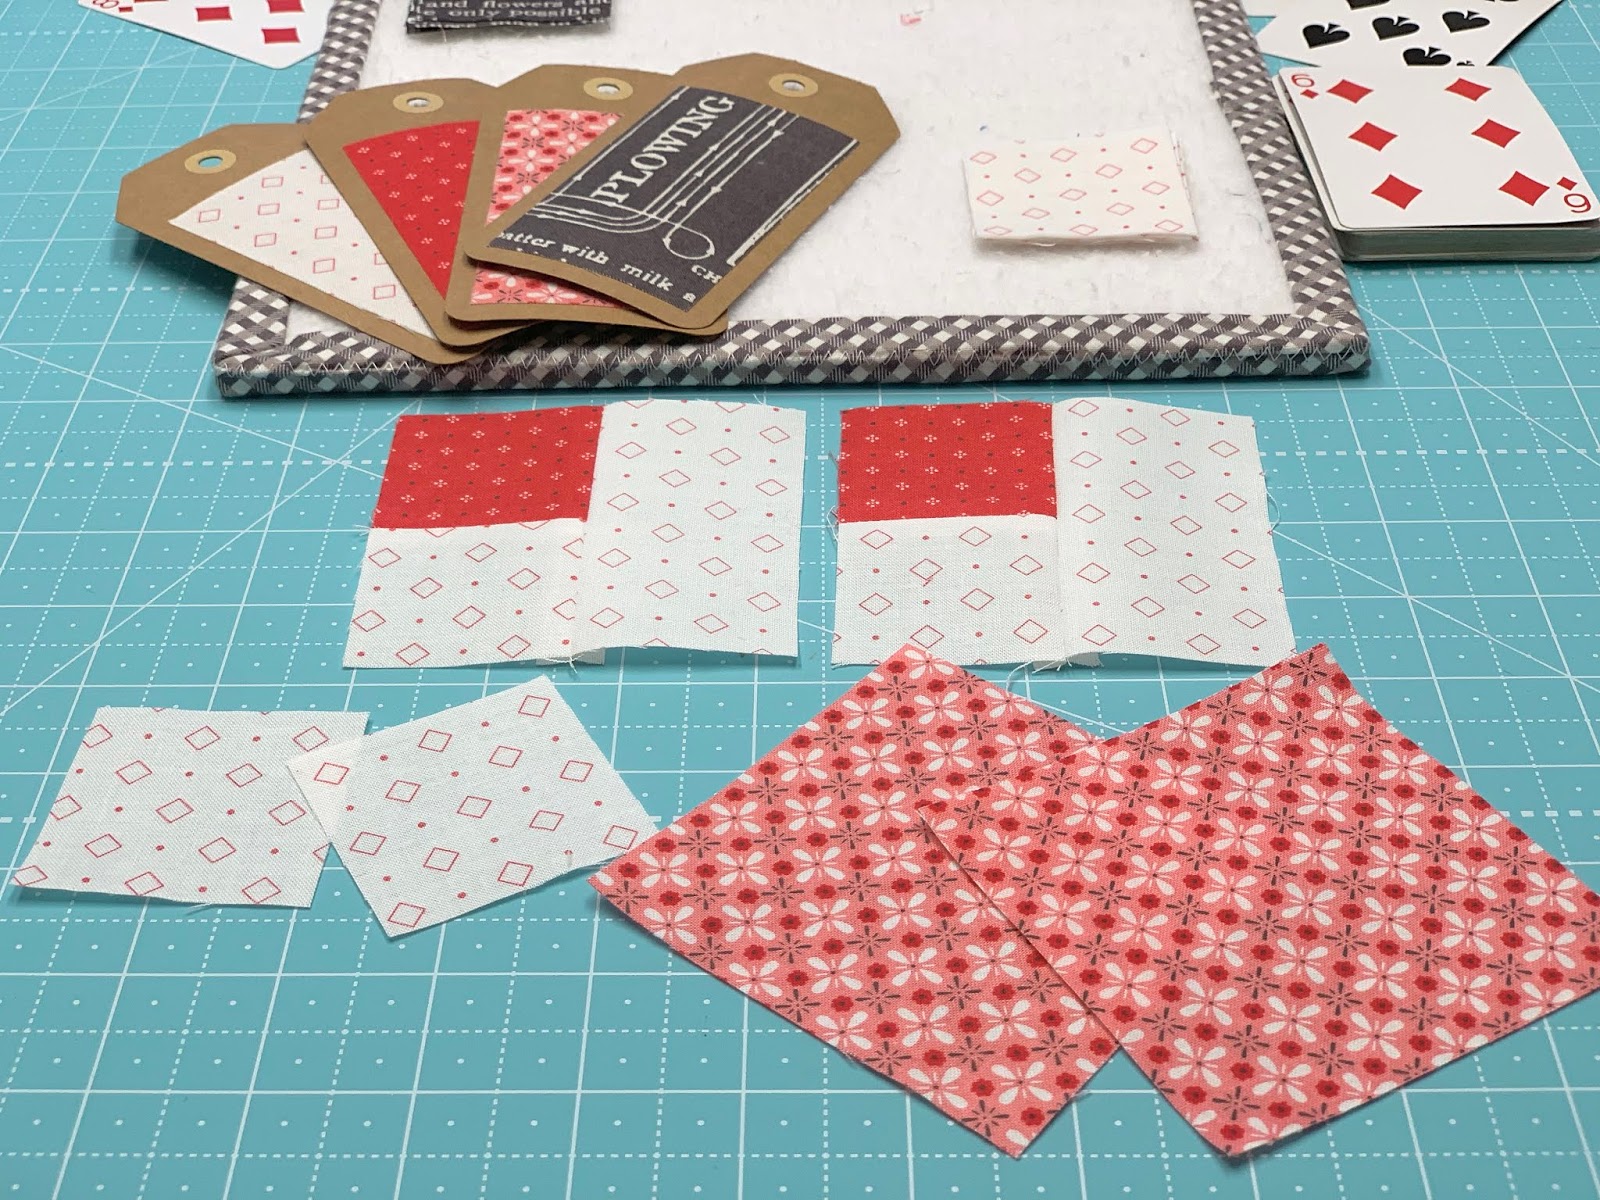
Now grab the 2 - 3 1 2" squares
and 2 more background squares
because you are going to add
easy corner triangles to the segments.
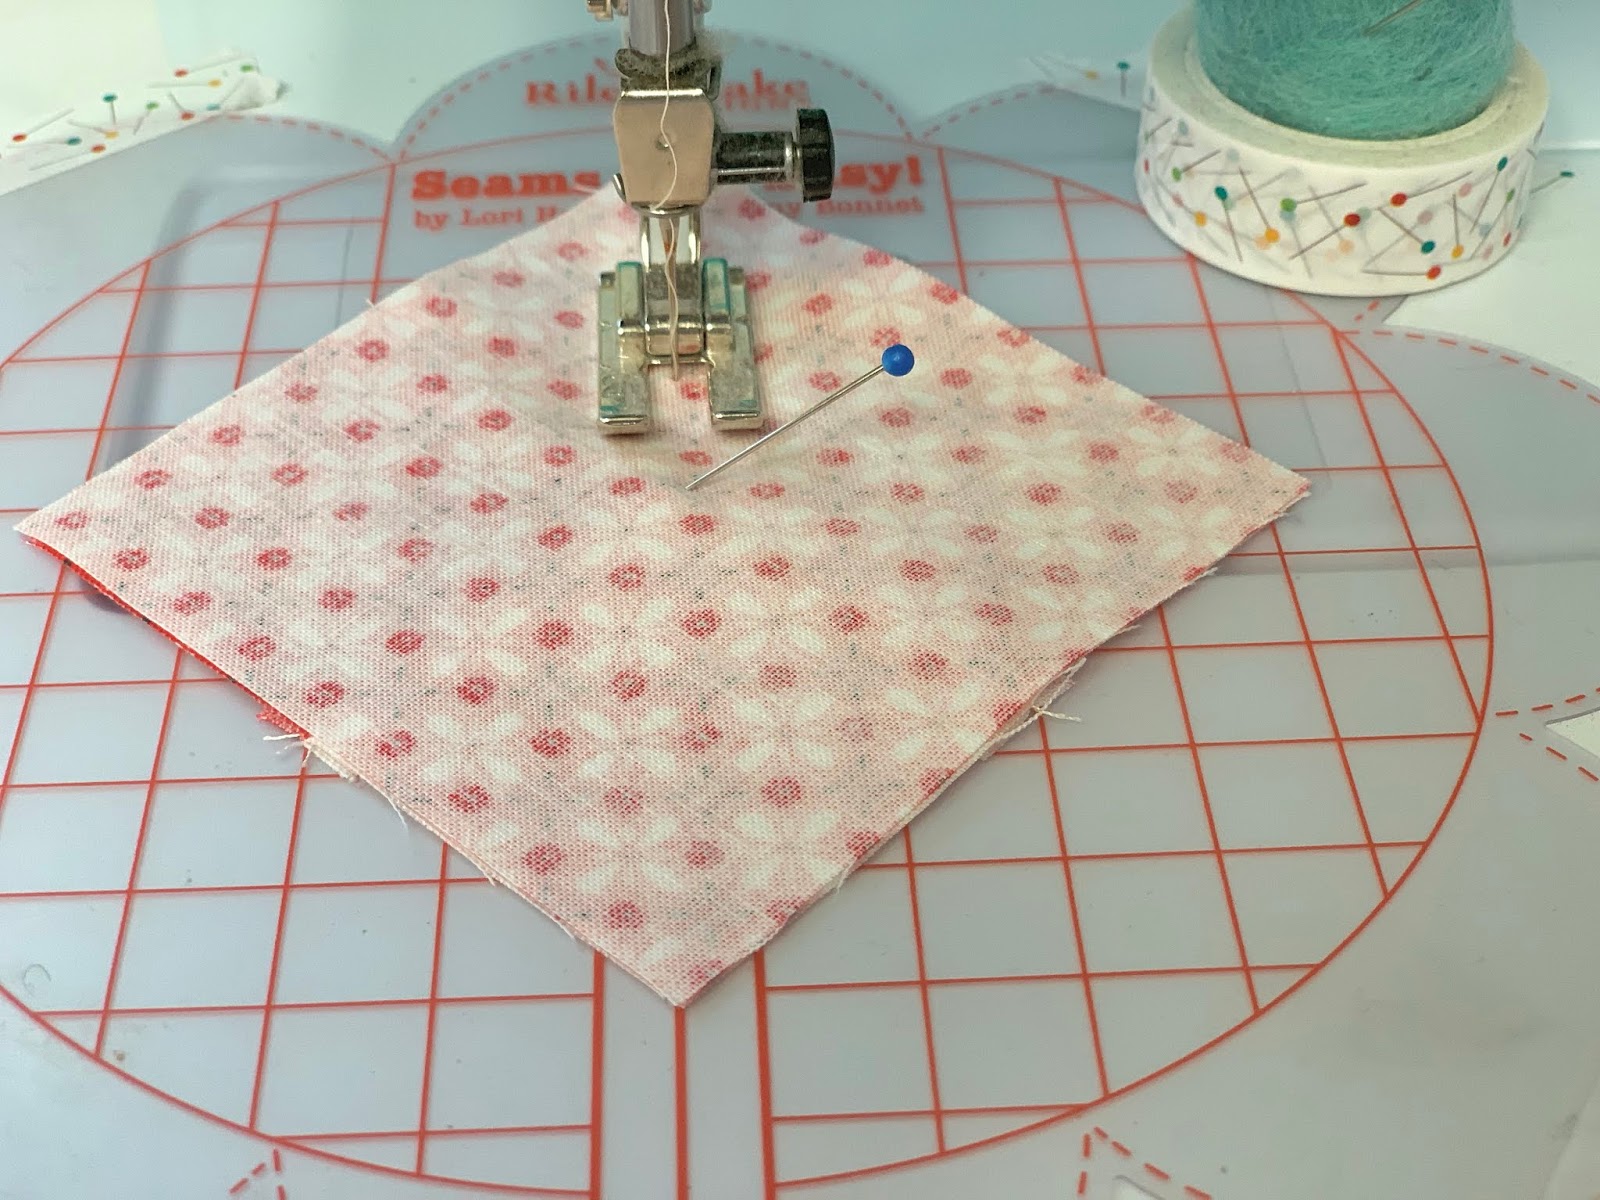
Sew from corner to corner by using the
Seams Sew Easy Guide
or drawing a line.
I like to poke in a pin
just to guide me
right where it needs to line up
with the red point underneath...

Like this.

Perfect!
This is what it should look like
after adding the pink
easy corner triangle.
Now add the background one
to the red corner...

Trim away the excess and press.
Easy peasy to make these segments
this way because we are
eliminating bias cuts...yay!
They should each still
measure 3 1/2" square.

Set them back onto your design board
and lets make 4 patch segments
with these 8 squares:)

Your 4 patch segments should also
measure 3 1/2" square at this point.
Now grab the remaining 4
background squares and add
easy corner triangles
onto the black squares...
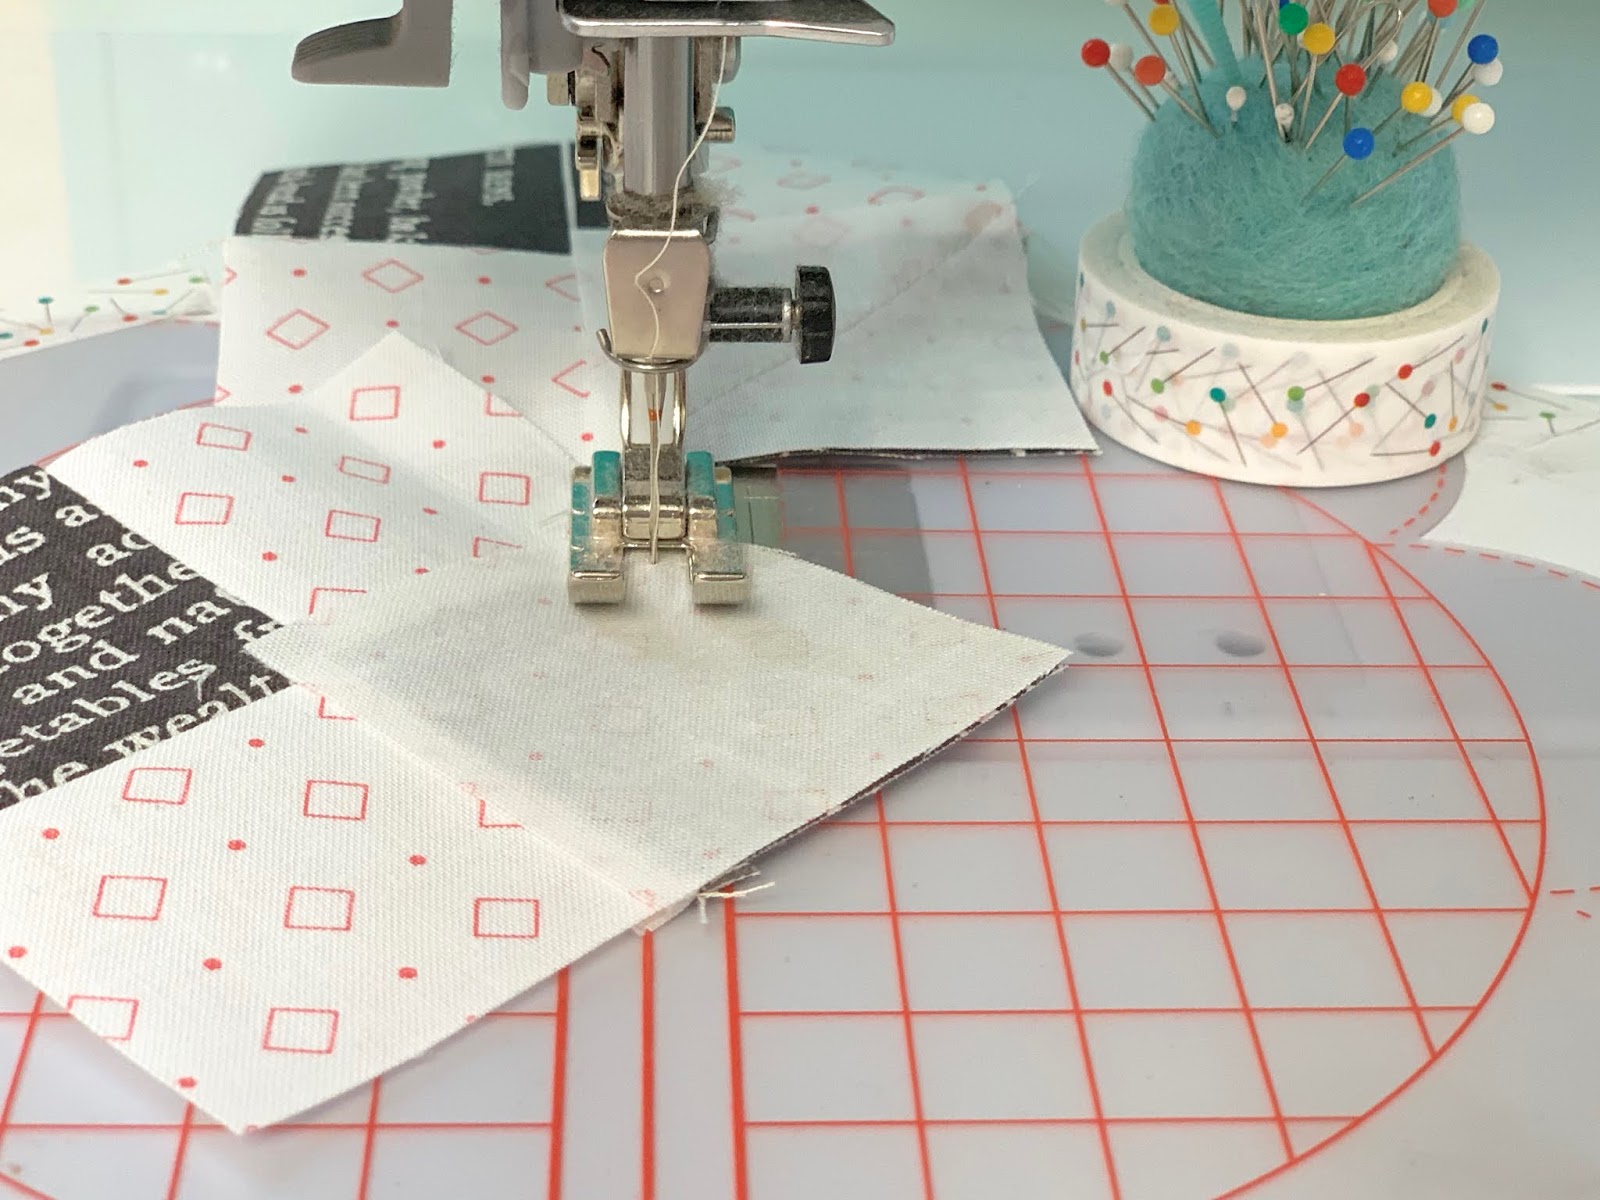
Use the
or mark a line.

Trim...

And press!
These should still measure 3 1/2" square.

Now lay your segments out onto your
design board like this
and sew your block together:)

Fun and Done!
PLAYING CARD
should measure 6 1/2" square
before we sew it into our quilt:)

This is the back of my block...
you can see how I pressed mine.

I love this block and I still love
playing cards with my mom ...
and of course my own family:)
We play often and I
think of grandma every time:)

Thanks for sewing vintage
with me this week...
I'll be here next week
with another vintage block for you:)
xx
Lori
If you are new and just joining in...
Click on each one block
to go to that tutorial:
5. Rhinestone
6. Vintage Lily
7. Star Shine
8. Humble
9. Egg Money
10. Quilting Bee
11. Sunday Star
12. Sweet as Honey
13. Bear Hug Block
15. Memory
16. Farmers Daughter
19. Picnic
20. Sparklers
21. 4th of July Flag