Can you believe that it's already time for row 2 of the
Well it is...so let's get rowing!!!
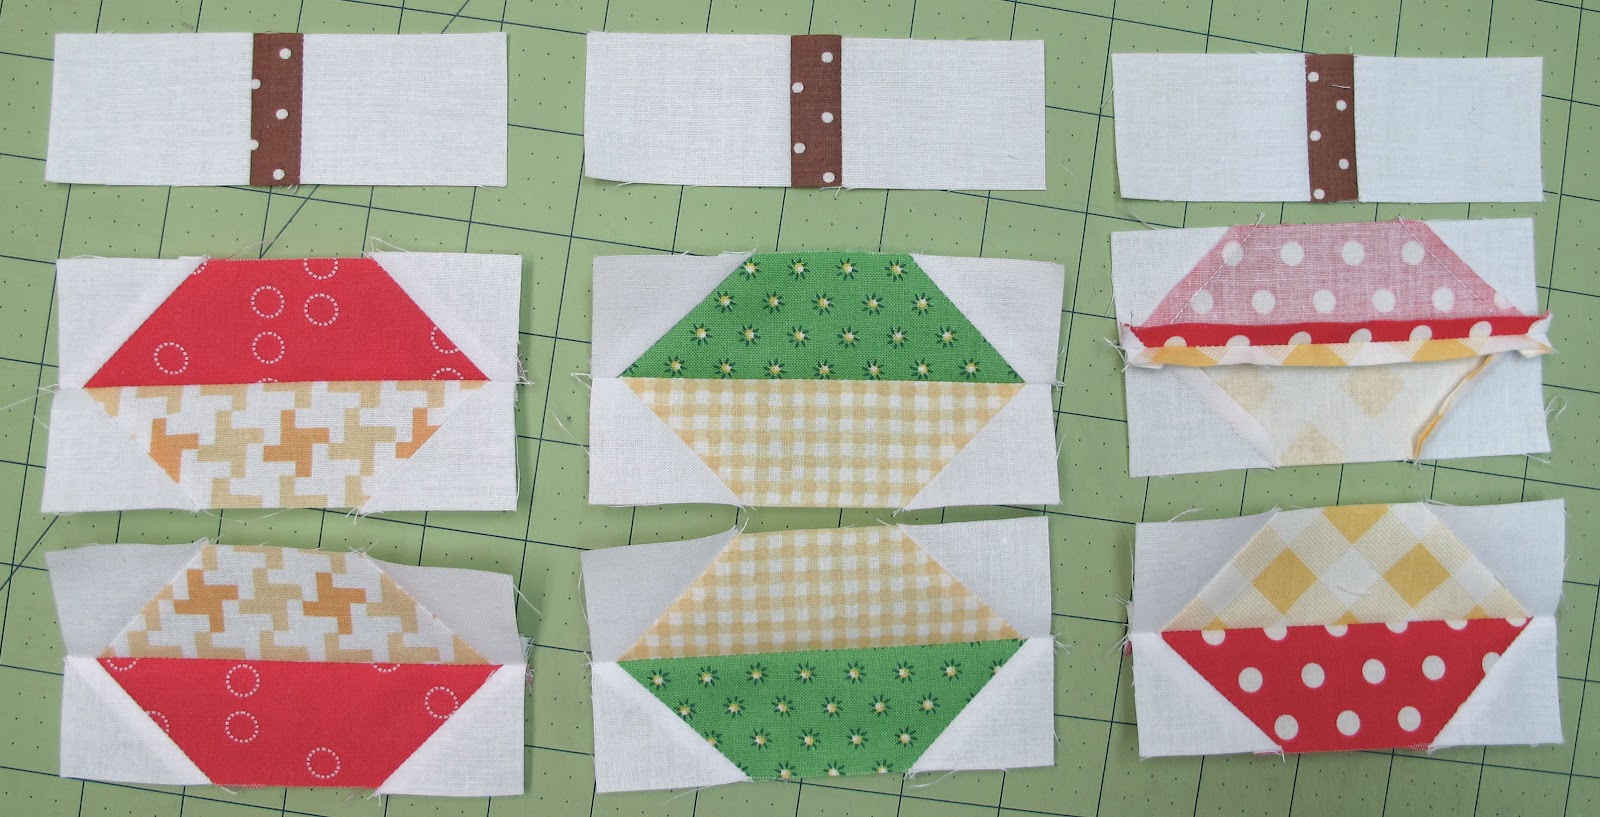
This row is cute and easy butterflies:)


Sew the white strips onto the top and the bottom of the butterfly body fabric
using an accurate 1/4" seam allowance.
Press the seam allowance towards the background.

Make sure that you keep your lines straight by checking your ruler lines before cutting.
Okay!...
wasn't that easy?
You have all of the center strips in your blocks complete and ready for wings.

Now for the easy corner triangles on the wings.
If you don't have an Angler 2 on your machine....you will need to mark a line from corner to corner onto the wrong side
(if there is a wrong side)
of each of your background squares.
Use a ruler and a mechanical pencil for a thin straight line.

Make one complete butterfly block so that you can check for accuracy before you make the remaining 10 butterflies.
Start by placing a white square onto each inside corner of the wings.
Line up the edges and corners of the squares with the edges and corners of the wings exactly even.
Make sure that your marked line is going the correct direction so that when you stitch...you end up with the desired shape.

Stitch one at a time directly onto your line that has been marked from corner to corner.
Do not pin...as it will distort the shape. Just hold the square carefully in it's place as you stitch.

After stitching...cut off the excess and leave an approximate 1/4" seam allowance.
(no need for accurate 1/4" seam here...it has already been stitched!)

Press the seam allowance towards the white triangles like this.
Now you still have 2 rectangles but you have replaced the 4 inside corners with a white triangle and created a wing shape!!!
Nifty!!!
I just love easy corner triangles:)

Now sew a wing to each side of a body...
one at a time...

pressing each seam allowance towards the body.

Your butterfly should measure
the exact same size as the square that you started out with!!!
(just a little bit of quilty magic:)

If your first butterfly measure's correctly...and you don't have to do any adjusting...

Go ahead and continue sewing the remaining butterflies.
It will be faster if you chain peice each step along the way...
starting with each easy corner triangle onto the same corner of each wing...
trimming...
pressing...
and then finally sewing the wings to the bodies just exactly like your first butterfly.

Yay!!!!
cute butterflies!!!!
Now onto the sashing for the butterfly row.

Cut strips out of your background fabric.

Cut off the selvedge edges...and take over to your machine to joint them into 1 long continuous strip.

Always join strips on the diagonal like this.
This is how I always join strips together when I need to make them longer than width of fabric for sashings and borders.
By joining on the diagonal...prints and solids both look nicer on the diagonal.
It is easier on the eye because your eye does not stop suddenly like it would at a straight seam...but flows easily over a diagonal joined strip.
*(I don't need to mark a line on my strips because I have the Angler 2...but I marked it so that you would understand which direction to sew)

This is what the back should look like after stitching.

This is what the front looks like.
Join all 3 strips together so that you have one long continuous strip.

Trim off the excess just like when making easy corner triangles.

Always press your seam allowances open when joining strips together for sashings or borders.
It prevents bulk and they will lay nice and flat if you do.

You will cut 2 strips out of this long one to go above the butterfly row and below like in the picture above...but for now...

Just lay this long strip aside ...
while you cut the sashings to go in between the butterflies and on the end of each row.

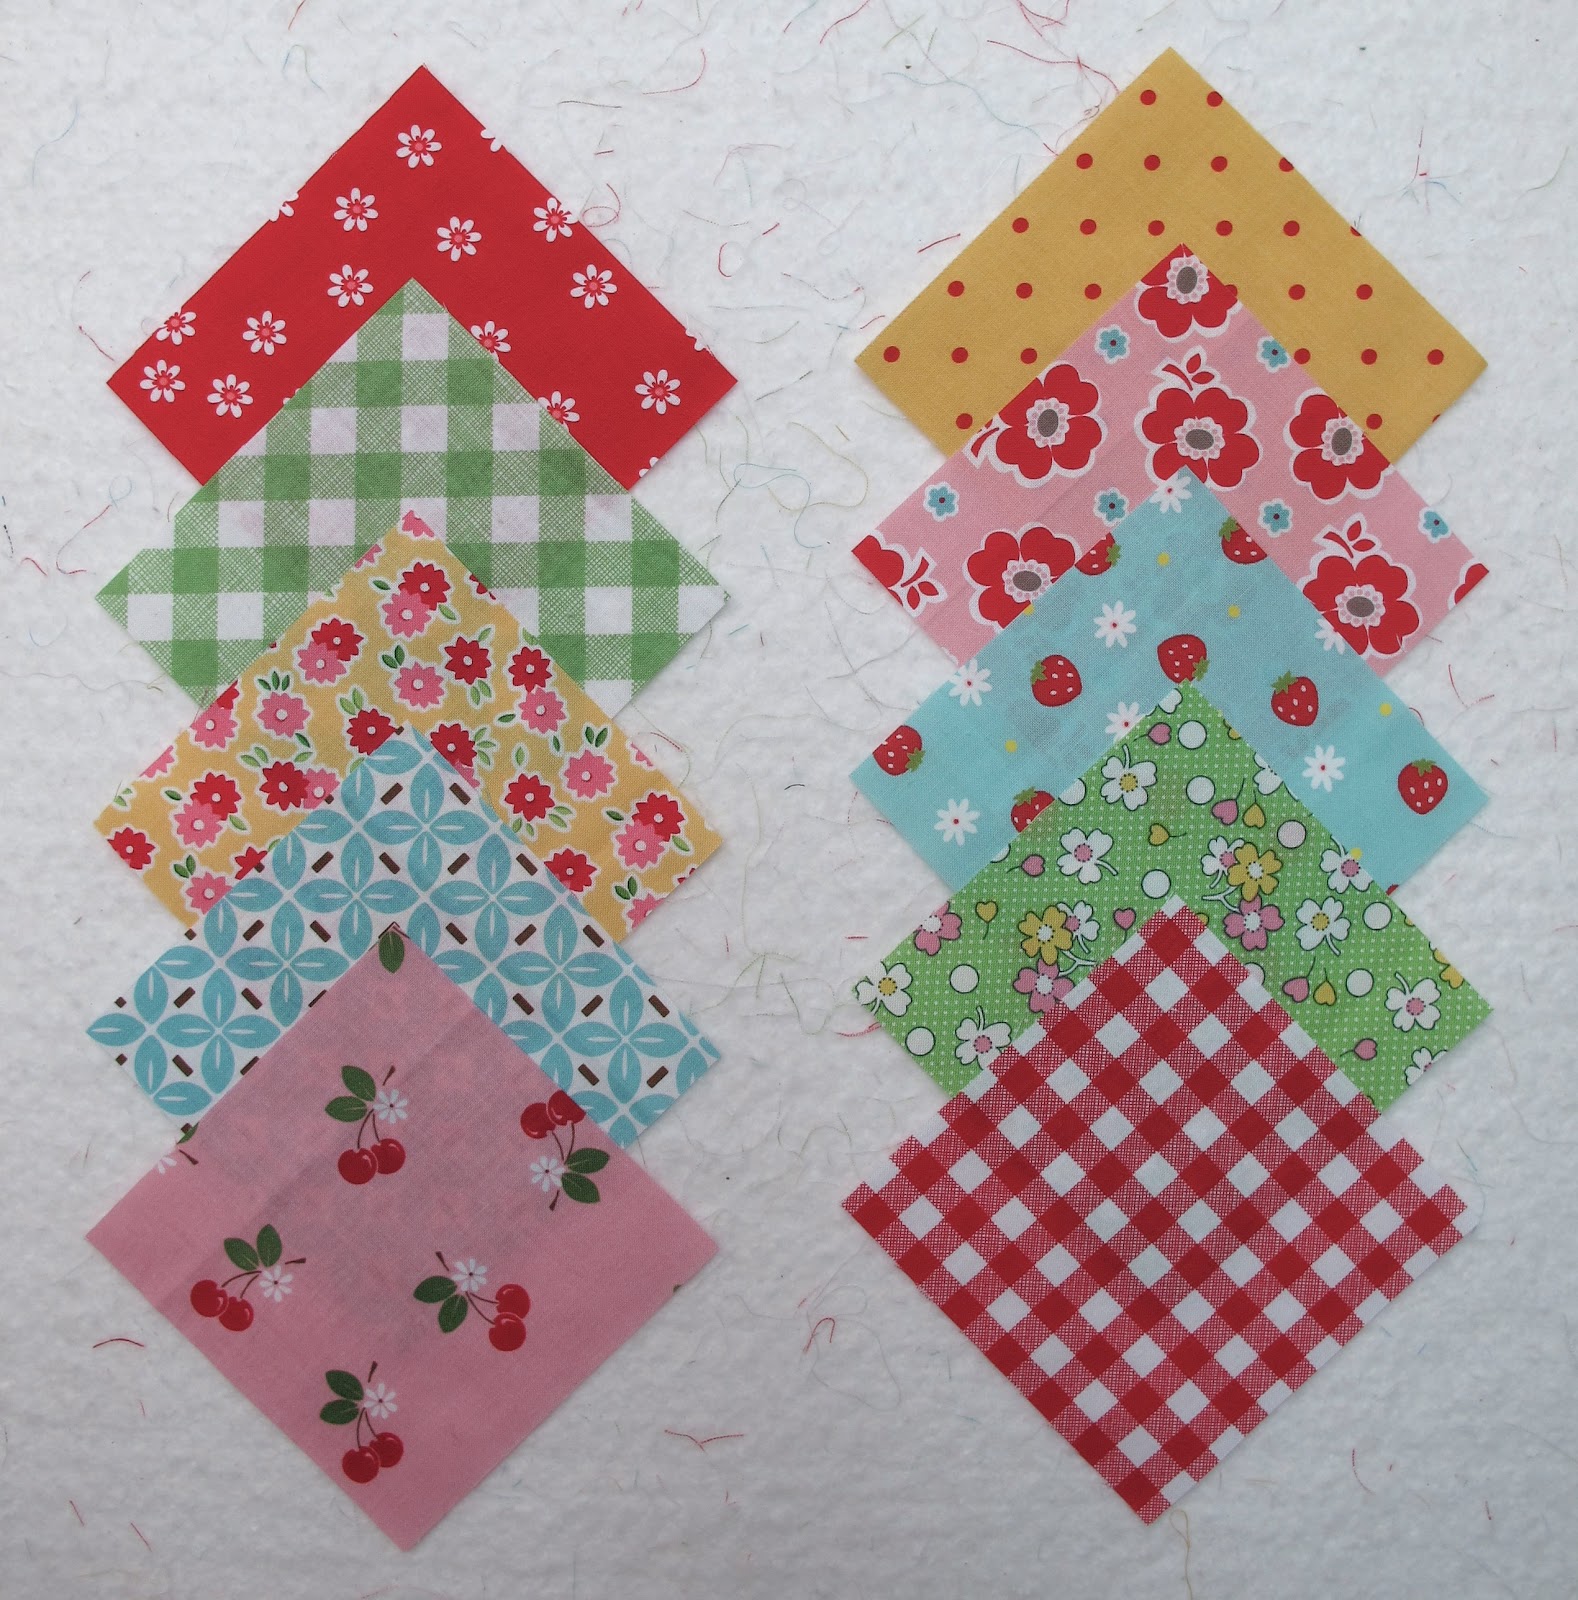
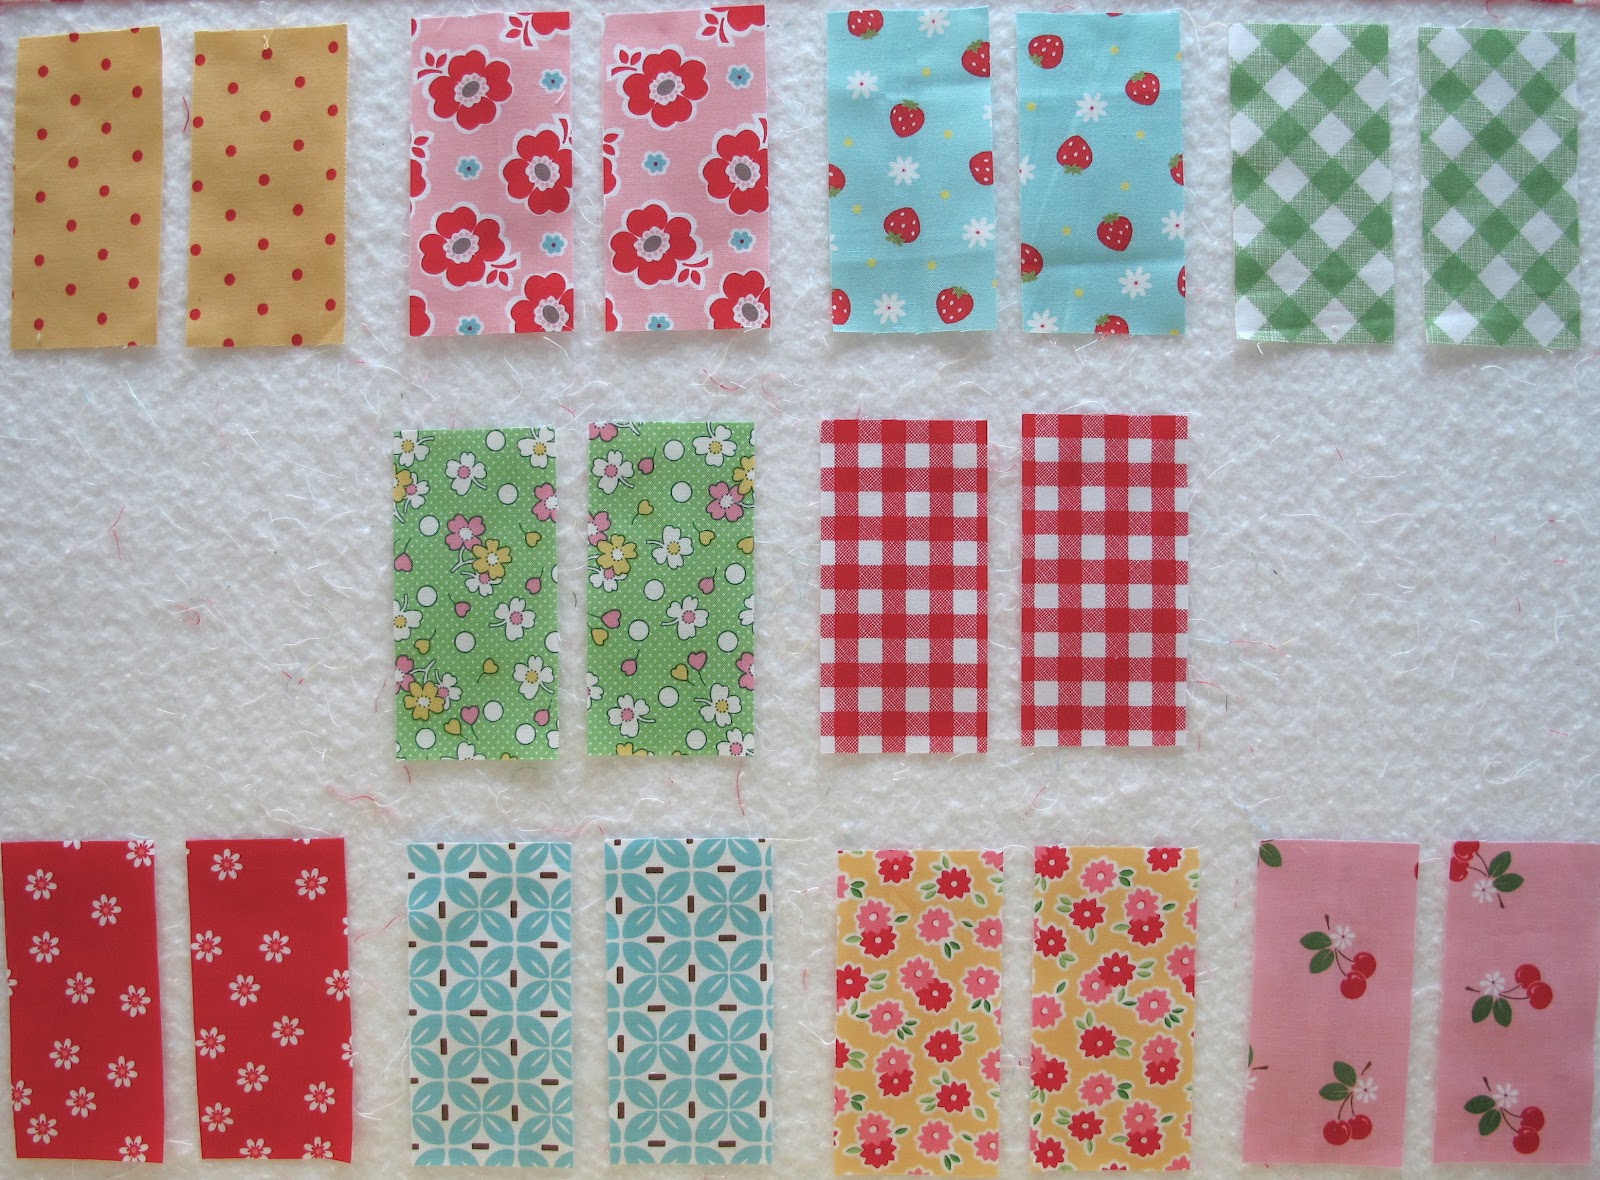
Lay your butterfly row in a pleasing order for joining...making sure to notice that every other butterfly is going up and every other one is going sideways.
Join your butterflies together with the sashing strips in between.
Press seam allowance towards the sashings.

Now sew the row ends onto each end of your row.
Remember that your strip will need to measure correctly
to fit into the quilt.
Fold your strip in half and trim off the row ends at the measurement line on your mat...just like you did with

Now time to cut the 2 strips from the long continuous row.
We are going to use a mat for measuring.
Fold your strip in half so that you are cutting both strips at the same time...
and place it at the 1" mark on your mat.
*(I have 2 cutting mats and I changed to the red for this because it contrasts so nicely against the white...ensuring that I measure and cut accurately)

Leave the row ends at the 1" mark and stick a pin at the 36" mark...

And then lift up the rows...keeping the pin in and place that pin right on the 1" line.
*(you will have 36" hanging off the left side of the pin now)

Now measure in from the pin...

And cut.
Yay!!!
You now have 2 rows that measure exactly
what they need to measure
to sew onto the top and bottom of your butterfly row!!!
Take note that you will use this same method every time you add sashing strips to the top and bottom of a row.
*(however...you will not add these to every row...I will tell you which ones to add them to as we are sewing them)

Press these white rows in half to make a center mark and pin them to the center of the butterfly body in the very center of your row.

Now pin the ends even on both sides of the row.

Continue pinning about every 10 - 12" before sewing...easing fabric where needed while you are pinning.
Never just run it through your machine and hope it all ends up even in the end...
you have cut accurately...
and math doesn't lie...
so mathematically...
it will fit...
and it is your job to make it fit.
Always remember...
You are the boss of your quilt!!!!
*(a good tip to remember is the fabric that is on the bottom when sewing...will run thru the feed dogs a little bit faster...so place the one on the bottom that might need more easing in and let the feed dogs help you)

Press your seam allowance towards the white strips.

Congratulations...
your Bee in my Bonnet Row Along #2 is complete!

A row of colorful butterflies:)
I hope you like them and that you had fun making them!

Do not sew row number one to row number two.
I just wanted to show you what they look like together...and give you more of an idea of what your quilt will look like.
It's going to be exciting to see it grow...
row by row:)
I hope you enjoyed your quilty lesson for the day....you are all such good students!
Let me know what you think about row 2.
Your sweet comments are always appreciated:)
I can't wait to see all of the row 2's showing up on the
BIMB Row Along Flickr Group.
to join up and to check out all of the row 1's...
they are all sew fun!
xx
Lori
***edit July 2013
The pattern and instructions for the
Bee in my Bonnet Row Along
are in my new book
"Quilty Fun"
to reserve your copy today