

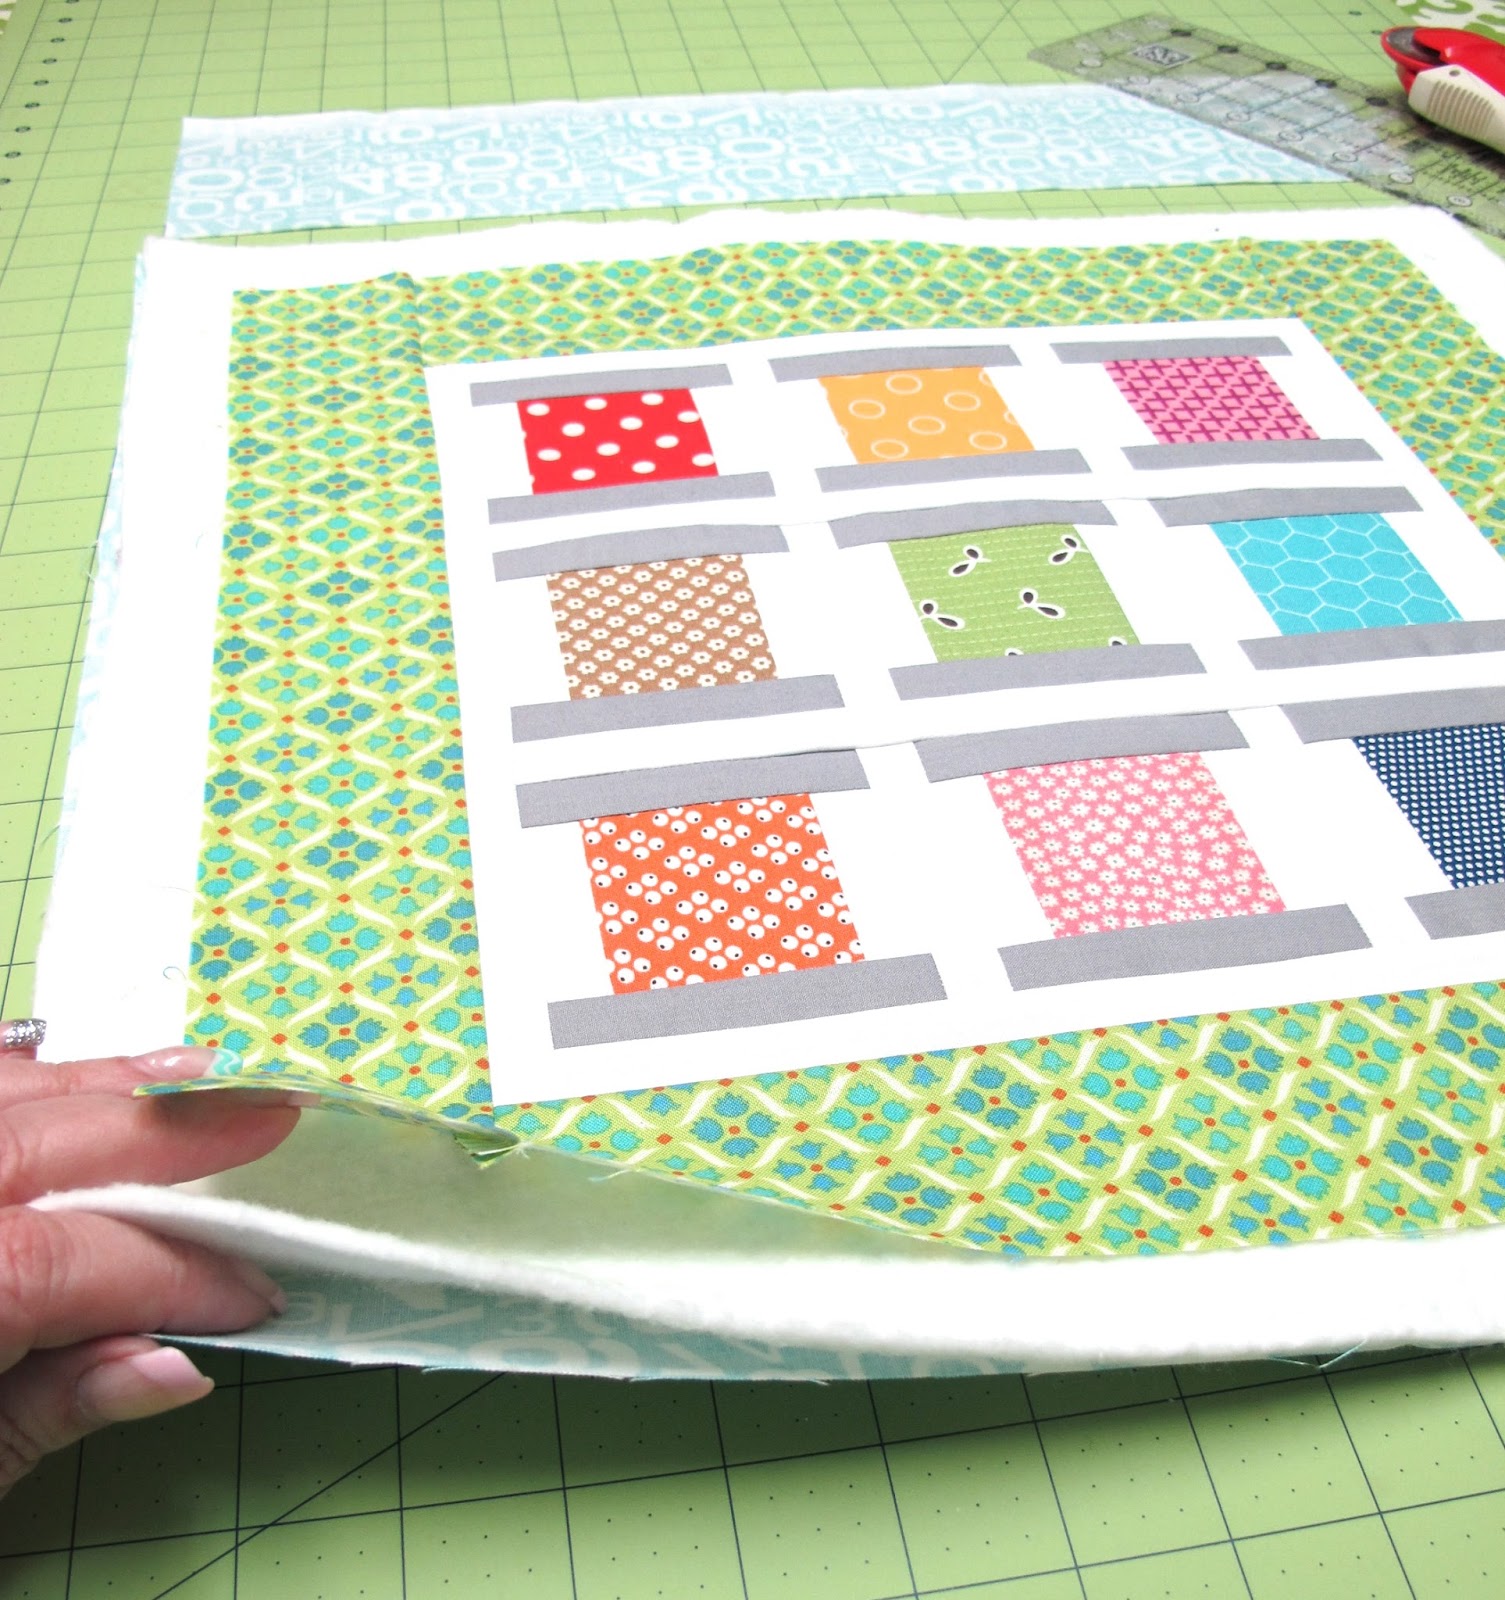
Last fall I made this 15" x 15" sewing spools "quilty" for a friend.
Because this week in the sew along we did the spools…
I thought it would be fun to show it to you!

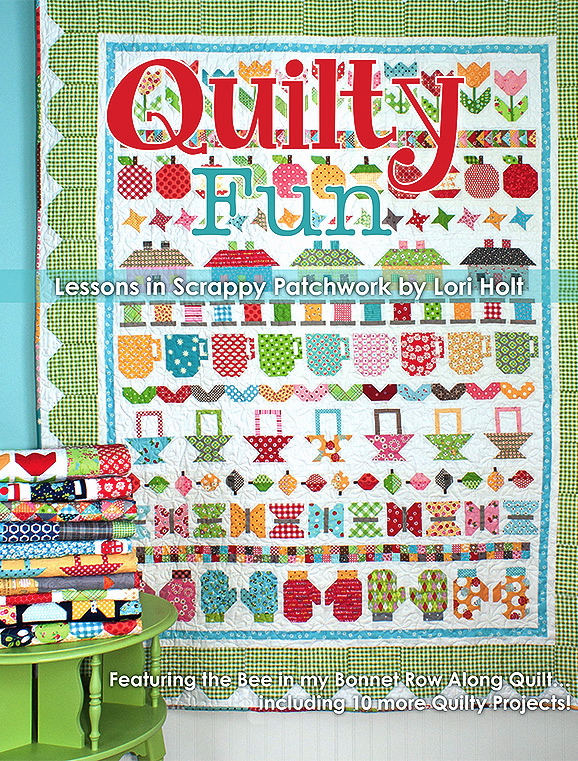
This is my Fall Leaves Quilty from the book.
Do you all know what a "quilty" is?
I explain it all in my book but I'll tell you again:)
I've always loved to make little quilts
to hang on the wall or use as a
little table topper in place of a doily…
so I like to call them "quiltys" instead of "doilies"
I used my fall leaves block to
make a quilty for the book…
but most of my blocks in there
will work just as well!
For this one…
I just made 9 of my sewing spool blocks.
Easy peasy!

I cut 6 - 1" x 3 1/2" sashings for in-between the blocks
when sewing the blocks together
(two sashings per row)
Then I cut 4 - 1" x 10 1/2" sashings to go between the two rows
and for the top and the bottom.
Then I cut 2 - 1" x 11 1/2" and sewed to the sides.
I pressed my seam allowances toward all of the sashing strips:)

I cut 2 - 2 1/2" x 11 1/2" border strips and added to the sides…
then added 2 - 2 1/2" x 15 1/2" onto the top and bottom.

YaY!
Cute and ready for quilting:)

I chose a fat quarter of my aqua numbers print
from my Gracie Girl collection for the back.
I layered it with batting in-between..
cut about 1" larger all the way around…
and machine quilted it:)
(I highly recommend using a walking foot
when you are straight stitch machine quilting:)

I decided to add rid-rac inside the binding for an extra cute little touch.

You will need about 70" of prepared binding for this quilty…
so cut 2 - 2 1/2" x WOF strips and prepare it.
I have a tutorial from a few years ago on
how I bind my quilts and also how I add rid-rac.
if you want to check it out!

And just as easy as pie…
I made a cute little gift
using just bits and bobs
from my 2 1/2" strips
scrappy stash basket:)
I love making something out of leftovers that could easily have just been thrown away:)
Because I cut my leftovers into usable sizes…
they are always ready for a sweet little project:)

for my scrappy stash tutorial and
to learn how I save my leftovers
so that they can easily be used)
I hope you enjoyed this little project…
let me know if you'd like to see more ideas on
different ways to use my Quilty Fun blocks!
Have a quilty kind of day…
and sew it like you mean it!!!
xx
Lori

10 comments:
I love your "quilty's". the SAL is SEW fun. I have to remember to get my picture loaded this week. I missed out last week and made my block even on time.
Yes, I would love to see more ideas using your Quilty Fun Blocks. Those Blocks are just so much fun to put together.
Yes please! I'm loving all the mini quilts on Instagram. Your Quilty fun blocks would be super cute mini!
Hi! I just discovered your blog and look forward to exploring it more. Your spool quilty is cute! What type of batting do you recommend for place mats and table runners? I'm working on a runner now.
Love your blog - and I love spring if for no other reason than the smell of the new flowers coming to bloom
love your blog - and I love spring if, for no other reason, than the smell of blooming flowers
beautiful quilt pieces . . . beautiful fabrics . . . lovely colors . . . makes me want to hit the sewing machine!
Love your little quilties. The rick rack around the edge is a cute detail. I love the leaf one too.
Quilties! So great! I think your spool quilt is adorable and what a great gift for a quilter! Love the rick-rack, too, very fun! xo, Nan
I love your mini quilt ideas...also your choice of fabrics...I am waiting for my copy of Quilty Fun to arrive in the mail today or tomorrow...please keep giving us great ideas..
Post a Comment