

Well hello there!
These four blocks are part of a new
Sew Simple Shapes Series
of tutorials that will be here on my blog.
For the first project in the series...
I'm going to be using all of my
Sew Simple Shapes
to make one quilt!
All of the blocks will be
12" x 12" finished.
I thought it would be
really fun to show you that
my shapes are not only for making
"just that one quilt"
that they were designed for...
but can and should be used
for many other projects...
and in different ways that
you may never have thought of!
The two blocks on the bottom
and the one on the top right
are made using my new set
available next month called
Autumn Love.
Currently...
there are 5 different sets
and so I will be
starting the tutorials using
the sets that are available now
and when Autumn Love gets here
I'll do those tutorials as well.
Today's block is the one
on the top left
and I made it using
some of the shapes
in my BLOOM set:)

Are you ready for this new adventure?!
Let's sew!

And your package of

Trace around your shapes
directly onto the interfacing.
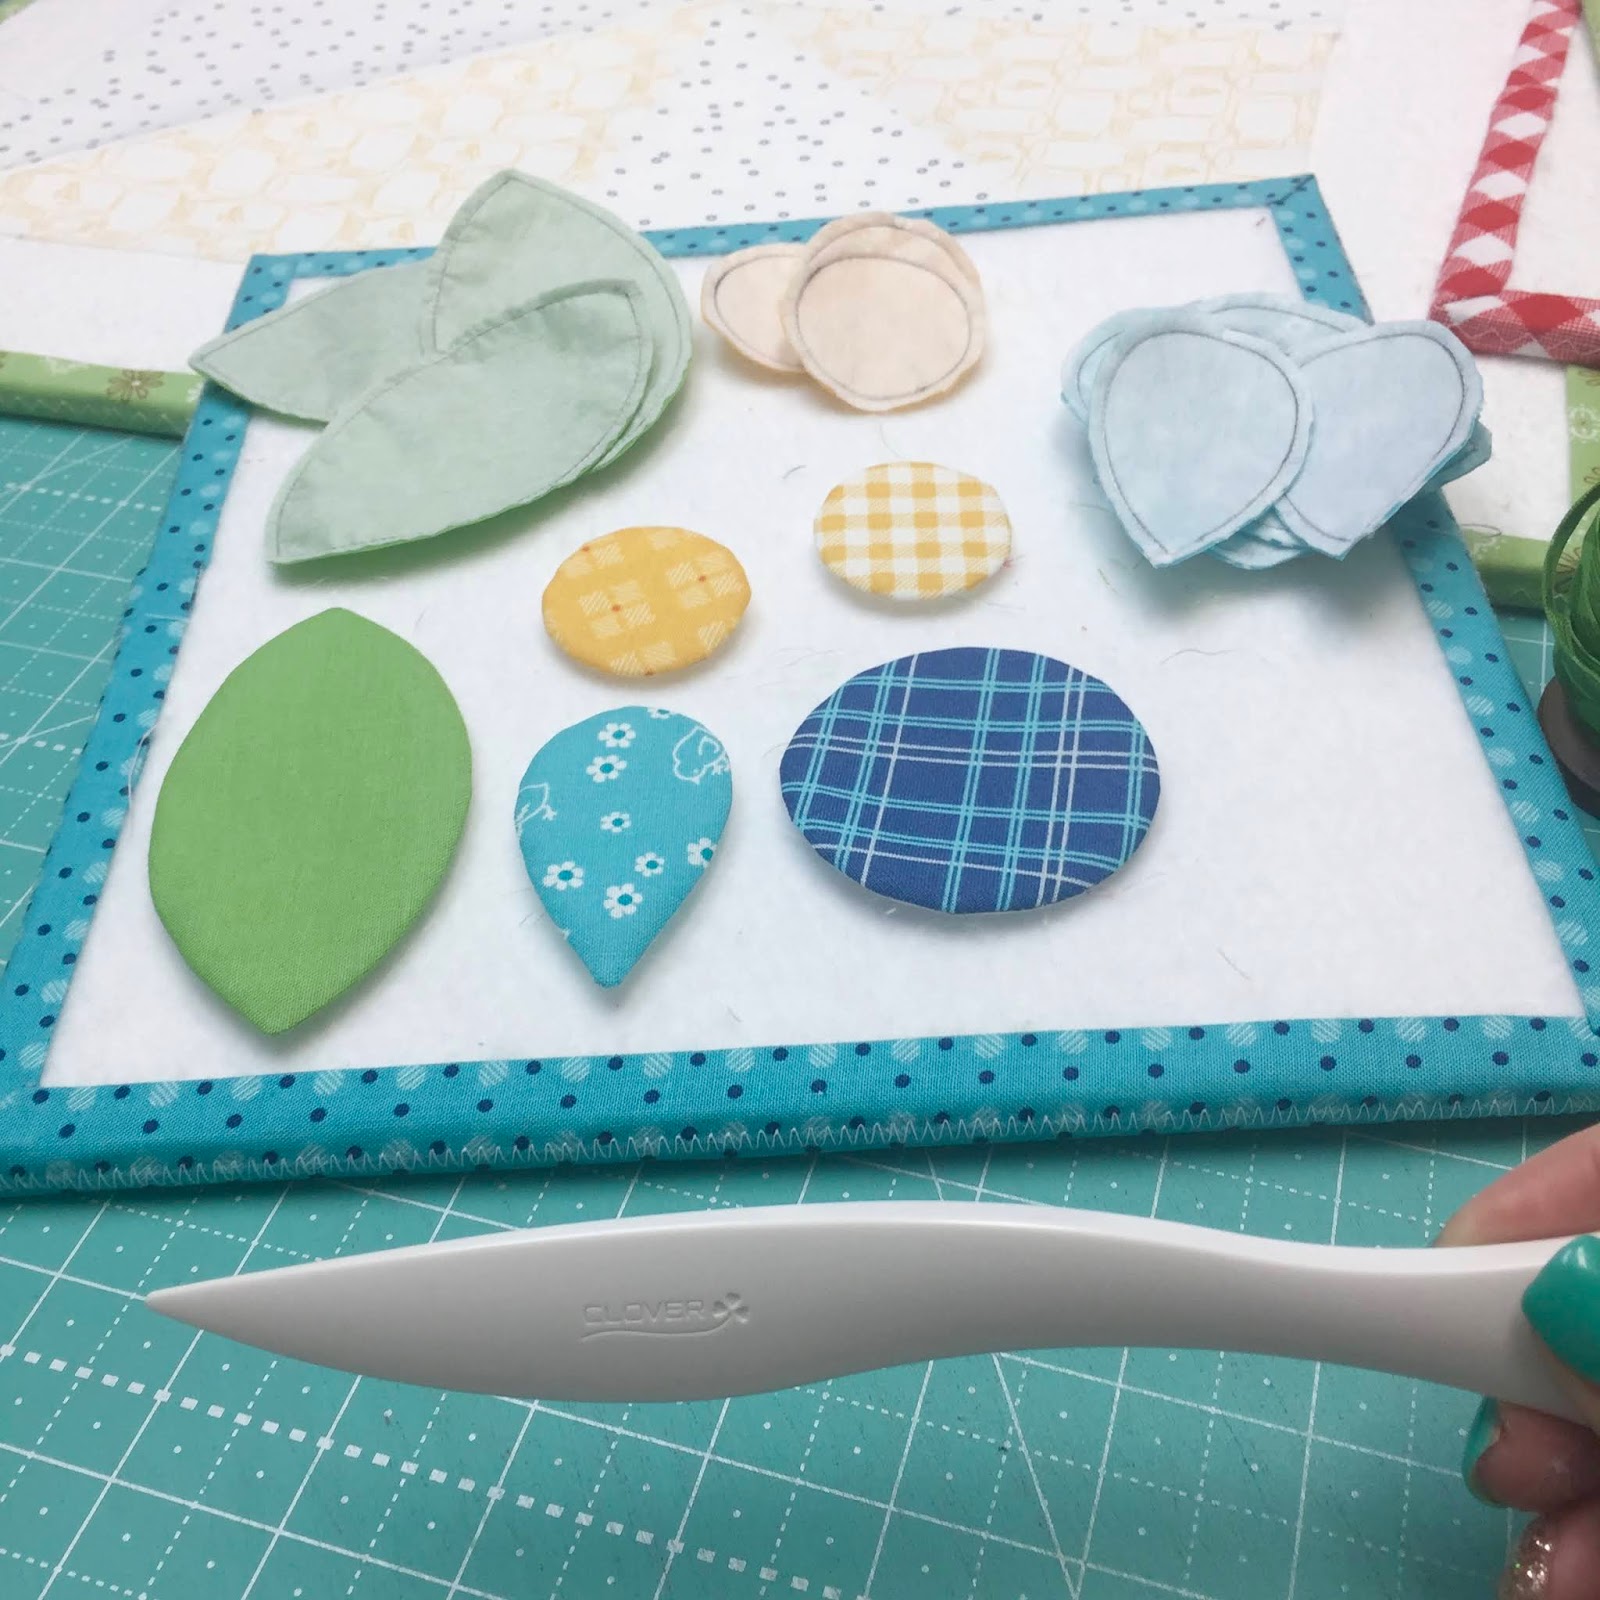
Here are the shapes that
we will need for this block
and how many to trace:
A-1 trace 5
A-2 trace 1
A-12 trace 4
A-16 trace 12
I like to use a mechanical pencil
for a nice thin line.

Dig into your quilty stash...
it doesn't take much for applique!
These are the colors that
I will be using for my quilt.
I have 4-5 different prints
in each color...
plus a solid to match each.

I'm using the same fabric for all of the stems in the blocks.
This gingham is from my Cozy Christmas collection and I cut a bunch of strips 5/8" wide and ran them
through a 1/4" bias tape maker.
I have always kept my prepared stems
wrapped around vintage spools.
This one happens to be an empty spool
that my small Vintage Trim came on and I used it all:)

Decide which color and prints
that you want for each shape.

Place the traced shape on your fabric
with both right side up and
sew directly onto your traced line.
I do not backstitch but instead I
"over sew"
a little where I start and stop
to secure my stitches.

After sewing I cut about 1/4" or
a little less around my shape.

I cut a small X in the
interfacing ONLY
and turn it right side out.

All the shapes are sewn...

And the "X's" are cut for turning.
I use the pointy end of this
to shape each piece and
then give them each a
quick PRESS (not iron)
on the fabric side.

I decided that I am going to
use the same green solid
(Riley Green Confetti Cotton)
for all of the leaves or
at least somewhere in each block.
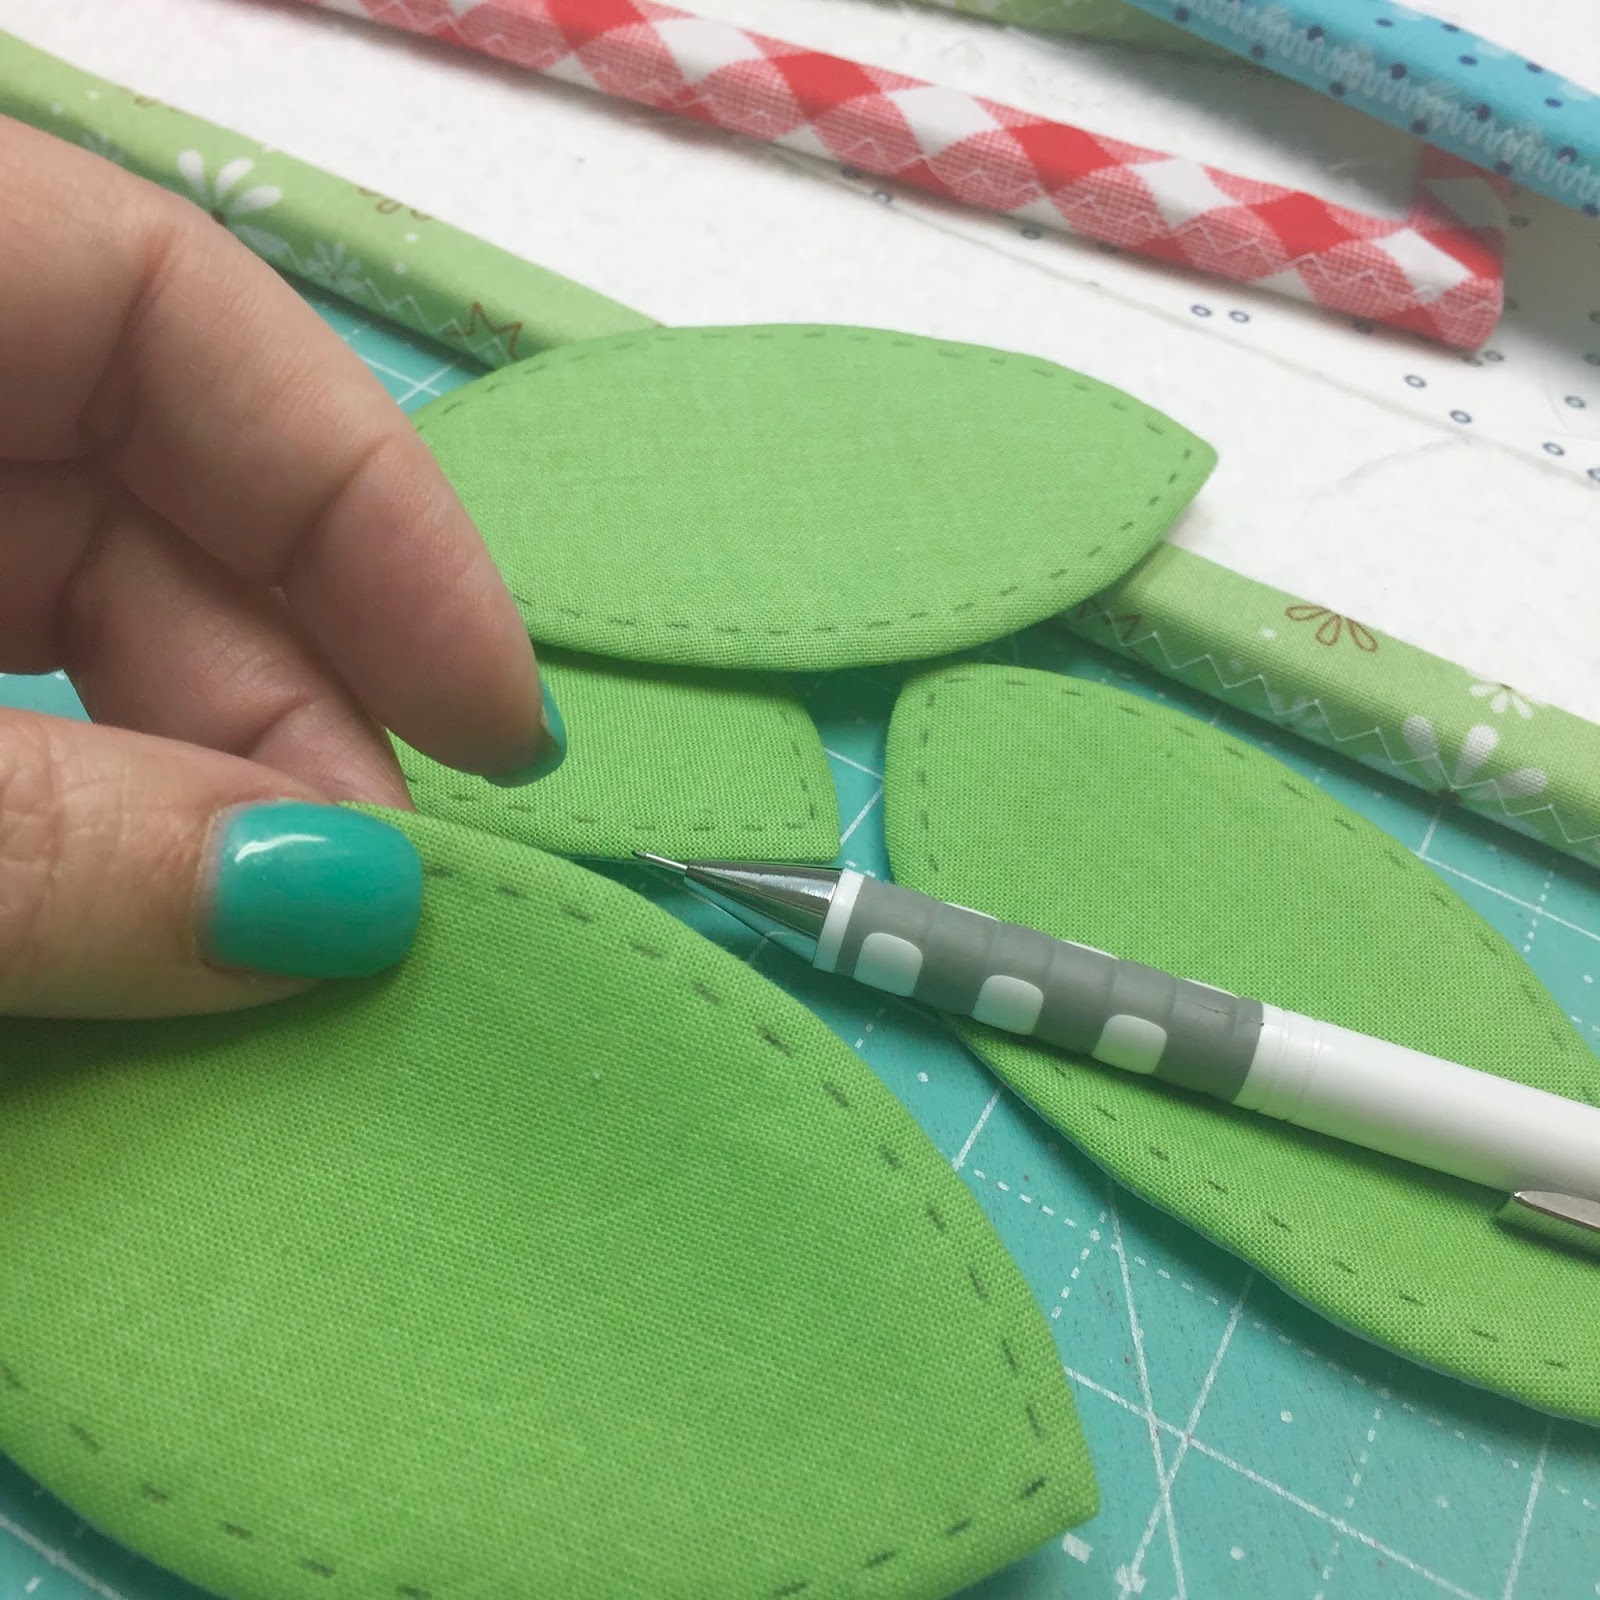
You may have noticed that I like to
add some stitching around
my applique shapes when
they are done with solid fabric.
I love the look and the added texture
that the stitches create.
I use all six strands
I pre-mark my stitches
with a mechanical pencil:)

One down and 3 more to go!
I do my stitching onto each
individual piece before its appliquéd...

And hide the knots on the
back in the interfacing.

Now let's talk about the
background for the blocks.
I'm using my Bee Backgrounds...

And for each block
I will use 2 prints
and cut TWO 8" squares
from each one.

On two of the blocks
I draw a line on the back
1/4" on each side from
of diagonal center like this.

Then I place it with right sides together
on the opposite print fabric
and sew directly onto the lines.
Repeat for the other two squares
and cut them apart in the center.

Press the seams open so that
your block will lie flat.

You now have 4 half square triangles!
Sew them into a pinwheel like this.
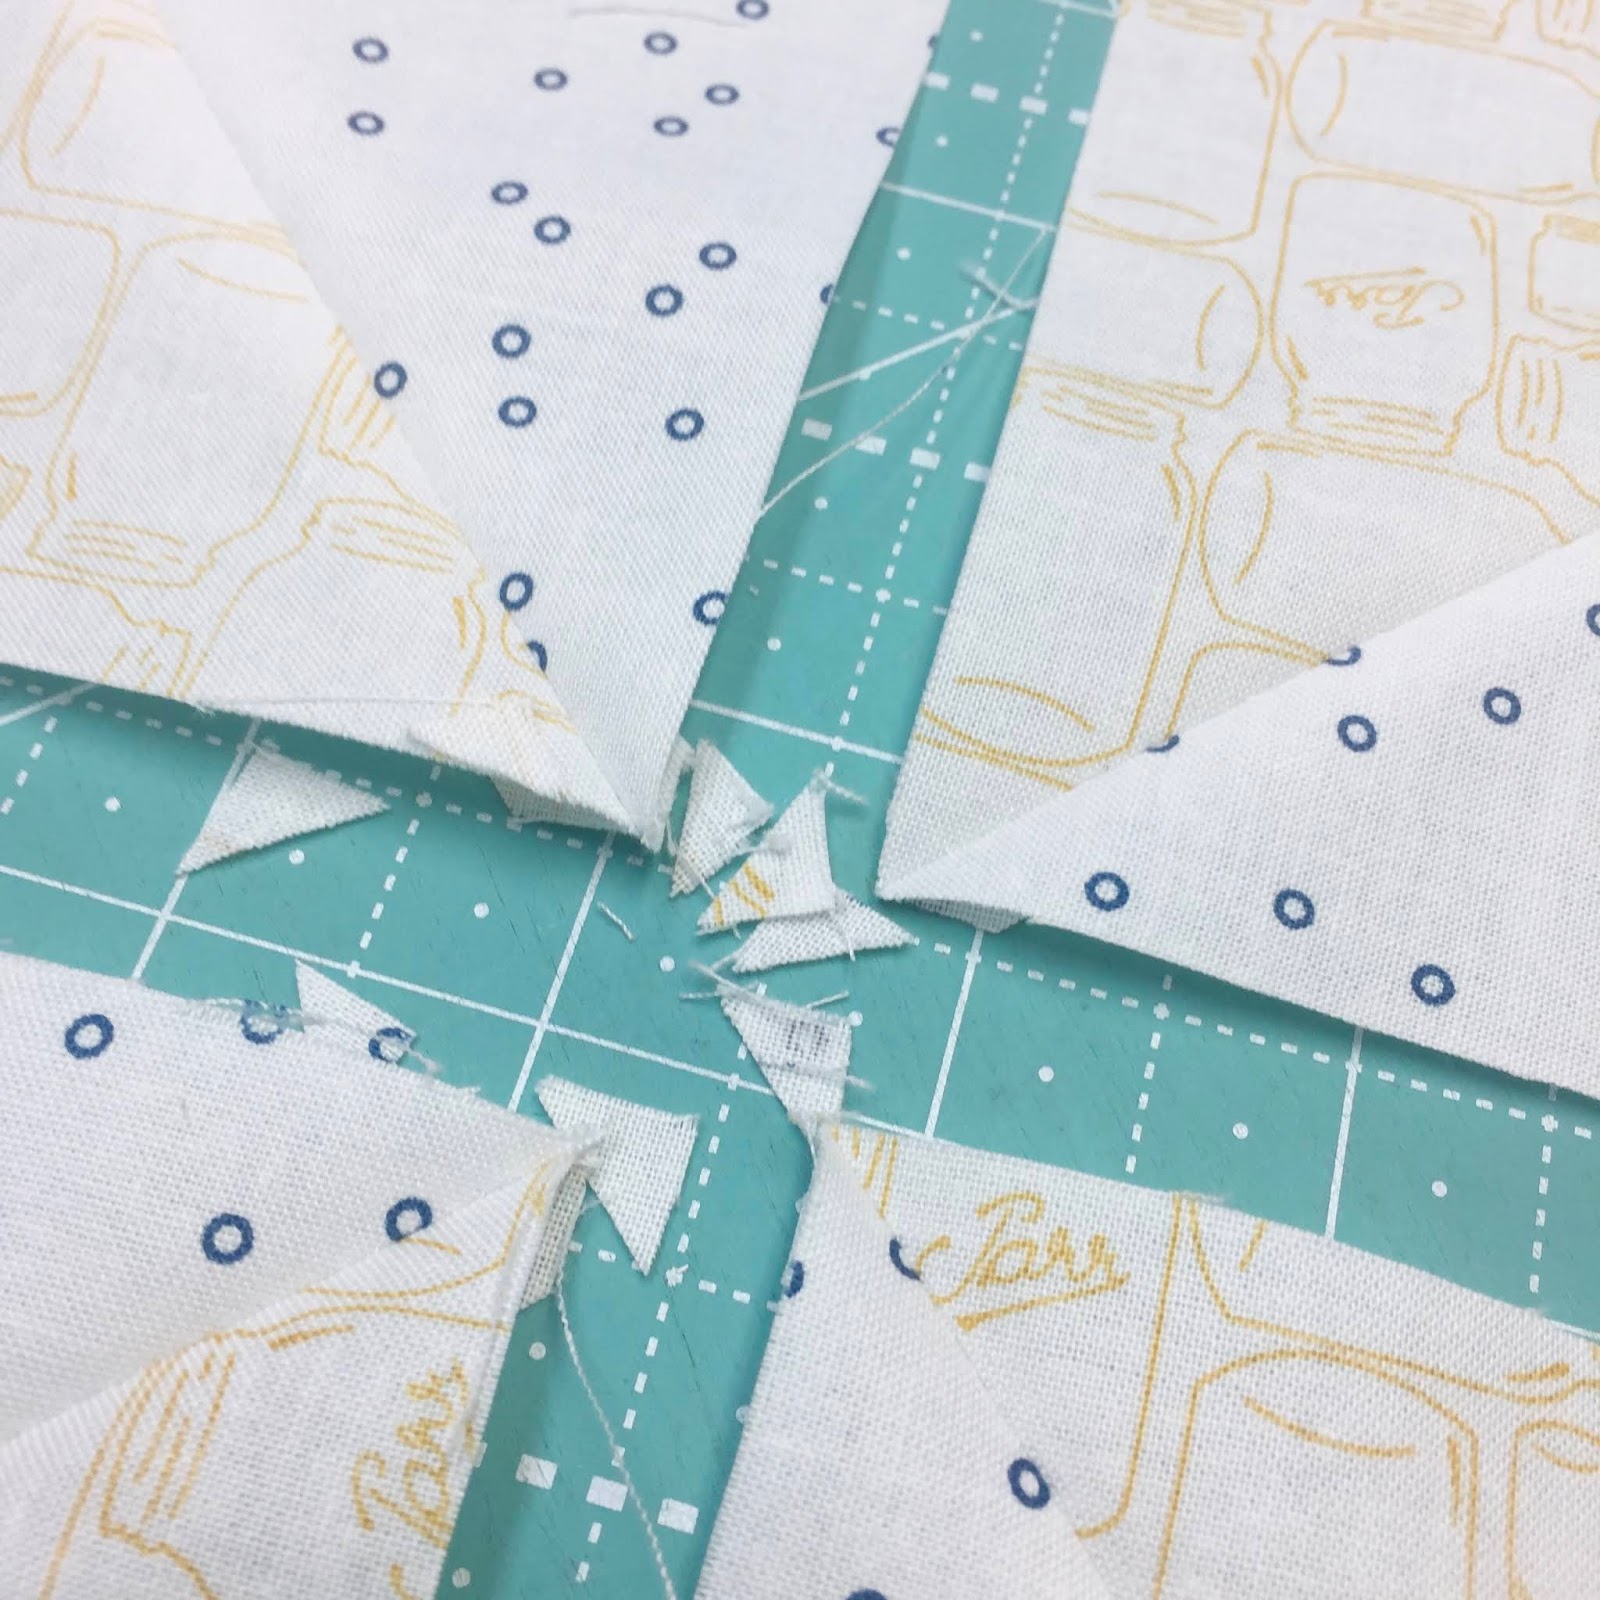
I do trim the inner corners before sewing...

But I just leave the outer corners
because they will be cut off
when I trim the excess off of
the block after applique.
I like to have my background fabric
larger than needed during
the applique process to allow for
a little shrinkage and
fraying of edges etc.

I also press these seams open.
I like to piece my backgrounds when I applique for several reasons.

I think it adds a lot of movement and interest to the block
but because the seam lines are
going in the center both
diagonally and across both ways...
it makes laying out each block a breeze!
Now your background is ready.

Time to add the shapes and
prepare for applique!
I cut 4 pieces of 3" long stems
from my spool.

I use both glue and pins for this step.
I use glue by Sue Daley and it's my favorite...
I also use my
they all come in this cute
mason jar shaped container.
I use the "applique" ones for this step.
I like to dump them into a pin bowl
for easy grabbing:)
I also use my
when laying out my pieces....
and of course...a design board!
You will need the large size
for these blocks:)
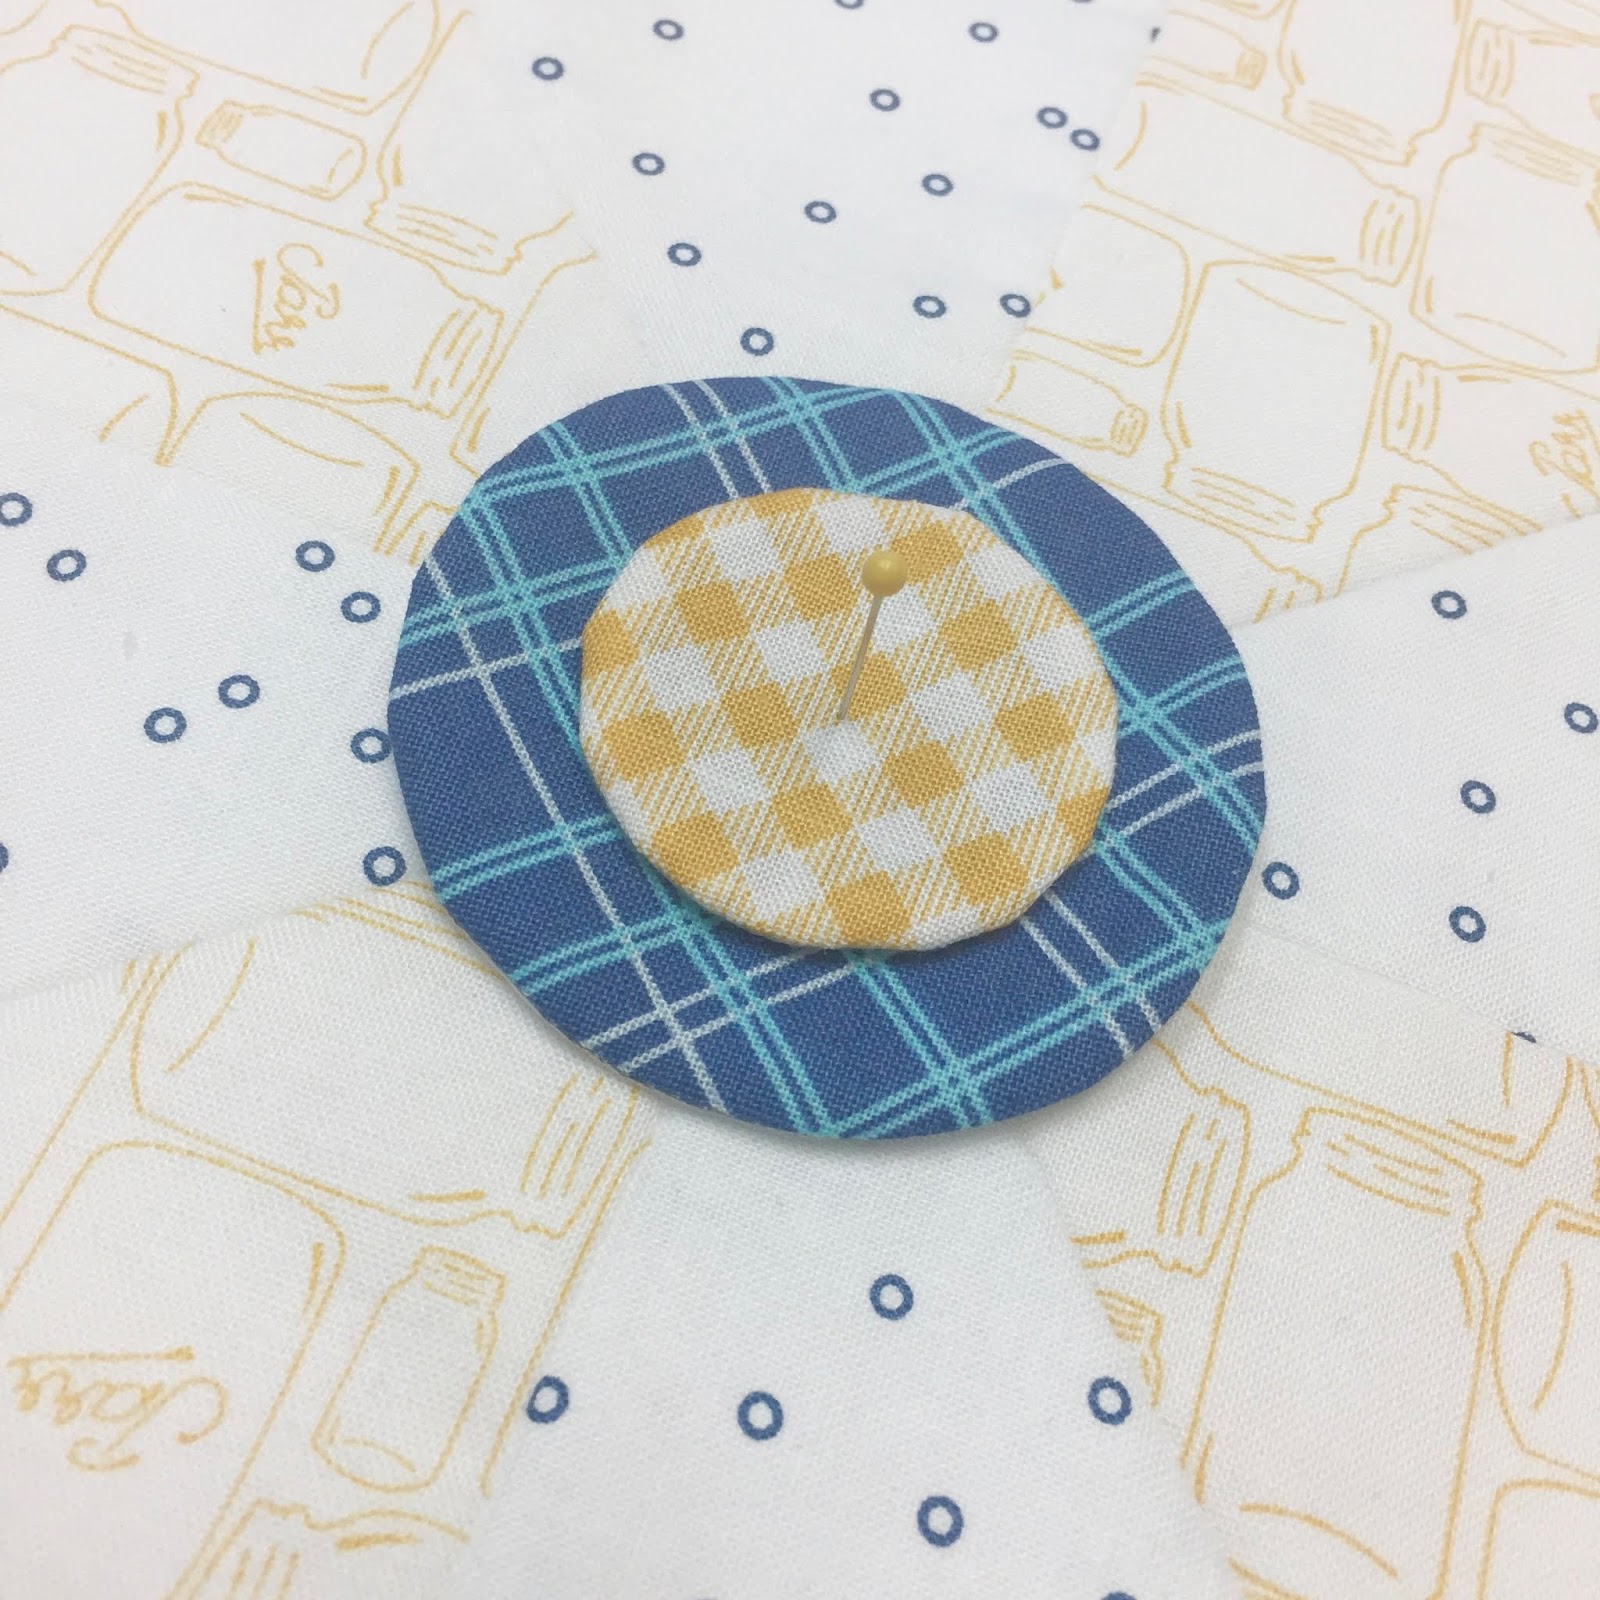
First I place and then pin
the center circles with one pin straight down into the design board.
I make sure that it's right in the center because that's important for this next step!
The seams on the pieced background along with my 12 1/2" Trim it Ruler make it easy peasy.

I measured 2 1/2" from the edge
of the center circle and placed my flower center circle and
pinned it into place like this.
I made sure that the circle is centered across the seam line underneath.

Then I measured 3" in from the corner
of my background and placed
the center petal like this.
Just pinned it...no glue yet!

To place the side petals I measured
1 3/4" from the edge like this
and pinned into place.

Now you can lift up those pieces
on each side...
keeping the pin in...
and place a few dots of glue underneath.
You can take the pins out after it's glued.
This is how I glue baste my stems...
and then the raw edges are
tucked underneath the
circles on both ends.

I placed my green leaves centered
right on the seam line
and just touching the center circle.

The same measurements are used for each quarter of the block so you can work your way around...
first pinning and then
glue basting each piece.

You can leave your pins in
for a few minutes until the
glue completely dries...

or you can do what I do and lay
my 12 1/2" trim it ruler on top
and then a couple books on that
to keep it nice and flat
until the glue dries.
"Sue Glue" keeps your pieces in place
while you applique...
whether by machine or by hand...
that's your choice!
However...
it is reposition-able if needed
without ruining your shapes and
also water soluble even though
I don't wash it out.

Most of the time I like to hand applique
my shapes but I have
machine appliquéd too.
Either way I always use
matching thread
to each applique piece.
When I hand applique I just use the same stitch as
traditional needle turn applique
but my edges are already turned
making it
super relaxing and easy:)
When I machine applique...
I just use a tiny zig-zag stitch
and even though I change the
thread on top to match the applique ...
I just use white in the bobbin:)

After applique use the
12 1/2" Trim It Ruler
to trim it down to that size.
Use all of the lines on the ruler
and match them up to the seam lines
and your block will be
perfectly centered...
YaY!!
I always save this step until
the very end when ALL of my blocks
are appliquéd and I'm ready to
sew them into the quilt.

Block Number One!!
I love this block...
it reminds me of cute little
forget me not blossoms.

I will be making 2 more blocks using the BLOOM set of Sew Simple Shapes and I will have those tutorials up next Monday!

I'm planning on making for sure 16 different blocks for this 12" Sampler Quilt...
and maybe even 20:)
I'll be doing 2-3 blocks a week until finished.
The setting will be VERY SIMPLE so that
each different applique block
really shines!
I hope you will sew along with me
while I play with the
Sew Simple Shapes!
xx
Lori

1 comment:
Will these designs work for raw edge appliqué?
I love all of your work!
Post a Comment