

Good Morning!!
Are you ready for 3 more blocks in the
Sew Simple Shapes Series?

This week we are moving
onto my second set of
Sew Simple Shapes...

Remember this cute quilt that
we made with the shapes?
Well...
today we are doing 3 new blocks
using this set that
DO NOT
look anything like Christmas...
because I really want to
show you just how truly
versatile these shapes are.
It was really fun to
challenge myself to make 3 blocks
from this set of
mostly Christmas shapes.
I must say that I am
super happy
with how they all turned out!

First up is...
BLOCK 4
Made with the
Cozy Christmas
Sew Simple Shapes:)

The shapes from this set
that you'll need to trace
onto the Sew-In Interfacing:
1 - B20
5 - B6
8 - B10
4 - B11
4 - 3 1/2" long stems
and
4 - 2" long stems

Sew and prepare your shapes
as per my tutorial in week one.
Also make your pinwheel background
for the block:)
if you need to review
or are just joining us...YaY!

On the B11 heart shape you will
need to clip the cleavage.

The same goes for the cleavages
on the B20 flower shape.
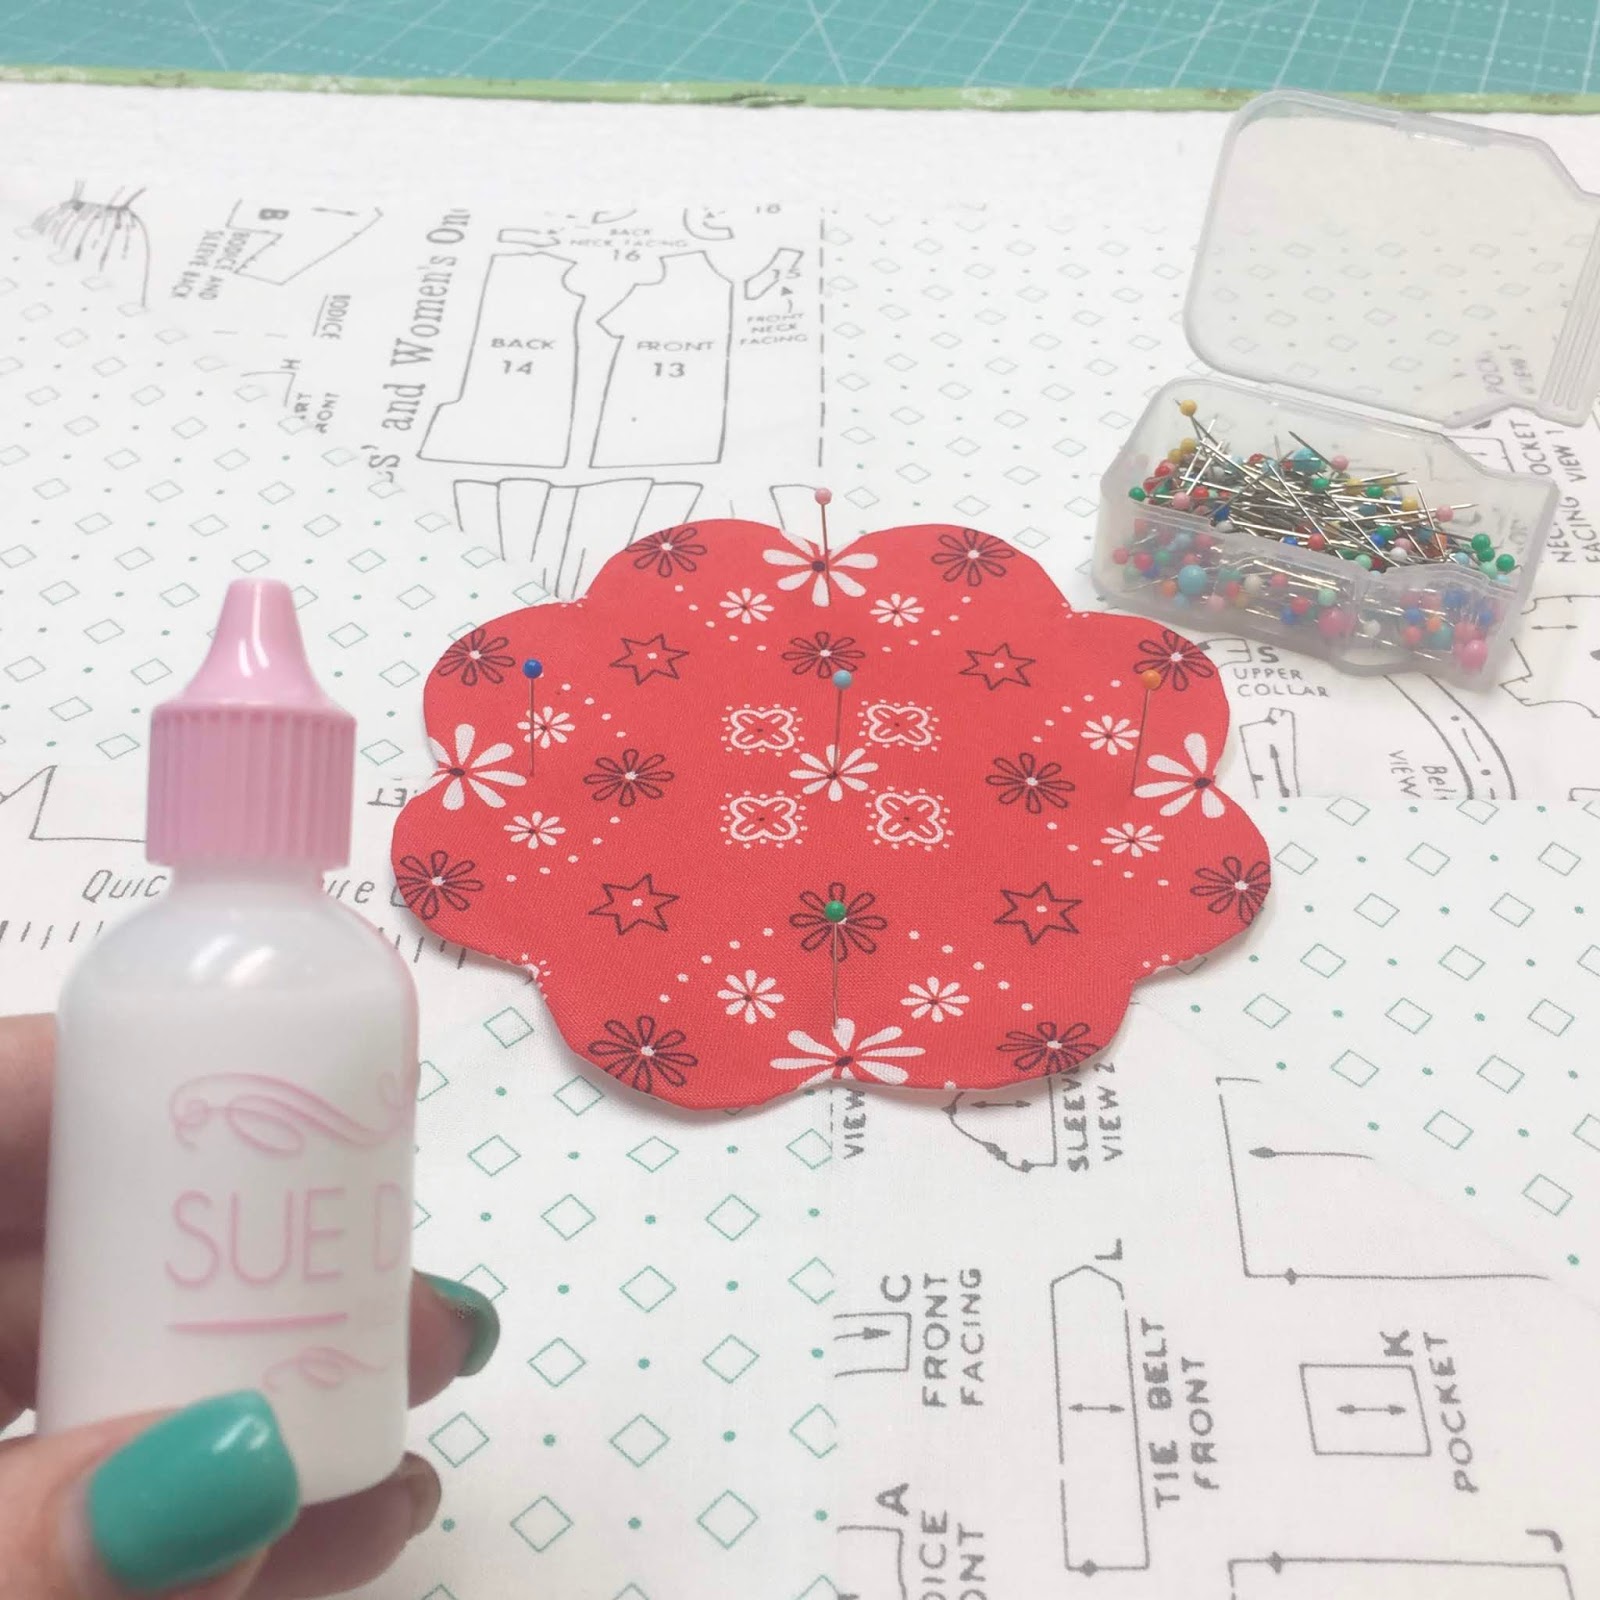
Pin and glue baste your
flower in the center.
I love this shape that was
originally a Christmas wreath!

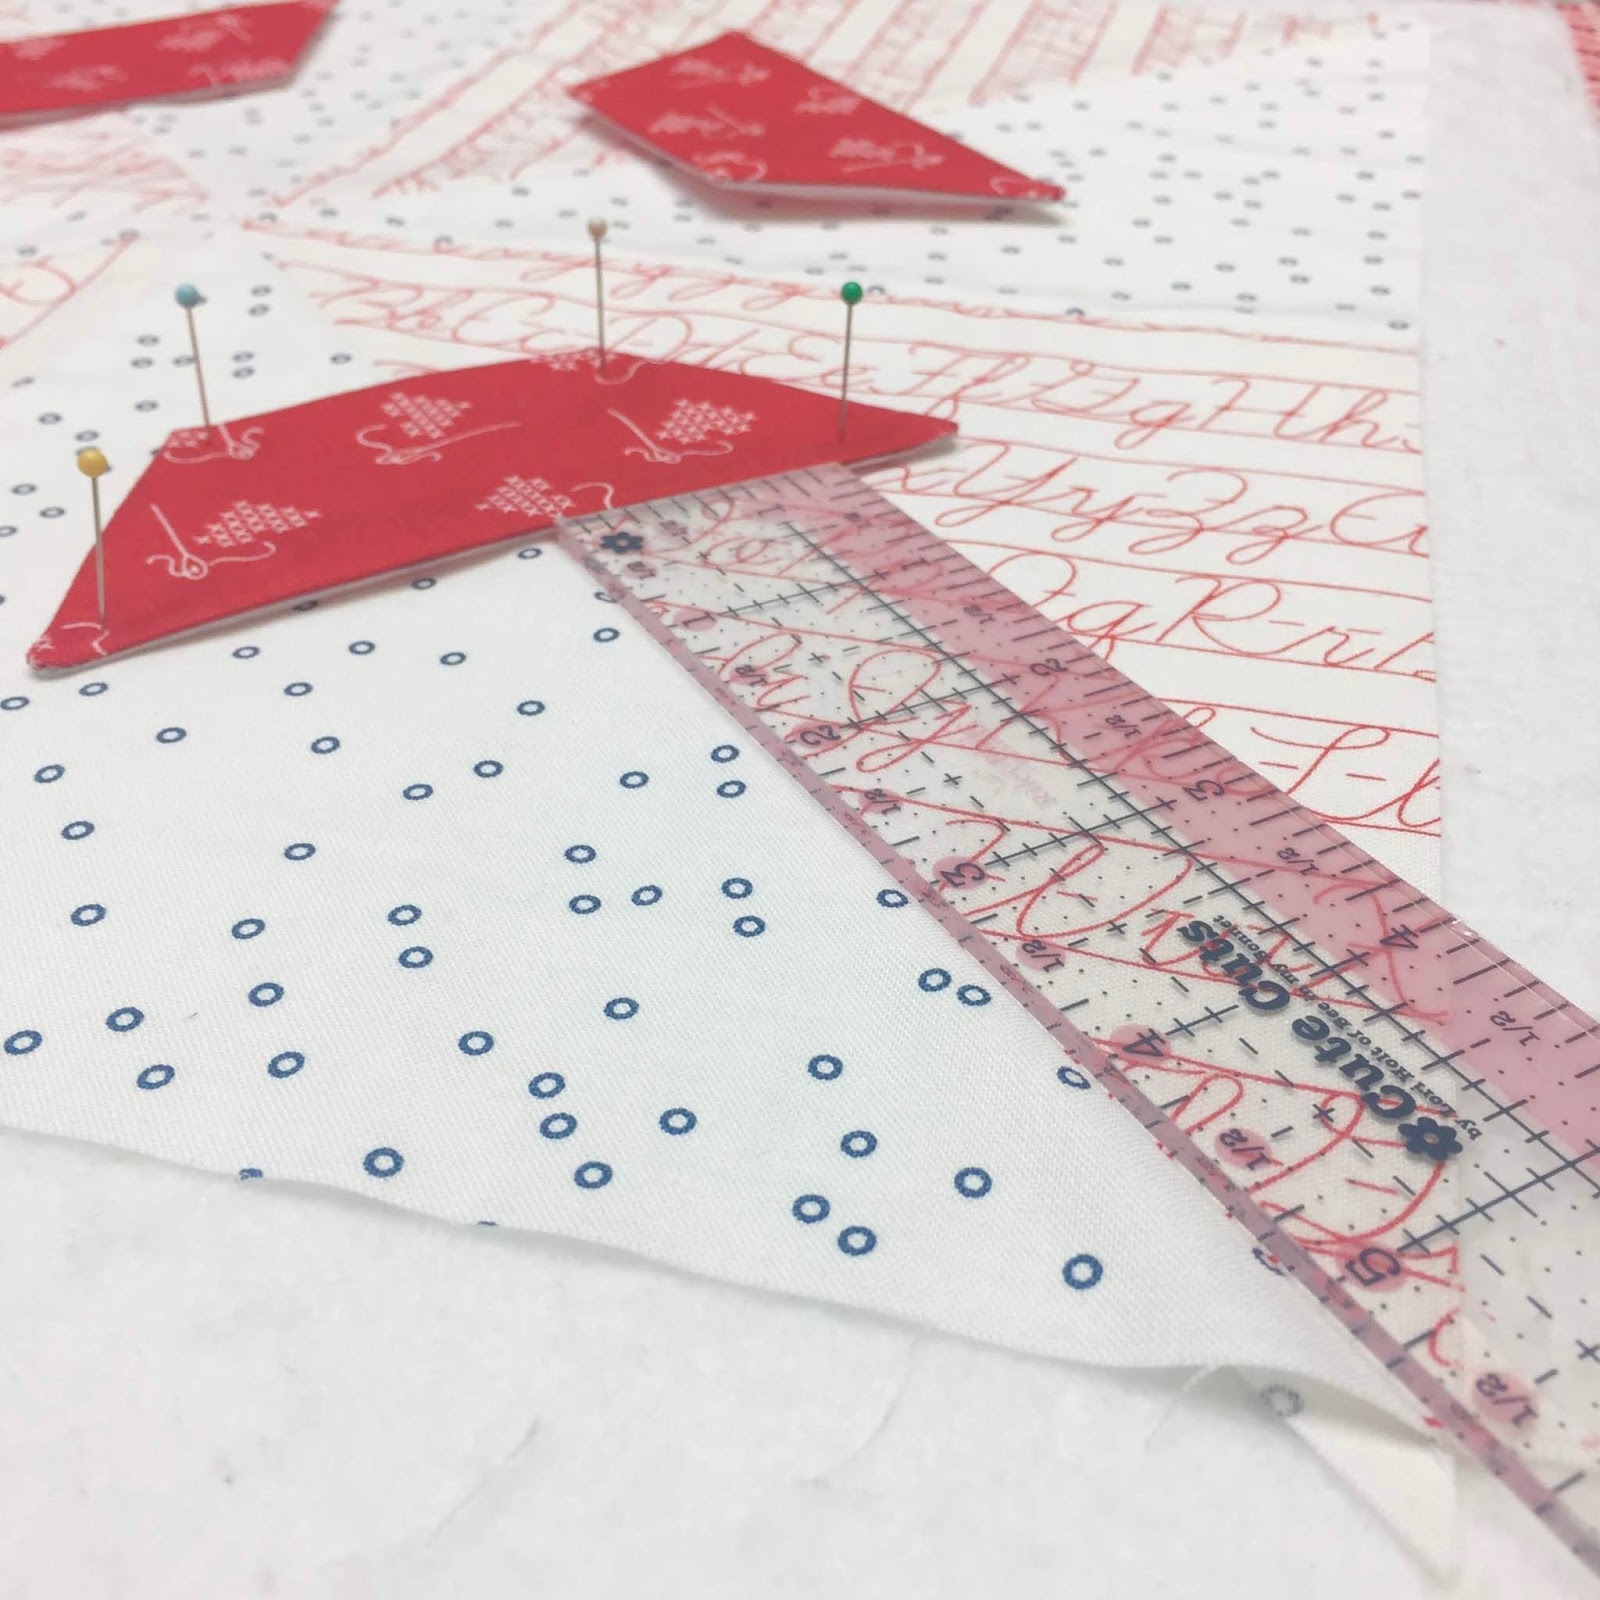
Pin and glue baste the B6 shapes
3" in from the corner and the
B10 leaves 2 1/4"
from the background edge.

The hearts are 1 3/4" in from the edge.

This is what it will look like
when its trimmed down to the
final size for the quilt.
I always use this ruler
to design and lay out my blocks:)

All pinned and glue basted!

Okay...
so I really like this simple block
with the big red flower in the center.

But one thing is missing...

The stems for the heart flowers!!

BLOCK FOUR
Fun and Done!!

Okay...
let's play with
BLOCK FIVE
You may think that there is
only one shape
in the set that can be
used for leaves...
but think again!
I'll show you the easy way
that I made a set of leaves
out of the B8 large oval shape:)

Here are the
Cozy Christmas Shapes
that you will need to trace and sew:
9 - B5
4 - B7
4 - B8
4 - B9
4 - 4 1/2" long stems

Use the lines on the B8 to
mark the center on both ends like this.

Now draw a line 1/4" on
each side of the center like this.
I used a 1/2" wide ruler
but if you don't have one...
you can just draw 2 lines
1/2" apart down the center:)
Now you have one set of leaf shapes drawn!

Sew around the traced lines...

and then cut apart and trim the seam allowance around your leaves as usual.
Repeat for the other three.

Sew...trim...turn
and shape all of your appliqués:)

As usual...
I used my 12 1/2" Trim-It Ruler
to lay out my blocks.
Here's how I did it...

The tip of the oval shape is
3" in from the corner
and the yellow circle
is 2 1/2" in.
The tip of the leaves measure
1 1/2" in from the edge.

The flat part of the yellow flower petals
in the center measure
5 1/4" from the edge.
The aqua and green circles measure 2" in.

After pinning and glue basting:)

This block reminds me of spring and I love the corals and yellow together:)

I also super love the shape
that the set of leaves make...
it seems like the flower
between them just bloomed!!

BLOCK FIVE
Fun and Done!!

Now it's time for
BLOCK SIX
Oh how I love this one!
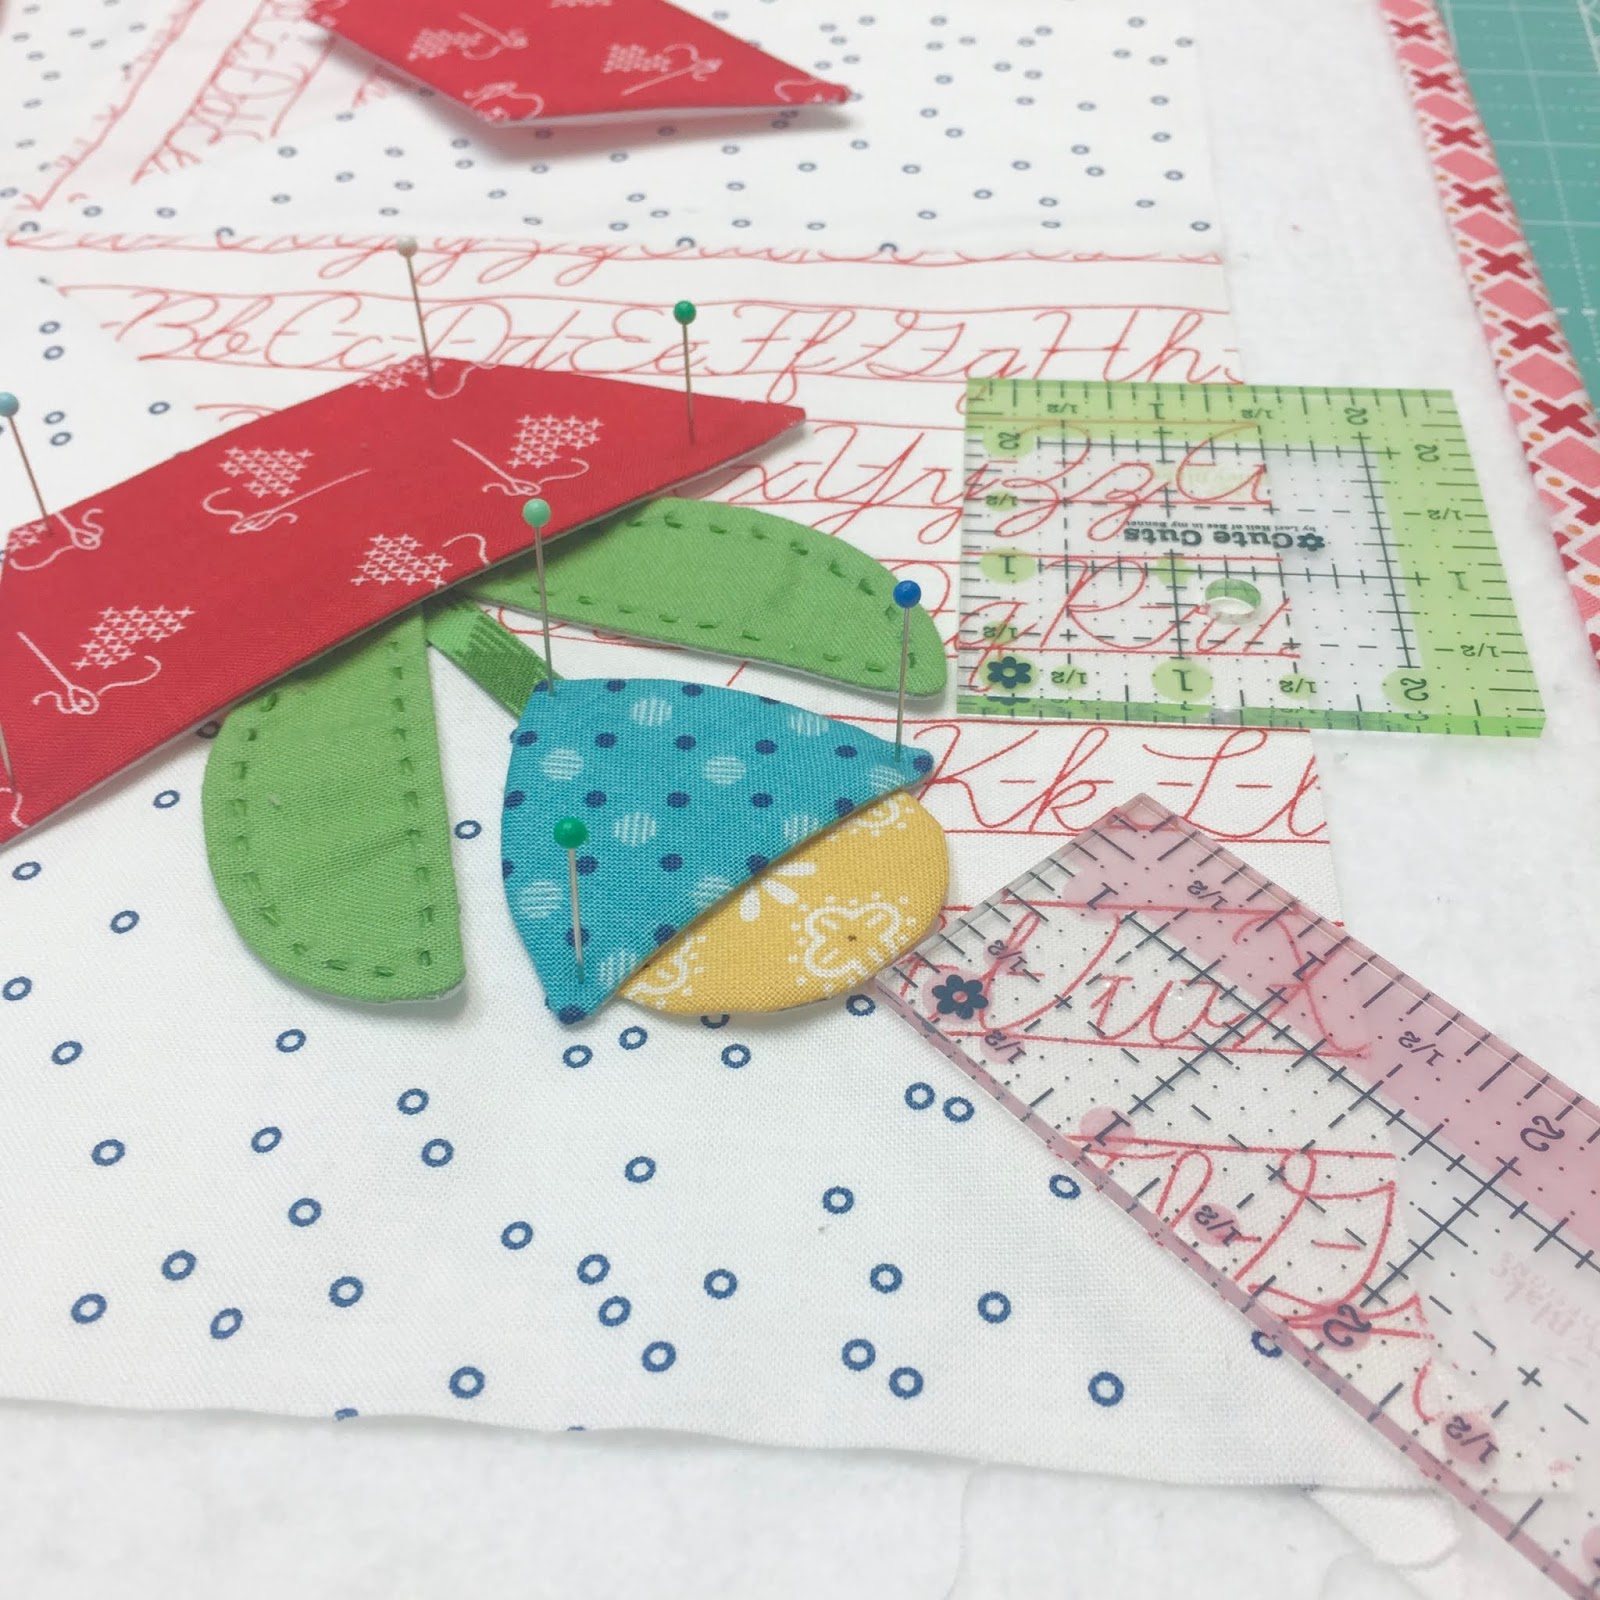
I used the B7 small oval
to make these leaves.
I just love those
four little flower pots...so sweet!!

Sew your pinwheel background block.
For this block you will
need to trace and sew the following:
8 - B5
1 - B6
4 - B11
4 - B15
4 - B9
8 - B7
4 - 1 1/2" long stems

Use the template to mark a
center line on the B7 shapes.

Draw one center line and
sew it and around one half of the oval.

Trim the seam allowance
around the half oval.
For this block...
you will get ONE leaf from each oval:)

Make the rest of your shapes.
See the small yellow gingham circles?

You can get all four of them out of just one of the squares from this print in my Bee Backgrounds collection....YaY!
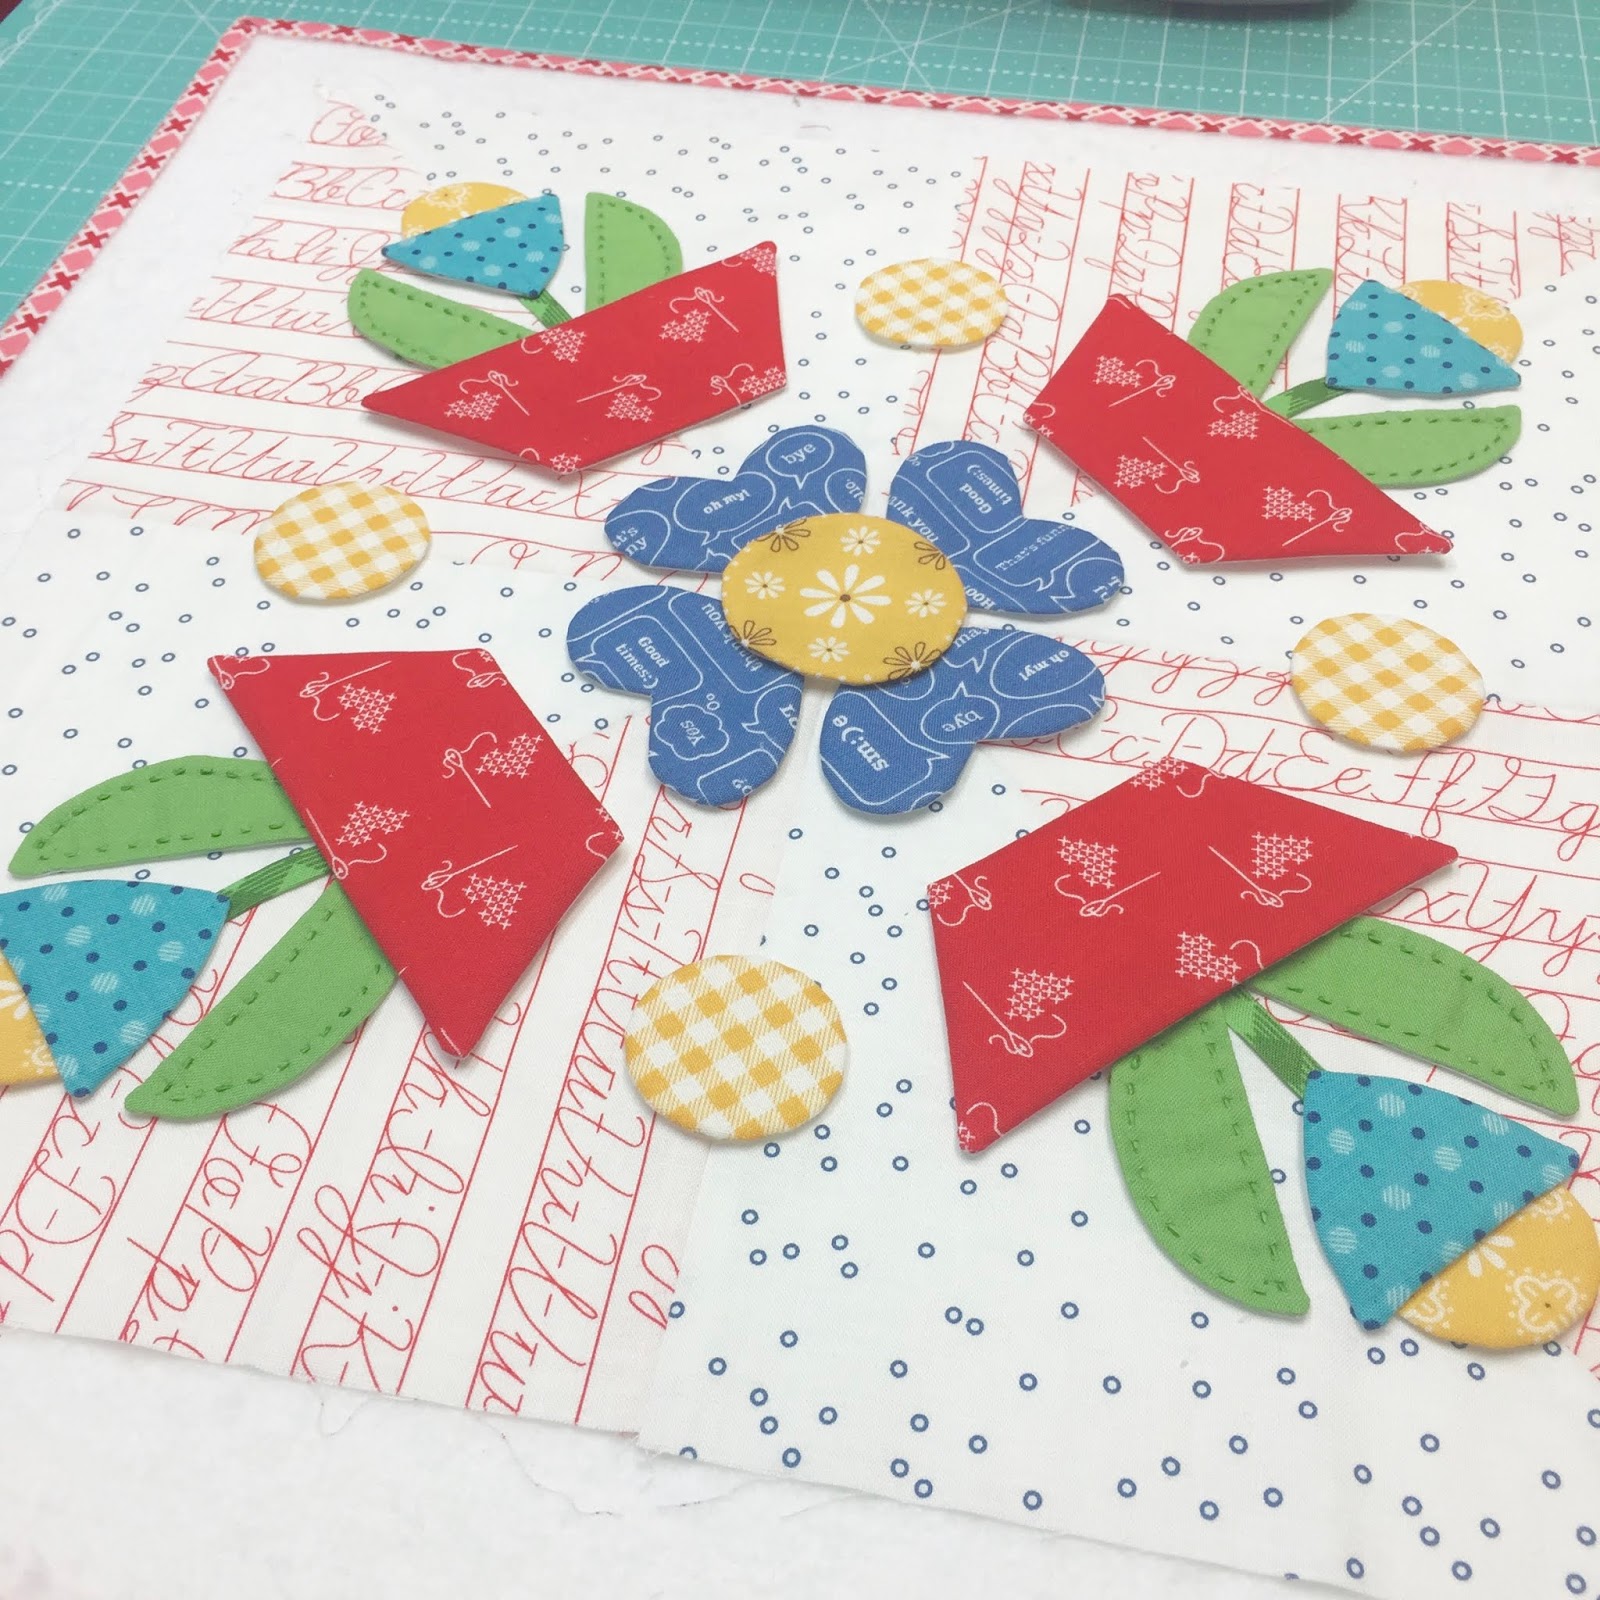
Measure down 5 1/2" from
the corner and place the red pots.
Measure 2 1/2" down from
the corner for the yellow circles
and 1 1/2" in for the
tip of the leaves.

The bottom corner of the
blue flower measures 3/4" from the red pot.

Measure 1/2" in from the
center of the block
and place the hearts.

Pin the large circle onto the center
and place the small
gingham circles 2" in from the edge.
Pin and glue baste all:)

Sew cute!!

I especially love this
fabric color and print combo:)
The red penmanship Bee Background
and the denim "texting" print
from Modern Minis are
some of my very favorites.
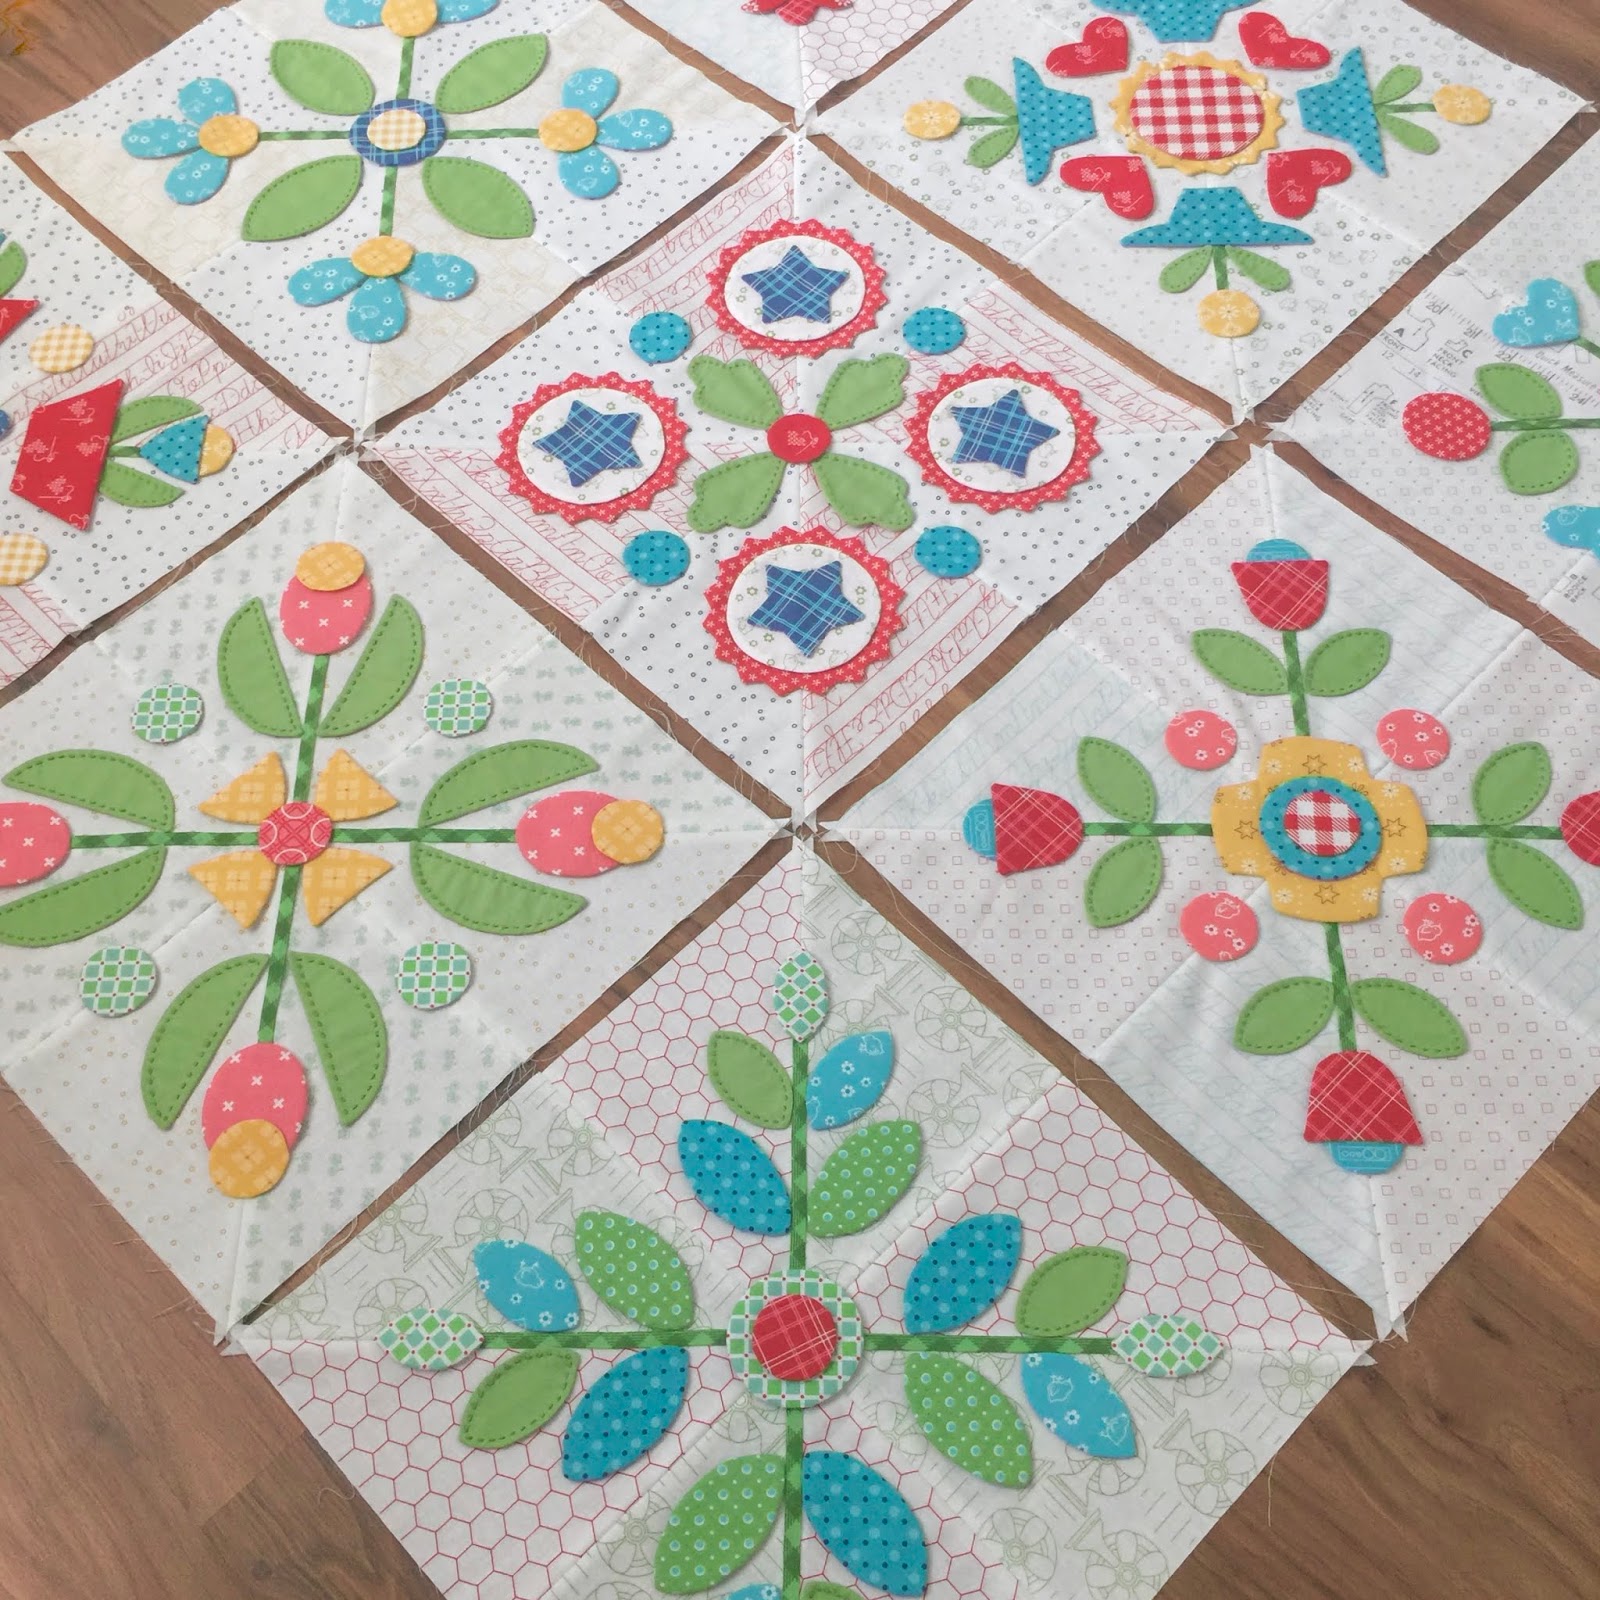
I have nine blocks so far for this quilt:)

There will be 20 total
and as a reminder...
I'll do the 3 blocks from my
Autumn Love Set at the end.

I am sooo addicted to making
these blocks and next week
I'll be making more with...
yep...you guessed it...
my third set of Sew Simple Shapes...
Sweetie Pie!!
xx
Lori

No comments:
Post a Comment