

Welcome Quilty friends!!
Today is the day for the
"Bee Prepared"
post that I do in preparation
for my new fabric collection
sew along quilt.
This is the point to start gathering
your supplies for the sew along
and join us in making the quilt!
I always get lots of questions
about the supplies listed
in the guide and what they are
and so this is the post that details
those notions that I'll
be using to make this quilt:)
YaY!
This Bee Prepared post is for the
and I'm so excited for it to start!

We will be making the
Thanksgiving at Grandma's Quilt
which finishes at
80" x 96"
It has a pieced flying geese border,
several machine pieced blocks
and several applique blocks!

To make the appliqué blocks,
we will be using my
Sew Simple Shapes called of course...
Thanksgiving at Grandma's!


The collection that we are using
for the quilt is...
BAKED WITH LOVE!!
Baked With Love was designed by me...
and produced and distributed
to quilt shops everywhere
by the amazing
If you would like to know everything about
Baked With Love
CLICK HERE and HERE
to view both storyboards...
to see all of the fabrics close up
and to view the notions and ALL of
the patterns that coordinate with it:)
While we are talking fabric...
a note about pre-washing.
This is a personal choice and up to you.
I do NOT prewash my fabrics.
I did used to years ago
but now we have such nice
quality fabric available to us
I do not find it necessary.

So let's chat about the
Thanksgiving at Grandma's
Quilt Fabric Kit.
Several shops are stocking the kit...
both brick and mortar shops
as well as online quilt shops.

The fabric and all other notions
have already shipped
to quilt shops everywhere
however the Sew Simple Shapes
have been delayed a bit so we will
put off the starting date of
this sew along by a few weeks.
The new start date is October 12th!

I have the proto-type for the SSShapes
that I am using to prep for the sew along.
I'm keeping them in my new and upcoming
and very very handy
Sew Simple Storage!!!
They arrive towards the end of the year:)
***TAKE NOTE***
In order to get a bit ahead,
I will begin doing the tutorials
for all of the machine pieced blocks
in the quilt here on my blog
BEGINNING ON THE ORIGINAL START DATE
(which was September 28th)
so that by the time the new start date
gets here we will have already done
all of the pieced blocks
(if you already have the fabric kit)
and then you can begin the
applique blocks using the Sew Simple Shapes.
So of course this means if you have not
already pre-ordered
your fabric kit and need one...
it is not too late at all!

Also remember that when I say "BEGIN"
that just means it's when I begin
to do the weekly tutorials.
As always...
everyone sews at their own speed,
at their own time and so it simply
does not matter when you start.
Do what makes you happy
and do what works for you...
because I always keep
each and every tutorial right here
on my blog and it never goes away.
The schedule is NOT to keep
YOU
on a deadline or stress you out ...
it is simply the schedule for
ME
to do my tutorials.
If you will look at my sew alongs that way
hopefully that relieves any stress.
Sewing is FUN and should stay that way!
And if you are just deciding to join in
Just do a quick google search of
"THANKSGIVING at GRANDMA'S Quilt Fabric Kit"
to find one...
google is your best friend lol...
easy peasy!!

And speaking of sewing...
like I always say...
you do not need a
fancy shmancy sewing machine
to make the applique shapes
or to piece the quilt blocks.
Just a good straight stitching
machine is all you need...
at just a bit shorter than
regular stitch length.
It really is a matter of
personal preference and what works
best for you but I would suggest
doing a smaller stitch
rather than larger.
As usual...
I am using one of my vintage
Singer Featherweight machines
for making this quilt.
With that being said...
now let's talk more about
the quilt and the supplies!
The following are supplies I'll be using
to make my blocks...
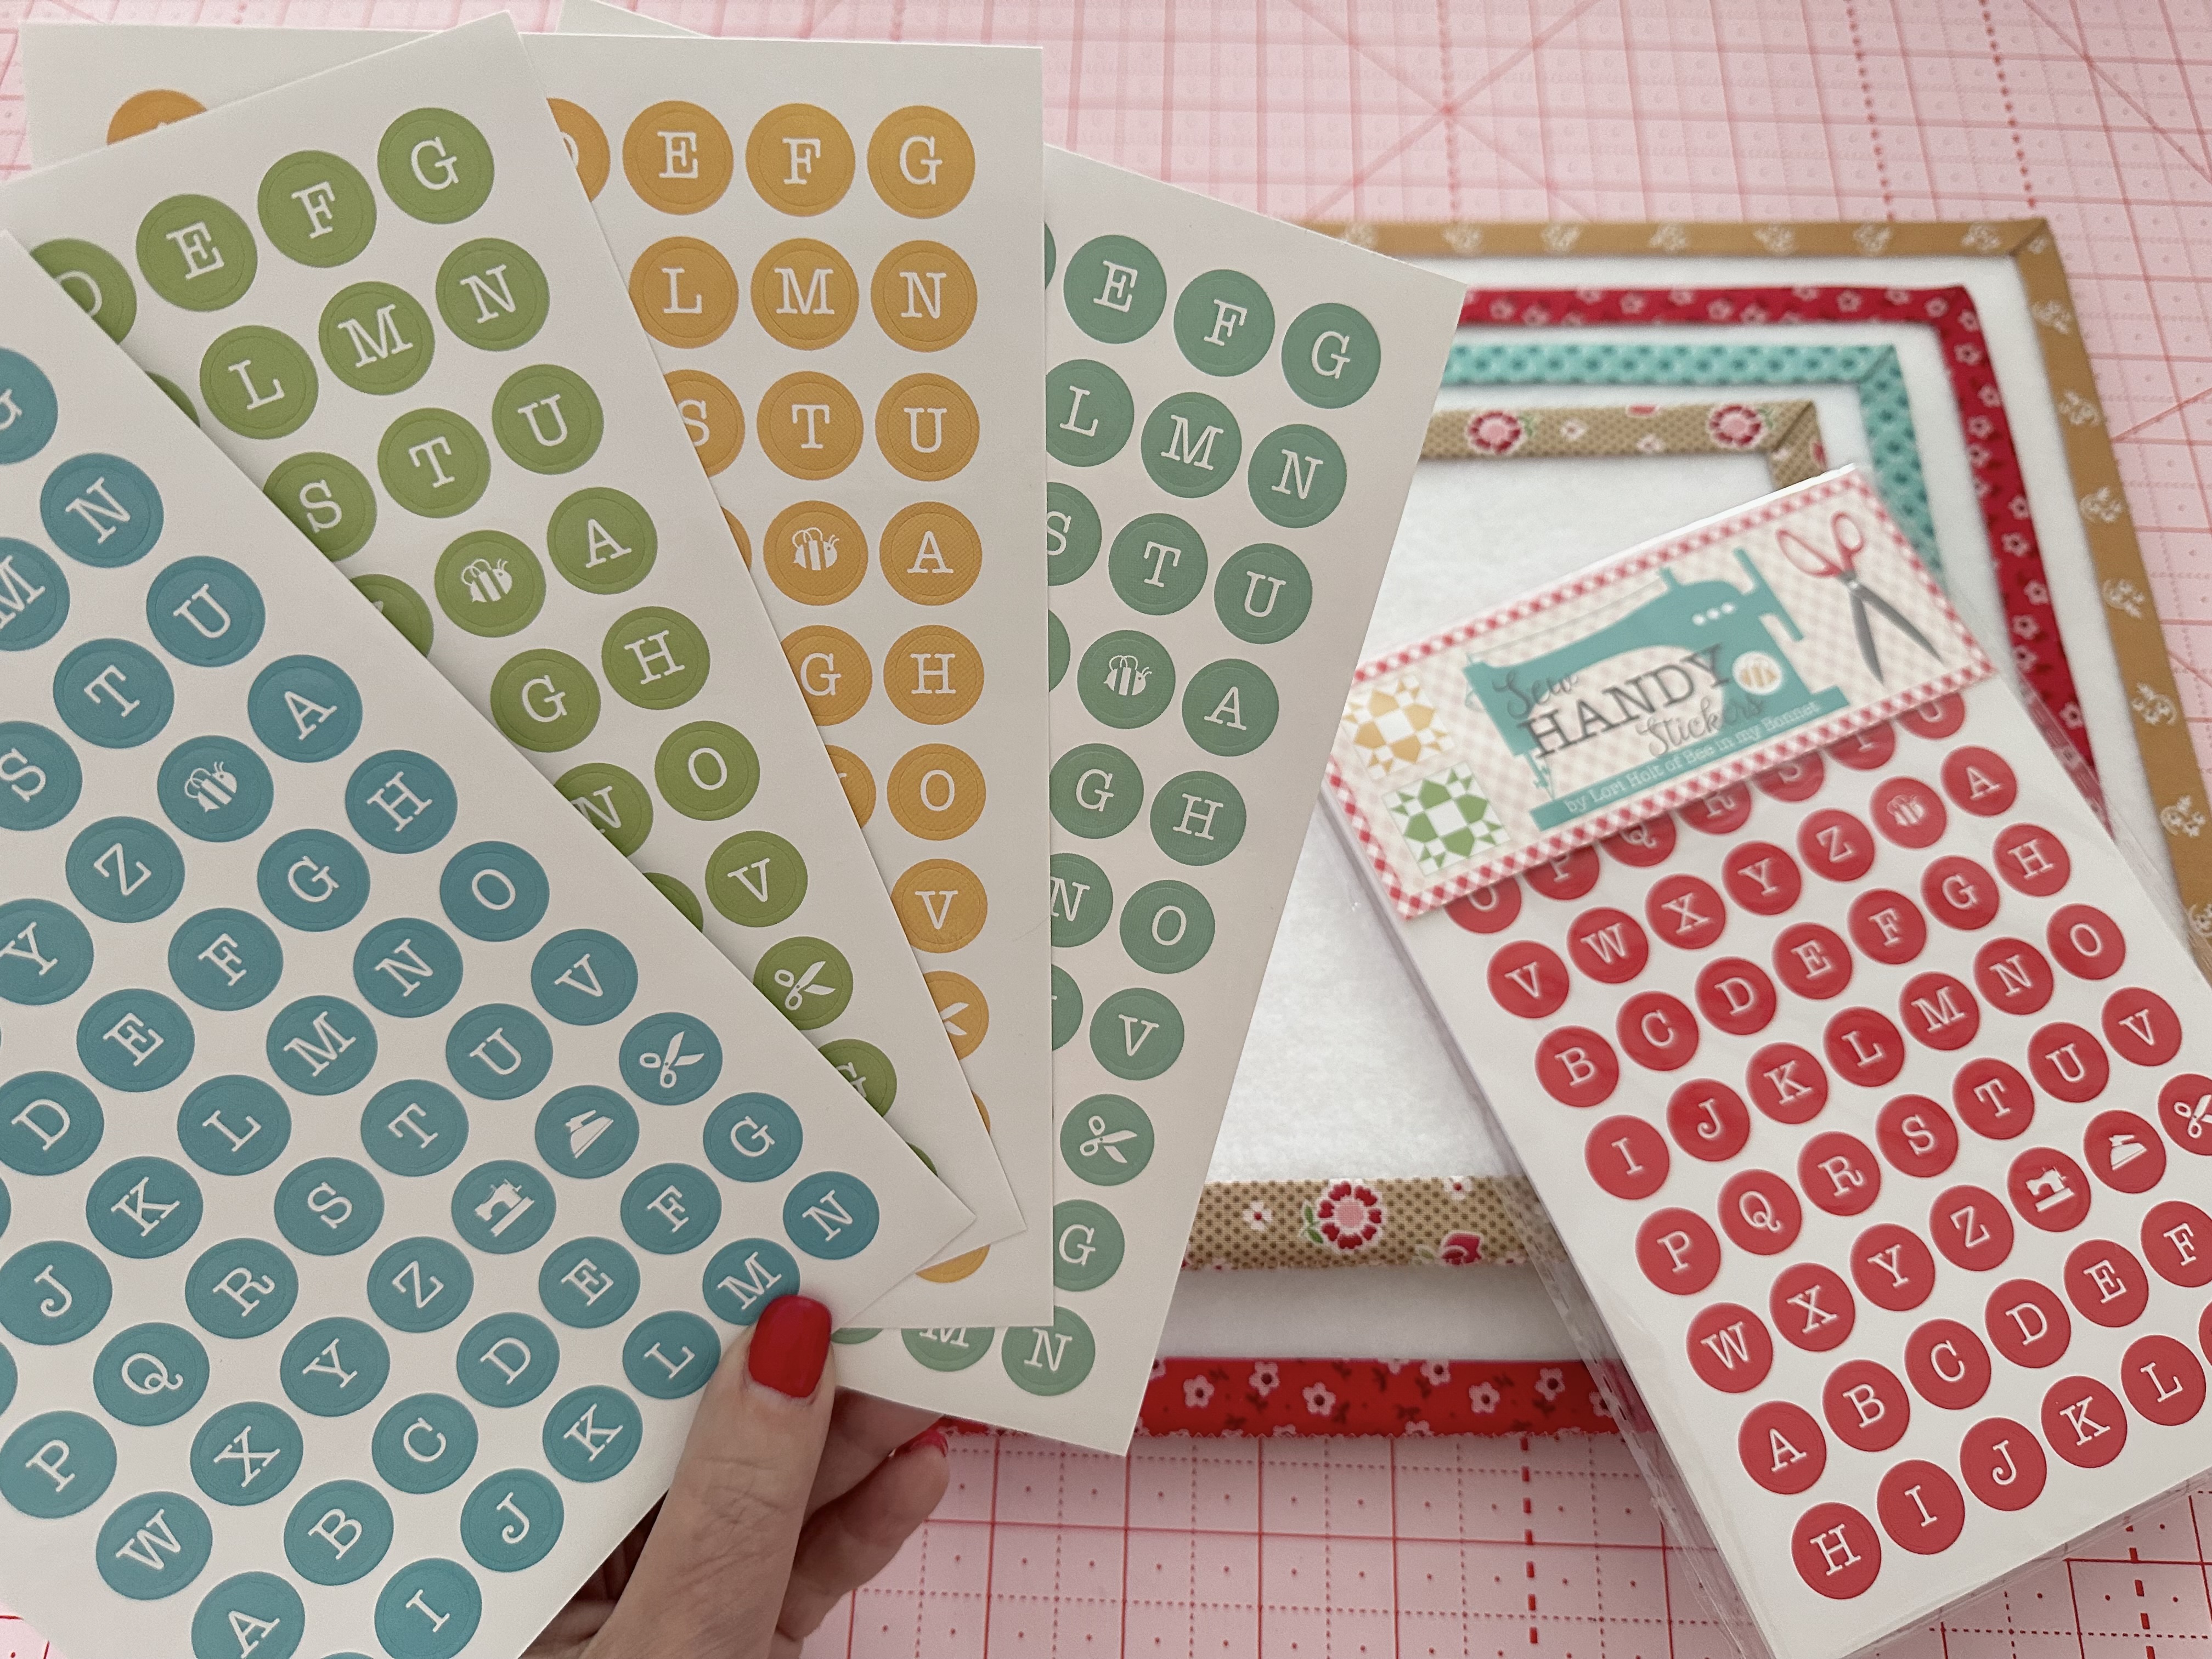
Very handy and helpful when cutting my
pieced blocks especially are my
Sew Handy Stickers

Of course you will need good scissors
and a good rotary cutter.
For pressing I use my
Quick Press Seam Roller
and a good iron.
I always use a vintage iron
which I tell you all about on my
YouTube channel
CLICK HERE
but of course you don't have to
use a vintage iron but if you are
interested you may find my video helpful.

I wanted to let you know that
in addition to the above cutting tools
that I use regularly,
I have some new scissors coming that
are great for my Sew Simple Shapes
for trimming and cutting the
seam allowances.
They have a small serrated edge
on the blades and grab the
interfacing and fabric so well!!
They are called Busy Bee Scissors
and I have been using this proto-type
for quite a while and I love them:)
They will be here in October!

Last year I added another very important tool
to my list when sewing quilt blocks.
My new Quilter's Water Brush keeps
my seam allowances very flat
at the intersections after simply
applying water to them and pressing!
It's a very simple step but makes
such a difference and has been
a game changer for me:)

Also...for marking and trimming
segments during
the piecing process I use my
SMALL to MEDIUM Cute Cuts Cutting Mats...
my Marking Rulers and my
Busy Bee Mechanical Pencils.

The sew along guide mentions this
set of Small Rectangles Trim-It Rulers.
I'll be using these for the
many flying geese in the quilt:)
I am finding these very useful!

If you are not familiar with my
Cute Cuts Trim-It Rulers,
this is what a few of the sizes
that there are looks like.
Most are square but many are rectangle too!
The Trim-It Rulers are the ones with
the aqua 1/4" around all 4 edges.
I use my Cute Cuts Trim-It Rulers
EVERY time I piece quilt blocks...
As well as for laying out applique blocks.
All of the sizes that I will be
using for this quilt
are listed in the sew along guide.

Besides my Trim-It Rulers
for laying out and trimming blocks...
You will need cutting rulers and
of course a cutting mat
to cut out your fabric pieces for each block.
I have a variety of Cute Cuts Rulers
in 3 different colors and shapes and sizes
and the same goes for my cutting mats.
I have a big variety for cutting and of
course to make your sewing room look cute!
These rulers are the ones that I use
to cut all of my fabrics for everything...
including all of my pieced quilt blocks.

I have designed several sets of Washi tape
to use and so I have several to choose from.
Here you can see my new Baked With Love set:)
I use it every day to
temporarily tape my
Seams Sew Easy Guide
onto my sewing machine.
I use my SEAMS SEW EASY GUIDE
for piecing all of my blocks.
It is an accurate 1/4" seam allowance
essential for me and also
essential for me when sewing
Easy Corner triangles
which we are doing for this quilt.
Also on another note...
for those of you who may not know
what washi tape is...
it was developed for paper crafting
and packaging but I also use it
for sewing and quilting!
Just think of it as cute
miniature painters tape.
It has a low adhesive so that it
can hold temporarily and can be
easily peeled off without leaving
residue on fabric or your sewing machine.

You will also need
Bee in my Bonnet Sew-In Interfacing
for the applique blocks...
as well as the usuals when laying out
your applique blocks onto the Design Boards:
Pretty Pins and Flower Power Pin Bowl
Sew Simple Shaper
Sue Daley Glue (Sue Glue)
Measuring Tape and rulers

And as well as for applique layout,
you will need these for piecing
the blocks too:)
"Bee in my Bonnet Design Boards"
Here are the new ones for
Baked With Love!!

Also...
Here are the Clover Bias Tape Makers
I'll be using for this quilt.
1/4" and 1/2"
You can watch any of my week one
in any of my sew along videos
if you have not seen how I
prepare my bias strips for applique.
(Links are at the bottom of this post)
Now let's talk thread for applique!

This is my collection
of thread for Aurifil called
HONEY BEE ESSENTIALS

It has 32 - 50 wt and 13 - 80 wt
100% quality cotton spools...
both of which I use for
either machine or hand applique.
Either method will work
for the appliqués in this quilt.
to watch my video on BOTH methods.
I also use 50 wt. when piecing blocks.
with my applique pieces...
so you will for sure find a color
within this set to use with all
of the Baked with Love
prints we will be using.

If you are going to hand applique
there is sure to be a needle
that you will love in my needle card.
Here is a photo of my NIFTY NEEDLES...
they come in a card with several
of each different kind...
and also come in
individual needle tubes as well.

There are 6 different kinds
for all stitching tasks...
shown in the tubes are
Embroidery...hand sewing...
applique and binding.
You can also use the sewing needles
in one of the smaller sizes
if the applique needles are
too small for you.
It's really a personal preference...
they all work just as well and
there are several sizes
to choose from within each tube.

I will also definitely be using my
STITCHY READERS
I use several strengths of magnification
depending on the task.
Each color is a different magnification:)I have new vintage styles and colors too and
I could not do what I do without them!


few words about the sew along guide.
There is no pattern to purchase...
because basically the
AND
My weekly tutorials
are the cutting and then the
instructions for each
of the blocks
are shown weekly HERE
on my blog with the exception
for week one which will be
on my YouTube channel as
a video tutorial.
to download the free sew along guide
for this quilt.
My new fabric collection Sew Alongs
always take place here on my blog.
For this sew along each tutorial
will be on Monday's!

the schedule of blocks
we will be doing each week
during the sew along.

Also in the guide you will find
fabric requirements for the quilt...
And notion requirements for the quilt
as well as the list of suggested notions
that I use when making mine.

You will also find several pages of
instructions for cutting each and every
piece of fabric in your kit...

And for cutting all of the
Sew-in-Interfacing
for each of the appliqués.

Towards the end of the guide you will
find cutting and fabric placement
for ALL of the
pieced border blocks...

And all of the pieced blocks.

AND...
the cutting for EACH
individual applique block as well.
YaY!!!
I hope you enjoy the guide and all
that it brings to this sew along.
All of this is very helpful information
compiled for your use and convenience
to help you to "Bee Prepared"
and stay organized throughout:)
If you wish...you can cut ahead of time
if you would like to
and make individual block kits for
your quilt and have them all
ready to go for each tutorial!

After all the block tutorials
are completed and you are ready
to sew your blocks together...
You will find the diagram of the
blocks and the pieced border
along with border cutting and diagrams
for when it is
time for you to finish your quilt
and sew it all together!

And as always there is a page
for "Notes" so that you can
jot anything down from my blog posts
or video tutorial
during the sew along.
I recommend using these pages to
write down the tips
that I will be giving you during
the tutorials for each block:)
You can print as many
note pages as you would like
to take as many notes as you want
so you could print a page for
each block if you wanted...
that would be VERY handy!
Again...
For the first week I will do a
video tutorial...
and I'll be doing that tutorial on my
YouTube Channel

And of course I'll also be posting
here on my blog as well
and will have a link to my
YouTube video here for you
on my week one blog post.
***NOTE***
Quite a while ago blogger changed their
format and ever since then
I have not been able
to put a button on my blog
for you to get email notifications
or to follow me here.
But...
just simply bookmark my blog page
or even better...
remember that google is your
best friend and all you have to do
is type in the name of my blog
or the name of my sew along
and it will bring you right here!
I have been using my blog exclusively
for my sew alongs for several years now
except for the week one video.
I like to be able to write everything
down here for you such as the pieced
block details and applique info needed
but I also like the visual of
actually showing you how I do my methods.
That's why I do a video
on my YouTube Channel.
Using both my blog and my channel
for these sew alongs is a perfect pair!

I do many other tutorials
on my channel as well.
So...If you would like to know
what I am up to on a regular basis...
check out my videos on my
YouTube channel.
There I talk about what I've been doing
and new things happening:)
If you are new to my Sew Alongs...
I suggest that you watch a few
of my previous week one video tutorials
because I know that
they will help a you a lot!!
to watch week one tutorial for
Chicken Salad Sew Along
to watch my week one tutorial for
My Happy Place Sew Along
to watch my week one tutorial for my
PRIM Sew Along and
to watch week one tutorial for my
Flea Market Flowers Sew Along
to watch my week one tutorial for my
Prairie Meadow Sew Along
to watch my week one tutorial for my
Calico Garden Sew Along
to watch my week one tutorial for my
Bee Vintage Sew Along
to watch my week one tutorial for my
Home Town Sew Along
to watch my week one tutorial for my
Mercantile Sampler Sew Along
to watch my week one tutorial for my
How to Build a Scarecrow Sew Along
to watch my week one tutorial for my
Let's Make a Snowman Sew Along
to watch my week one tutorial for my
Flower Basket Sampler Sew Along
to watch my week one tutorial for my
Strawberry Crush Sew Along
and finally...
to visit my channel and to
watch all of my tutorials:)

I am SEW excited to make my
Thanksgiving at Grandma's Quilt with you:)

Here's a sneakity-peek of
a few week one blocks that we
will be making together soon!!
Until then...
have a Quilty kind of day:)
xx
Lori


No comments:
Post a Comment