"BEEHIVE HOUSE BLOCK"
Welcome to week four of the
"HOME TOWN"
Sew Along!
Do you have all of your "tools"
together for building a house today?
Together we are making the
Home Town Quilt
75" x 84"
The quilt is made with my fabric
collection called Home Town:)
I hope that you all have all
received your
fabric kits by now...
and that we are all ready to begin!!
If you still need one ...
just do a quick google search for
"Home Town Quilt Kit"
to find shops who still have some left.
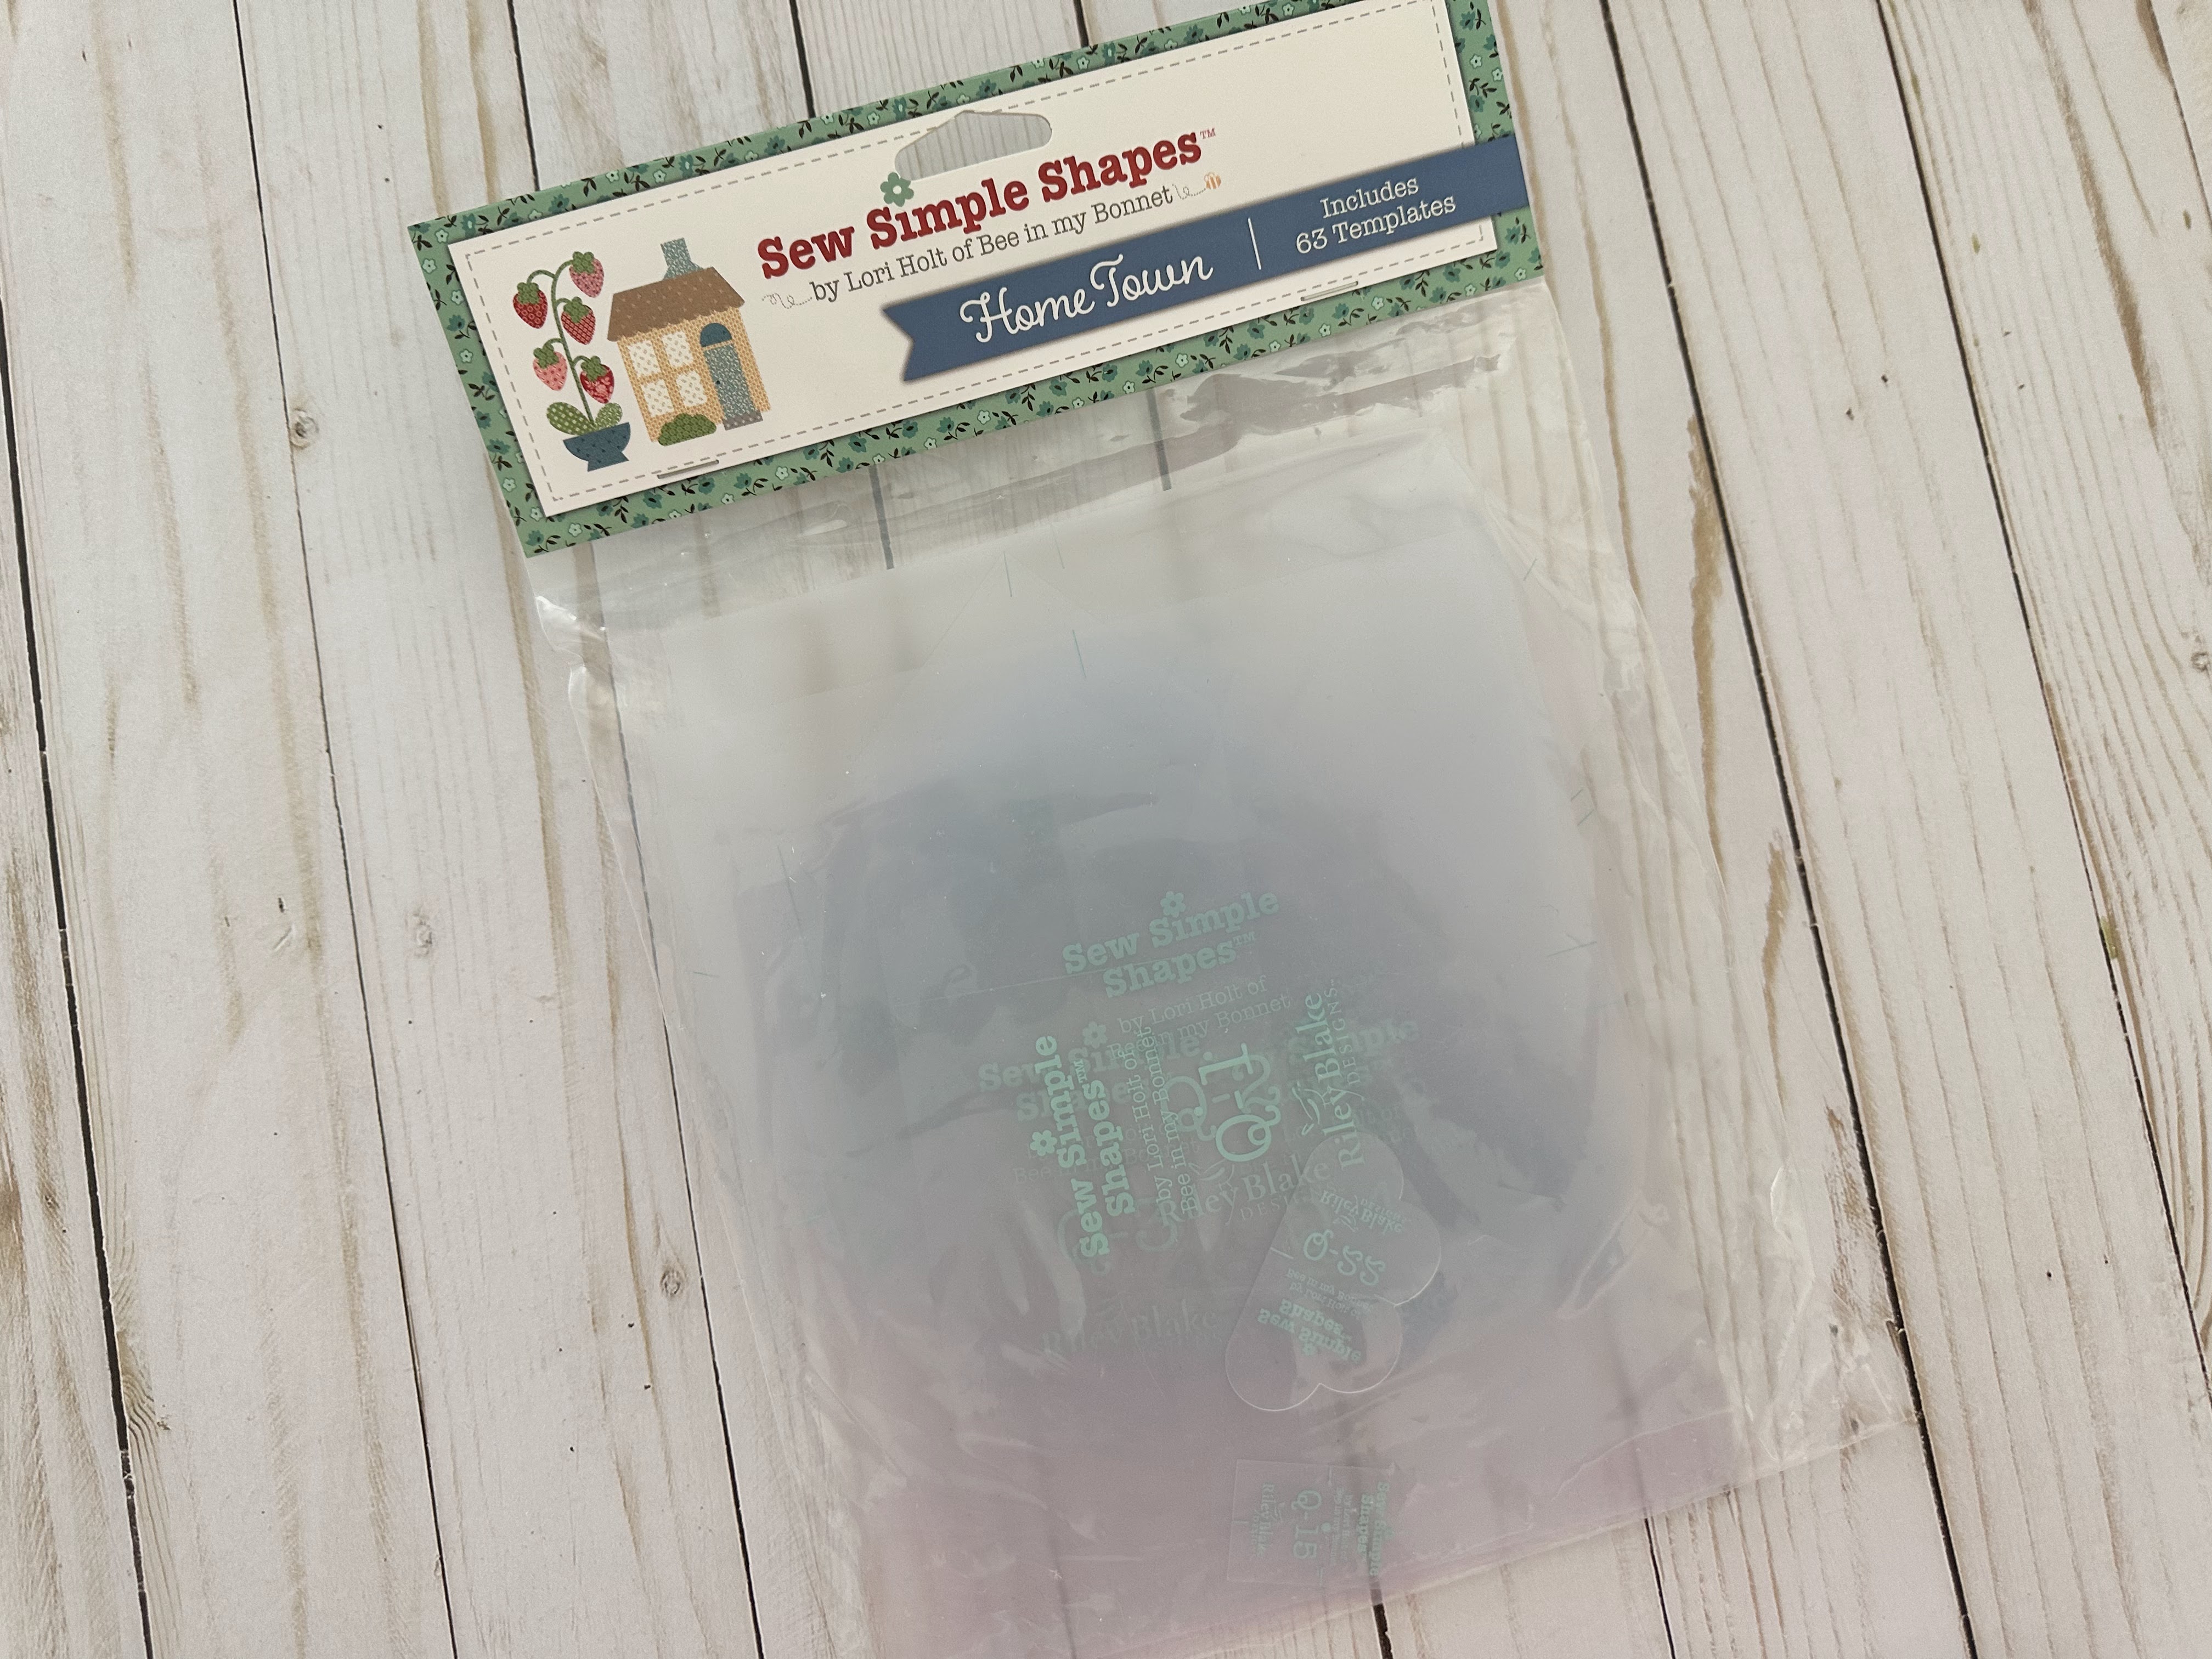
We are also using the
Home Town
Sew Simple Shapes
I have already posted the
post which details all of the supplies
for the sew along and how it works.
I have also given the link there
for the free PDF Download
of the Sew Along Guide
to download the sew along guide
if you have not downloaded yet.
As per usual for the first block in my
Sew Simple Shape Sew Alongs
that FIRST tutorial is a video.
Because I now have my own
I have posted the
Flag House Block
Tutorial there.
to visit my channel and watch the
tutorial and I hope that you love it!
Pretty please leave me a comment
over there and let me know:)
If you like what you see
and my other videos there...
click on subscribe and click on the bell
to be notified whenever
I post another tutorial:)
for the tutorial!
for that tutorial:)
for that tutorial
for that tutorial
Here's the Fireworks House Block
that I showed you
how to make last time:)
for that tutorial
Today we are building the
Beehive House!!
Here is a list of the
Home Town
Sew Simple Shapes
needed for this block:
1 - Q-2
1 - Q-7
1 - Q-8
1 - Q-13
1 - Q-14
4 - Q-17
1 - Q-23
2 - Q 24
*I traced and used these (Q-24)
for the leaves on accident
for some reason
lol...but the Q-54
called for in the guide
would work just as well
1 - Q-42
1 - Q-43
1 - Q-47
1 - Q-52
1 - Q-53
1 - Q-54
2 - Q-55
1 - Q-63
You will need 1 prepared
1/4" cut on bias strip
and pressed slightly curved
for the flower stem:
6 1/2" -7"
Cut your background
14" x 16"
and sew it to the 3 1/2" x 16" grass
pressing the seams open.
Now press in half for
pinning and glue basting your block:)
*TAKE NOTE*
When you are tracing Q-55 shapes
for the wings you will need to
trace one in reverse.
Before you sew the beehive SSShape
you will need to sew the
11 fabric strips together
using a 1/4" seam allowance.
You will also need to sew the Q-47
SSShape for the beehive door.
Press the seams open and trim and
clip the cleavage in the door shape.
Now glue the door so that it
goes into the bottom of
the third strip up like this.
Now you can pin to keep it all
straight and sew as per usual.
A sweet little patchwork beehive:)
Go ahead and sew the rest of the shapes.
Trim them and before turning you will
need to clip the cleavage
in both flower shapes...
shrub...wings and bee body top.
All are turned...shaped and pressed
and ready for construction:)
First I glued these together
before pinning them to the background.
I glued the roof to the house
and the chimney to the roof The chimney is 2" up from the roof.
Together from the top of chimney
to bottom of house it's 10 1/2" tall.
I glued the door...front porch and
door topper together and glued it
onto the house measuring 1 1/4"
in from the right side of house.
I also glued the flower shapes together
The porch/door/topper together
measure 6 1/2" tall.
I placed the windows 2" up
from the house bottom and 1"
in from the left side of the house.
The windows are 1/2" apart
from top and bottom rows
as well as from side to side.
The two flower shapes together
are almost 3" tall and the bee
wings measure 4 3/4" wide.
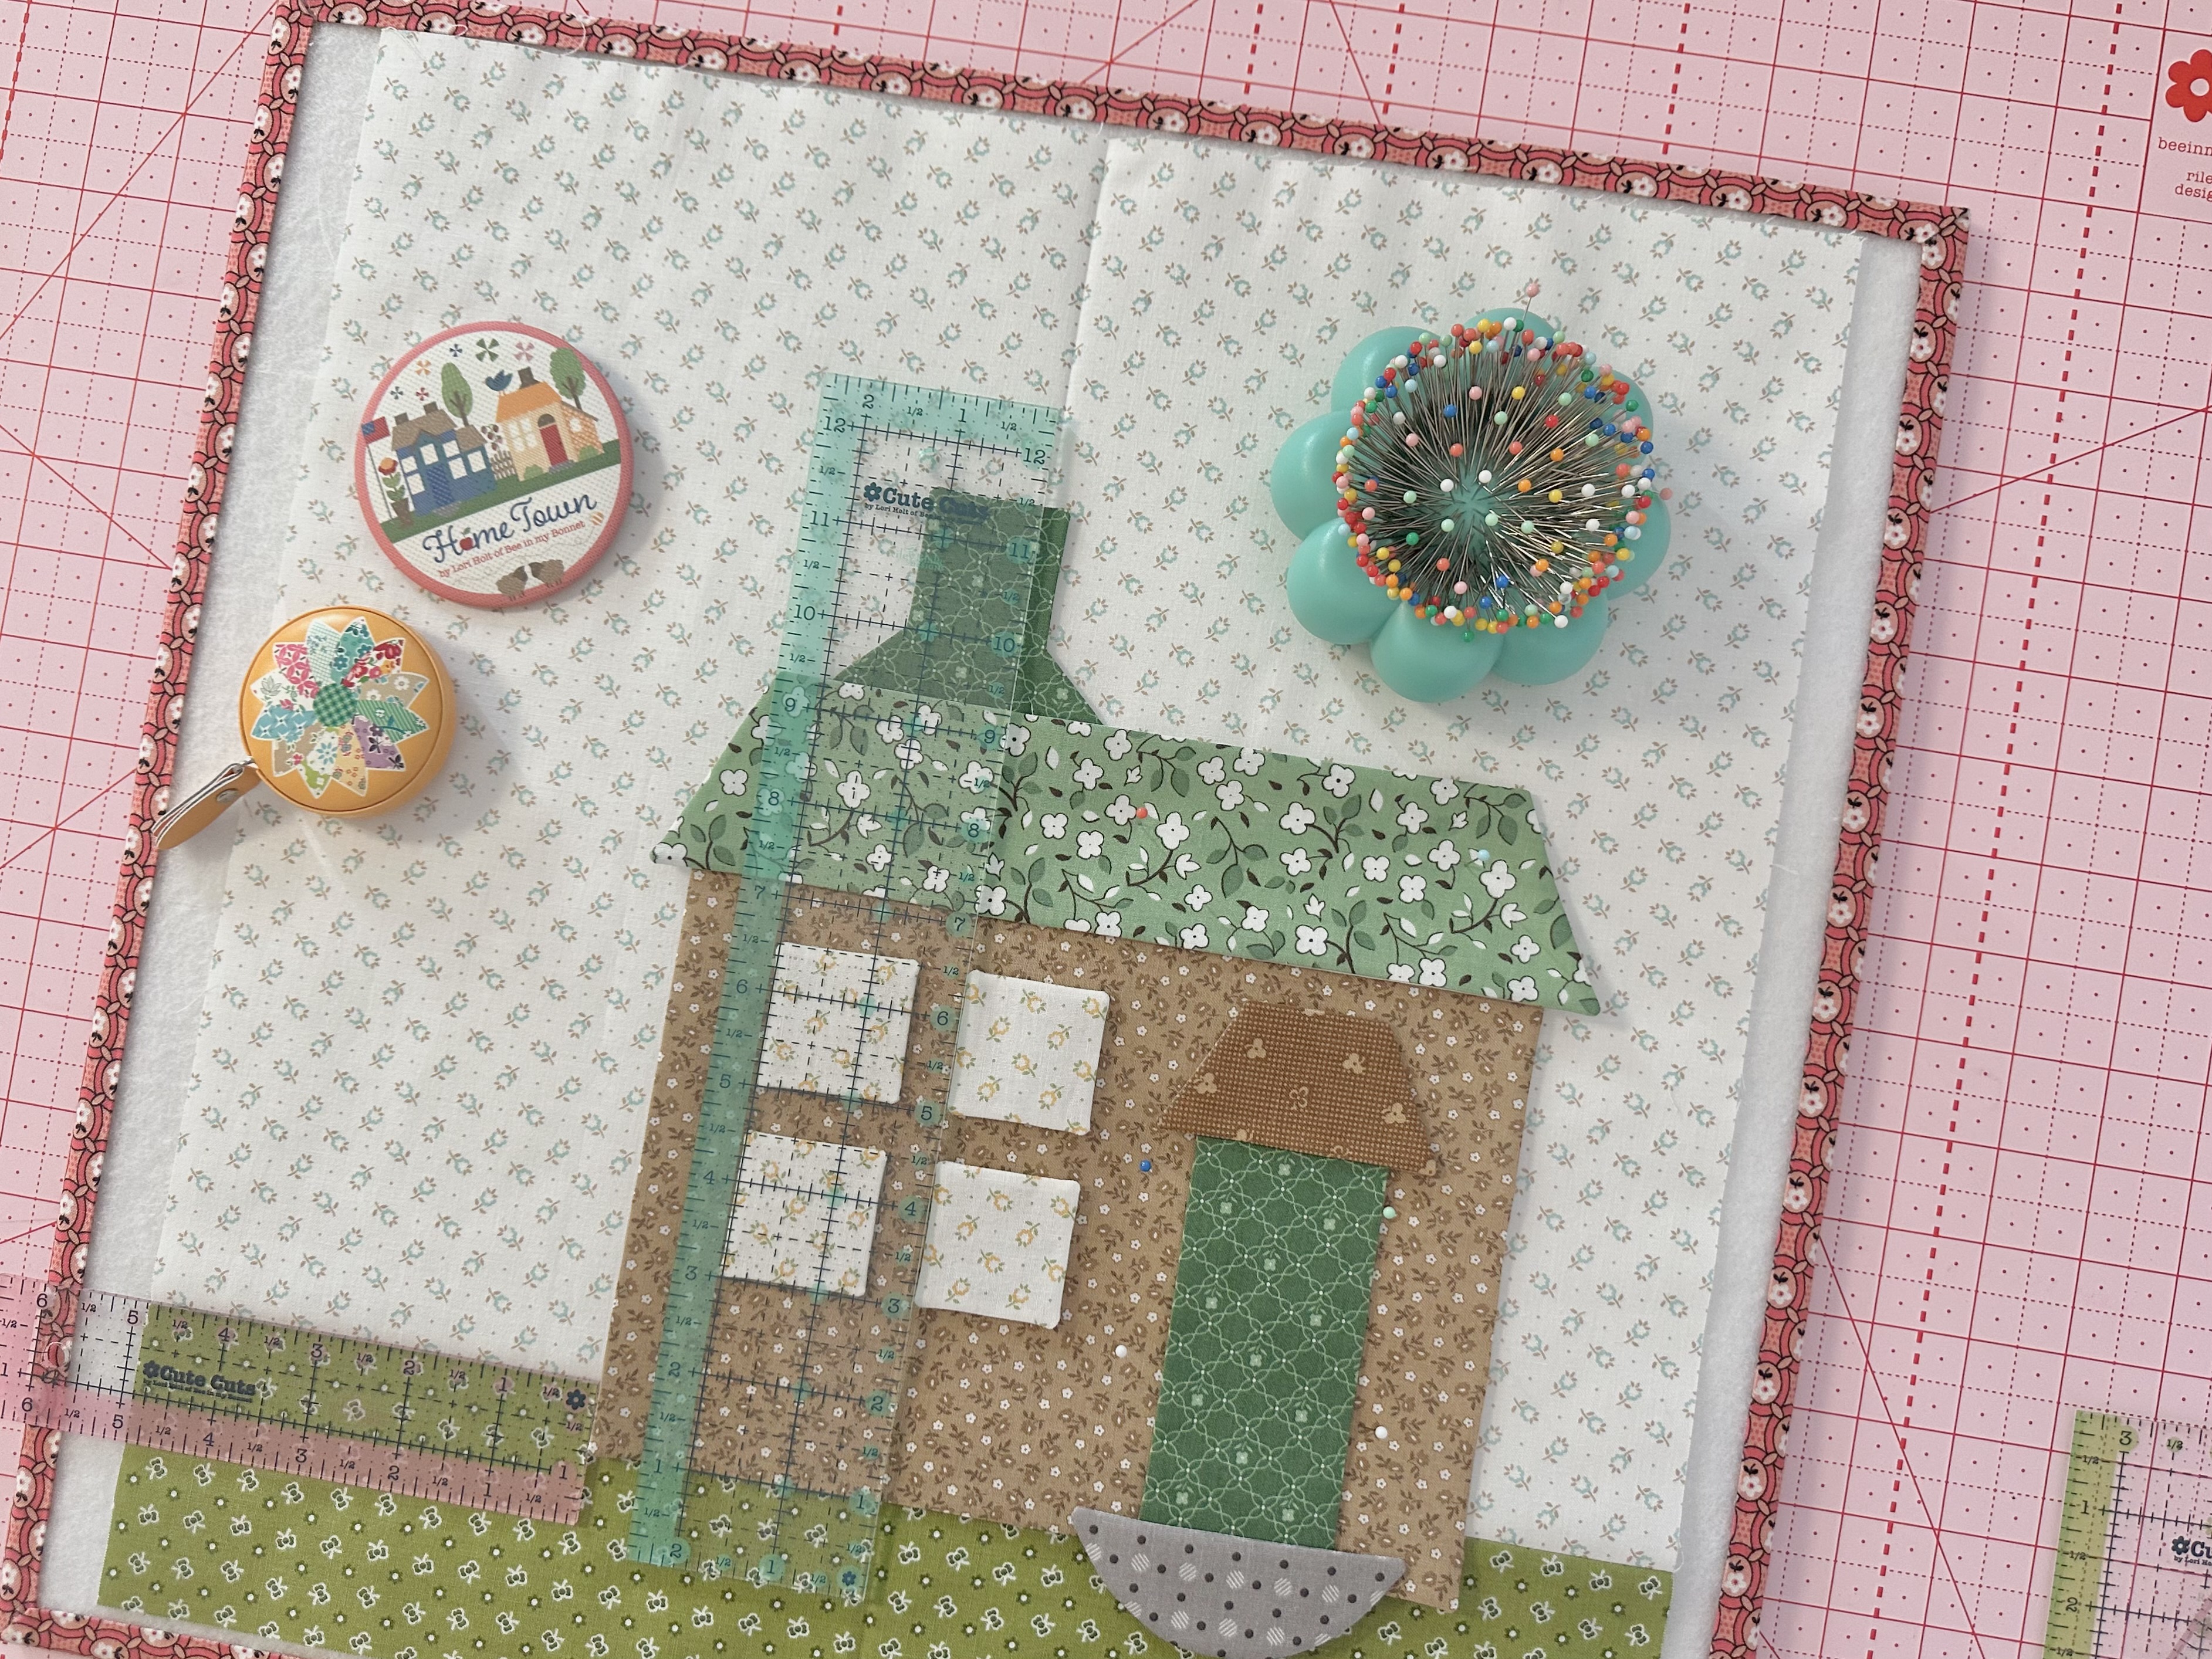
Next place the house onto your background.
This house is NOT in the center
of the block so use your center pressed
crease to line up the sides
of the windows on the right side
with the center crease as in photo.
Place the bottom
of house 3/4" into the grass.
Next I pinned and glued the shrub
1/4" down from the house bottom.
I placed the bee so that the
outside of the right wing
lined up with the right
top corner of the roof and about 1/4"
up from the top of roofline.
The easiest way to place the floweris to put it where it measures
11" from the top of flower
to top of grass and 1/2" above the roof.
Next I placed the cute beehive
1/2" away from the house
and 1" down into the grass.
Then I glued the flower stem down
after tucking the ends under
the beehive and the flower.
I placed the leaves and made sure the
leaf on the left did not go past
the side of the beehive.
Okay!!!
It's time to Sue Glue everything down
and then check your measurements
using the 14 1/2" Trim-It Ruler.
YaY!
My Beehive House is built... it's ready for applique!!!!
I will embroider the bee antenna
at the same time that I applique:)
Afterwards I'll press from the back and
trim down to 14 1/2" square:)


I just had to include
a house with a bee
and beehive in my quilt!
I still remember my dad bringing
in the honeycomb and he and my mom
putting the golden honey into jars.
They would let us kids
chew on the honeycomb like gum
and it was sweet as honey of course!
Thanks so much for sewing with me again
today and for joining me
for the fourth week of the
Home Town Sew Along
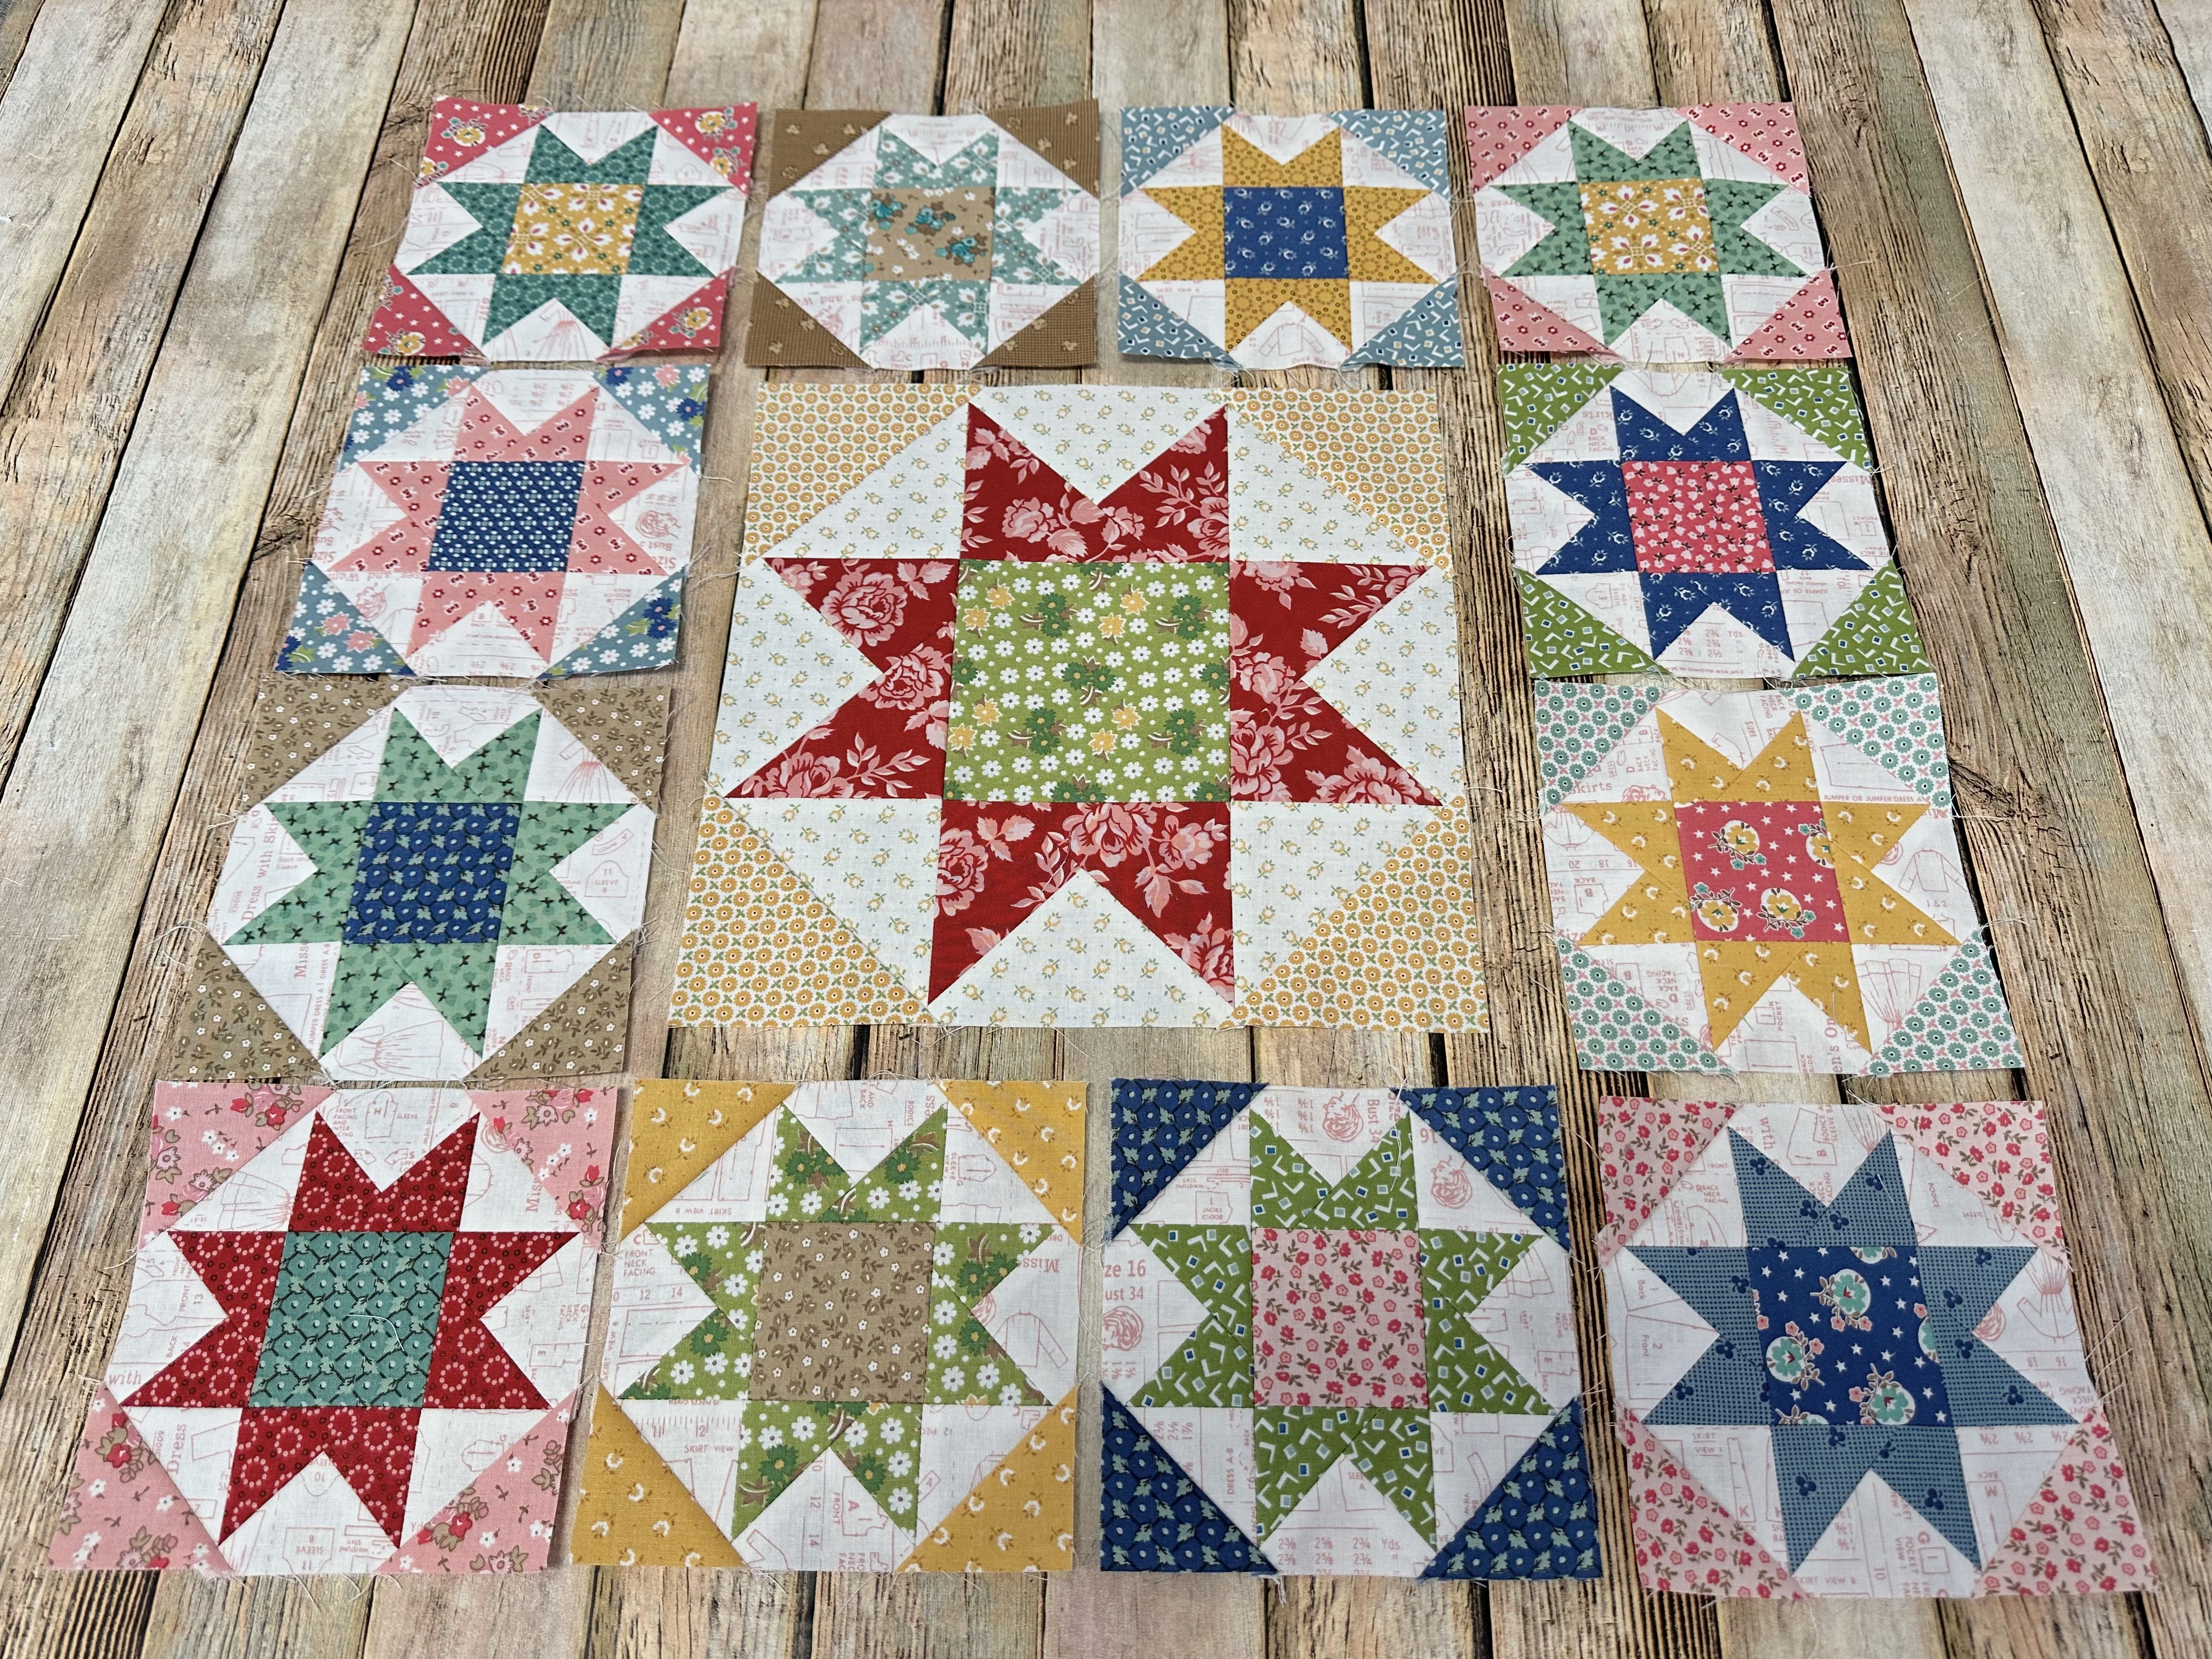
5" Home Town Pieced Blocks
#5 - #20 - #27 - #31
I did the fifth tutorial
for the 5" Home Town Pieced Blocks
on my YouTube channel as per usual.
These are the four blocks made with the
called for prints in the guide
that you will need to make for our quilt.
Just look how fun all of them
we have done so far look together!
I'm having so much fun making them!
to watch the video
for #5 Home Town Block:)
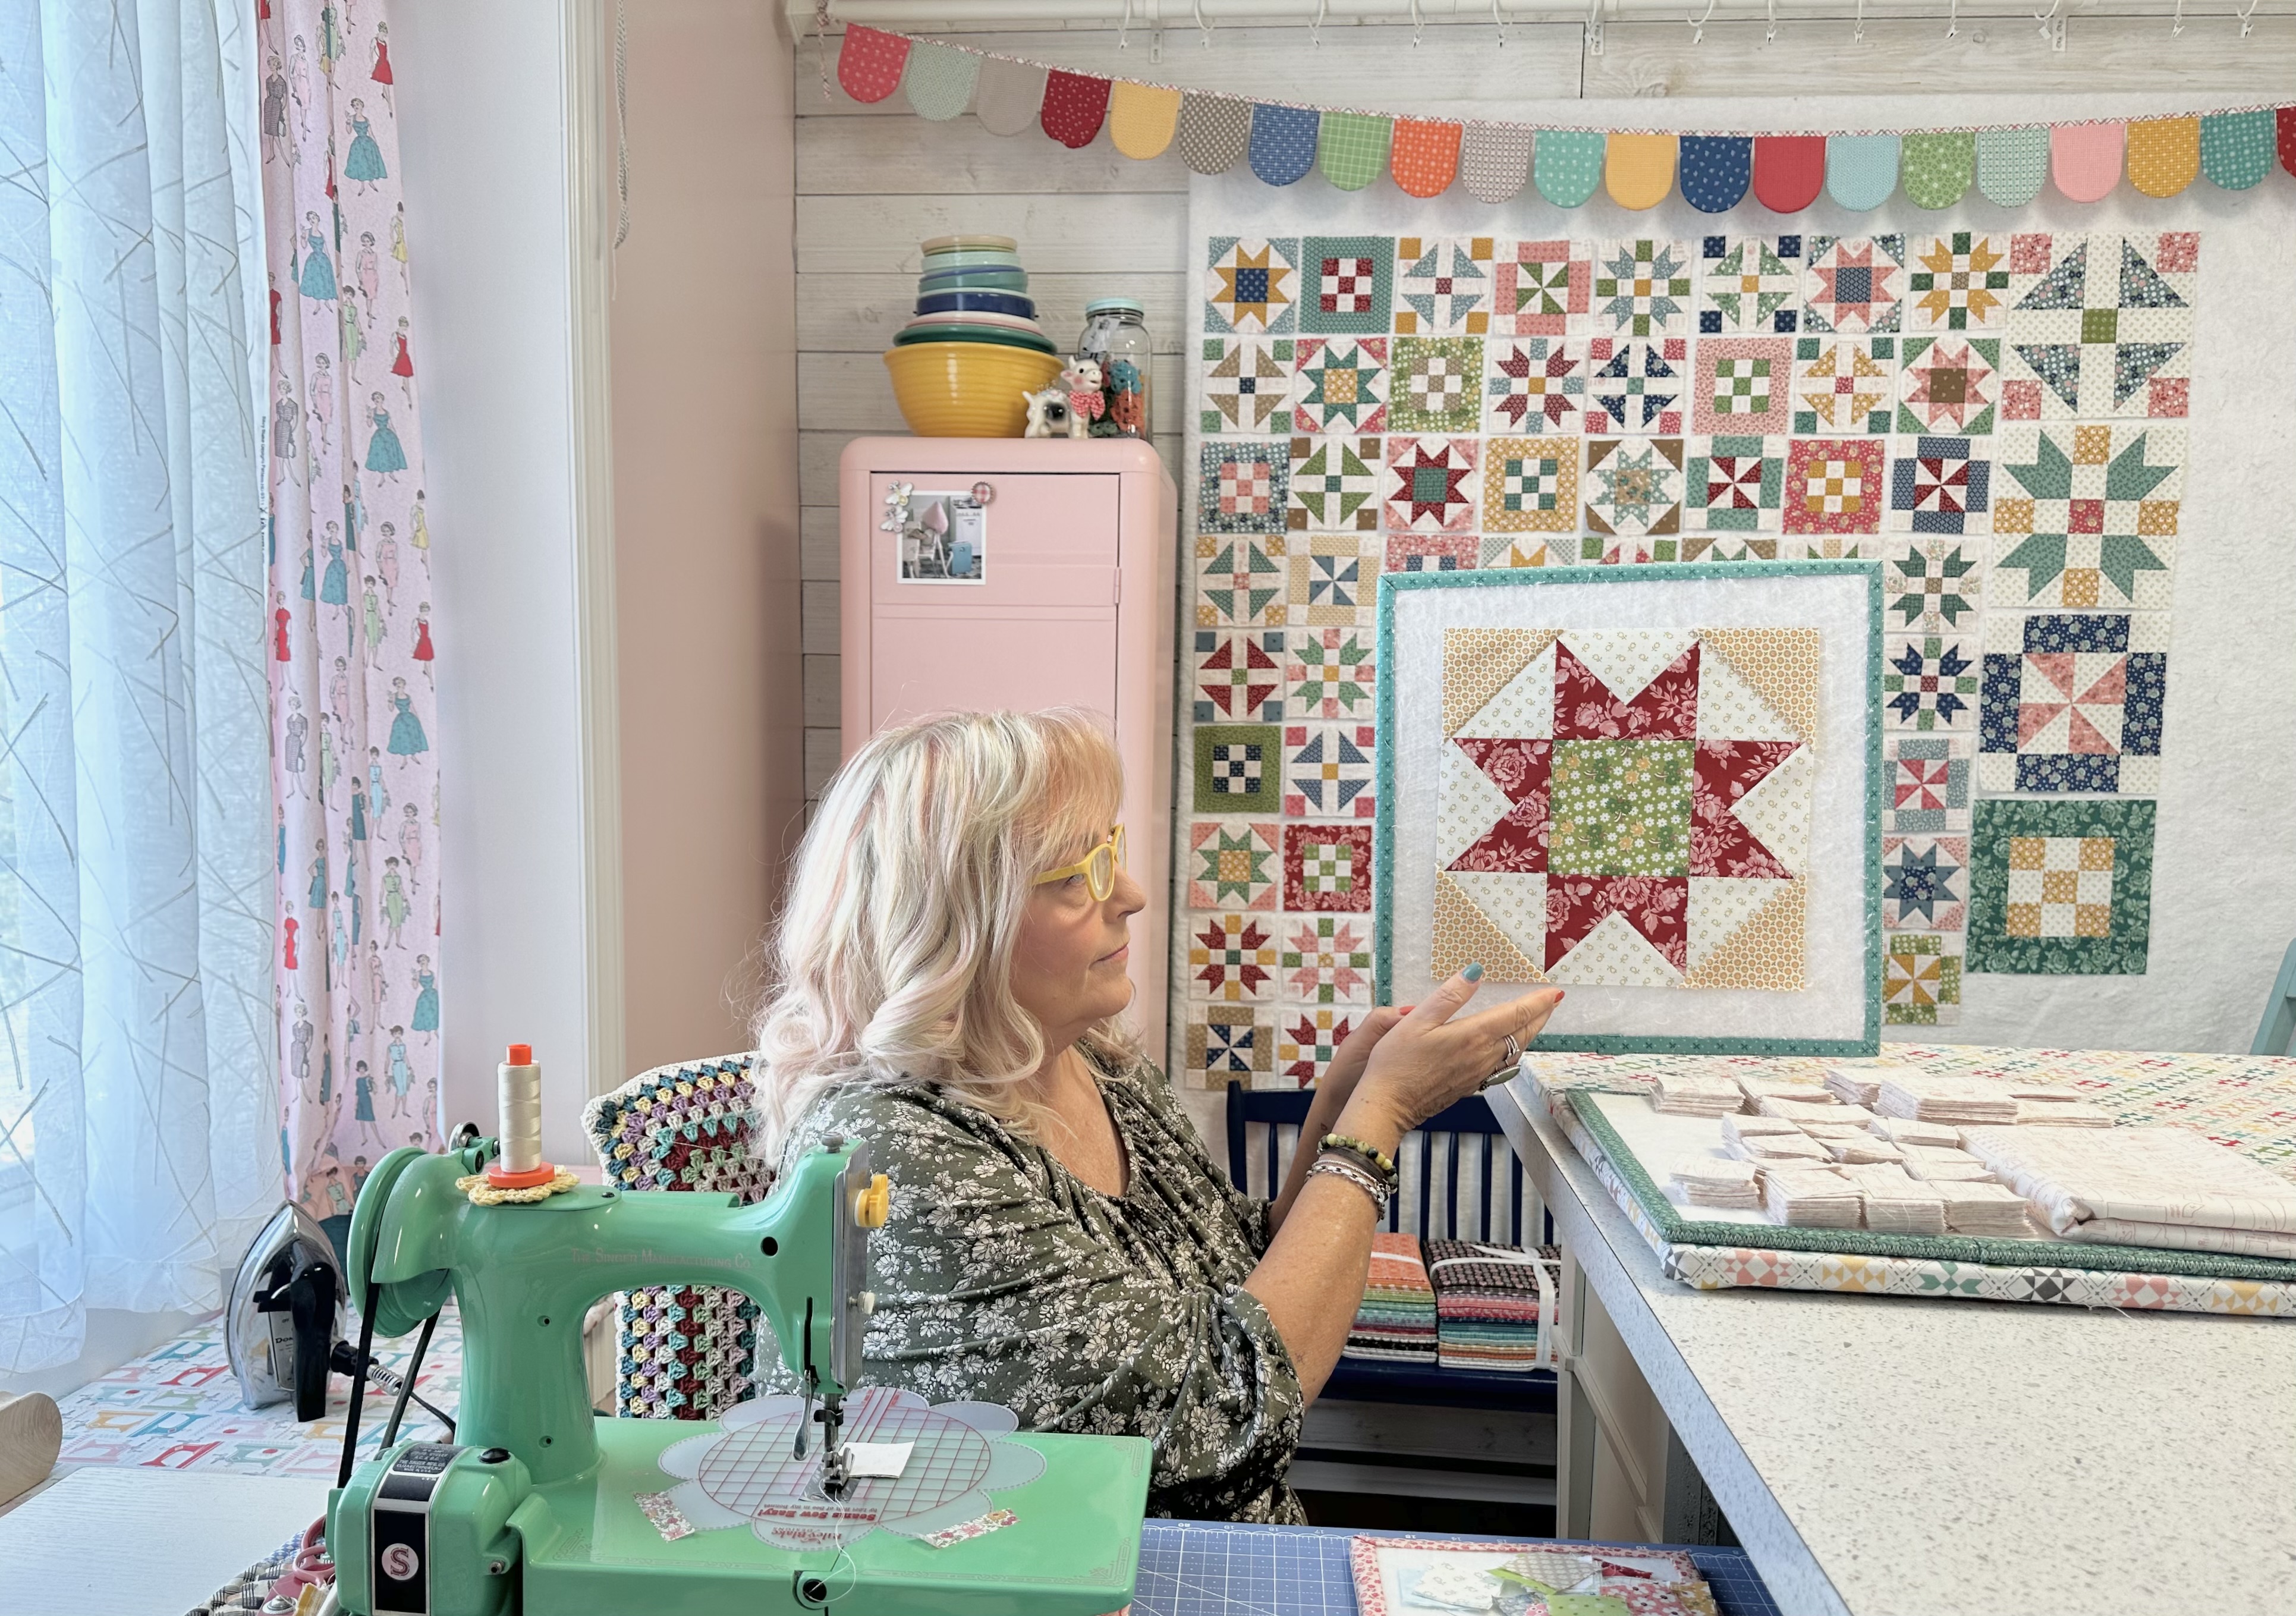
And of course I also did another
10" bonus block as well
for my table runner project:)
I will continue the tutorials twice
weekly during the sew alongs that we
can be making our pieced blocks
in-between the applique blocks!
If you are subscribed to my channel
and have hit the notification bell
you will be notified immediately
as soon as each video tutorial is
published and on my way from my
sewing room to yours!!
I'll meet you right back here
on my blog next Monday for the
Sheep House Block tutorial...
xx
Lori