Showing posts sorted by relevance for query barn block tutorial. Sort by date Show all posts

Wednesday, May 22, 2013

The Quilty Barn Along Number 7 and Easy Pinwheel Block Tutorial...


Well hello cute people!
Today is Quilty Barn Along Day.

Wait...What???
Back up the tractor...
is that a new 
quilty barn block???

Yep!!!
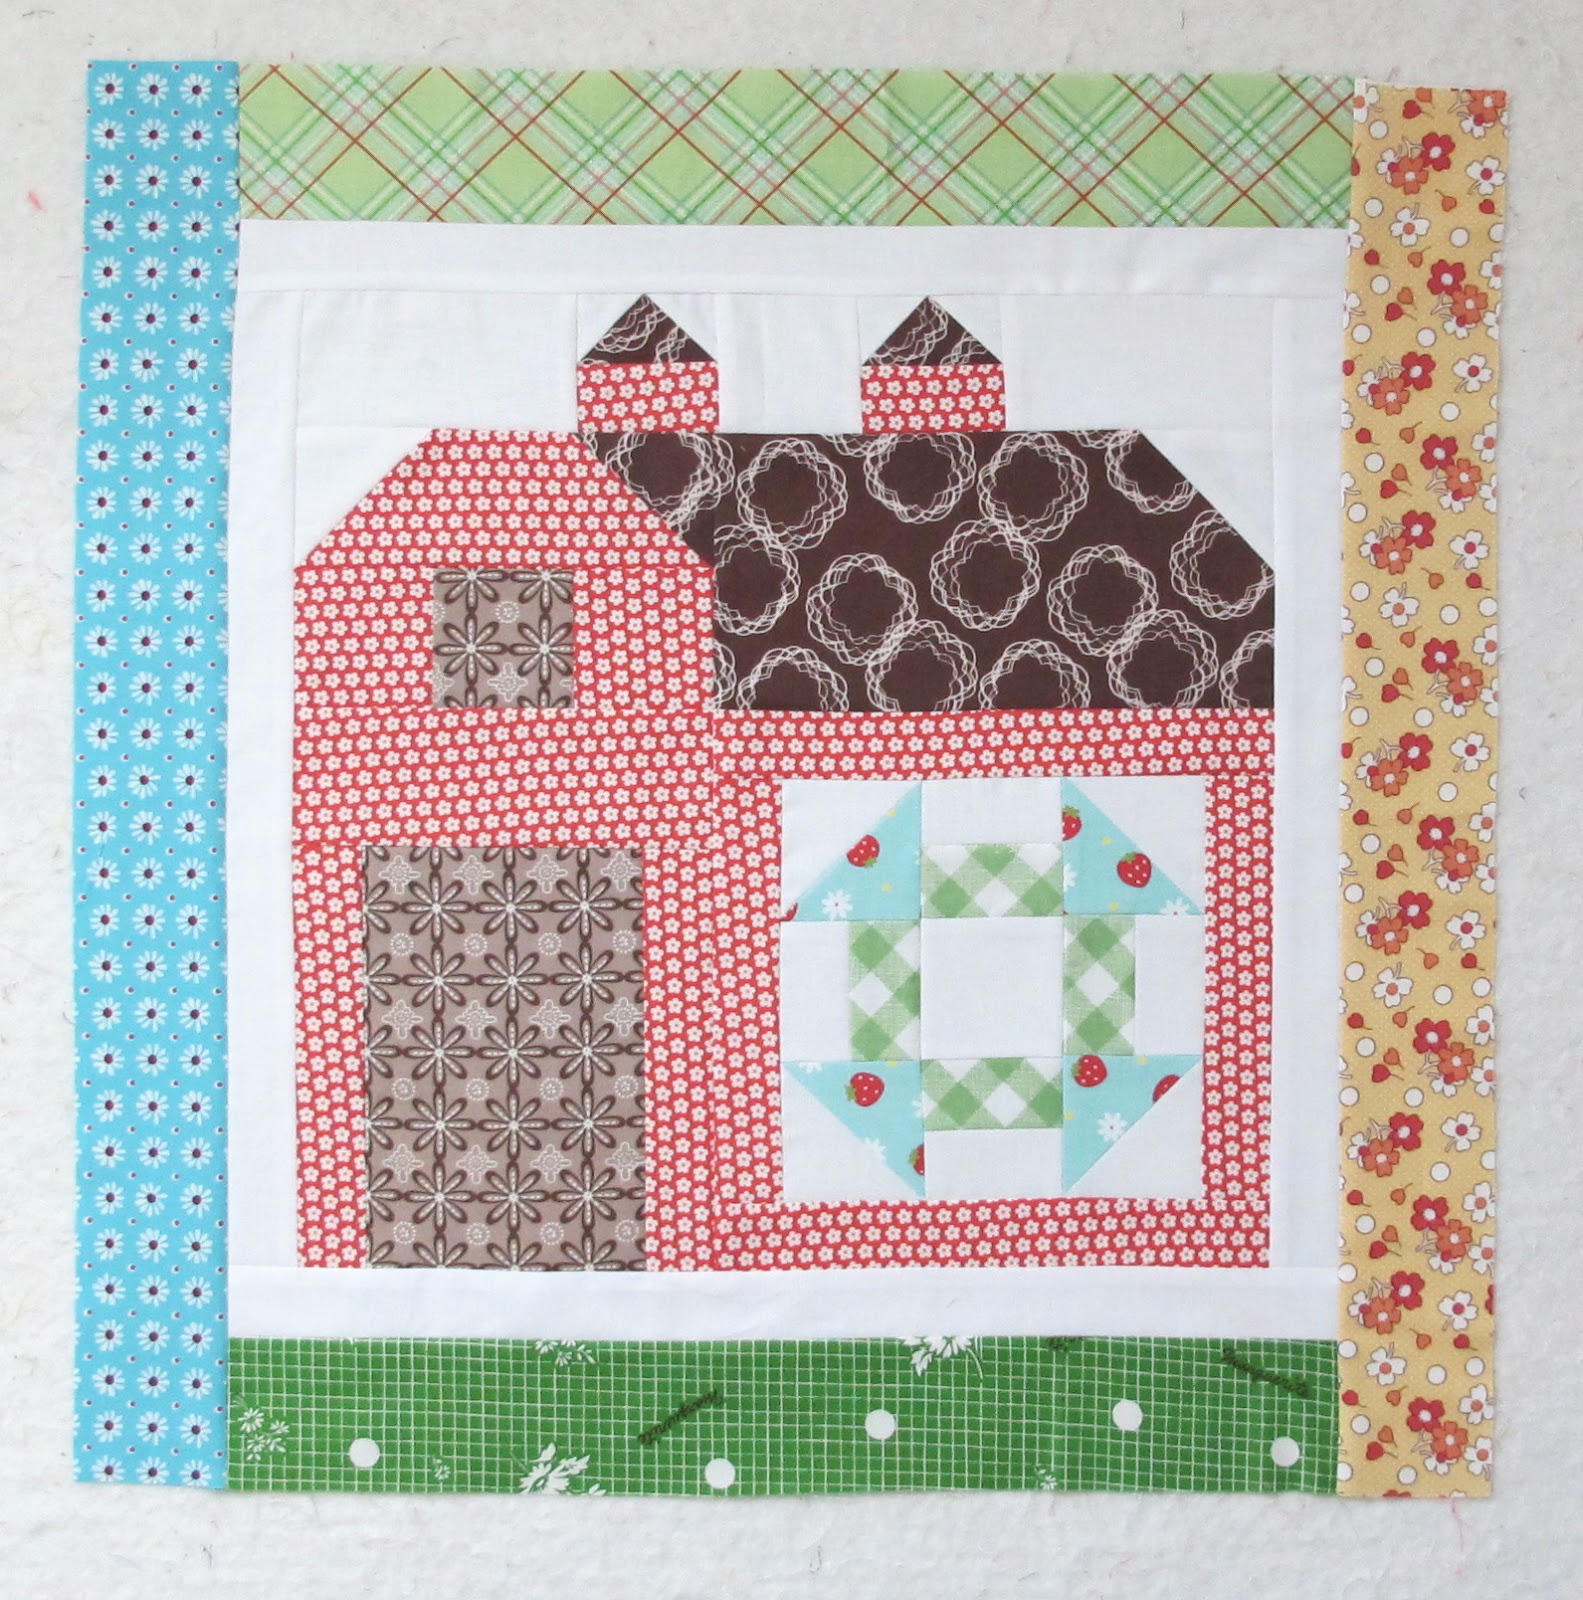
Introducing my
 "quilty barn door"
block!

As I've said before...
I am making another quilty barn quilt and
 this is the block I am using.
I hope you want to make one too!


Although I am making a second quilt...
I designed this new barn to finish the same size as the 
first one...
and the block in the door also measures 6" finished...
 so that you can use it in the original quilty barn quilt if you want to!

This block has a quilty door and the addition of a silo.
 I thought it would be fun to make a quilty barn quilt
 where each barn is a different color...
this first one happens to be John Deere green...
with a gingham silo of course:)

If you like it...
I'll do a tutorial on my new block for you.


But for today...let's make barn number 7!


The block for this barn consists of 4 pinwheel blocks.
I love pinwheel blocks don't you?
They are so simple and always adorable:)
I'm going to show you the easy way that I make my small pinwheel blocks.


Start by choosing your fabrics for your barn.


For each little pinwheel you will need to cut a
 4" square of a background and a 4" square of a print.
I decided to use 4 of my Bake Sale prints for mine:)


Place a background square and
 a print square with right sides together
 and sew from 
corner to corner both ways.
I used dark thread so that 
you could see it better!
Give it a quick press to set the stitches.


Now measure 2" in and cut in half....


like this.


Turn both halves around...
 measure in 2" and cut again...


So that you have 4 - 2" squares that are
 already stitched from corner to corner!


Go ahead and trim off an approximate 1/4" seam allowance...


and press each half square triangle towards the print.
Arrange into a pinwheel ...


and sew it together...


Like this.
At this point your pinwheel
 should measure 3 1/2" square.


I press my seams open for less bulk.


Now sew 3 more little pinwheels and sew them together for your barn.

Your block should measure 6 1/2"square at this point.


Sew it into the side of your barn...


and build a barn around it!


YaY!!!!
Barn 7 completed in the 


Let me know if you want to keep farmin' with me and would like a tutorial on my
Quilty Barn Door block!

Have a barn raisin' kind of day:)
xx
Lori


Wednesday, May 8, 2013

The Quilty Barn Along...Barn 6 - Sunny Sunflower Tutorial!!!...


Well good morning cute people!...
I have missed you:)

Today is the
and this is barn 6...
Sunny Sunflower!!!


But first I need to apologise because yesterday...
I neglected to announce the winner of the giveaway from my last post.
I'm so sorry but time just got away from me.
The winner is 
I will be sending her these
 precuts...


 sending her a bundle of Lori Holt Solids!
YaY!!!!
A Big Thank You to Stephanie and 
everyone so much to everyone 
 for leaving me bloggy love about the YouTube
sessions...
you all put a smile on my face:)


Now onto the quilty Barn:)

Cut your pieces for the
 sunny sunflower block.
I cut 12 background squares at 1 1/2"...
4 yellow 2 1/2" squares...
4 yellow 1 1/2" x 2 1/2" rectangles...
4 green 1 1/2" x 2 1/2" rectangles...
4 green 1 1/2" squares ...
and 1 green 2 1/2" square for the center.

to go to my tutorial that I have previously done.


Now cut your barn block.
Cutting and tutorial for the barn block is here and here.


Stitch up your sunny sunflower block...


It should measure 6 1/2" square before you sew it into the side of the barn:)


One cute little 
Sunny Sunflower Block.
Some of you may recognize this block 
from a quilt pattern that I published and taught several years ago....
The blocks for that quilt finished at 12" 
and I called the pattern Sunny Sunflower.
I thought one in yellow and green needed to go on the side of barn number 6.
It's not quite ready for harvest yet ....
so the center is still green:)


Now build your barn around it.
I thought that this barn needed
 some honeybee's flying around inside:)


I didn't get a chance to put borders on barn 5 yet.
After market is over...
I'll get them both sashed....
but for right now they will remain
 on the design wall in my little studio
keeping a bumblebee block company:)

We are halfway finished with the first
 Quilty Barn Along quilt
and in 2 weeks from today
 I will be posting barn number 7...
as well as..
 the first block in the 
next barn quilt I will be making!!!

Have a quilty barn kind of day...
 and I will be stalking the
to see your cute quilty barns!!!!
xx
Lori


Tuesday, August 27, 2013

The Quilty Barn Along...Barn Number 11 and my Bitty Scrap Around Block Tutorial!!!...


Yes...
I know it's Tuesday and not my regular day for  
but now that my summer is officially over...
it's back on the farm for me!!!

This is Quilty Barn #11...
only one more to go for 
this quilty red barn quilt:)


I chose to put my
Bitty Scrap Around Block 
on the side of this barn.


I have made this block in several sizes 
and many versions like it over the years...
completely from my scraps!!!

Tomorrow I will be posting more about how I
 keep my quilty scraps and how I use them every day.
But for now...
let's move onto the
 Bitty Scrap Around block tutorial.


This is my basket of leftover 2 1/2" strips and squares.
For my Bitty Scrap Around block...
I grabbed a 2 1/2" square for the center.


This is my basket of leftover 1 1/2" strips and squares.
I easily cut the rest of the strips from this basket 
because they already measure 1 1/2" wide...
so I just needed to cut the length of each piece.


Cut 2 - 2 1/2" long
Cut 4 - 4 1/2" long 
Cut 2 - 6 1/2" long
Lay them out on your design board until you
 like the placement of color and pattern.


Sew a 2 1/2" long strip to each side of the center square.
(press towards the strips throughout the entire block)


Now add a 4 1/2" strip to the top and the bottom.


Add the remaining 4 1/2" strips to the sides...


and finally add the 6 1/2" long strips to the top and bottom...
 to finish up the
Bitty Scrap Around Block!
It should measure 6 1/2" at this point. 


Add your barn fabric strips around it...


And build your Quilty Barn #11!
(click here for my original barn tutorial)


I thought it would be fun to add a scrappy window in the loft!
I just used 4 - 1 1/2" squares from my scrap basket.


I think Quilty Barn #11 looks scrappy happy...
don't you?

Tune in tomorrow for my Quilty Scraps post!!!

And have a barn buildin' kind of day...
xx
Lori

Wednesday, April 10, 2013

The Quilty Barn Along...Block 4...Churndash...and the Sashing Tutorial!!!


YaY!
This is block #4...
with sashings added!
But before we talk about the sashings...
let's construct the block and build the barn.


The block is a traditional six inch 
"Churndash" block...
it also goes by the name 
"Monkey Wrench"
I have already done a tutorial for the block.

to go to the tutorial and make your own churn dash block!

I'll wait:)


Back so soon?...
Good job:)
Now add your barn strips...


and 


Don't forget to add the background borders like


Now all about the sashing:)
This is a simple but effective way to finish off your barn blocks...
Scrappy 2 1/2" strips!
You might recognize this finish from 
the bumble bee block from my row along quilt:)


Cut 2 - 2 1/2" x 16 1/2" strips and sew them to the top and the bottom.
Press towards the outside strips.
 Cut 2 - 2 1/2" x 20 1/2" strips and sew to the sides.
Now you have a 20 1/2" x 20 1/2" block that will finish at 20" square.
The best part is that you will be adding the sashing to each block as we go...
and won't have to do it all at once:)
YaY!


****Important...
Now pay attention because there is a method to the sashing
 that you will need to know about.
When adding the sashings to your barns...
you will add them to the top and bottom first and sides last...
ON EVERY OTHER BLOCK.


On the OTHER blocks...
 you will add the shorter strips to the sides first 
and 
then add the longer strips to the
 top and bottom last....


Like this.


That way...when you sew your barns together...
the intersections of the sashing strips form a basket weave kind of look.
Cute huh???


I love the way that the strips add color in-between the barns
 but do not take away from the 6" blocks.

 I went ahead and joined my 4 barns together.
I will sew barn #5 and #6 together and sew to one side of these 4.


I am making 12 barns total...
4 barns down and 3 across.

When they are all sewn together...
the quilt will measure 60" wide x 80" tall.
I will wait and see what that looks like and then decide 
if it needs more strips around the 
outside of the quilt for a final border or not.


I hope this gives you a good visual on what
 my quilt with the red barns will look like.

As I have said in the beginning of the
I will be making another quilt where
 the barns will be different colors...
and I'll be changing up the block
  a bit...
so stay tuned to my Quilty Barn Along 
and get to buildin!!!
xx
Lori

Related Posts with Thumbnails