Hello cute people!
Are you ready for a
quilty thanksgiving tutorial?
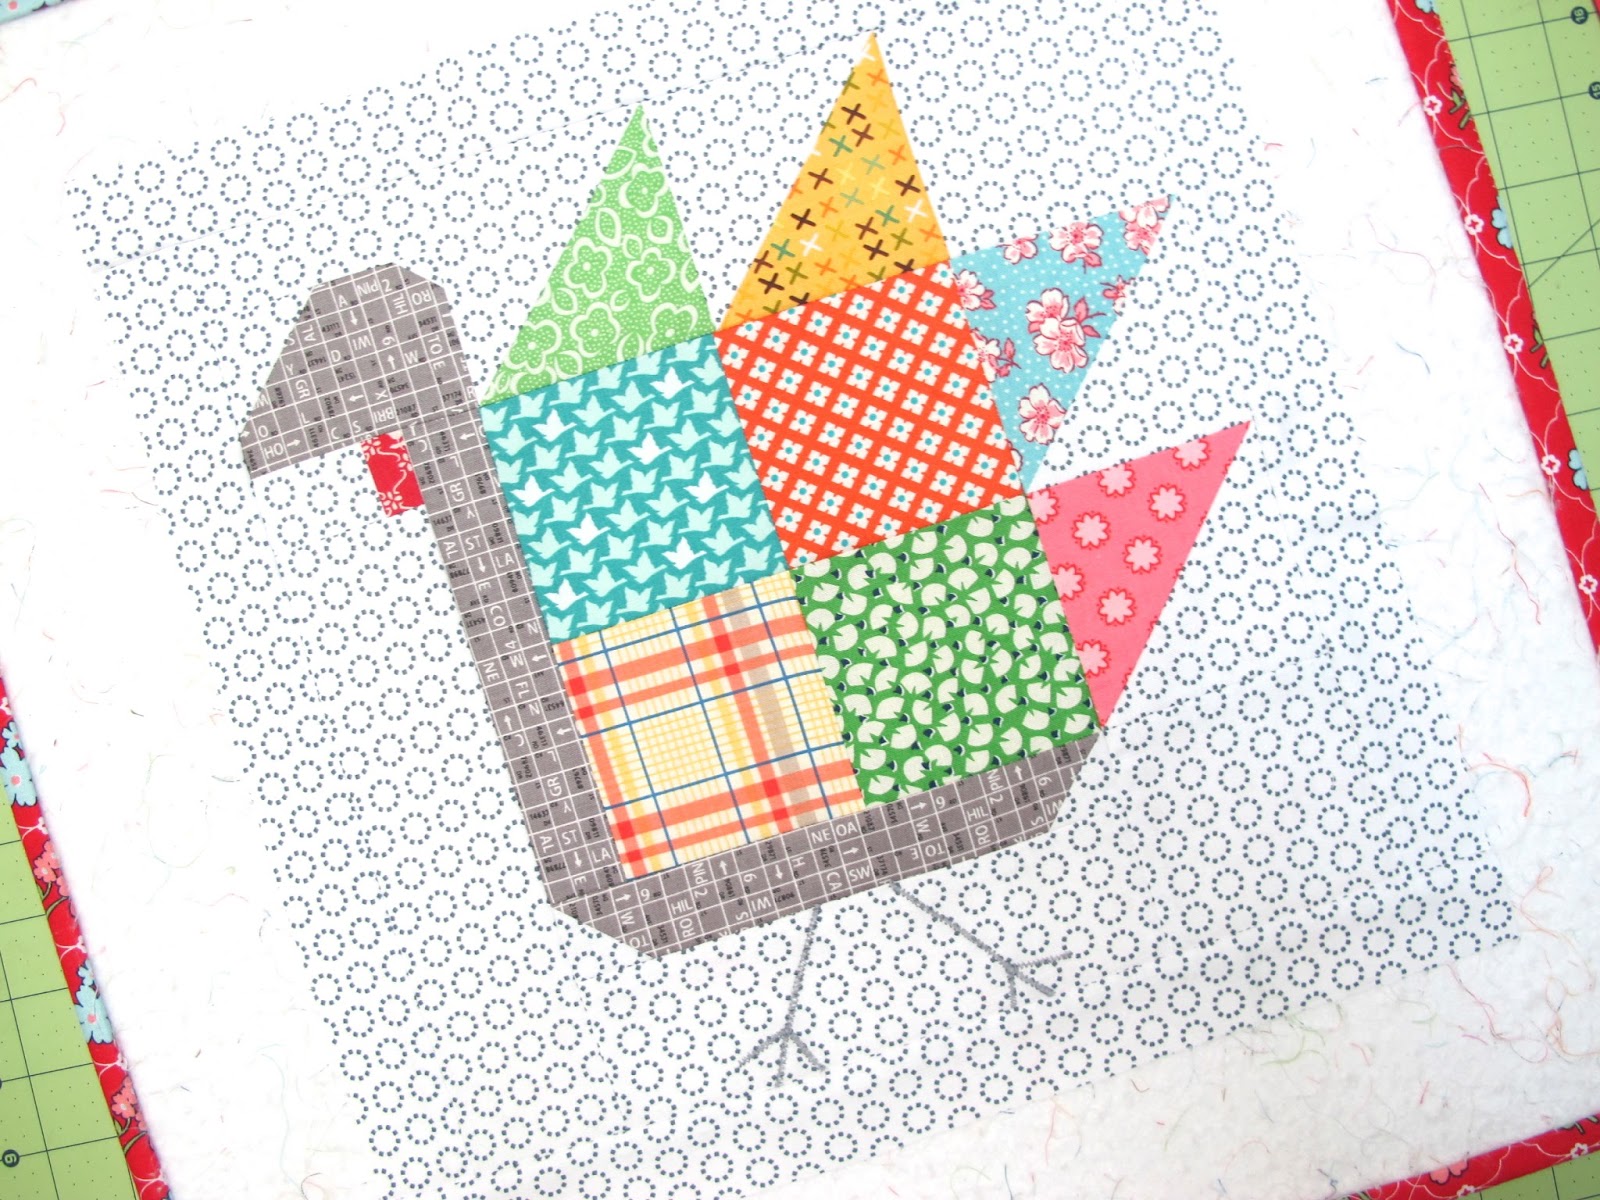
Meet my latest block…
"Tom Turkey"
I was inspired to make him from my
Remember the days
back in elementary school
when we would make turkeys
out of the fall leaves?
We were assigned by our teacher to
bring several from home and/or collect some
on the playground during recess.
Remember those cut and paste days?
Were you a glue eater?
There were always one or two
in every class …hehe:)
So let's get started!
Grab some background fabric…
some gray or brown fabric for the turkey…
a 1 1/2" red square for his wattle…
and your stack of 3 1/2" scrappy happy squares:)
Background cutting;
Cut 6- 3 1/2" squares
Cut 1 - 2 1/2" x 8 1/2"
Cut 1- 2 1/2" x 7 1/2"
Cut 1 - 2" square
Cut 1- 1 1/2" x 3 1/2"
Cut 1- 1 1/2" x 2"
Cut 2- 1 1/2" squares
Cut 1- 1" square
Trim 1/2" off your red square so that it measures
1" x 1 1/2"
Cutting from gray;
Cut 1- 2 1/2" x 3 1/2"
Cut 1- 1 1/2" x 7 1/2"
Cut 1- 1 1/2" x 6 1/2"
Arrange 8 different 3 1/2" scrappy squares on your design board…
and lets start sewing!
As you know if you have made my blocks before…
I always start by making all of the Easy Corner Triangles first.
Use 4 of the background squares and 4 scrappy tail feather squares.
Stitch a straight line from corner to corner…
trim excess about 1/4" past your stitching line...
And press.
You now have 4 half square triangles ...easy peasy!!!!
I like to cut a 1 1/2" square from my trimming leftovers
and add them back into my
scrappy stash for another quilty kind of day:)
Lay your half square triangles back out onto your design board…
to keep pieces organized and turned the right direction.
Using a design board saves a lot of time and mistakes!
These are the remaining 2 pieces that have
Easy Corner Triangles.
The head piece and the bottom strip…
(1 1/2" x 7 1/2")
The longest gray strip.
Stitch from corner to corner...
And trim off excess and press.
Lay everything back out on the design board.
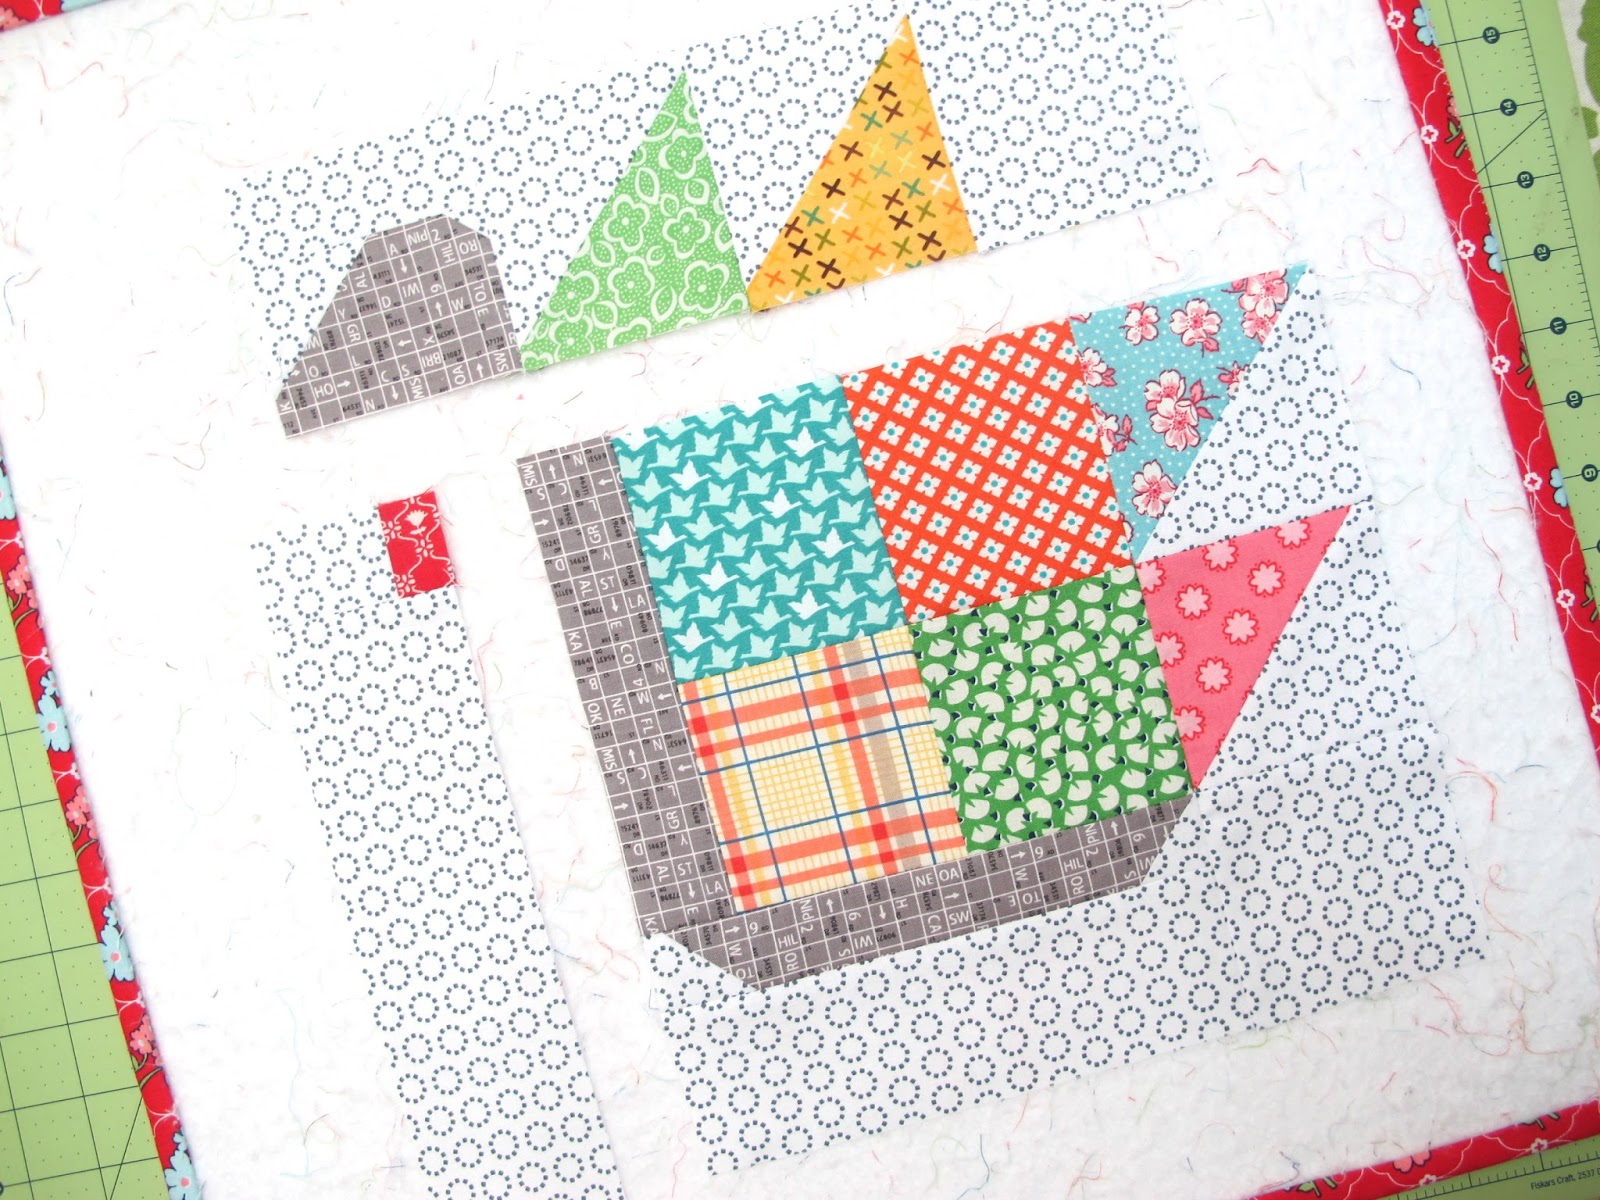
Now we can begin sewing Tom together in sections.
Start by making a four patch from the center squares.
Now sew the remaining gray strip to the left side of the 4 patch.
Sew the 2 1/2" x 7 1/2" background strip
to the bottom gray strip and
add them to the bottom of the 4 patch section...
Like this:)
Now sew the 3 pieces to the right together…
and add to the right side of the 4 patch section.
Now for the left side.
Sew the wattle and little background strip
together and add them to the top
of the remaining long background strip.
Sew the 1 1/2" x 3 1/2" background strip
to the top of the head and then sew
the head and these top 3 pieces together.
Now sew the wattle and
background strip to the left side of Tom…
and last…
sew the top row on:)
YaY!
You have sewn Tom together:)
You can choose to have Tom sitting…
or running away from the farmer
on the night before Thanksgiving:)
You are the boss of your own quilt!
I used gray thread and a small zig-zag stitch
to sew his legs on by machine.
I just drew them in with a pencil and let
those lines guide my stitching…easy peasy!
Don't worry…
Tom's legs don't need to be perfect.
He is meant to be a little whimsical
and has wobbly knees from all the running anyway:)
Tom finishes at 12" square.
If you decide to frame your block with
background fabric strips like this…
he will measure 14"square.
Cut 2- 1 1/2" x 12 1/2" for sides
Cut 2- 1 1/2" x 14 1/2" for top and bottom.
I have plenty of 3 1/2" scrappy happy squares
in my stash and you better believe that
I have a full on Tom Turkey quilt going!
But I made this Tom Turkey for a special little project
for my little grand daughter Sophie…
In my next post I'll show you what it is!
I love Thanksgiving…
and I really wanted to
make a turkey quilt:)
I hope you love Tom as much as I do!
Have a quilty kind of day...
xx
Lori