Showing posts with label Quilty Fun. Show all posts

Monday, November 17, 2014

Have Yourself a Quilty Little Christmas - an Instagram Sew Along !!!


I thought I would tell you about 
something fun that I'm doing on


It's a little Christmas quilt
 sew along using my book
Quilty Fun as our manual.


Basically what I did is
 just grab a bunch of fabrics
 from my stash and added a
 few Christmas prints in as well…
and started sewing blocks from
Quilty Fun that work
 perfectly for Christmas!


I've introduced and will introduce
 a few new blocks 
that I have designed 
especially for this sew along
 that are not in the book. 
 I have cutting and tutorials
 on my Instagram feed for those blocks.

For those who are new to 
or haven't joined yet…
Please do!
You just need to quickly
 create an Instagram account
and then
you can join up
 with us and sew along:)
If you need help
ask your kids!!!

It's super easy and fun:)
If you want to make new blocks 
designed by me like 
"Mr. Cookie" shown below 
joining up is how you
 access my Instagram tutorial.


You can find me on Instagram by
or on the the link above
 on the right side of my blog or...

Just type in my user name 
on the Instagram search bar…
(my user name is beelori1)
and follow me by simply 
clicking on the word 
 Once you are following me…
 you will see every time that I post or
 add another block to the sew along.


When you do find me…
this is what my 
profile page looks like.

Let me tell you how to
 find my tutorials 
from my profile page.

 I have a picture on my 
profile page that 
represents each post.

All you have to do is scroll down
 and you will see all 
of my pictures that I have posted.

The very first post 
is at the bottom…
and my very latest post
 is at the top left 
which you can see 
is my "Vintagey Ornament"
 block for the sew along.

When you see a photo 
that you would like to 
know more about,
 simply click or touch that photo 
and that post will pop right up 
along with all of my instructions
 as well as everyone 
else's comments and questions
 about that particular post.


Another thing that is fun 
about the sew along is
 seeing everyone else's pictures 
of their blocks all in one place.

When anyone posts a block 
they have sewn for the 
sew along they add
 #haveyourselfaquiltylittlechristmas
to their post.
What this does is add their photo
 along with their post 
onto the same page as 
all of the others who 
have used the same # 
with that title.

You can scroll down and
 look at them all
 for inspiration and even 
click onto their picture 
to bring up their post 
to read more about it.


It's a lot of fun and
 there is a huge supportive 
quilting community there:)


If you don't already have 
a copy of my book
that we are using
for the sew along
you can get one 

Have a quilty kind of day 
and I hope to see you
 on Instagram!
xx
Lori


Tuesday, October 14, 2014

Quilty Fun is Having a Birthday Party and You're Invited!!!…Free Birthday Cake Pattern from Me to You:) ...


It's birthday time!!…
Who wants to make a cake?


Can you believe that my very first book
"Lessons in Scrappy Patchwork"
is turning one year old this week?


It's been such a fun year
I have loved seeing my 
designs from Quilty Fun
on all of the social media
 made by you:)

It makes my heart skip a beat
knowing that you are having fun
with my designs and bits of fabric:)


I wanted to celebrate by
designing another 
Quilty Fun block just for you…
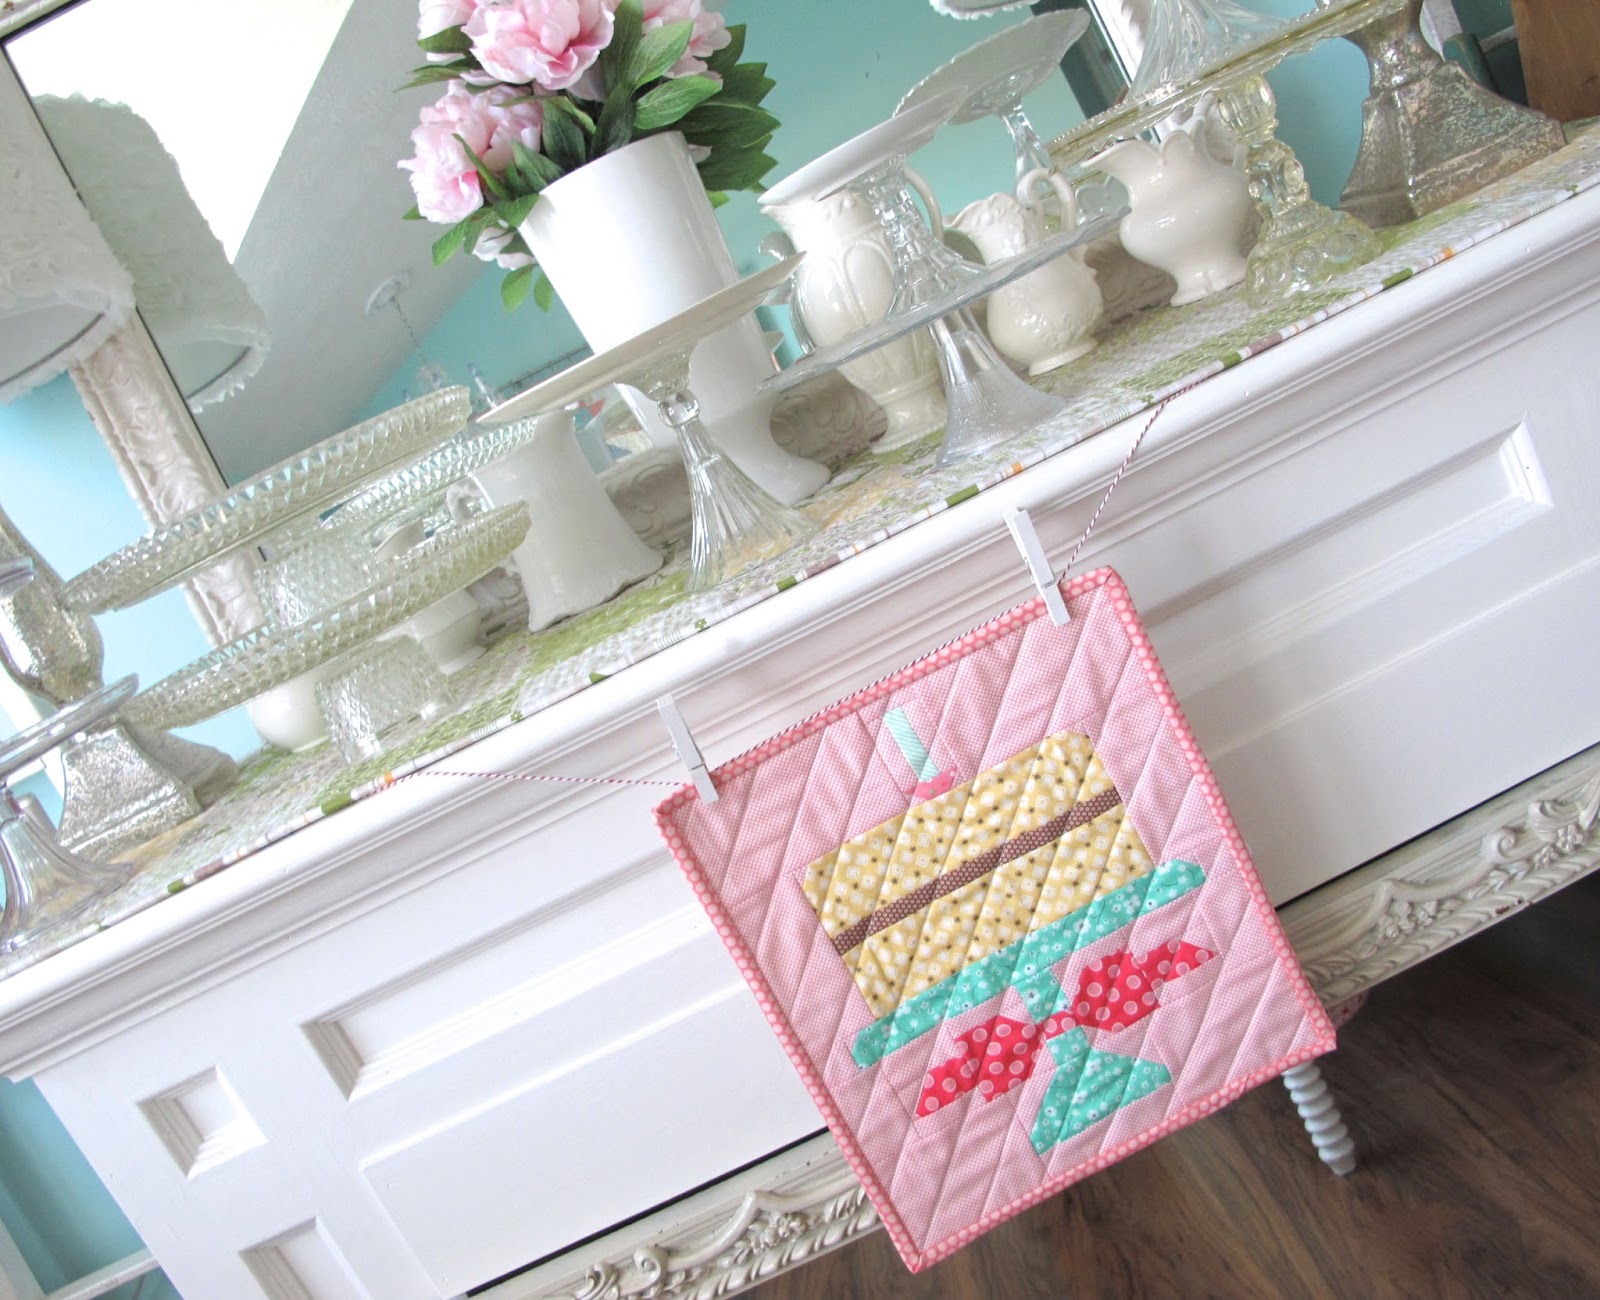
and it's a birthday cake of course!
to open and download my
 quilty gift to you:)


Then tie on your apron strings
 and make a cake to celebrate with me!


Grab some sweet fabric from your stash…
 and start mixing it up:)


Don't forget to use your
to keep track of your ingredients!


Measure carefully until you get it just right...


Bake at 350*…
and add some icing between the layers.
Don't forget to place a
 cute little candle cup on top
 to hold your stripey candle.


Place your frosted cake onto your 
vintage cake stand 
and tie a sweet bow
around the pedestal:)


Place your candle in the cup
 and now it's time to quilt!


I quilted mine with 
diagonal lines 1 1/4" apart:)


I thought it would be fun to
 hang it from the mantle in my front room
because that's where several of my
 vintage cake stands are.


Happy First Birthday 


The party has just begun
because several of my 
Quilty Fun friends 
have played along with me
and baked a cake too!
YaY!!!


to visit the 
and the girls from 
It's Sew Emma
who are my BFF's and 
my amazing publishers of 
Quilty Fun!


There you will find the
 list of 
those participating 
as well as a link to see
each and every 
sweet birthday cake
made for our 
birthday party:)

Thanks to all of you
 for helping us to celebrate!

Have a quilty kind of day…
and don't forget to eat some cake!
xx
Lori

Monday, March 31, 2014

The Quilty Fun Sew Along - Week 20 - The Big Finish!!! ...


Hello cute people!
Today the big finish of the
 is here at last.


A big thank you to all
 of you quilty fun-ers out there,

and to all of those who
 played a sew along hostess with the most-est! 


And of course Kimberly and the girls at 
 for being large and in charge 
and for 
sponsoring all of the giveaways!


I've had so much fun seeing everyone
 playing with all of the blocks in my book:)


It has given me such a thrill 
knowing that you all have been 
choosing your fabrics ...


cutting them all up into
 cute little pieces ...


and then sewing away 
to make cute little blocks
  each and every week.


Hasn't it been a blast 
having lots of 
 *quilty fun* together???


So now onto the last steps!

When all of your blocks and 
inner sashings are complete ...
It's time to make the borders!


Click here for download 20
the borders instruction PDF. 


Now let's talk a little about the binding!
I used my 2 1/2" scrappy stash basket 
to pull fabrics for my scrappy binding:)


I just love a scrappy binding don't you?


I didn't join these strips on the diagonal ...
but just straight seams:)

Remember to press the seams 
open after sewing for less bulk:)


If you need a refresher 
on how I do my binding ...
and

 for my binding tutorials:)


Once your scrappy binding is prepared ...
put it in a safe place until you are ready to sew it on.


So now lets talk about my scrappy backing!
Of course you don't need to make a scrappy backing 
you can just do one fabric and make the label just like the PDF instructions.
But if you want to make a 
scrappy back like me ...
here is how I did mine:)


I used 24 fat quarters of what I have always called
 "busy backgrounds" fabric.
this means fabric with an assortment of prints
 on a white or cream background.

I cut each fat quarter into 16 1/2" square ...
for a total of 24.
*(a 16 1/2" square ruler works perfectly for this)


Click here for download 21...
  the free label pattern that I designed especially for this quilt along!

(embroidery close-up)

After you have finished your 
"bee in my bonnet" label ...
it will measure 16 1/2" square.


Sew all of the busy background squares together 
with the label in the center.
Make sure that when you or your quilter is preparing to quilt ...
that the backing is on straight and centered with the quilt front.

After quilting ...
when you trim off the excess backing fabric it will look like this!


I love how the scrappy backing looks
 with the scrappy binding...
YaY!


Congratulations!!! ...
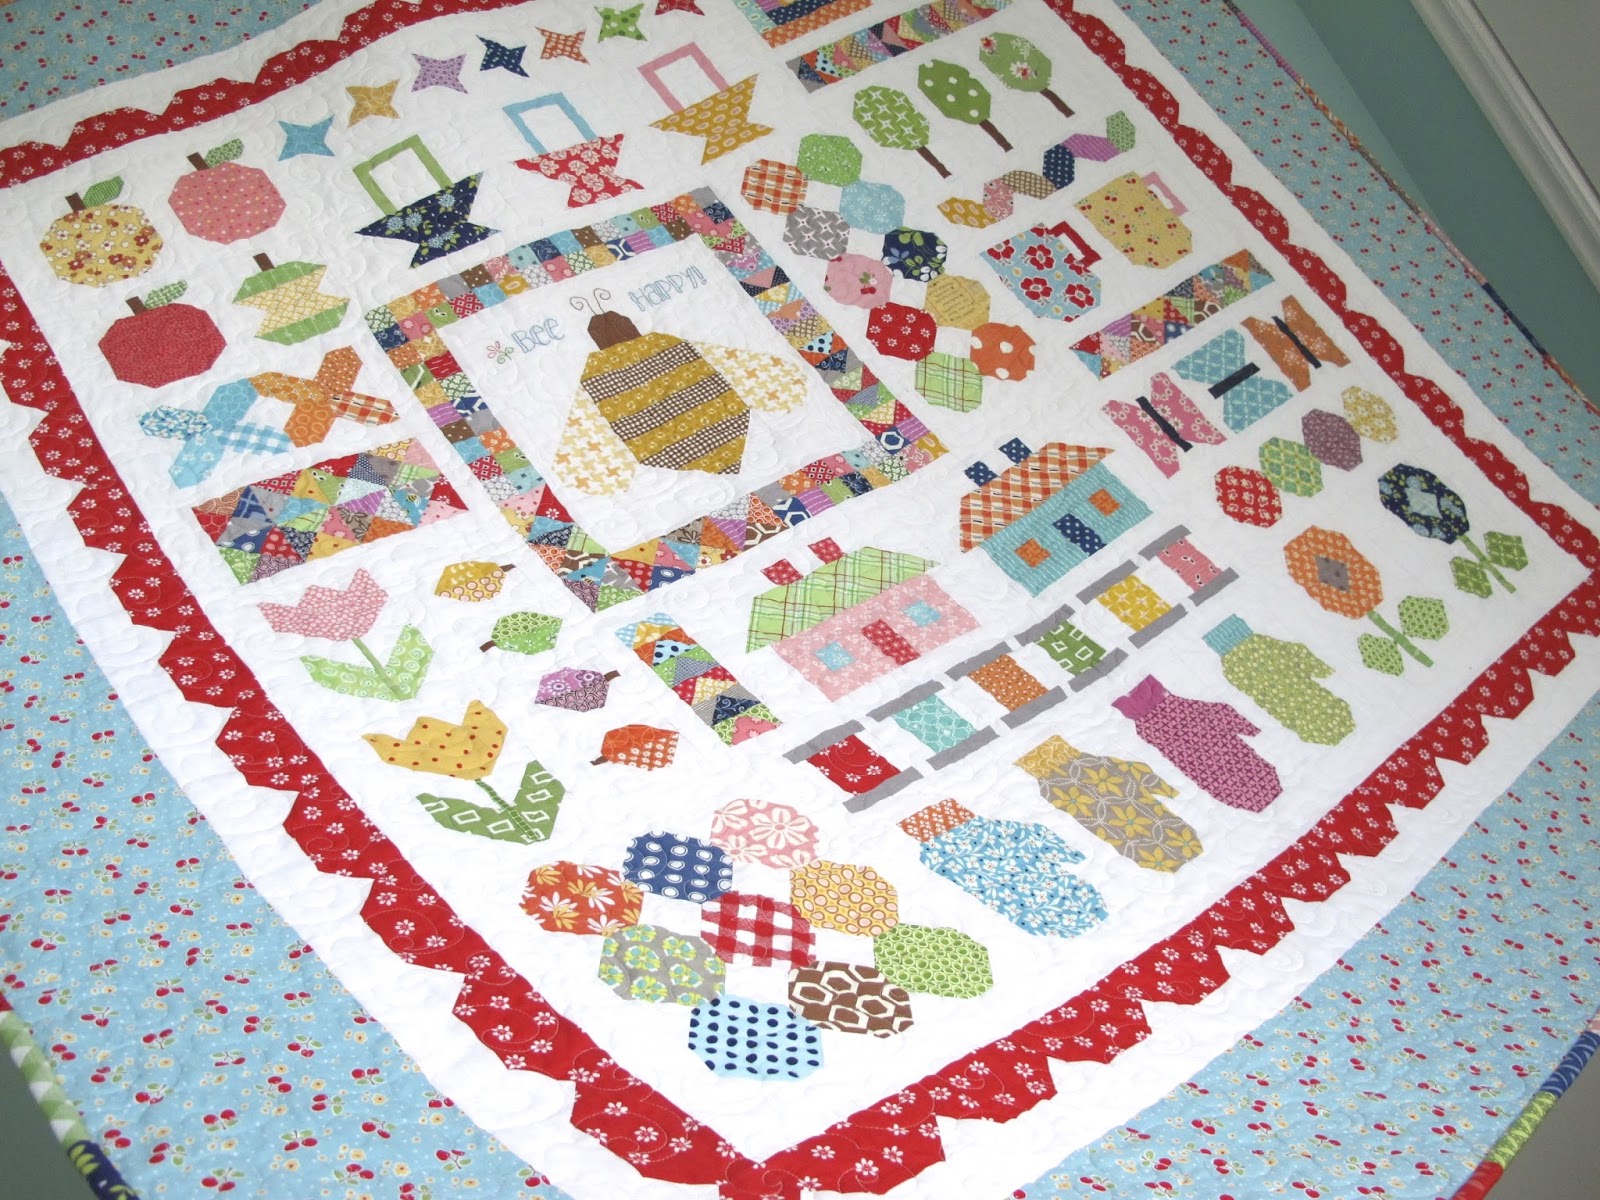
 you are finished with your 
Quilty Fun Sampler:)

But wait!!! ...
 you are not finished 
sewing along with me ...


because one week from today 
I will be announcing the next 
Bee in my Bonnet Sew Along
and we will be using 
as our instruction manual:)

YaY!!!

Until then…
have a quilty kind of day ...
and I hope that you had fun
 being the boss of your own quilt:)
xx
Lori

P.S. Don't forget to upload your photos
to the Flickr group to enter onto this weeks giveaways which are ...


Two of the large size Aurifil

along with ... 


Two sets of Alphabitties:)


***Choose + cut + sew + upload = WIN
YaY!


Related Posts with Thumbnails