Wednesday, December 16, 2015

Sew Simple Shapes - More Easy Patchwork Flowers!!!


I'm continuing my tutorials 
about making 
easy patchwork flowers 
with my 
BLOOM 
Sew Simple Shapes
to get yours 
if you want to play along!


Look how cute this patchwork flower is:)
It's also a mini dresden!
I'm going to show you
 how to make it and 
I think you will be surprised
 how easy it is using
 just a little patchwork ...


And my A-22 Sew Simple Shape.
You will need 8 - 2 1/2" squares
from your scrappy stash.


Pair them up and sew from corner to corner like this.


Trim off an approximate
1/4" seam allowance...


And press your seams open:)


Arrange them on your
 design board like this.
Notice that the center seams 
are in the shape of an "X" 
or in other words...
like a pinwheel setting.


Sew them together and 
press those seams open as well;


Now lay the A-22 onto 
the wrong side
 and line up the markings 
with the seams like this.


Trace around the
 A-22 Sew Simple Shape 
to mark your stitching line.


Pair it up with a square of
cut into a square of the same size.


Stitch directly onto your marked line like this...
all the way around ...
securing your stitches 
when you stop and start.


Trim about 1/4" past your stitching line.
You can trim a little off each 
seam allowance point to reduce bulk...
but just a little!


***TIP- you will need to 
clip each "cleavage" 
right up to the stitching... 
but not into the stitching... 
or past it.

This will allow your flower to
 lie flat when turned right side out.
You will be clipping 
through the Pellon
 at the same time:)


Now pull the Pellon away 
from the flower front and cut...


an "X" like this.


Turn right side out.
You can use the 
Clover Turning tool
 to "gently" press out the points.
Press your flower flat
 on the front side...
not the back.

Isn't it cute?

I can think of 
all kinds of things 
to do with this flower.
It looks like it 
took a lot of time 
but as you just saw...
it was super fast and simple:)


It looks cute with a
 center made with 
the A-1 Sew Simple Shape...
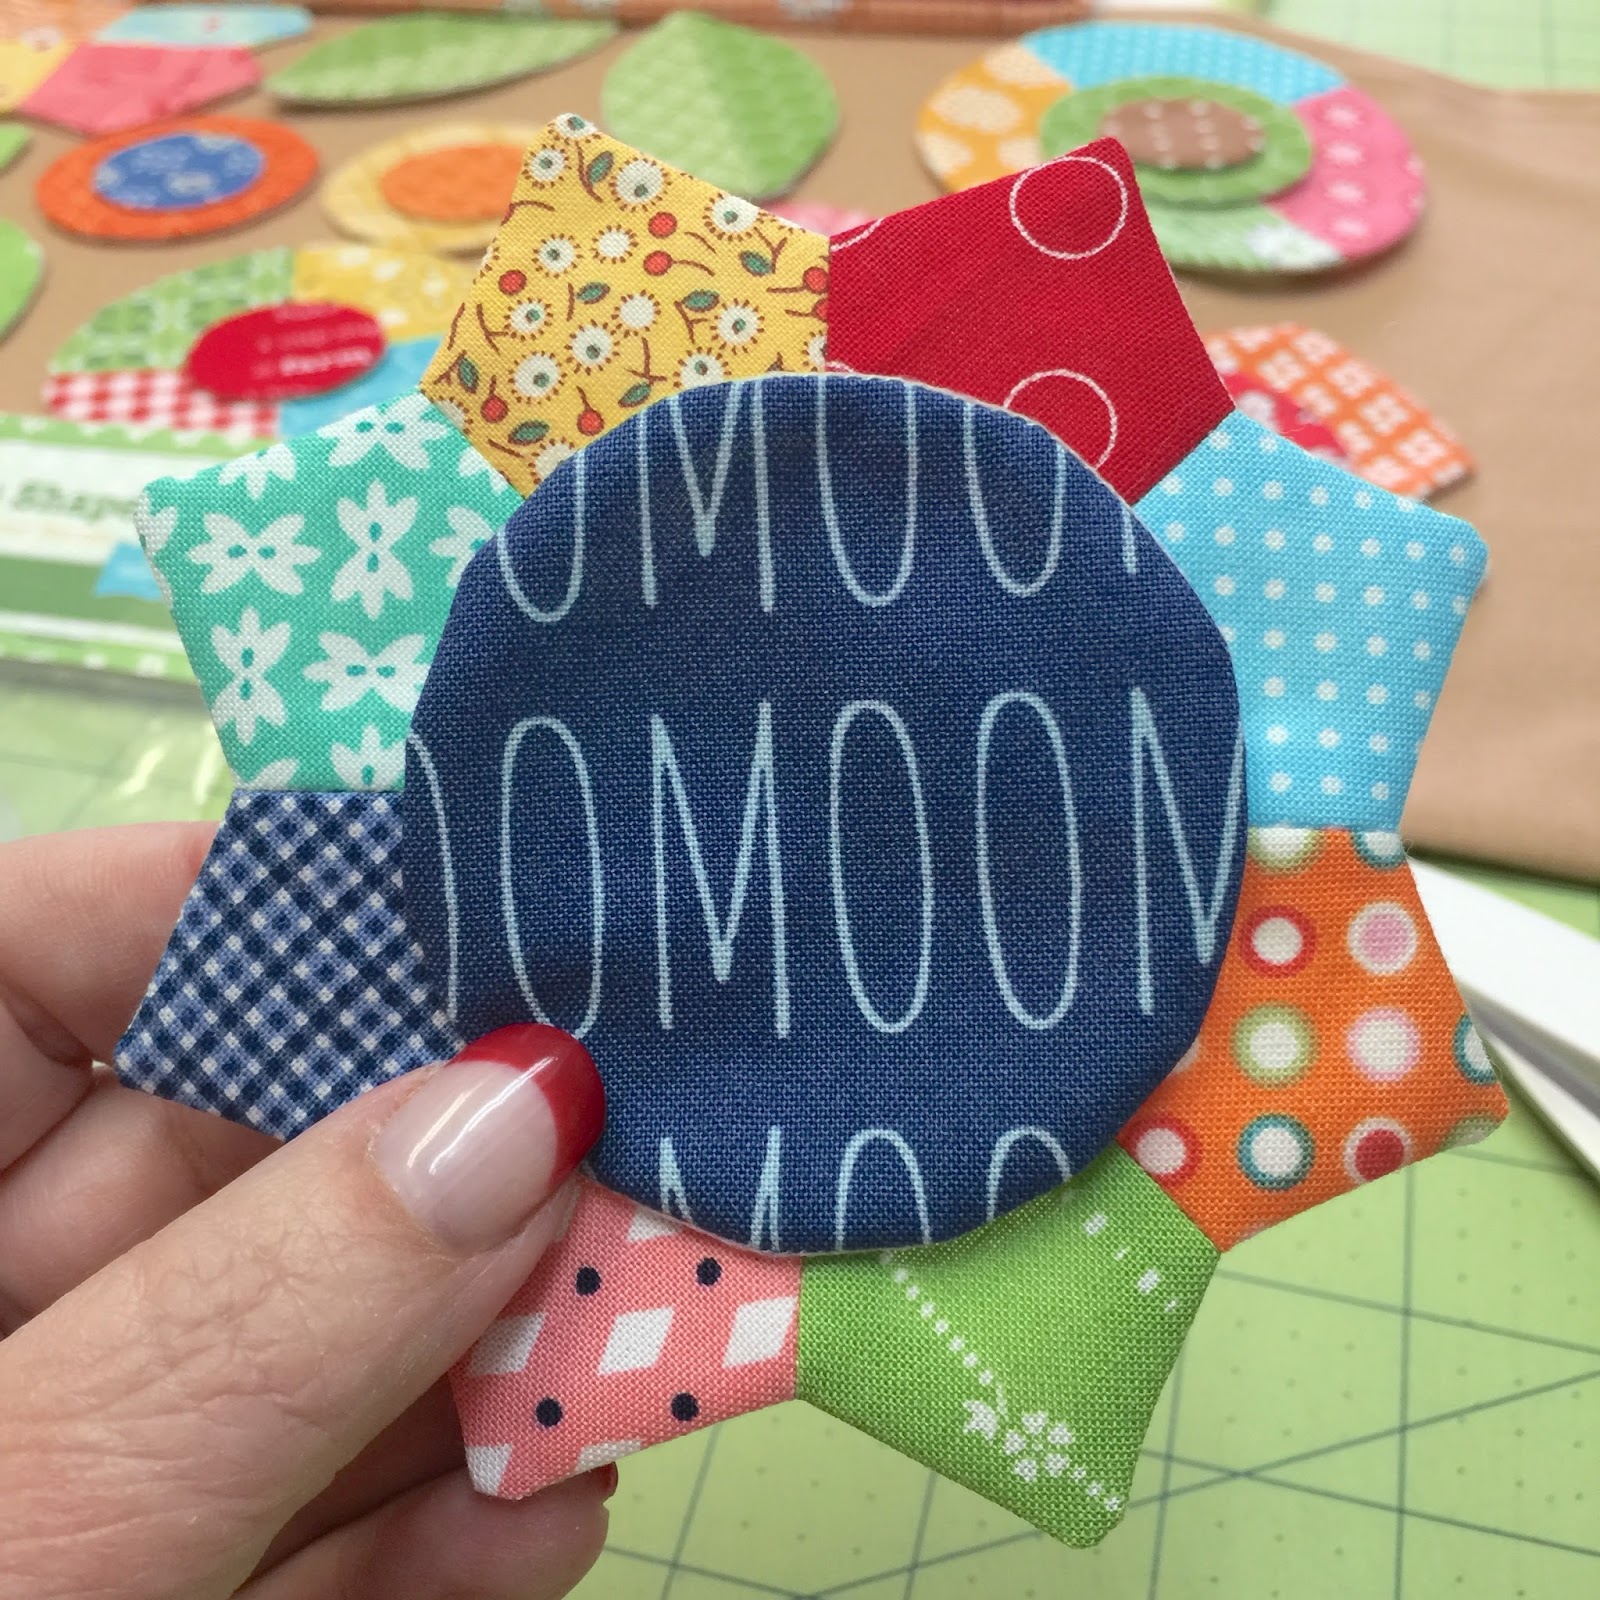

or even the 
A-2 Sew Simple Shape:)


I also want to show you 
another flower that 
you  can make with the
 8 - 2 1/2" scrappy squares
 and the
 A-3 Sew Simple Shape


Look how cute!


And then make a bigger one using the
A-4 Sew Simple Shape
and cut your 8 scrappy squares
 3" instead of 2 1/2".


These little
 "pie circles"
 are fun!


Add a circle for the center:)
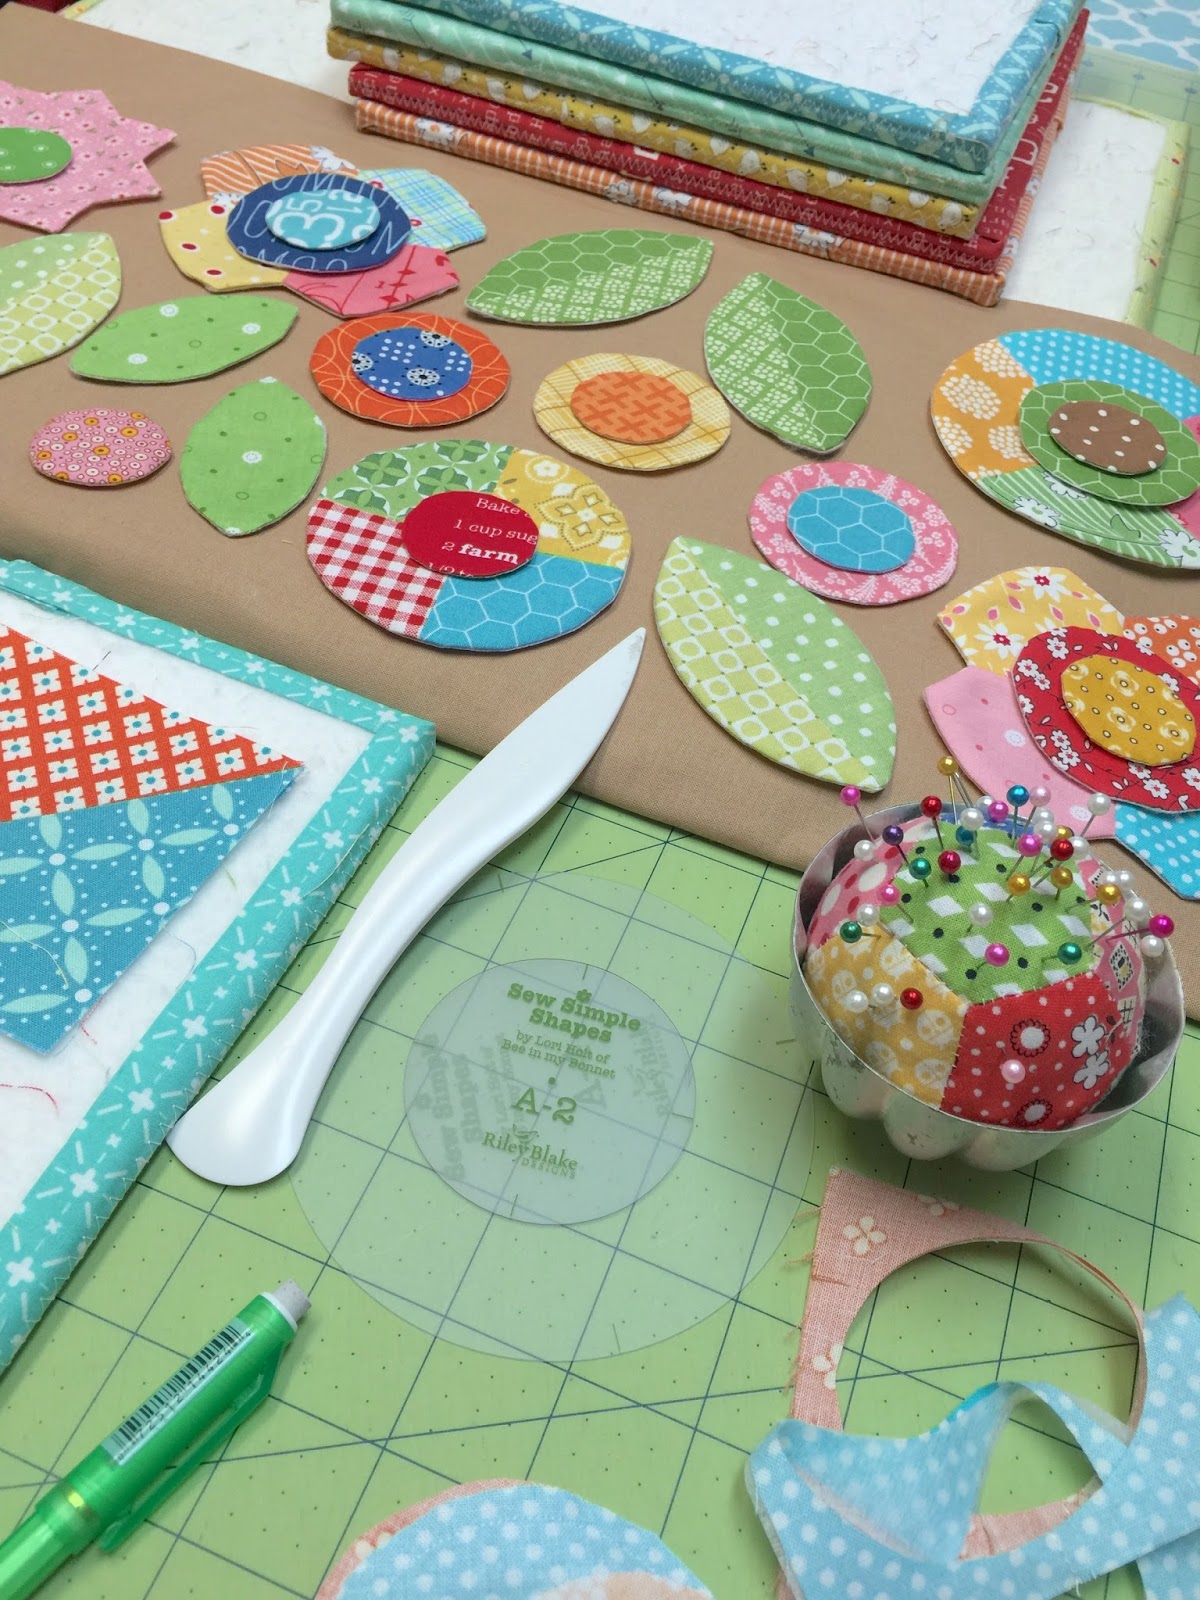

Tomorrow I'll show you 
even more patchwork flowers
 that you can make using my 
Sew Simple Shapes.

I hope you're 
having fun with them...
I sure am:)
xx
Lori

Monday, December 14, 2015

New Tutorial - Great Granny Circled Table Runner and the Great Granny Twist Blog Hop!!


Good morning cute people!
Today is the first day of our


Where we use my book 
and put a twist on one
 or more of the projects inside.


Kimberly and I used my 
Modern Minis fabric and the
 "Mama Block" 
from page 17 of the book...
to create our
"Great Granny Circled"
table runner!

to watch Kimberly's tutorial 
on our easy peasy 
Great Granny Circled block.


I hope you are inspired to
 get your squares out 
and play along!

You will need 21 Mama Blocks
 to make our runner:)


After our Mama blocks were completed...
we "circled" them by 
using the
 6" size from the


A quick way to turn 
square blocks 
into circle blocks!


They are fun... 
fast...
 and sew easy!


I love how scrappy happy the 
circles look when appliquéd 
onto background squares.

 To finish...
simply sew the blocks together
 in a 3x7 setting!
The runner measures  
25" x 53" when completed:)

We cut our borders;
2 - 2 1/2" x 49 1/2" 
for the sides
2 - 2 1/2" x 25 1/2" 
for the ends

For the binding we cut;
 4 - 2 1/2" strips 


I hope you enjoyed 
"our twist" 
on the Mama Block!

Be sure and 
to see all of the 
amazing bloggers who are
 participating 
and adding their own 
 "twist" 
from the blocks in my book
 Great Granny Squared.


Here a few 
of my favorite photos
 from the book:)


Vintage Happy fabric 
in my studio!!!


All of the photo shoots
 for my books 
take place in my home:)


I love the simplicity 
of the blocks!
and watch the trailer 
we filmed for the 
release of the book.

In it I talk about 
creating the book and
 about how the inspiration 
for the blocks 
came from crochet.


By the way...
see my Stitchy Fun Sampler
that is in above photo? 
the pattern is available
I used 6 easy stitches
 to complete it and I
 have a 4 part step by step
 beginning embroidery tutorial 
on YouTube that you
may find helpful.


You can find all four
of my embroidery videos  


We also did another sew along
 when the book came out called the
Great Granny Squared Sew Along
We used the Mama blocks 
to make my quilt that I named ...


"Mama's Crochet"
The basket and the
 yarn with crochet hook blocks
 are in the book
 and used for labels...
but I used them for the
 front and center of this quilt!


And yes! 
I did a label for it as well:)
I used a scrappy
 12" Great Granny block 
from the book
and simply used the
 background fabric for the
 center square embroidery:)


Adding a label to a 
finished quit makes it 
even more special 
to the maker and 
also to the receiver!

If you didn't play along 
the first time around...
it's never too late! 
to see the original schedule
 and get the free PDF downloads
 to make the Mama's Crochet Quilt.


And...if you don't 
have a copy of 
Great Granny Squared
to get one!


You can also get the single
 6" Bee in my Bonnet Ruler

and the new 
Bee in my Bonnet
"just take one stitch at a time" 
T-shirt that Kimberly is 
wearing in the video 


And you can get the
Pellon Sew-In interfacing 


Thanks for joining me 
on the first day 
of the blog hop:)
I'm excited to see 
what "twist" the other 
guest bloggers 
have come up with!
xx
Lori


Related Posts with Thumbnails