Monday, May 9, 2022

Chicken Salad Sew Along - The BIG Finish!!


"The BIG Finish!!"


Hello again and happy Monday!!!
Welcome to the big finish of the 
"CHICKEN SALAD"
Sew Along!

Each week 
I have done a tutorial
 for one of the 12 chicken blocks
 for the quilt.


We made the 
Chicken Salad Quilt
64" x 80"

If you were not able to do this
 sew along with us...no worries!
Please remember that these tutorials
 will remain on my blog forever
and you can catch up anytime:)


I also used an additional 
Chicken Salad Quilt Kit 
to make a second quilt 
out of my Cook Book fabric 
using twelve 12" Farm Girl Blocks from my 
Farm Girl Vintage Book 
and my 
Farm Girl Vintage 2 Book.

Again, that means I used TWO kits
that are identical.
It makes me sew happy to find out
that so many of you made
 this second quilt along with me!


I talked about my chosen block for the 
COOK BOOK KITCHEN QUILT
   as part of each weekly blog post
that I did here 
each Monday on my blog.


Both quilts were made with my fabric
 collection called COOK BOOK...


If you are looking for a fabric kit...
 just do a quick google search for 
"Chicken Salad Quilt Kit"
to find shops who still have some left.


We used the
Chicken Salad
Sew Simple Shapes


I kept everything in my
 Cook Book Binder
to stay organized.

I posted the
 post which details all of the supplies...
and all of the cutting and
 all about the sew along and how it worked.

I have also given the link there 
for the free PDF Download 
of the Sew Along Guide

to read that post.


Because you have the sew along guide before the sew along began you can easily have each block 
 and all borders cut and ready to go!


 Week One was the 
first introduction tutorial
 I have posted that for the  
Hattie Block 
on my YouTube channel.
to visit my channel and watch the 
tutorial and I hope that you love it!
Leave me a comment there and let me know:)

If you like what you see 
and my other videos there...
click on subscribe and click on the bell
 to be notified whenever
 I post another tutorial:)


Week Two we made 
PERCY

if you need to view week two:)


Week three we made
 PEARL

for week three:)


Week four we made
CORNELIUS

for week four 


Week Five we made 
HENRIETTA

for week five tutorial:)


Week Six we made 
EDNA

for that tutorial


Week Seven we made 
BEATRICE

for that tutorial
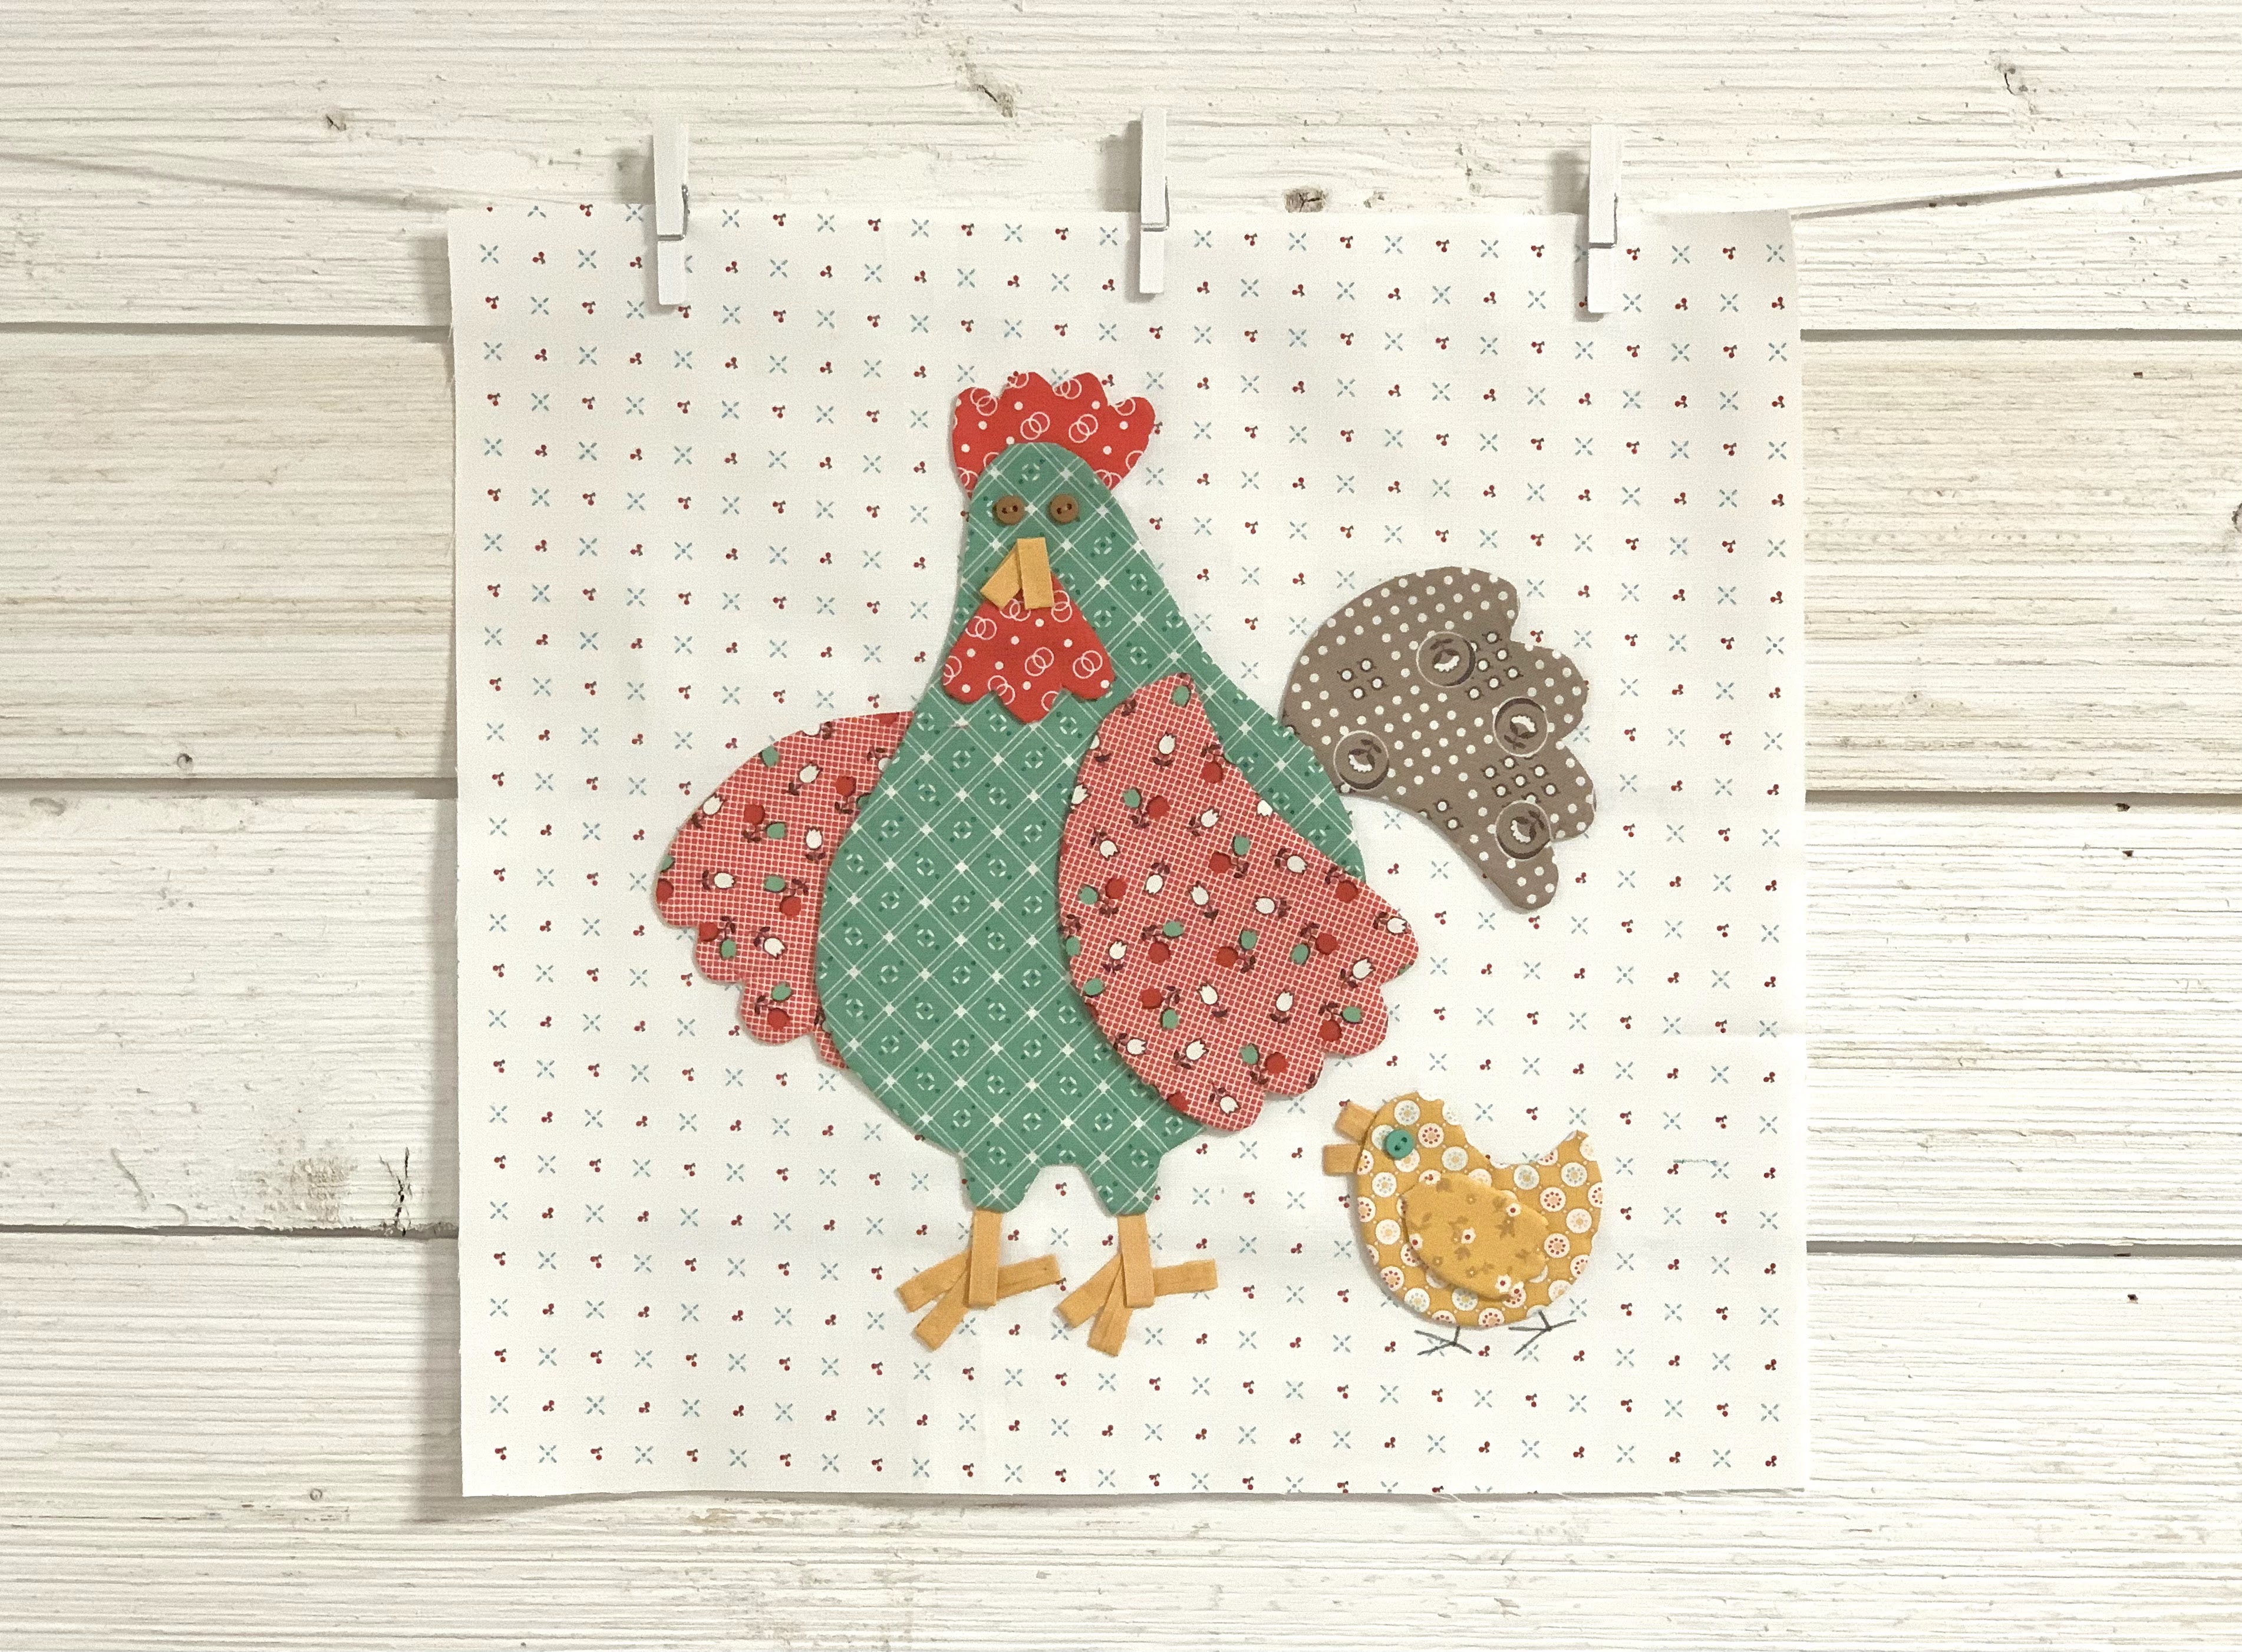

Week Eight we made 
PENNY
for that blog post


Week nine we made
PRUDENCE


Week ten we made 
HANK
for that blog post


Week Eleven we made 
MRYTLE
for that blog post


Week Twelve we made
FLORENCE

for that blog post


All twelve with the applique completed!!!
YaY!
In the end I decided on machine applique 
using the tiny zig-zag stitch.
Here are a few close ups of 
Henrietta and her eggs
with the machine applique.


I've already told you about my
 machine applique and hand applique 
tutorial that I did last year on 
my 

But if you missed it
 and/or need a refresher


My first three chickens 
all trimmed up with the
 12 1/2" Trim-It Ruler 
and block borders added:)
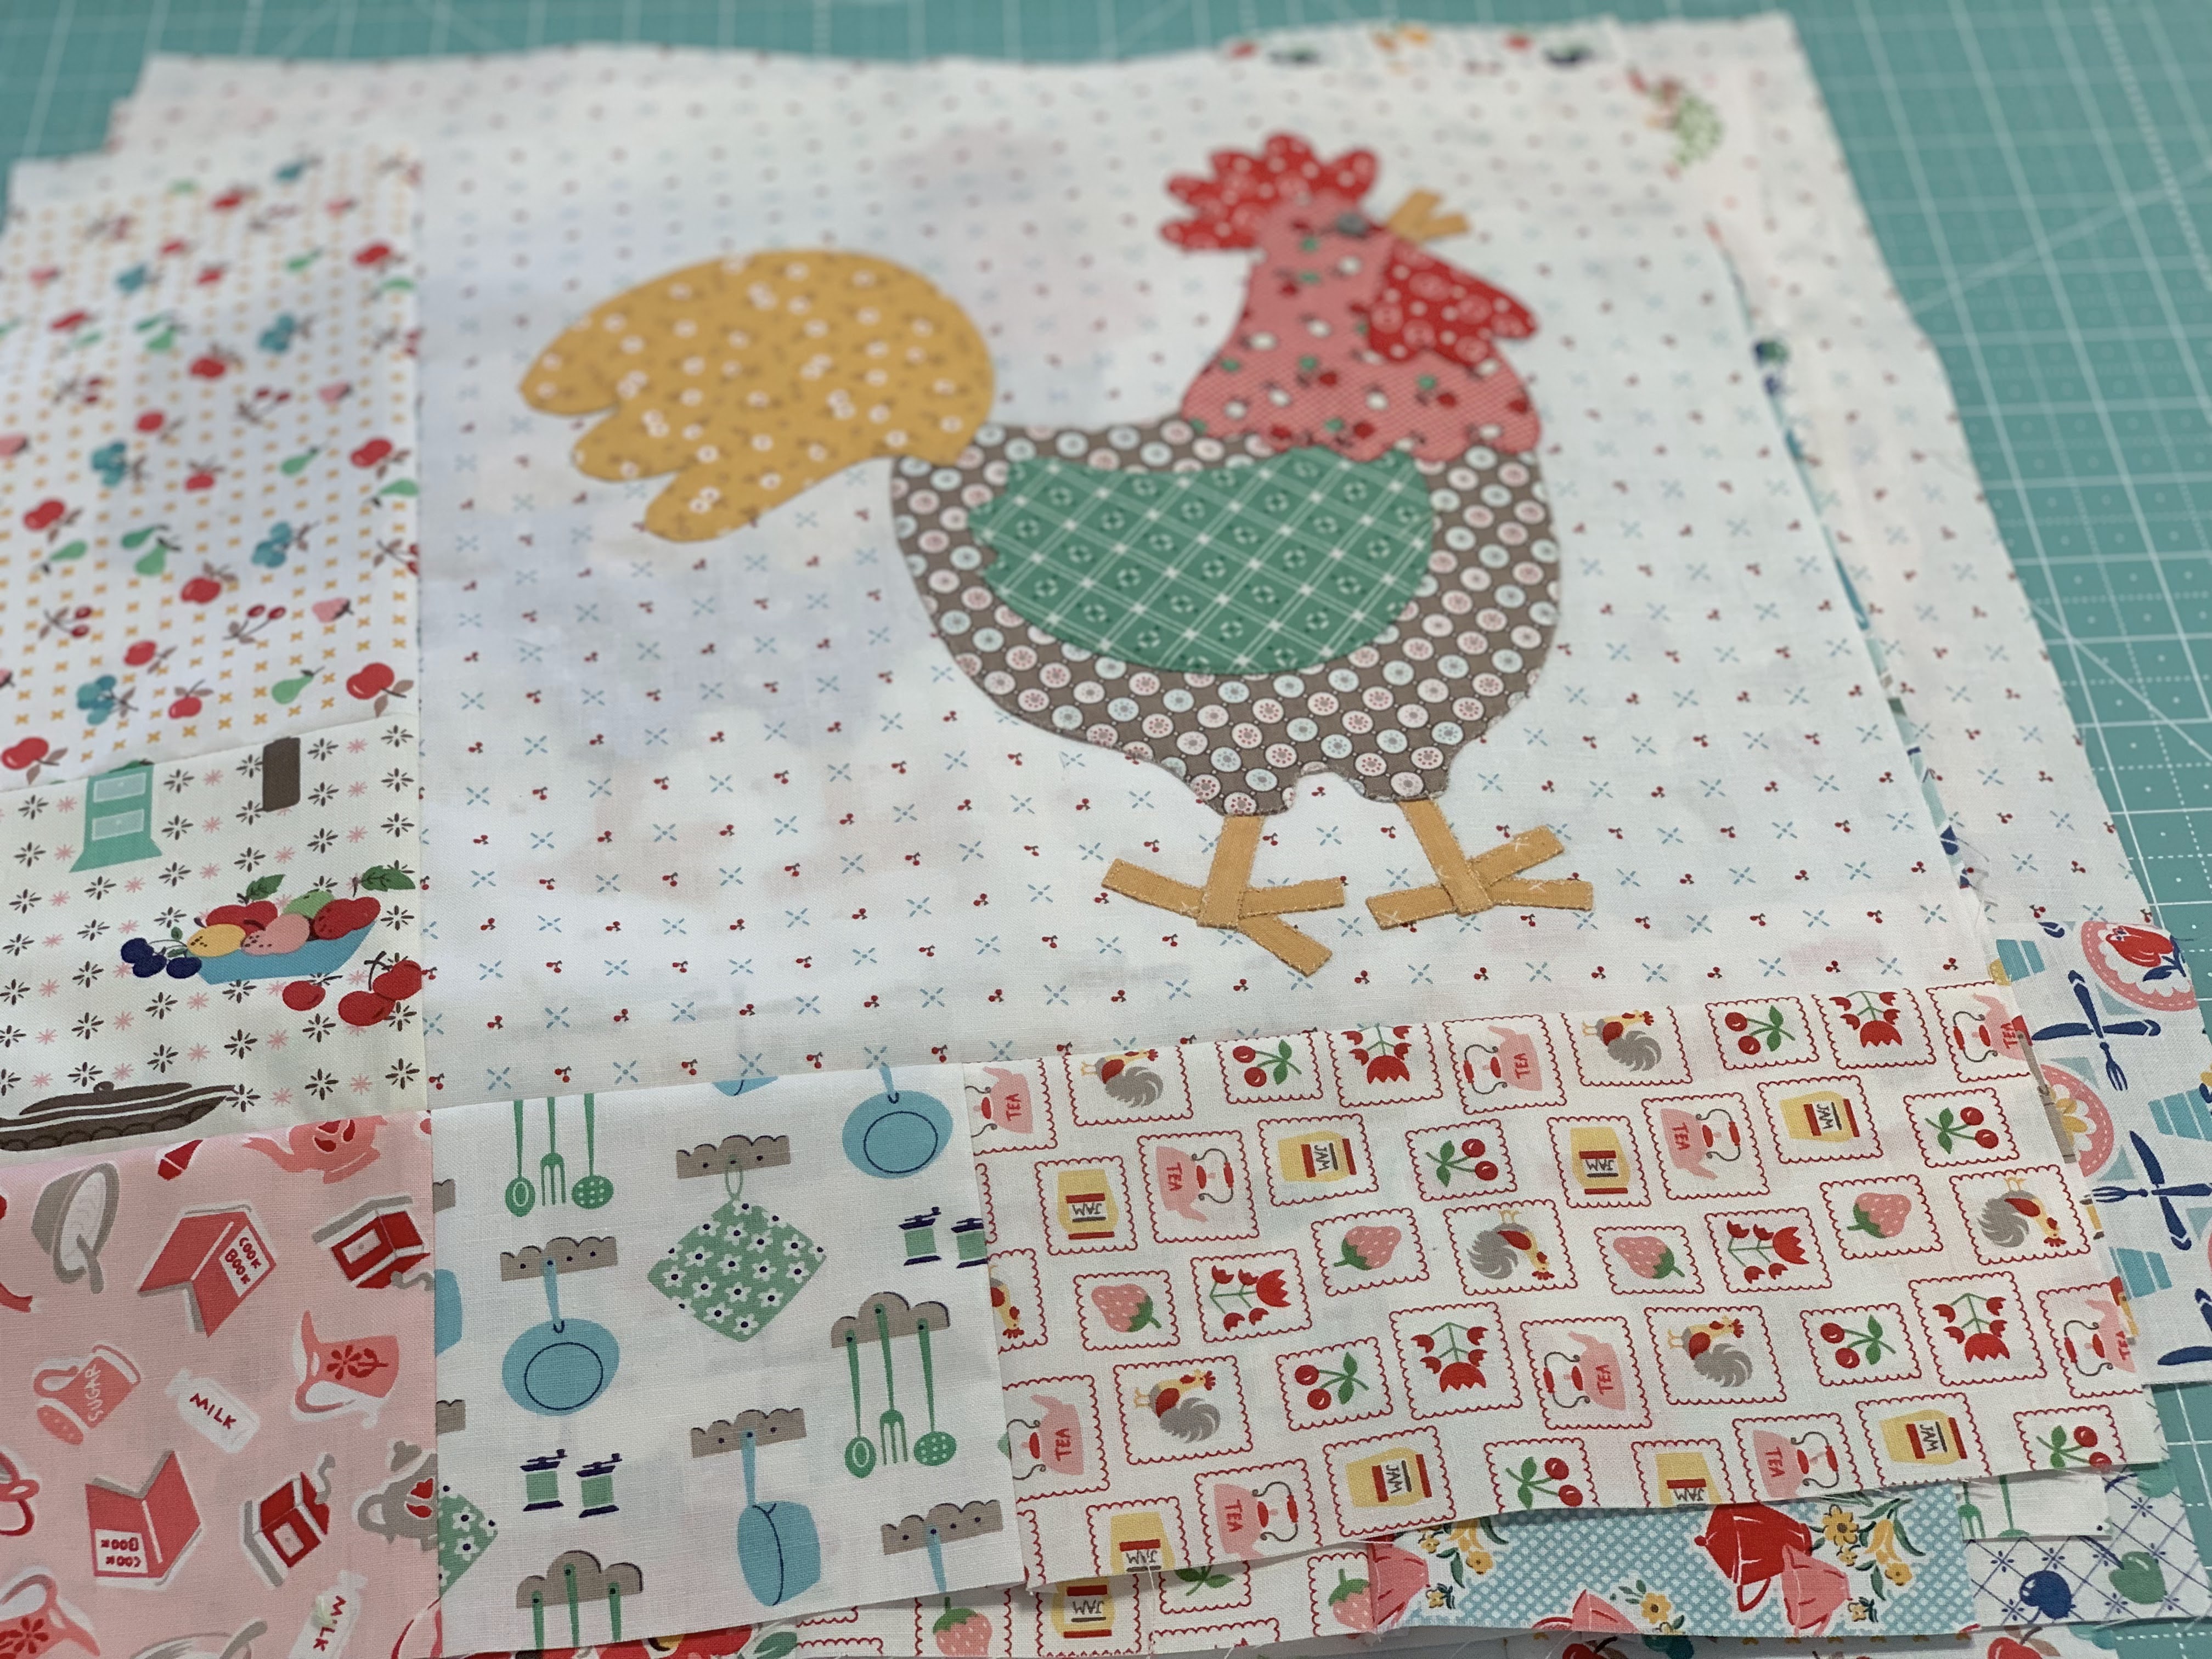

All blocks are completed and ready
to sew into the quilt top:)
I pressed my seams open for the 
block border pieces
 and then pressed away from the 
appliquéd block when sewing them on.

I used my 16 1/2" Trim-It Ruler
to square up these blocks 
before sewing into the quilt top.


All of my quilt border blocks are completed
and ready to sew into rows!

I used my 8 1/2" Trim-It Ruler
to square up these blocks 
before sewing into the quilt top.

As I explained in the beginning...
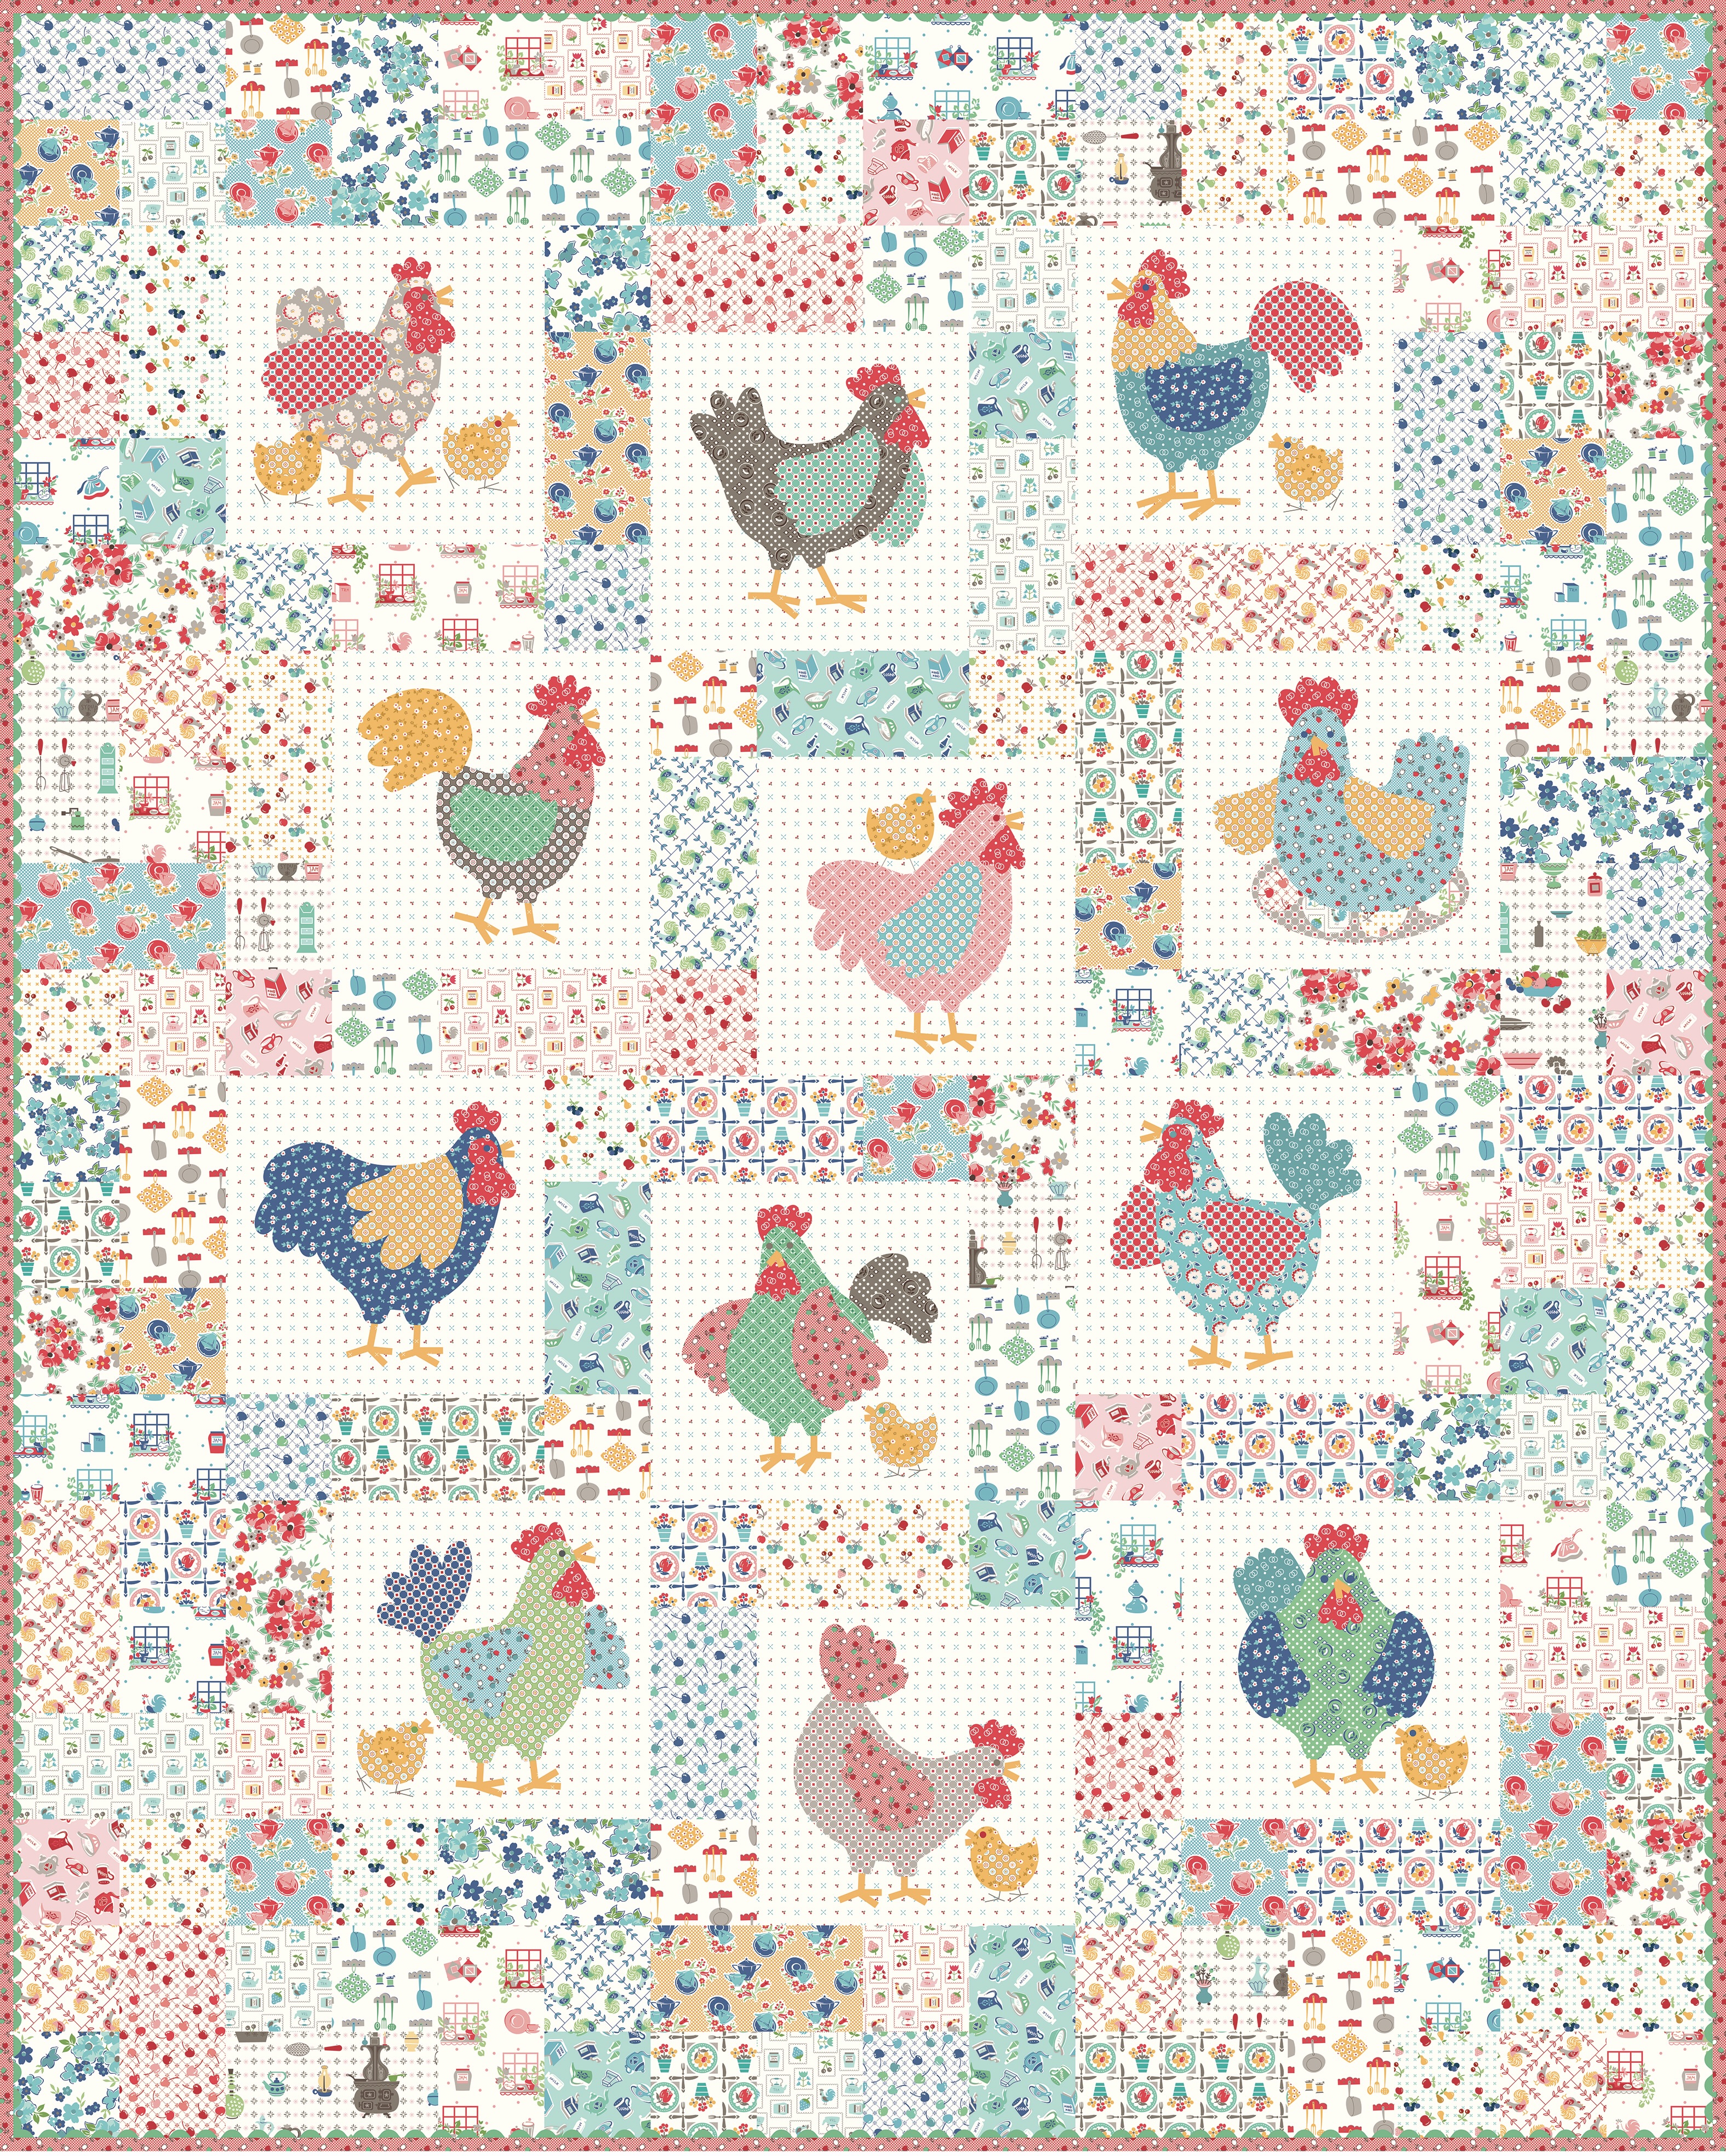

Simply look at the photo and the layout
 on page 10 of the Sew Along Guide
to see the placement of the border blocks. 


Seeing the layout in black and white 
and also the colored photo of the 
finished quilt makes it simple
 to find placement of prints
 within each block and then placement.

The quilt is sewn together into
 vertical rows just like this...
super easy peasy!!


Here you can see one of my quilt 
border block side rows 
all ready to sew and go!!
I pressed all of my seams open
 on the border blocks as well
 and when joining the rows.


Backing and binding and
 Ric-Rac Vintage Trim 
all ready for the quilter.
for my tutorial on how I bind my quilts
 and how I add ric-rac in the binding.
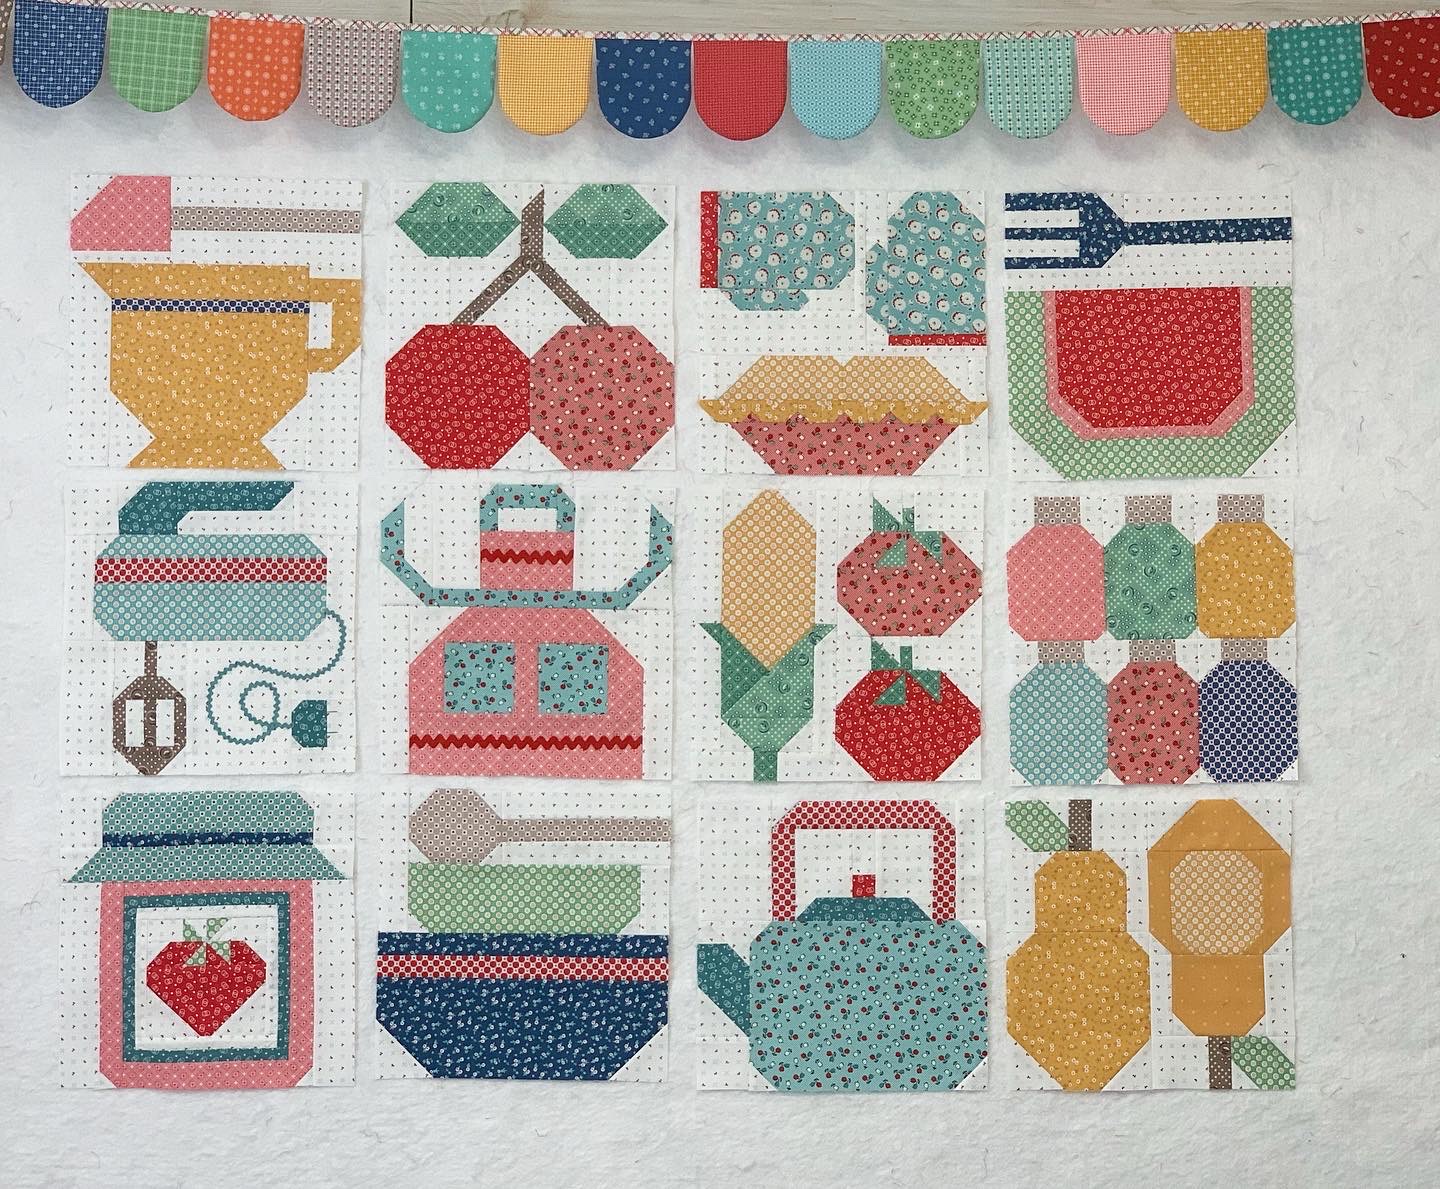

Now for those of you doing the 
kitchen quilt...here are all of the blocks
and you can of course place them
in your quilt wherever you 
would like to or you can
do exactly what I did...


Cook Book Kitchen Quilt
64" x 80"

I took a few photos for you in my kitchen
but the lighting wasn't great
so I took more out on my patio...
I hope you enjoy these photos
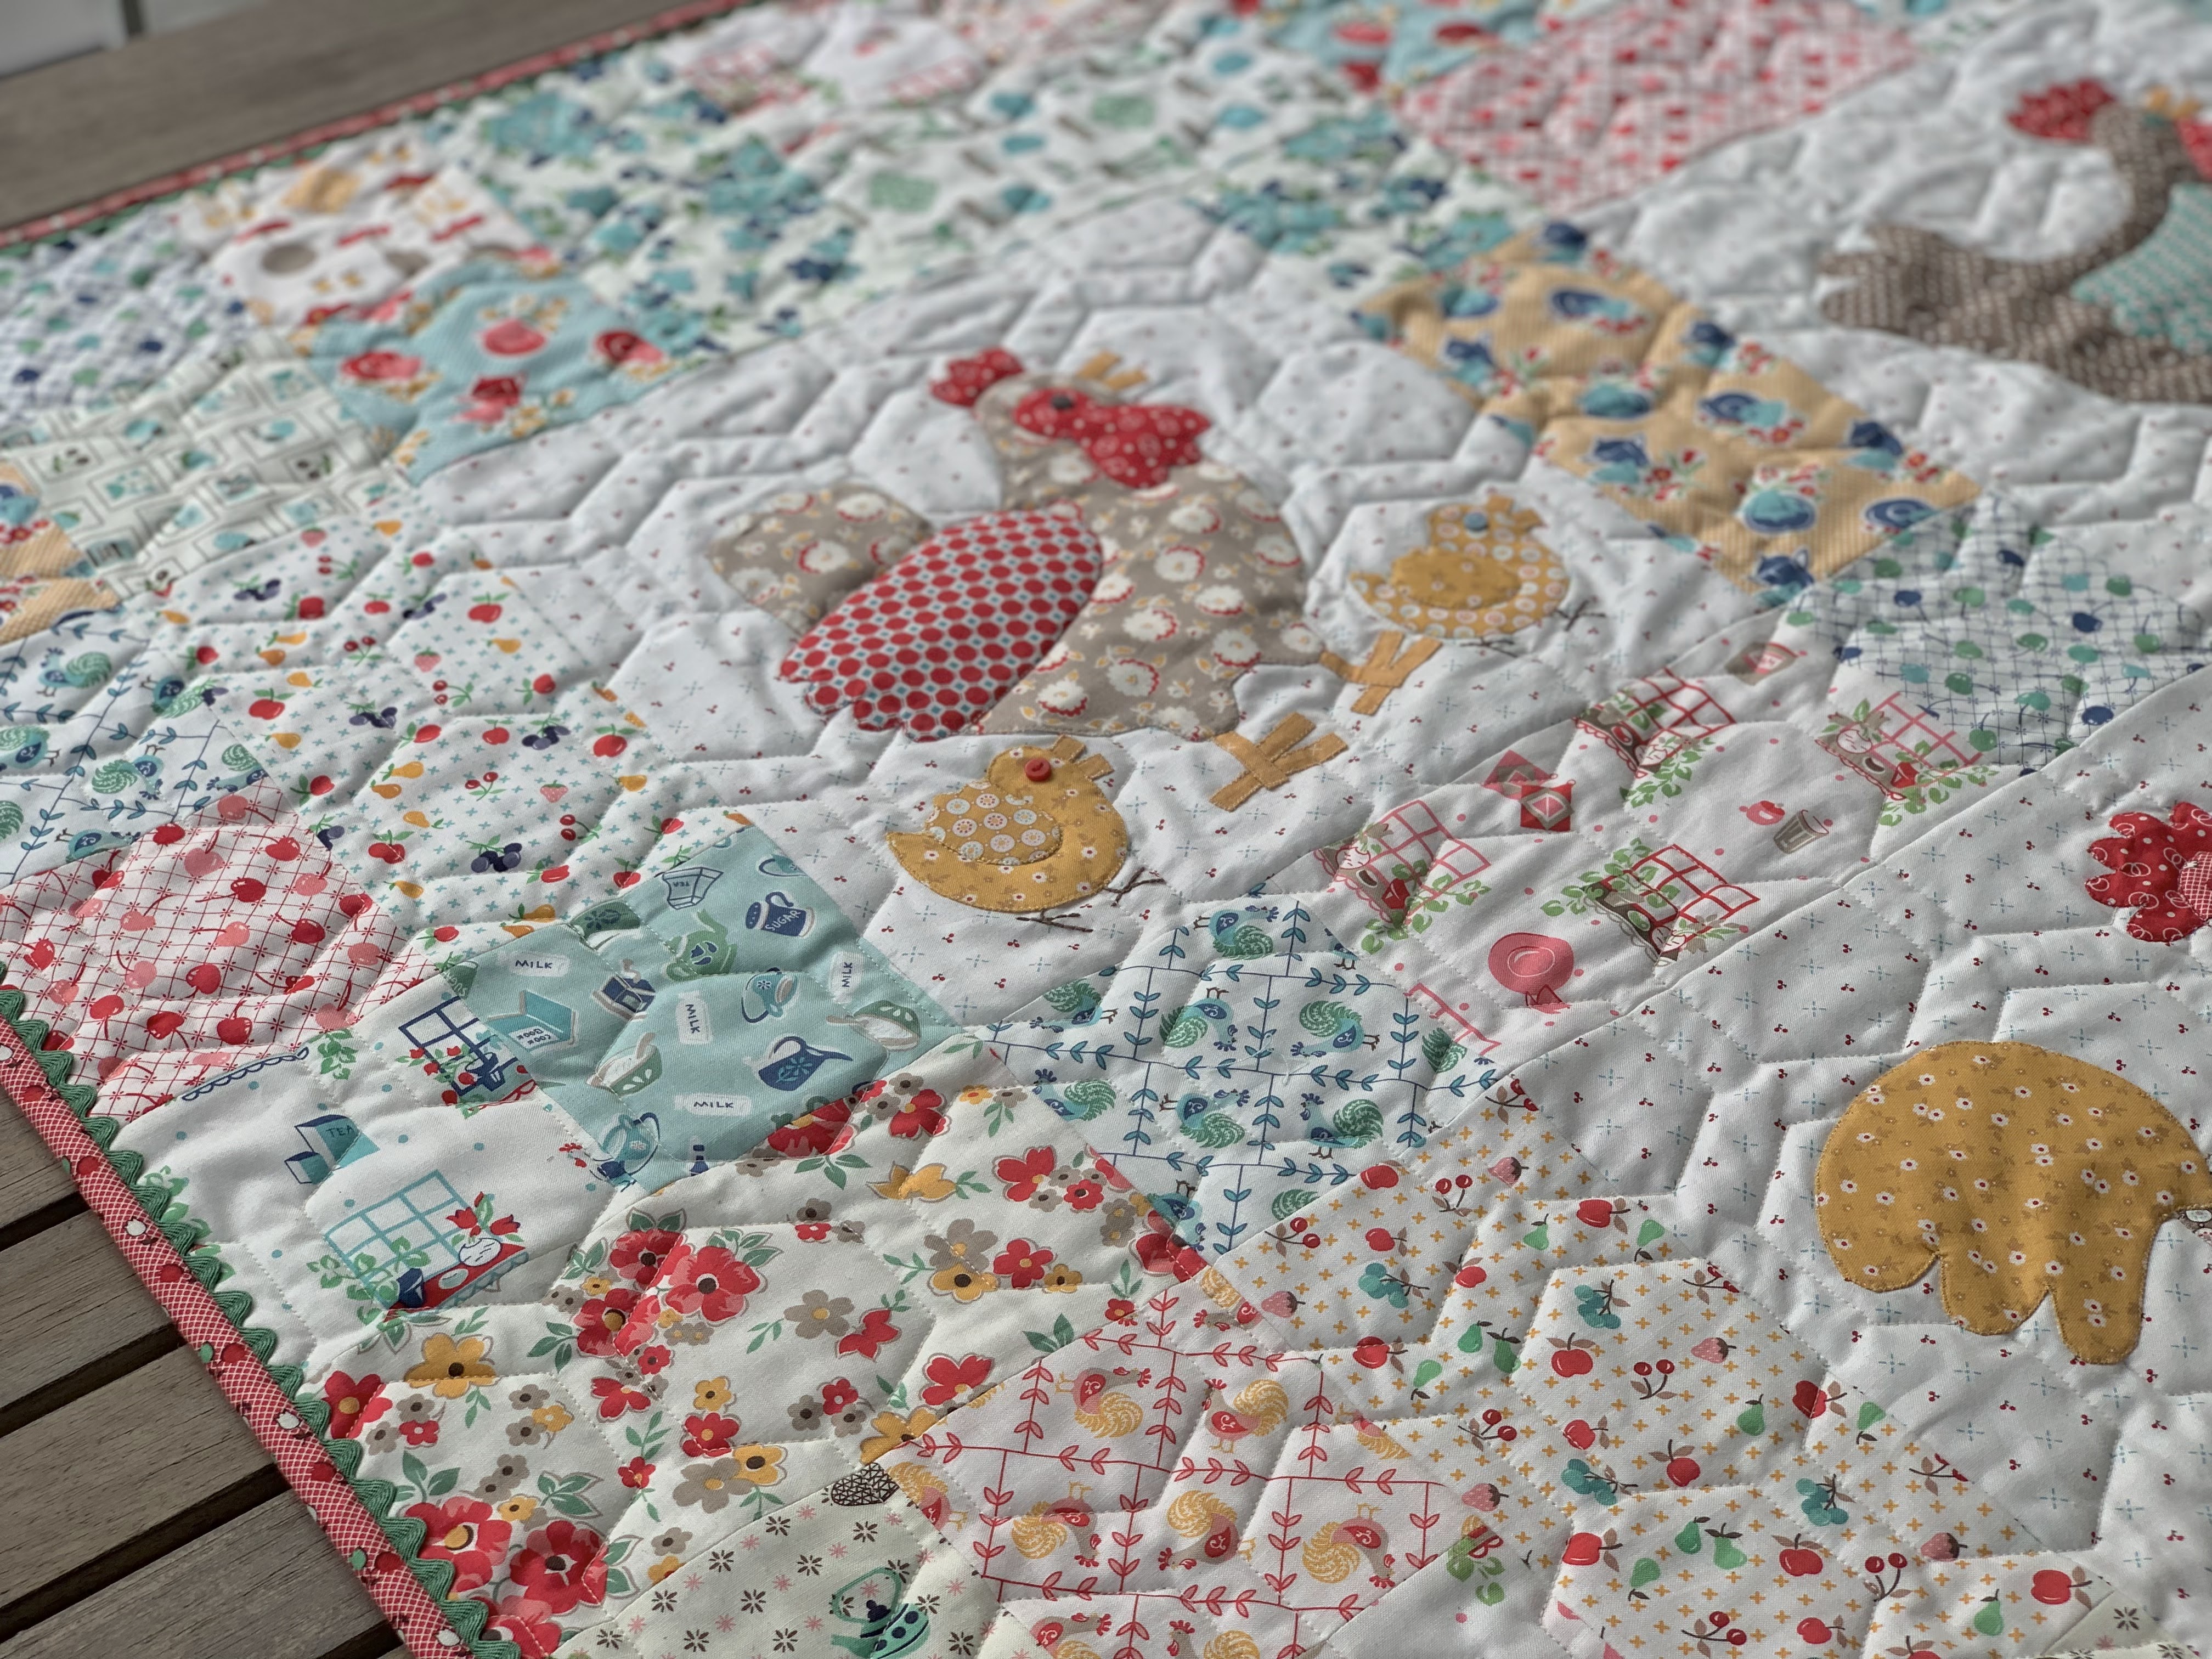
and you can see the beautiful quilting 
done by my friend Juli Stubbs.


Now for photos of the Chicken Salad Quilt!


Chicken Salad Quilt
64" x 80"


I'm so happy to have both quilts finished
and I am completely happy
with the way both turned out!

This sew along has been so fun
and I thank you all from the 
bottom of my heart for 
sewing along with me:)
I hope that each and every one of you
 have had a blast making your quilts!


Thanks again for joining me
and if you would like to 
see what's coming up next...
and watch my virtual spring quilt market:)

I go through and show you my 
next three collections and 
everything that goes along with them...


And several sneak peeks of
PRAIRIE
which is coming in July

Please do me a favor 
and let me know in the comments
 of my video if you like my new 
fabrics coming and my new notions...
and if you plan to join me
 for the next sew along:)
I'll chat with you later!
xx
Lori


Monday, May 2, 2022

Chicken Salad Sew Along - Week Twelve!!


"FLORENCE"


Hello again and happy Monday!!!
Welcome to week twelve of the 
"CHICKEN SALAD"
Sew Along!
Yes!!
I said week twelve:)

Join me here each week 
when I will be doing a tutorial
 for one of the 12 chicken blocks
 for the quilt.

Of course because we are sewing 
from all around the world  
we all have different time zones...
But I will be posting each Monday 
right here on my blog 
and you can follow my tutorials 
any time each week that 
 is convenient for you.


We are making the 
Chicken Salad Quilt
64" x 80"

*I'm going to say this each time because
 I feel it's important:
Please sew at your own speed ...
whenever your time allows 
so that you can enjoy 
each step of this sew along.
Quilting should be fun and not stressful:)
The schedule in the front of the 
sew along guide is simply the schedule 
to let you know which block tutorial
 that I am doing for that week.
If you are not able to do it that week
please remember that these tutorials
 will remain on my blog forever:)


And just as a reminder...
I am also using an additional 
Chicken Salad Quilt Kit 
to make a second quilt 
out of my Cook Book fabric 
using twelve 12" Farm Girl Blocks from my 
Farm Girl Vintage Book 
and my 
Farm Girl Vintage 2 Book.
Again, that means I am using TWO kits
that are identical.
It makes me sew happy to find out
that so many of you are making
 a second quilt along with me!


I'll talk about my chosen block for the 
COOK BOOK KITCHEN QUILT
  and show and tell mine as part of 
each weekly blog post 
each Monday here on my blog.

Last week I made my 
STRAWBERRY JAM
Farm Girl Block


Both quilts are made with my newest fabric
 collection called COOK BOOK...


If you are looking for a fabric kit...
 just do a quick google search for 
"Chicken Salad Quilt Kit"
to find shops who still have some left.


We are also using the
Chicken Salad
Sew Simple Shapes


I have already posted the
 post which details all of the supplies...
and all of the cutting and
 all about the sew along and how it works.

I have also given the link there 
for the free PDF Download 
of the Sew Along Guide

to read that post.


As per the sew along guide 
cutting instructions
 you should have everything for your
 FLORENCE Block 
 all cut and ready to go!


If you missed week one and the 
first introduction tutorial
 I have posted that for the  
Hattie Block 
on my YouTube channel.
to visit my channel and watch the 
tutorial and I hope that you love it!
Leave me a comment there and let me know:)

If you like what you see 
and my other videos there...
click on subscribe and click on the bell
 to be notified whenever
 I post another tutorial:)


Week Two we made 
PERCY

if you need to view week two:)


Week three we made
 PEARL

for week three:)


Week four we made
CORNELIUS

for week four 


Week Five we made 
HENRIETTA

for week five tutorial:)


Week Six we made 
EDNA

for that tutorial


Week Seven we made 
BEATRICE

for that tutorial


Week Eight we made 
PENNY
for that blog post


Week nine we made
PRUDENCE


Week ten we made 
HANK
for that blog post


Last week we made 
MRYTLE
for that blog post


Okay!
Let's get started making
FLORENCE and her baby chick!


Here is my FLORENCE Block
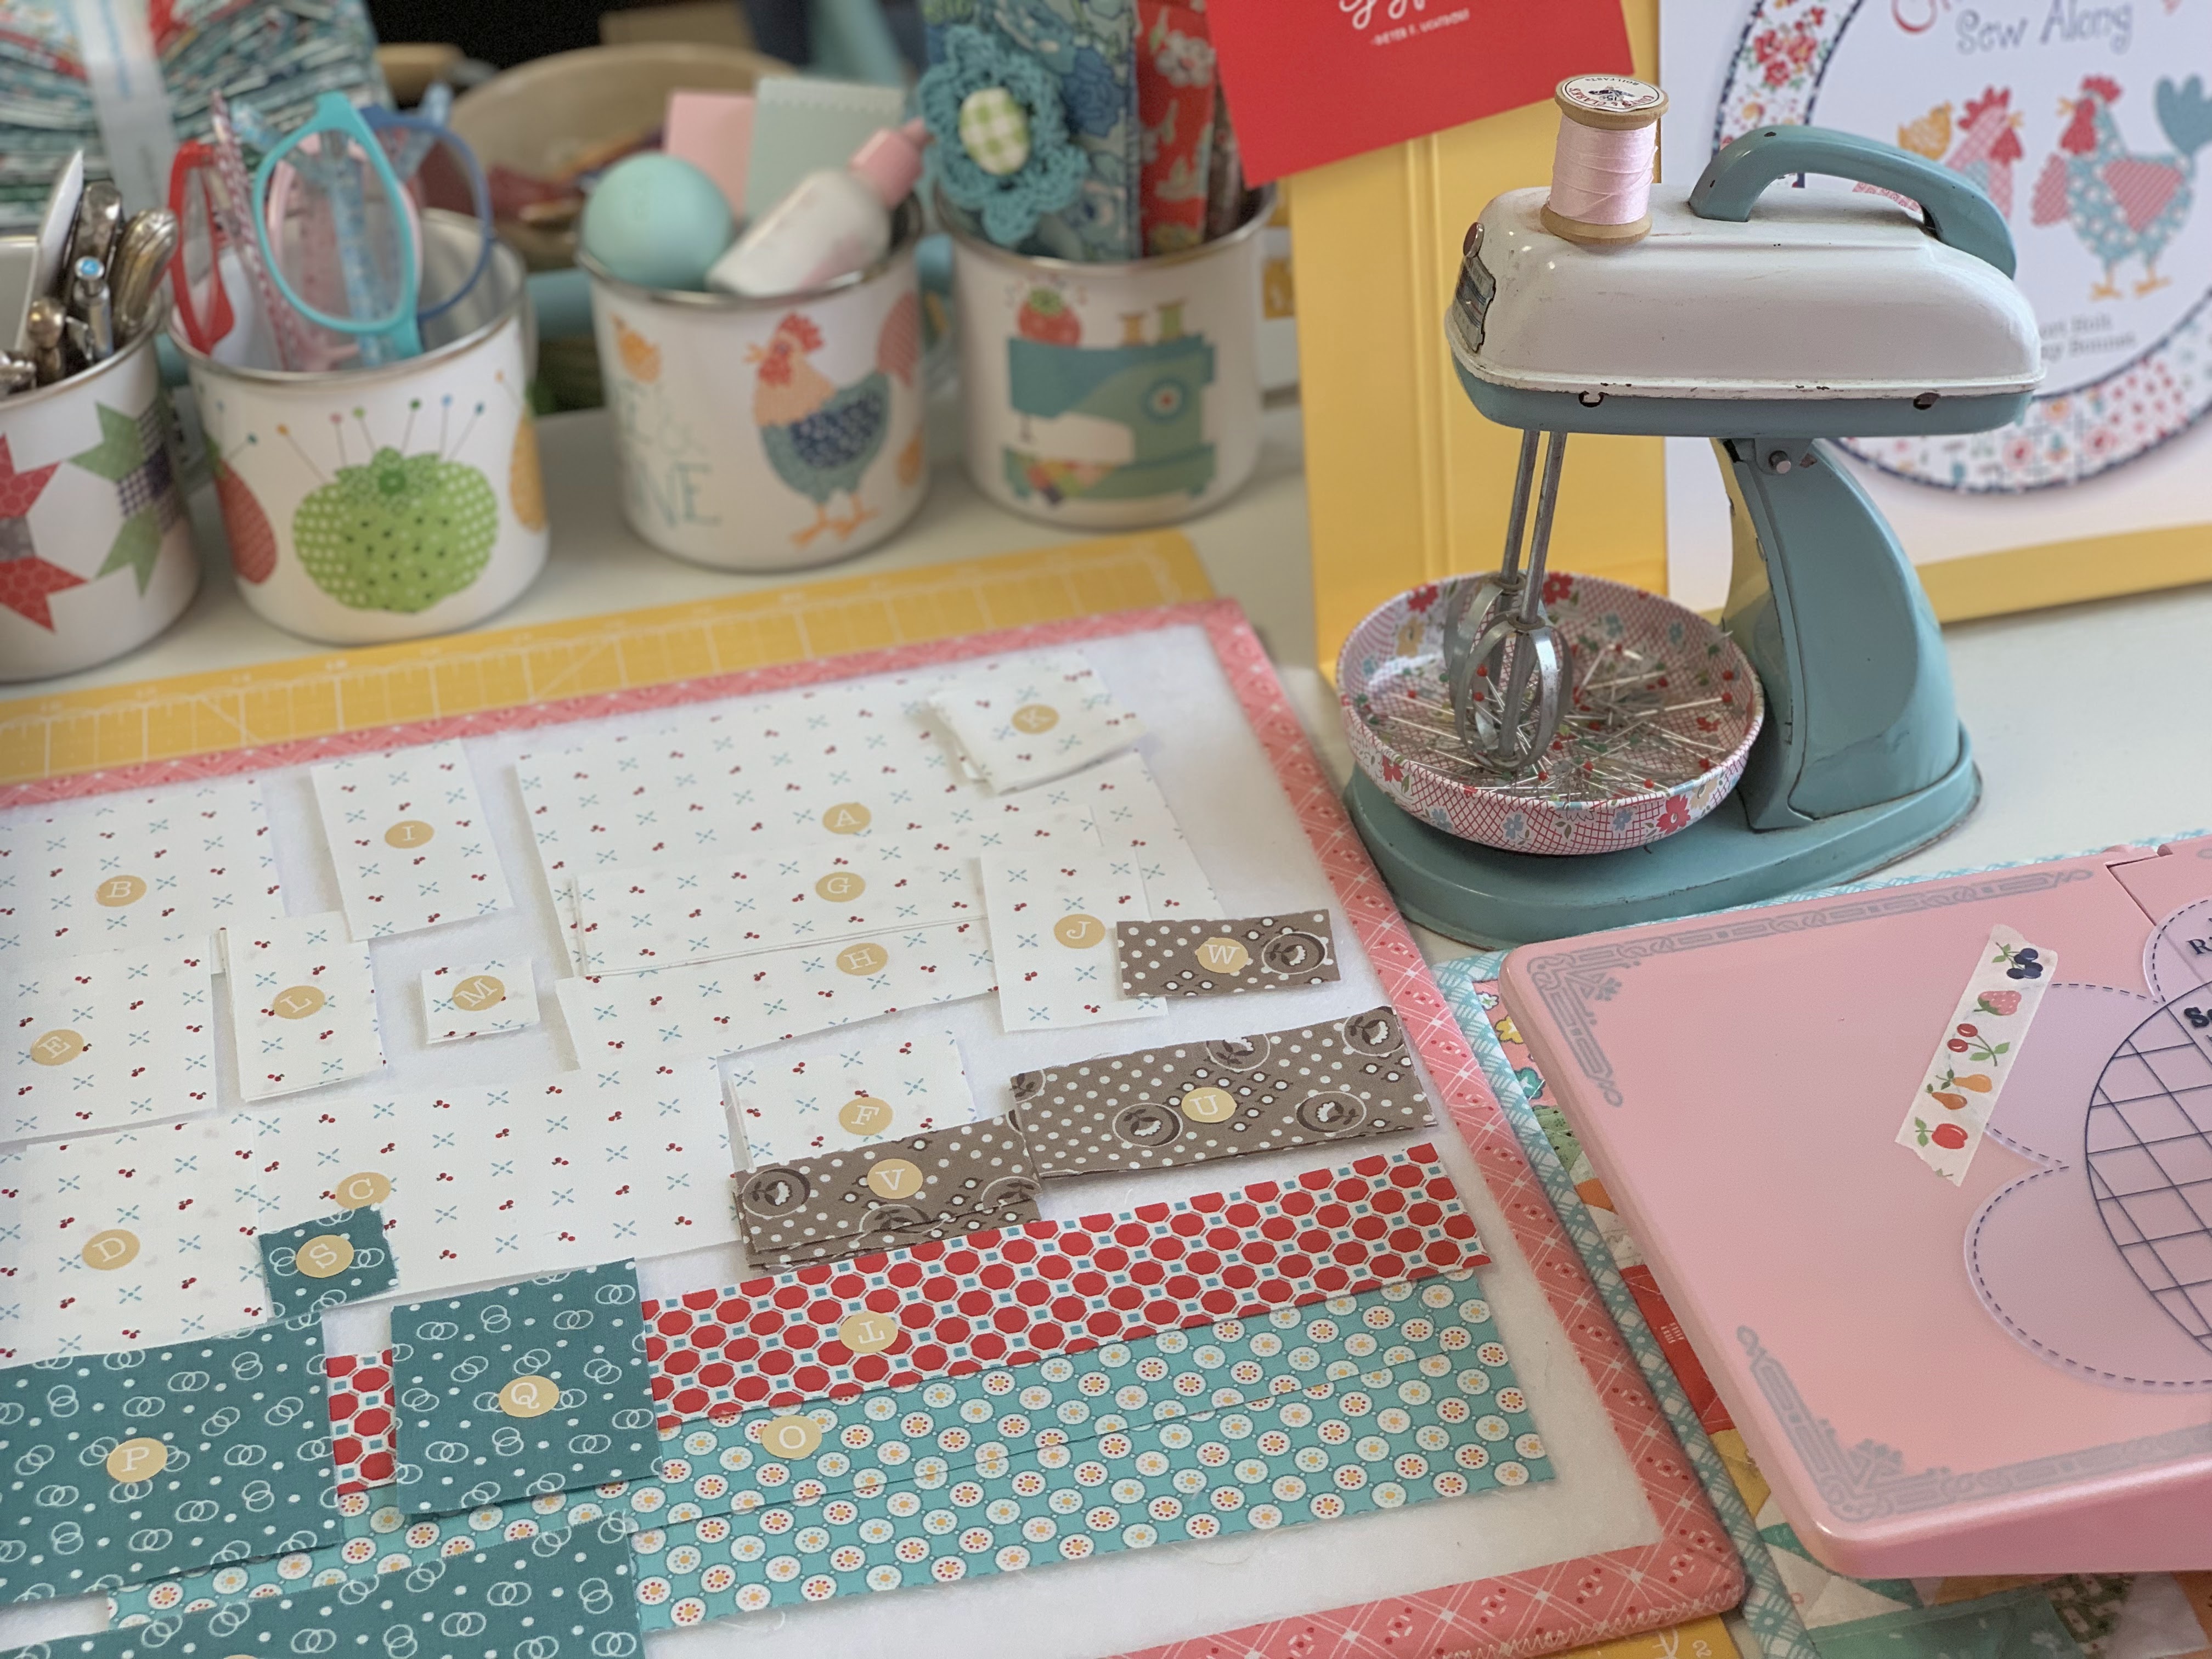
 all cut and ready to go!
I have also laid out the 
squares and rectangles for the border 
so that you can tell for sure 
which prints they are:)


Here is a list of the
  Chicken Salad 
Sew Simple Shapes 
needed for the 
FLORENCE Block:
 
1 - M-3
1 - M-4 (reversed) 
  2 - M-12  
 1 - M-15
1 - 23 (reversed)
1 - 24 (reversed
1 - M26 


You will also need to cut 
the background 13 1/2" x 13 1/2"
and your straight bias strips 
for the beaks and feet 5/8" wide 
as it says in the guide:)


I did manage to trace my M-4 reversed...


But for some reason I did not
 end up tracing my 
baby chick in reverse...
whoops:)


After sewing it's time to clip all of the 
cleavage and inner curves in the 
appliqués for Florence 
and her baby before 
turning and shaping.
I think my other wing was 
lost on the floor at this point lol


All turned...shaped...pressed
 and ready for pin basting:)


*The usual things to remember:*

1.Use your 12 1/2" Trim-It Ruler 
 when laying out your block so that 
it does not "grow" too large
and stays within the 12" square size.

2. When using the Sue Glue you only
 need a small dot about 1/4" 
in from the edge of applique.
"A dot is a lot"

3. Don't stress too much over 
making the chicken feet.
They are just feet and will not
 look the same or match each other.
They will not be perfect 
and that's good because they
 are not supposed to be.

4. Have fun building your chicken! 


Florence is looking for her 
baby chick who is apparently
 feeling a little independent:)
 Time to applique!!


Okay!
Now it's time to reveal which
of my 12" Farm Girl Blocks
 that I chose to make this week
 for my Cook Book Kitchen Quilt.

 I chose to make 
Hand Mixer Block
You can find the pattern on page 67
of my Farm Girl Vintage 2 Book.


 Sew cute!!


You can embroider yours like
 in the book instructions 
and like I usually do...
but for this quilt I thought it
would be fun to use my small
Vintage Trim in the COTTAGE
for the cord.
I un-picked a few stitches 
where the cord goes in the plug and mixer
to insert the trim ends.
I used my Easy Trace Light Box 
and traced the cord pattern 
from the book...
then placed small dots of glue 
onto the traced lines...
a few at a time and then pinned the 
trim onto the line and the glue.
I'll sew the cord onto the background 
and applique those two seams
 closed that I unpicked.


12" HAND MIXER BLOCK

Have fun each week
making your kitchen block!


I hope you enjoy week twelve
 of the Chicken Salad Sew Along:)


Thanks for joining me and
I'll be right back here on my blog
next Monday for the
"BIG FINISH"
where I'll show you my
Chicken Salad Quilt
all quilted!
I'll also show you my quilted  
Cook Book Kitchen Quilt 
 that I pieced 
with the Farm Girl Block
 from my Farm Girl Vintage Books!

I'll chat with you then:)
xx
Lori

***********************************************
This week I'm sharing another 
easy peasy family favorite recipe.
In cooler weather it pairs well with 
baked potatoes and green salad.
In warmer weather it goes well with
 potato or pasta salad and 
fresh corn on the cob.

BBQ CHICKEN BAKE

One whole chicken - cut up
1 cup celery - chopped
1 green pepper - diced 
1 onion - diced
3 Tablespoons Crisco
4 Tablespoons brown sugar
3 Tablespoons vinegar
1 1/4 cup ketchup
1 Tablespoon  mustard
4 Tablespoons Worcestershire Sauce
1/4 cup lemon juice
1 1/4 cups water
salt and pepper to taste

Preheat oven to 350* 
Using a large frying pan, 
brown all of the chicken pieces in Crisco.
Place chicken in casserole dish.
Place onion into frying pan with 
Crisco and saute.
Add all remaining ingredients 
into frying pan with onion, 
cover and simmer for 30 minutes.
Pour BBQ sauce over chicken and 
bake for 1 hour.
Leftovers make a great BBQ Chicken Sandwich:)
Enjoy!  


Related Posts with Thumbnails