Monday, February 15, 2016

BLOOM Sew Along - Week Five - Block Five!!

Today is week 5...YaY!


We get to start on the second row:)

if you are just 
getting started and need the
 free pattern
for the BLOOM quilt.


And...if you the
 BLOOM Sew Simple Shapes


Let's get started with Block Five:)


Choose your fabrics...
and grab your templates
A-1  A-2  A-9  A-10


Cut from BOTH fabric and Pellon:
2 - 3" squares for flowers
2 -  2" squares for centers
2 - 2" x 3" for large leaves
2 - 2" squares for small leaves

Cut long stem 5/8" x 6"
Cut small stem 5/8" x 5"
Cut background 9" square


Trace your shapes onto the Pellon...


Place onto the right side 
of your fabric and stitch.


Trim seam approximately 1/4" around stitching
and cut an "X" in the Pellon only.


Press your shapes after turning right side out like I showed you in 


Now prepare for appliqué:)
I did not press any creases
 in my background square.
I started by measuring in 2 3/4"
 from the left edge for the long stem...


And 2 1/2" from the right edge 
for the short stem.
Glue baste or pin them both into place.


Measure 1 1/2" down from the top for the large flower...


And 2 1/2" from the top for the small.
Baste the yellow centers on the flowers as well.


The large leaf is 1" from the left edge...


As well as the small leaf.


There is about 1/4" between the flower bottoms and the top of the leaves.
Glue baste or pin into place and appliqué!


After appliquéing...cut your border pieces.
This is before I trimmed my block to 8 1/2" square.


***TIP***
This photo is after I trimmed my block.
Notice that I started to appliqué my stems a
 little more than 1/4" up from the edge 
so that when I trim my block I do not trim off my stitching.
BUT...
if you do happen to trim off your stitching...
just make sure that you sew the 
bottom border on right away to 
protect your trimmed stem edges from unraveling:)


And your block 5 is complete!

Please use the hashtag
#BloomBlockFive
on your social media when posting...
we want to sew your progress
and fabric choices!

Until next week...
"BLOOM"
Where you're Planted!
xx
Lori


Monday, February 8, 2016

BLOOM Sew Along - Week Four - Block Four!!


Welcome to week four of the 
BLOOM Sew Along:)

We are making progress on our quilt!


I'm having so much fun playing with my 
Sew Simple Shapes...
are you?

***FYI***
For those of you who are
 still needing a set...


For those of you who are
 already sewing along with us...
let's get started on block four.


Choose your fabrics...
(I'm using Calico Days:)


And prepare by cutting
 BOTH from fabric and Pellon:
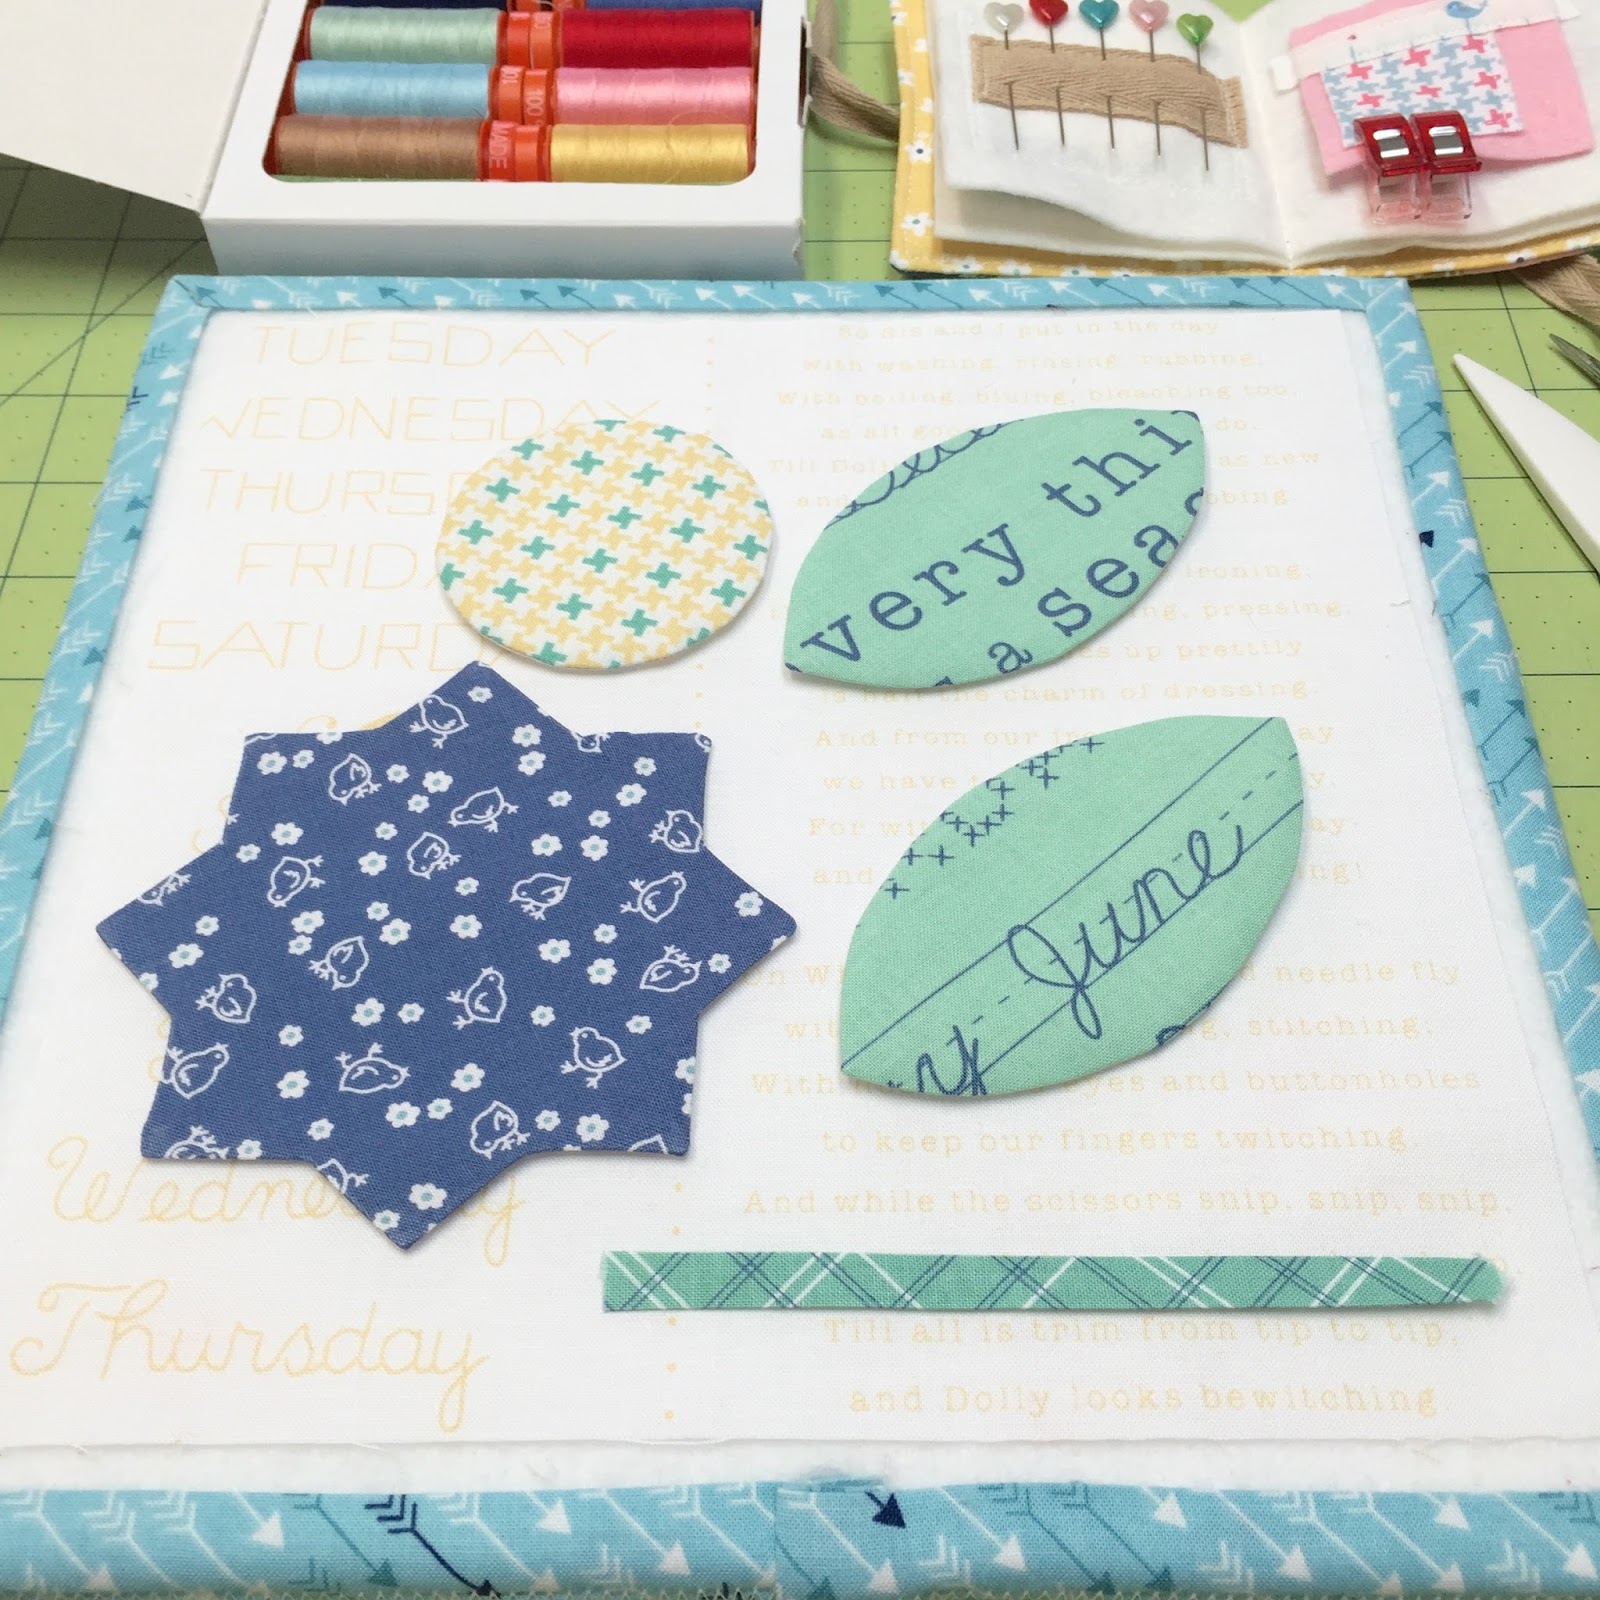
5" square for the flower
3" square for the circle
Two - 2 1/2" x 4 1/2"

From fabric only-
 Cut a 5/8" x 5" strip for the stem
9" square from the background


Trace your shapes onto the Pellon.


Sew and trim:)


I like to trim a little off of
 my points by about this much 
just to reduce a little bit of bulk.


This is the first shape that we have worked with so far that needs clipping.
If you don't clip the "cleavage" areas your flower will not lie flat when turned right side out.
Use a sharp pair of small embroidery scissors and make one clip.


***TIP***
Most people only want to clip this far...
but take note that you want to clip 
to the thread but not into it...
don't be afraid!
As long as keep the
 thread intact it will be fine:)


Cut an X in the Pellon for turning.


See how flat my flower is
 after turning and pressing because
 I clipped those cleavage areas right to the thread:)


Turn and press all of your pieces...
and prepare the stem how I showed you in


Press your background fabric in half one way
 and center your stem with
 the bottom edges even.
Pin or glue baste.


Center the top of the flower...
 lining up the tip with the pressed fold...
and measure 1 1/4" down from the top.


The leaves are also placed 1 1/4" from the side edge ...


And 1 1/4" up from the bottom...easy peasy!


Place the circle in the center by measuring just
 a smidge under 1" from the points of your flower.


Now that all of your pieces are basted...


You are ready for appliqué:)


When completed...
press from the back and trim up to 8 1/2" square.

Cut your border pieces...


and sew your block together!

I'm really happy with how these blocks are turning out...
I love appliqué!

Thank you so much for all of your 
kind comments here and on 

I love hearing from you...
especially things like
 "I've always been afraid to appliqué
 and now I love it!"

YaY!!!

When you post this block...
use the hashstag
#BloomBlockFour

See you next week and...
"BLOOM"
Where You're Planted!
xx
Lori

P.S. Don't forget to visit the 
Riley Blake Blog too!


Monday, February 1, 2016

BLOOM Sew Along Week Three - Block Three!!


Today we are already into week three of the 
BLOOM Sew Along:)


After next week we will be able sew the first row of
 the BLOOM quilt together:)

to download my free pattern


I hope you are having fun playing with my
 BLOOM Sew Simple Shapes
I know I am!

to get a set of your own


Let's get started!!!


Here are my prints from
that I used for the appliqués in block 3.


The Sew Simple Shapes that we are using:
A-5  A-7  A-15
You will need to cut from BOTH fabric and Pellon:
Cut 1 red and 1 pink 3" x 4" for flowers 
Cut 2 yellow 2" squares for the flower centers
Cut 5 green 2" squares for the leaves
(3 of one and 2 of the other)
Cut 1 - 5/8" x 13" strip for the stems 
Cut your background square 9"...
it's important to use your ruler lines and make sure
that your lines on the fabric are straight when cutting.


Trace...sew and trim your seam allowances.
Carefully cut the X for turning into the Pellon only.


Turn your pieces right side out.
Shape your piece as close to your original shape 
as possible with the help of the Clover turning tool.

***TIP*** 
When pushing out the points...
make sure to put the tip under the fabric seam allowance and not on the Pellon.
The Pellon needs to be thin for good reason...
but that means it is delicate.
Remember to push out on the 
fabric only and you will be fine:)


After you have turned...press them from the fabric side only.
Do your best to get a point on these small pieces...
some of them will turn out better than others but thats okay!


Now for the basting.
I did not press my background block at all for block three.
What I did was measure across the bottom and put a pin 3" from each end.
This is the placement for the stems:)


After preparing your stems...
cut them into two pieces... 7" and 5" and baste.
Use the straight lines on your background fabric
to make sure that they are straight.
I placed these stems 
even with the bottom edge of the background fabric.


Place the red flower 1 1/4" from the top and also the side.
(top two photos)
The pink flower is placed 
1 1/4" from the side and 2 3/4" from the top.
(bottom left photo)
The centers are 7/8" from the sides and it's pretty easy
 to eyeball them centered 1/2" from the top and bottom:)


Now let's start with the leaves on the left...


Measure 2" up from the bottom of the stem
and place your first leaf.
Notice that my ruler line is straight on the stem...
and the bottom edge of the leaf.

For the next leaf placement...
simply measure up 2" again from the leaf below it 
and place the bottom straight with the ruler as well:)
(top right photo)

Place the remaining leaf on the other side 
exactly centered between the first two  
by measuring 3" up from the bottom edge.

For the other set of two leaves on the pink flower...
Measure 1 1/2" up from the bottom on the left side 
and 2 1/2" up from the bottom for the right side.


YaY! 
All basted and ready for appliqué!!!


Use your favorite method...
I'm going to hand appliqué 
just like my first two blocks:)


When your appliqué is complete...
Press from the back of your block only
 to protect you appliqué shapes.

Trim up your block to 8 1/2" square 
and cut your scrappy block borders:)


Sew it together...take a photo...
and post it on your blog, facebook and/or

Use the hashtag
#BloomBlockThree
to show off your cute block!!!


I love appliqué made easy ...don't you?

Until next week...
"BLOOM"
Where you're Planted!
xx
Lori


Related Posts with Thumbnails