Showing posts sorted by relevance for query furrows. Sort by date Show all posts

Friday, July 3, 2015

Farm Girl Friday - Week Ten! ...


Good morning!
It's time for another episode of 
Farm Girl Fridays!

Today we are talking about my 
Gingham Block

This was one of the 
very first blocks to design
for the book…
gingham is classic farm girl style
and you all know how much I love my gingham:)

Someday I'll be making a big quilt 
just from my gingham blocks
but for right now…
I'm happy with my gingham runner!


I love how it looks on my table.
I made the centerpieces by painting 
4 large tomato sauce cans and 
then wrapping them in burlap and lace.
I put a vintage milk bottle in each can
and put daisies in each one.
A simple farm girl style project!


Instructions for my Gingham block
are on page 36 of my book
Farm Girl Vintage
If you want to join our sew along
to grab a copy and get started!


I decided to make a cute little project
starting with the 12" Gingham block:)

A tip about choosing fabric for this block
is that you need to make sure that 
 there is plenty of contrast between
the two colors…
otherwise you will lose the gingham look:)


I started out by cutting 
the squares for the block
and then cut a few more to add an extra row
Making it a 14" block instead...
because I wanted to make a pillow and 
I already had a pillow form that size:)
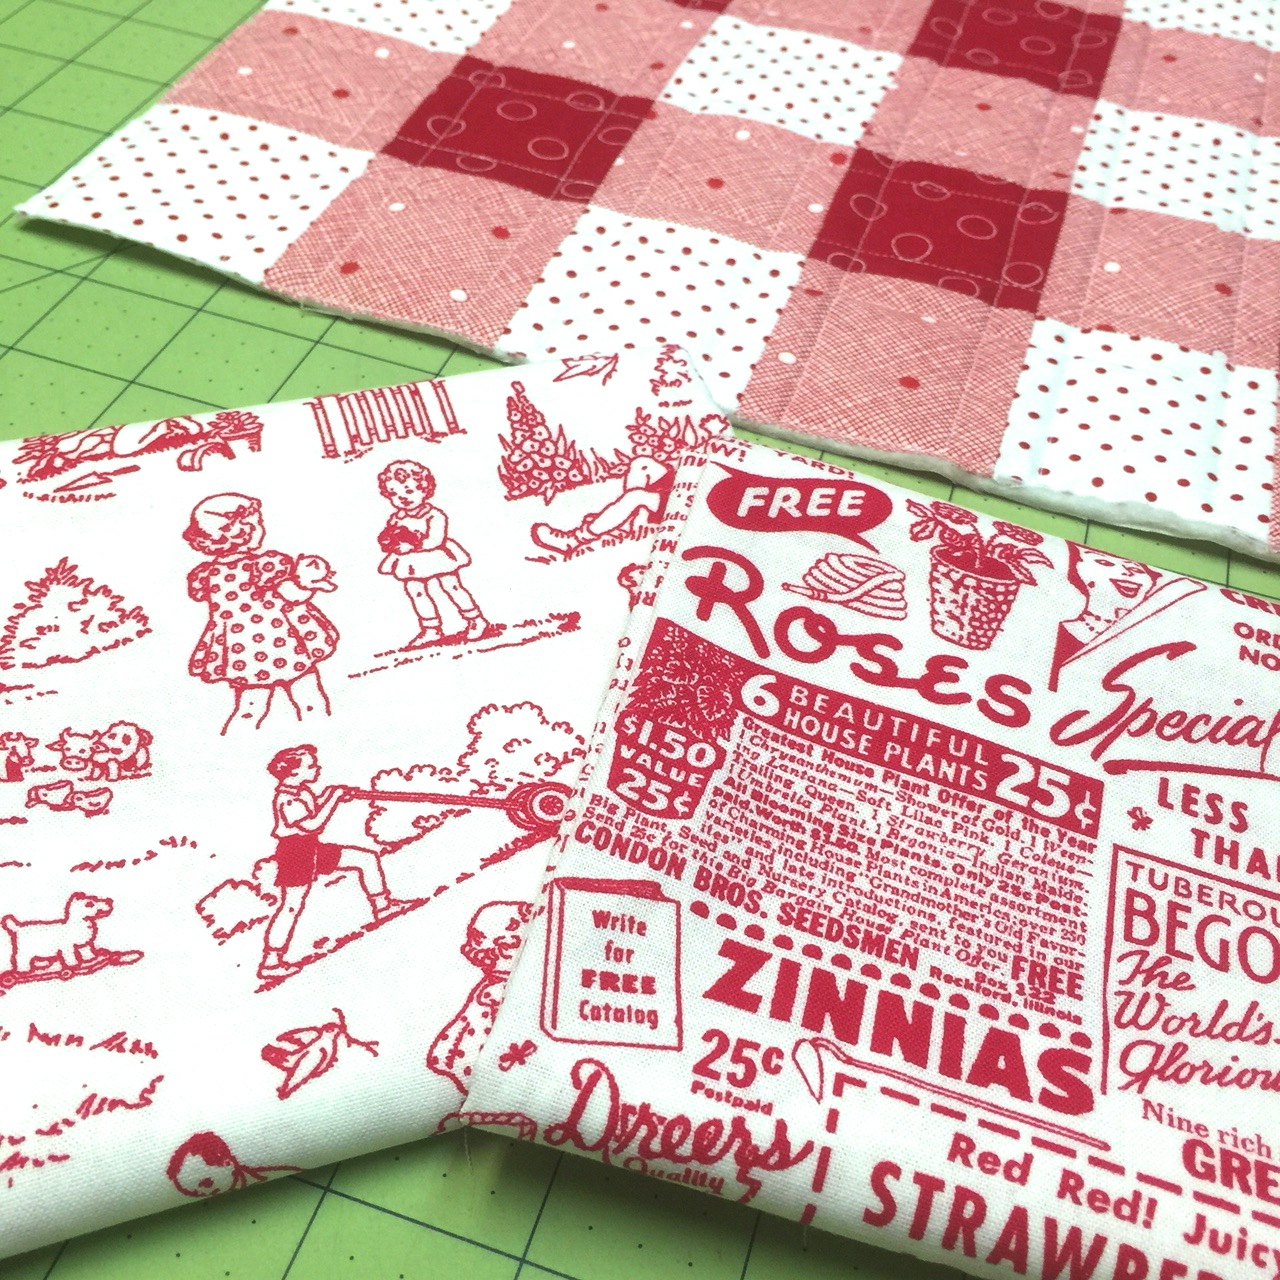


After quilting…
I chose these two cute prints by my friend 
Pam's Pam Kitty Garden Collection
for the envelope pillow back.


I often use this method for the back of my pillows because
its easy to take the pillow form out


And turn them into wall art!
These photos are from my book 
and it includes instructions on 
exactly how I do the back of my pillows:)


I chose to use red for the binding.
I think it finished super cute and
 was super fast and simple to make!


I can also use it as a 
cute little table topper 


in my farm girl kitchen...


Or insert the pillow form and 
have a super cute pillow!


Every farm girl kitchen 
should have a gingham pillow:)


Next farm girl block 
for this week is on page 35 and is my 
Furrows Block
Another classic and super simple one.
I chose to make scrappy flying geese
and name the block Furrows
to represent the look of a pasture after
 it's just been plowed and ready for planting!


Last night I decided to whip up a few 12" Furrows blocks.
I grabbed my 3 1/2" scrappy stash basket
and quickly cut some geese:)


Chain pieced them...


And soon they were ready to be sewn into
Furrows
(background is Swiss Dots by Riley Blake in Navy)


I made 9 blocks and laid them out on the floor
for placement auditions.
Each block represents a plowed pasture.
I turned each block a different direction and 
now I have 9 scrappy happy acres 
plowed and ready for planting!

I could easily add more blocks to this quilt
but I just may stop here because a 
36" square quilt would be a super cute table topper!


Thanks for joining me for week ten
of my Farm Girl Fridays Sew Along...


to see the schedule and to
 visit this weeks guest bloggers!

Now go put on some 
gingham and plow your fields!
xx
Lori


Wednesday, September 4, 2013

The Quilty Barn Along - Barn 12 and Easy Flying Geese and "Furrows" Block Tutorial!...


Good morning!
I'm off to a bit of a late start but today it's time for the 

This is #12 and the last block for the first quilty barn quilt!
Can you believe it?
Don't worry...
we still have a few more quilty silo barns to make for the second quilt:)


For this last red barn...
I chose to design a block representing furrowed fields:)


I used my easy flying geese method to make 3 calico furrowed rows...
the block is called 
"Furrows" of course!


It's a perfect companion to my
Vintagey Farm Girl Tractor 
block for the quilt label:)

(I am working on the embroidery for 
the steering wheel and the words right now!)


Okay...
I have showed this method many times before...
but I'm showing you again!
This is how to make the flying geese for the furrow block.

You will need to cut:
6 - 3 3/4" squares for the background
6 - 3 1/4" squares for the geese

(This will make 24 little geese...
you will only need 18 for the block)


I used a 1/2" x 6" Omnigrid ruler to mark stitching lines...
2 lines diagonally down the center...
1/2" apart.
to see my short YouTube video about this ruler:)


Mark both directions...


like this.


Now cut this marked square in half...
(measure in 1 7/8")


and in half again so that you have 4 - 1 7/8" squares.


Repeat for remaining 5 background squares....
4 small marked squares for each large "goose" square!


Lay the first one on top of a goose square (right sides together)
and align corners and sides perfectly.

Stitch directly on the marked line...
add another square and align on the bottom corner and continue stitching.
(squares will overlap in the center, just make sure to match marked lines)


Now stitch on the remaining marked line.
Notice that I chain stitched all six to save time and thread:)


When all marked lines are sewn...
cut down the center like this.


Press towards the little background triangles...
you now have 12 segments shaped like a heart...
cute huh?


Now you can sew one remaining small square to each segment...
(stitch on both marked lines again)


Cut apart...


Press and trim bitty triangles...


off the seam allowances:)


Lay out your furrows block onto your design board.
I used one of each color in each row...


leaving me with one leftover of each color:)


I sewed mine together side by side like this...
Until I had 6 rows of 3.


Using a tailors awl will help keep your seams lined up 
when sewing these tiny geese together!


Press the side by side seams open for less bulk.


Now sew the six rows on top of each other...


and press these seams up and away from the points like this.


"Furrows"
6 1/2" unfinished


Sew your red strips around it for the side of the barn...


And build your barn!


Quilty Barn #12...


Hangin' out with Quilty Barn #11:)

Next Quilty Barn post you will see my quilt
 all together and ready to be quilted!

Have a barn buildin' kind of day!
xx
Lori


P.S. Later I'll show you what I made
 out of my 6 little leftover geese:)

Waste not...want not!


Related Posts with Thumbnails