

I love pincushions and as
far as I'm concerned…
I can never have too many:)

I thought it would
be fun to show you
a few things that you can
make with some of my
6" Farm Girl blocks…

so tonight I'm showing you the
Farm Girl Pincushion
that I just made.
Ready - Set - Sew!

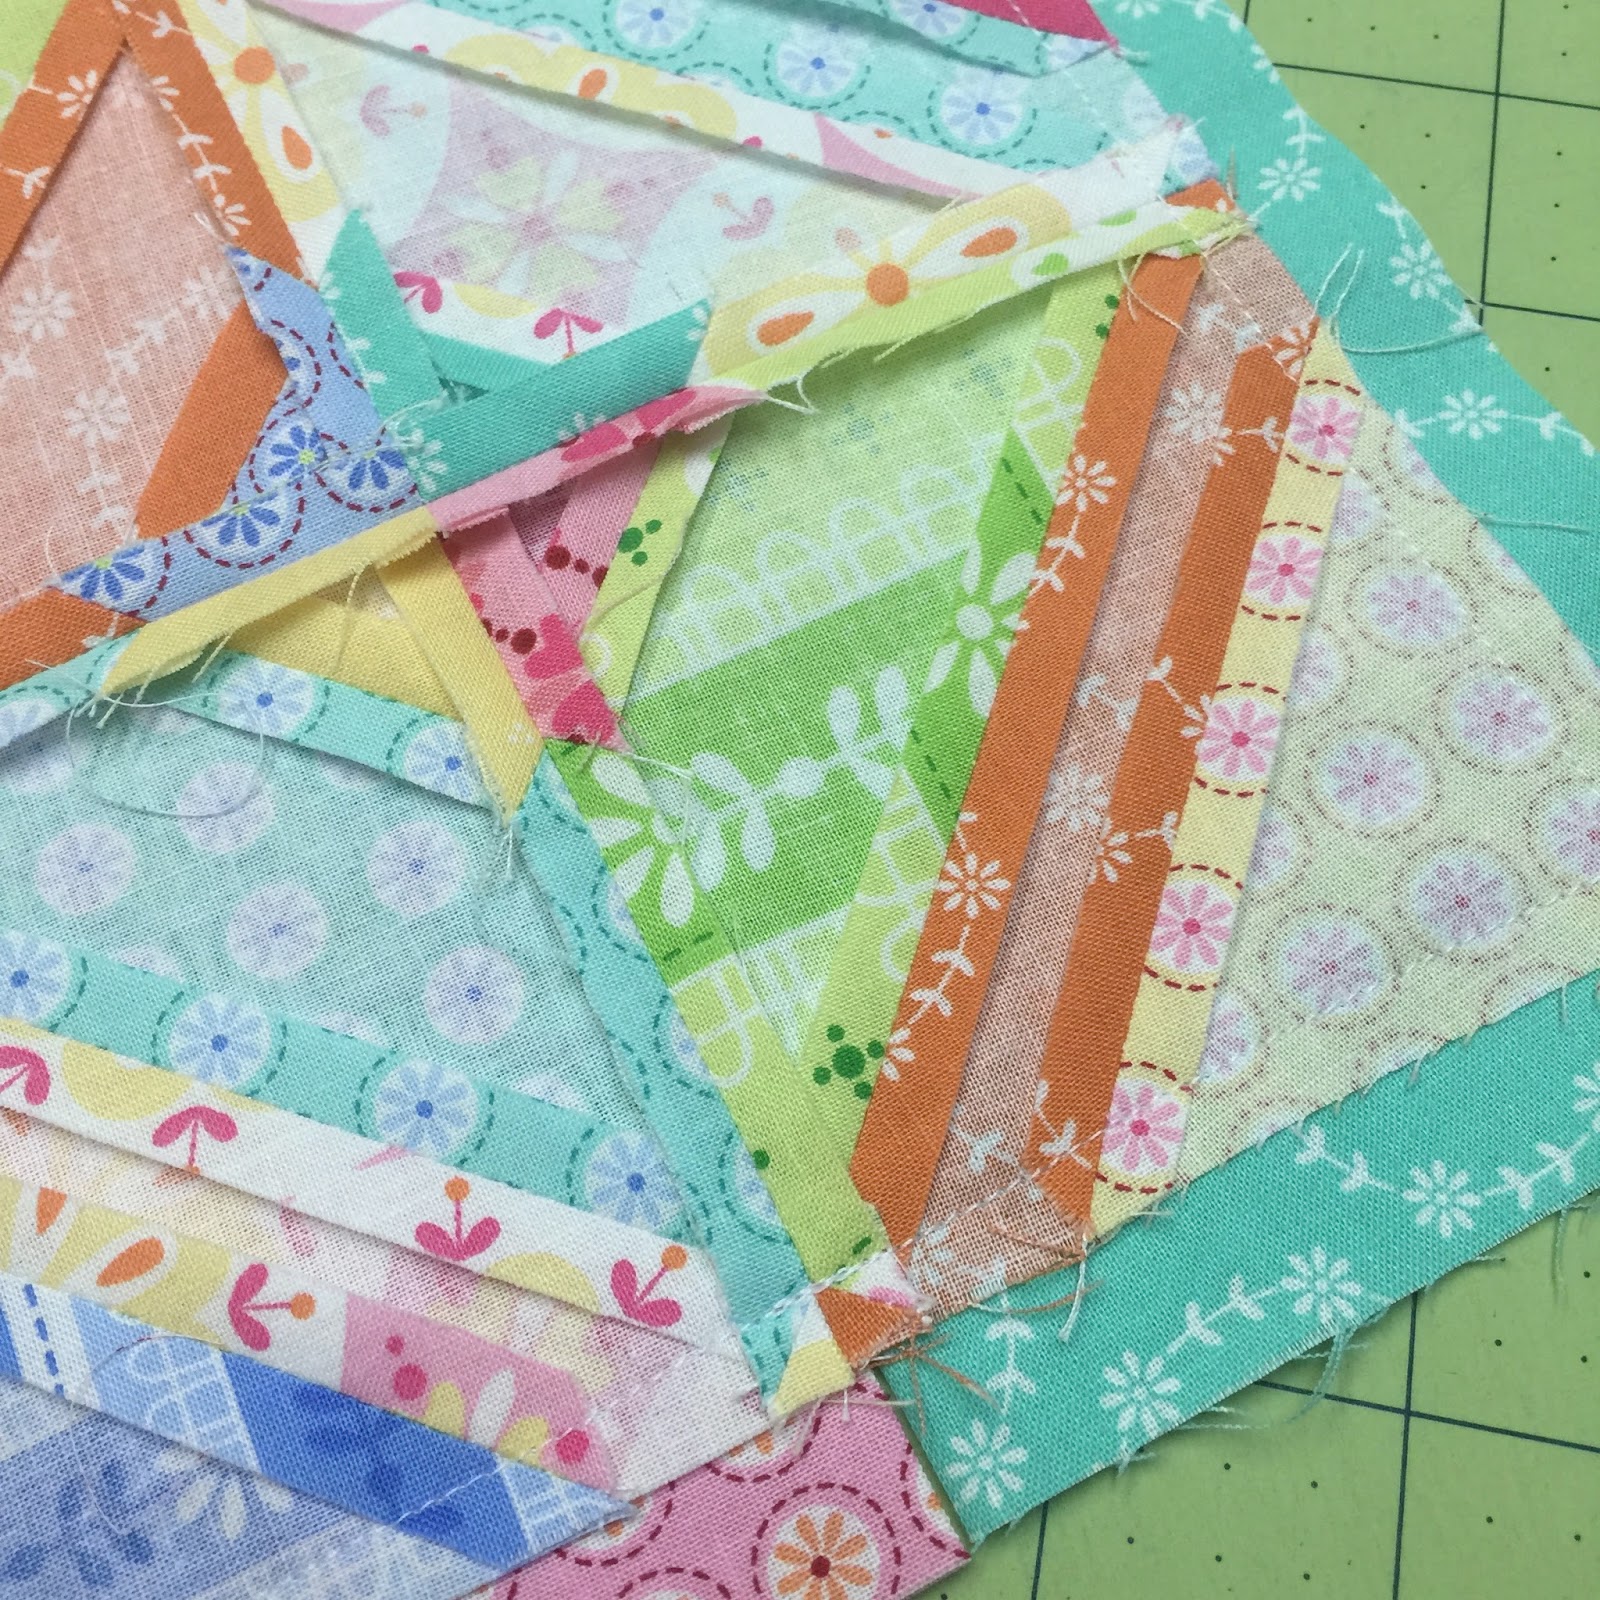
First…You need to make a 6" Farm Girl block:)
This one happens to be Apronstrings…

from page 8 of my book
I chose to use this block
because we are
making it this week
on our first

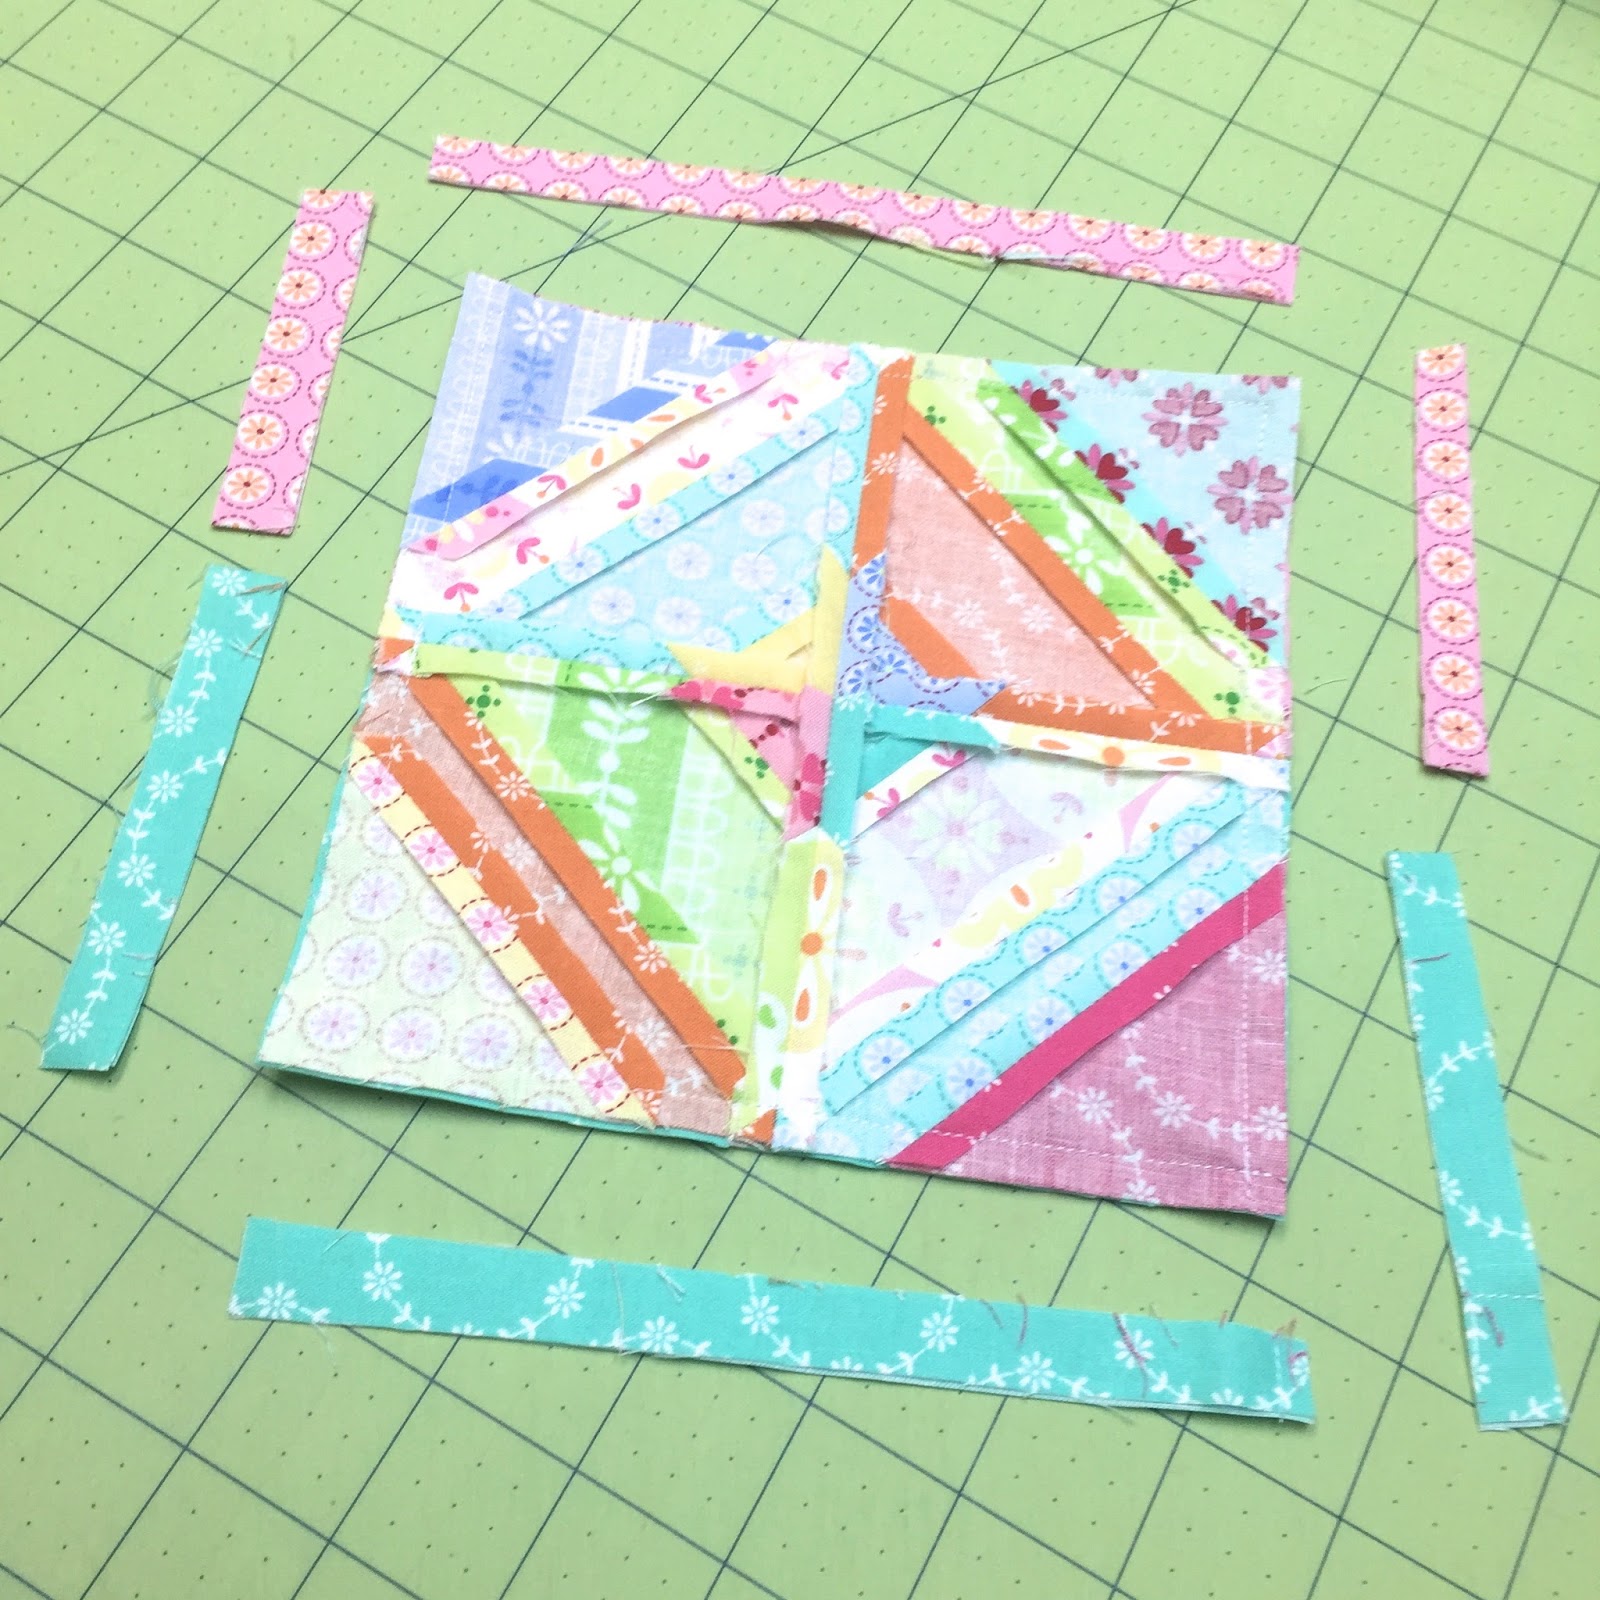
After you have sewn your block…
Cut 2 -7 1/2 squares
to use for the back of your pincushion.
(I used 2 different fabrics, but they can be the same)

Fold them in half with
wrong sides together like this…
and press.

Now place them together
with folds towards the center...
and place block right side down
in the center.
Make sure the center seams of block
line up with the folds where they
meet in the middle like this.

Pin into place.

This is what the back looks like.
Stitch 1/4"all the way around
the edge of your block…
and backstitch where the folds meet
on the back to secure nicely.

This is what the back looks like
after the stitching.
Okay…now trim
backing fabric edges even with block.
DO NOT
turn right side out yet.

Take a small ruler and measure in
1" on the corners.

Mark a line like this...

On all four corners of the back...

As well as the front.

Pinch corners up together like this
so that your marked line is straight...

and the seam allowances are opposite.

Stitch across on marked lines…
several times to secure:)
(the back lines should line up with
the front lines before stitching)

Trim off excess leaving about 1/4" seam allowance.

Your corners will look like this…
super cute…right?

Okay…
after you have trimmed
all 4 corners…
turn it right side out like this:)

This is what the back
or I guess I should say
"bottom"
now looks like.

I love how the corners are
squared up nice and neatly!

Now for the stuffing:)

I just started to sew
a small whip stitch
as I went along.

I stuffed it firmly
especially in the corners…
but I left a little room
for the button in the center.

I chose a cute 1" aqua flower button.
I used Perle Cotton #5
for strength and a doll needle
because they are super long!
(these are from Hobby Lobby)

Then I chose a yellow button for the back
and double threaded my needle …
and knotted the end.
I inserted needle into one of the holes
making sure the button was exactly centered.

I came up to the front and into the bottom
of the aqua button and back down
into the other buttonhole.
Make sure it is centered on top as well.

Then I came back down into the
other hole of the yellow button like this.

Then I cut off my needle so that
I could hand tie a knot.
I pushed down in the center
before tying it off securely
several times….

And trimmed off the ends like this.

You can see the button goes down
from the side view:)

And there you have it!
A pincushion perfect for any Farm Girl:)

I loaded mine up with pins

And put it on a vintagey stand
that I made with a thrifted
square glass dish and
a short glass candle holder.

I love the way that it turned out
using my Apronstrings block…
and I can think of several other of
my Farm Girl blocks that would make
a fun pincushion as well!
I'll see you again
on Friday morning…YeeHaw!
xx
Lori

36 comments:
It's so adorable Lori, thanks for the great tutorial :) These will make great gifts!
Very pretty...love it. Thanks for sharing.
I think this is a must make for the Farm Girl Vintage Sew Along. I'm all ready for Farm Girl Friday's and this pretty pincushion will make the perfect addition to my farm supplies : )
2 more sleeps!!! Sew excited!!!
Ooh think I will make this today as a warm up project good excuse to get sewing today. Can't wait for us to get going - moving house on Tuesday but have already warned my husband I will be sewing on Friday - Been apart from my sewing machine for 6 months as moved back from the Middle East to UK. Can;'t wait to be reunited with all my sewing goodies (of course had to get al few replacements in the meantime)
Shauna
Love this method for making the pincushion. This is so cute, and now I can put my extra sewn pieces to good use! Thank you!
That is sew cute! Perhaps I need to make a few as gifts :)
What a wonderful idea! I think this will become my favorite pincushion. I like to use one for when I'm binding. I will 'load' up about 10 sewing needles and have them ready on my pincushion, before I start my binding.
Love this!
Perfect pin cushion! Great tutorial!
I'm so excited about the sew along. Thanks for the tutorial, that might be today's project. I peeked that little blue caddy with the spool of thread. What a perfect little thing for hand sewing and binding.
Thanks for the step-by-step! BTW, your nails look nice!
Oh my goodness! What a cute pin cushion idea! I collect them as well!
Your tutorial is really great to follow. And I really likevyourvidea for the stand. You're so creative! You're forever my hero!
Love Love love...love all the things you do. :) Thanks for sharing with us!
Great tutorial! I have a six-inch haystack block. I'm going to give this a shot today!!
So cute! Thanks for the tute, will have to give this one a go! :)
I just love it ~ Thanks for the tutorial. Can't wait till tomorrow for the "Farm Girl Friday"
Have a wonderful day!!!
What a super sized and beautiful pin cushion, plus a great photo tutorial - thank you :)
How beautiful and practical! Thanks for the tutorial!
Thanks, Lori. Yep, never too many pincushions!!
There is nothing left to be said, I too like everything about the pincushion including the stand. Thank you for the tutorial.
Blessings
Tonia
What a fabulous design! Just made my first pincushion this week, wish I'd thought to do the corners like that!
Dee-lightful!! I'm so excited about tomorrow! It's finally here!
Love Love Love Love Love Love Love! My book arrived yesterday, can't wait to get started!
How clever is that, sew simple when you know how its done, thank you for sharing. Sharon x
Cute project and a wonderful tutorial. Thanks for sharing.
That is adorable!
Thanks for the tutorial! Love the block you used for the pincushion!
though at this point in my life quilting is difficult to find time for, I get so inspired by your tutorials, I love everything about them, your home, you nails, your fabric, you kids, your colors, your personality...EVERYTHING!
I am going to make this....
but in the end, I know it will end up being a cat toy. :-P
OK, I gotta tell you that this is by far the nicest quilt book I have ever owned! Everything about it is great from the spiral binding to the wonderful pics and perfect staging in every photo. Thank you!!
Can't wait to start...let the cutting begin!
Please, I'm not sure how to post squares to Facebook. Will you share that information with us?
I've fallen, hook, line and sinker for your lovely book, quilts, and the pincushion, too! I was even on the hunt for a cool plate and candleholder to glue together! I found a neat vintage piece, a little larger than an ash tray, at my local Goodwill, and then a generic glass candleholder at Dollar Tree. You've inspired me! I'm SOOOO looking forward to working on this quilt on Fridays!
I have the first block done but have no idea how to show it to you. I do have a Facebook page but don't understand how you can see it by putting it on my page??
This worked so fantastically! I like how the back is designed--it made the pincushion easy to turn right side out and stuff. I never boxed corners before and I was worried how they'd turn out because I only sewed one of the corners perfectly on the line but all four turned out beautifully. Thank you!!!!!
My daughter directed me to your website and I went through your tutorial. I've been looking for cute, easy pin cushion designs and I think this is it! Thanks!
Sheri
After seeing all the gorgeous pincushions like this on Instagram, I figured it had to be a tutorial for this. I found it on your blog, and I just had to make one too! Thanks a lot for sharing, and it's perfect to get to use the bonus blocs I had waiting for the right project :o)
I already commented once but I just wanted to let you know I made my 8th apron strings pincushion this weekend and every time the tutorial works like a charm! I'm giving your book and a pincushion to a friend and my sister, both have birthdays this month.
Post a Comment