Good morning and thanks for
sewing with me again:)
If you are just joining us...
to find out more about it!
Farm Sweet Farm Sew Along
Let's get started on
this weeks tutorial:)
Grab your set of
And your Farm Girl Vintage Kit...
And let's build a barn!
We are working on the very center
of the
Farm Sweet Farm Quilt
to download the sew along guide
Get everything out that you
cut for the barn block.
If you haven't done so already...
make the farmers daughter block
that goes on the barn:)
There are several strips that
I had you cut for this block.
On the left are the 1" wide strips
that you will need to
run through the 1/2" bias tape maker...
the yellow one:)
You probably did the
Shabby Steel strips last week:)
On the right are the 5/8"strips
that you need to run through the
1/4" bias tape maker:)
After making the 1/4" strips...
cut them in the following lengths:
Cut 4 - 13" long of the
chicken tracks print for the barn doors.
Press one end under on each strip.
For the aqua dog collar...
cut it 2" long and
press each under 1/4".
When you run the strip that is
cut on the bias through ...
press it into a curve
to use for the dogs tail.
Press under the top of the tail.
For the dogs legs...
cut four 3" long strips.
From the red strip for the silo...
cut it 8" long and
press each under 1".
Just leave the 2 Shabby Steel
strips as they are and you will
trim those into the lengths
needed as you are
laying out the applique.
Before we "build the barn"
let's prepare the appliqués.
Sew Simple Shapes
that you use for this block:
H5 - 1
H15 - 2
H16 - 4
H17 - 1
H20 - 1
H22 - 1
H30 - 1
One thing that you need to do
before sewing the clouds...
is to draw a new sewing line
to make them the cloud shapes.
These were the shapes that we
used for the the trees and they
easily double for the clouds
with just one alteration!
Take note *that the cloud on the left
is wide and the one on the right is tall.
I put them on a design board for you
so that you can see how
I've marked them.
This is the cloud on the left
and I wrote that on the interfacing
so that I would know.
I measured 4" down from the top
and drew a line straight across.
I put an "X" below that so
I would know I'm not using
that part when I'm sewing.
This is the cloud on the right
and I wrote that as well.
On this one I measured
4 1/2" down to draw the line.
Then I pinned...
stitched and trimmed like this.
Sew and trim the rest of the shapes.
Before turning ...
clip the inner curves and
cleavage areas on the clouds...
dog...hen and baby chicks.
Then shape and press.
Set your appliqués aside
and lets build the barn!
Make sure that you trace and sew the hen
and baby chicks facing the direction
that you want them to face!
First step is the top part.
Lay out the pieces that I
had you cut using
the sew along guide.
The pieced blocks diagrams are on page 13.
Before you can sew them
together you will need to
make a flying goose for the cupola roof.
You will need to sew
a square onto one side...
trim and press back
before you can add the other one.
After you have sewn the
top row of the barn block together...
it's easy to trace the
rooster weathervane on at this point.
Now it's time to sew the middle row.
You will need to add
an easy corner triangle
onto the side pieces.
Take note to place them
on the top OUTSIDE corner when sewing.
These squares are large so you will
need to trace a line
from corner to corner.
Middle section is built!!
Now sew the barn doors...
And add the side pieces.
Bottom section is built and
you can sew them all together!
Build the silo with these remaining pieces.
Add it to the right side of the barn.
YaY!!
Your barn is built!
Because the
Chicken Coop and Windmill
is finished now...
You can sew it to the left side...
and you can lay out the
appliqués on the barn and silo.
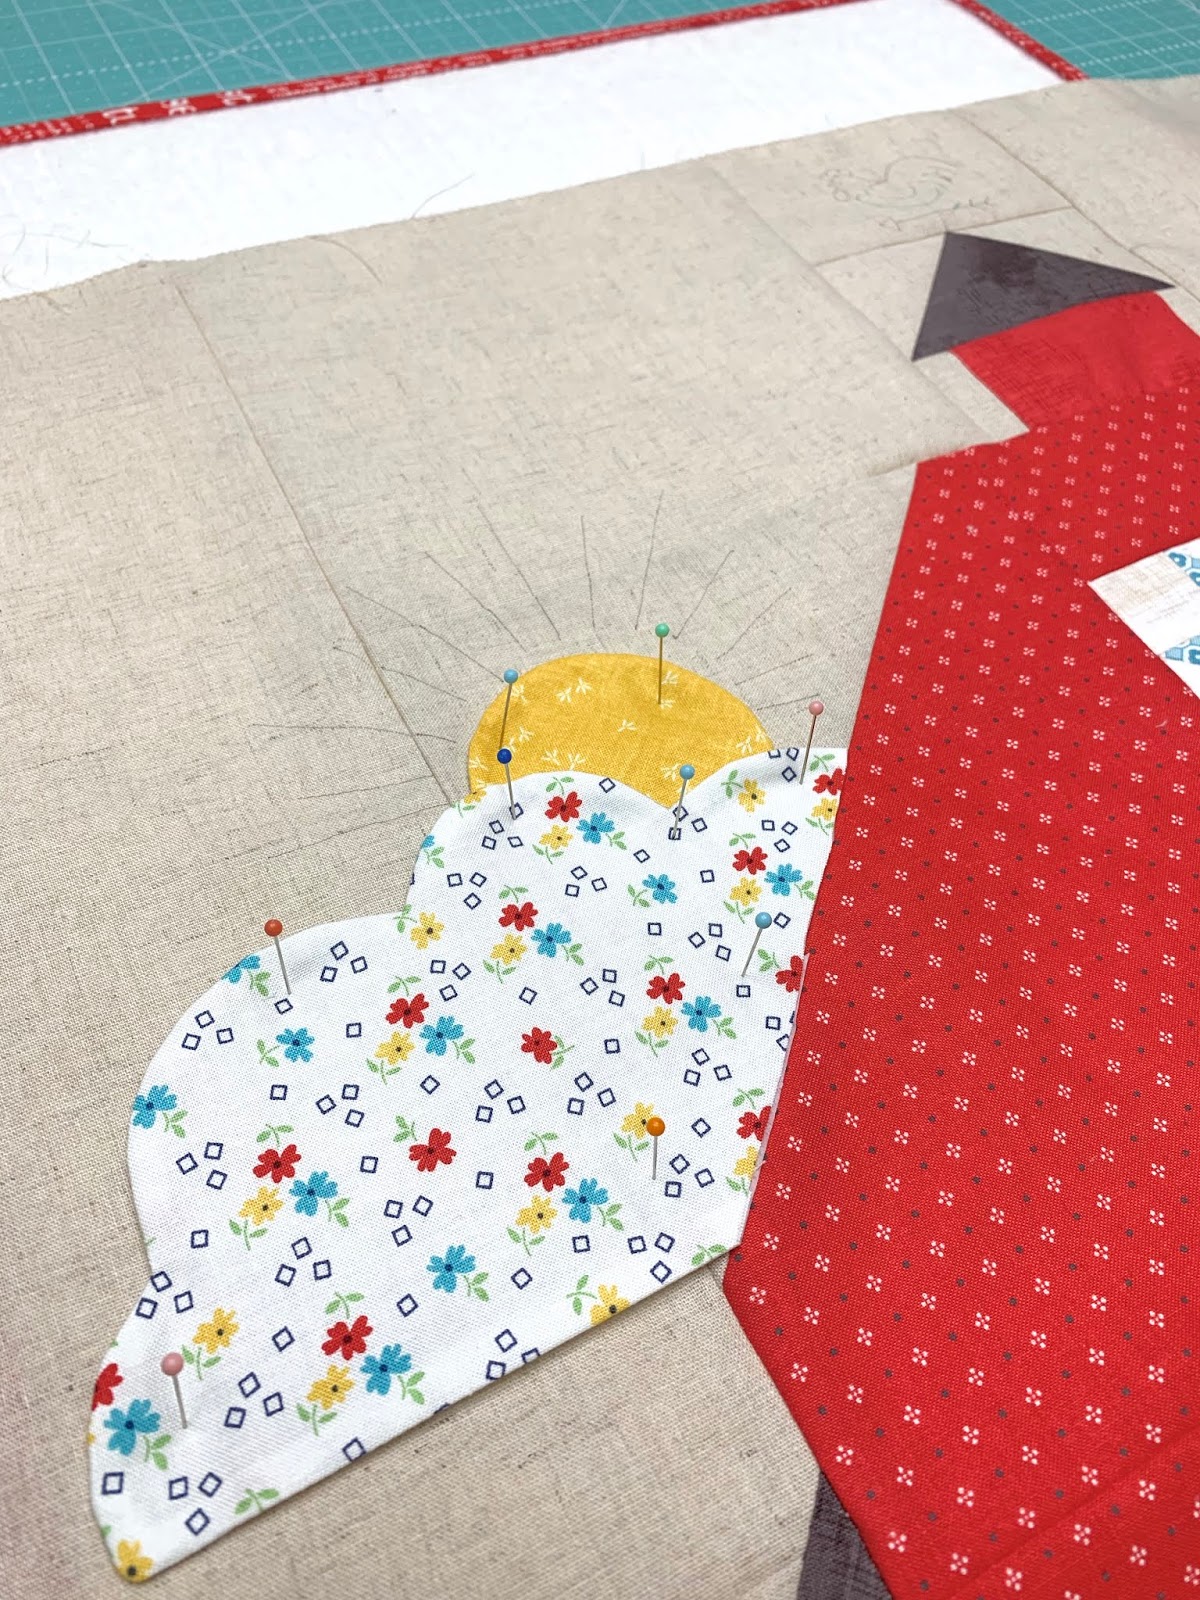
Start with the sun and
the cloud underneath it.
Because the barn is pieced...
the cloud cannot be tucked behind it...
so just fold it back and
make a crease where
you can trim like this.
Don't worry about that raw edge
because you will cover it
with the roof strips:)
Now do the same for the cloud
on the other side.
Keep in mind that it is also
peeking ABOVE the barn
so be careful when trimming.
Now you can go ahead and pin into place.
Because this is such a big block
I simply used several
design boards underneath
for the pinning and glue basting:)
Pin the top of the silo....
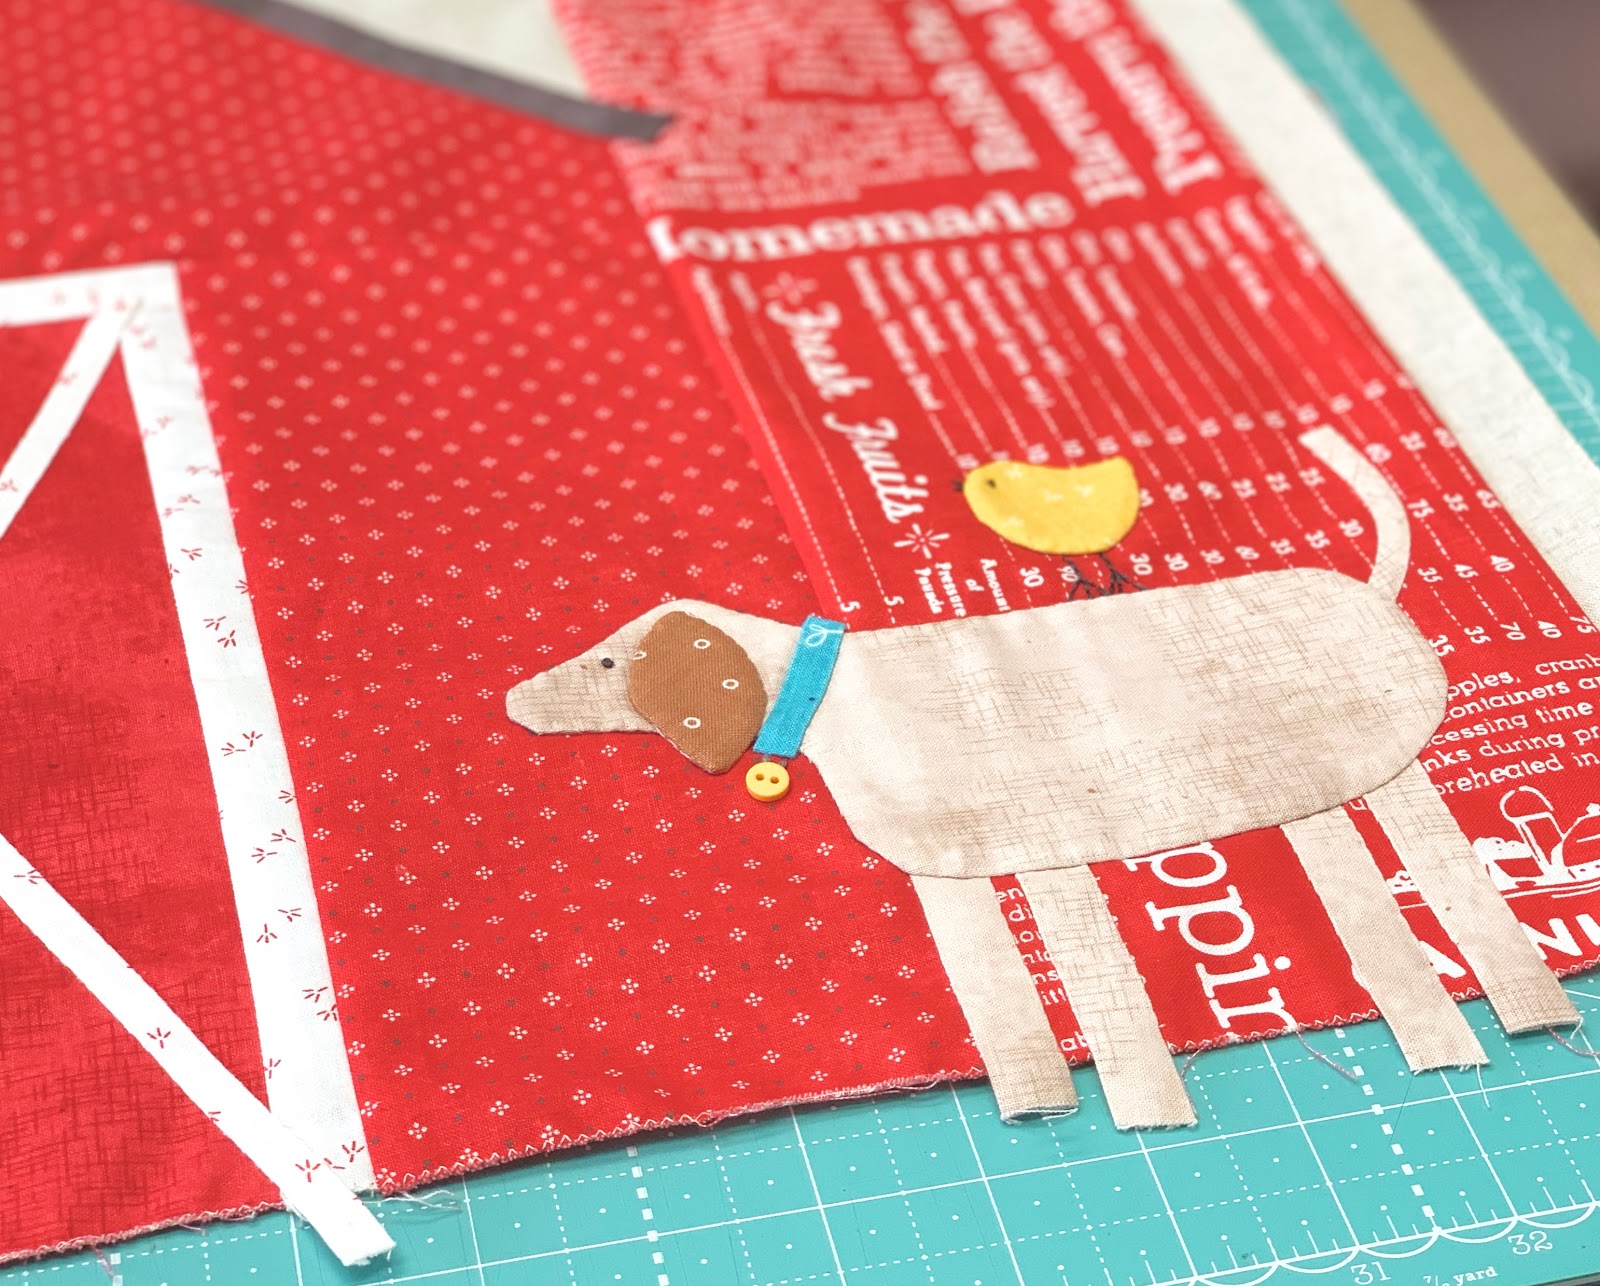
And the dog with the
baby chick on his back:)
After appliqué is complete
you can trim the bottom of
his legs EVEN with the bottom edge
of the fabric and then sew them
into the seam when you
are finishing the quilt.
Do the mama hen and her chicks like this.
Place the bias strips onto the
barn door one at a time with
the folded end at the top.
You can trim these bottom ends
off after applique:)
Pin and glue the strip on the silo.
Place the roof down the center
of the barn top line and glue
into place then pin.
The pressed under end
is on the bottom...then just
trim it even with the
roofline at the top.
Repeat for the other side...
And then prepare the top piece like this.
Side view:)
Now glue baste everything down...
remove the pins...
lay down rulers and
something heavy on top and let it dry:)
Side view of my block
all ready for applique...
And finally a front view:)
Remember to trace on all of the
embroidery lines and embroider
at the same time that you applique.
The hens and chicks are all
embroidered the same as
the others in the quilt.
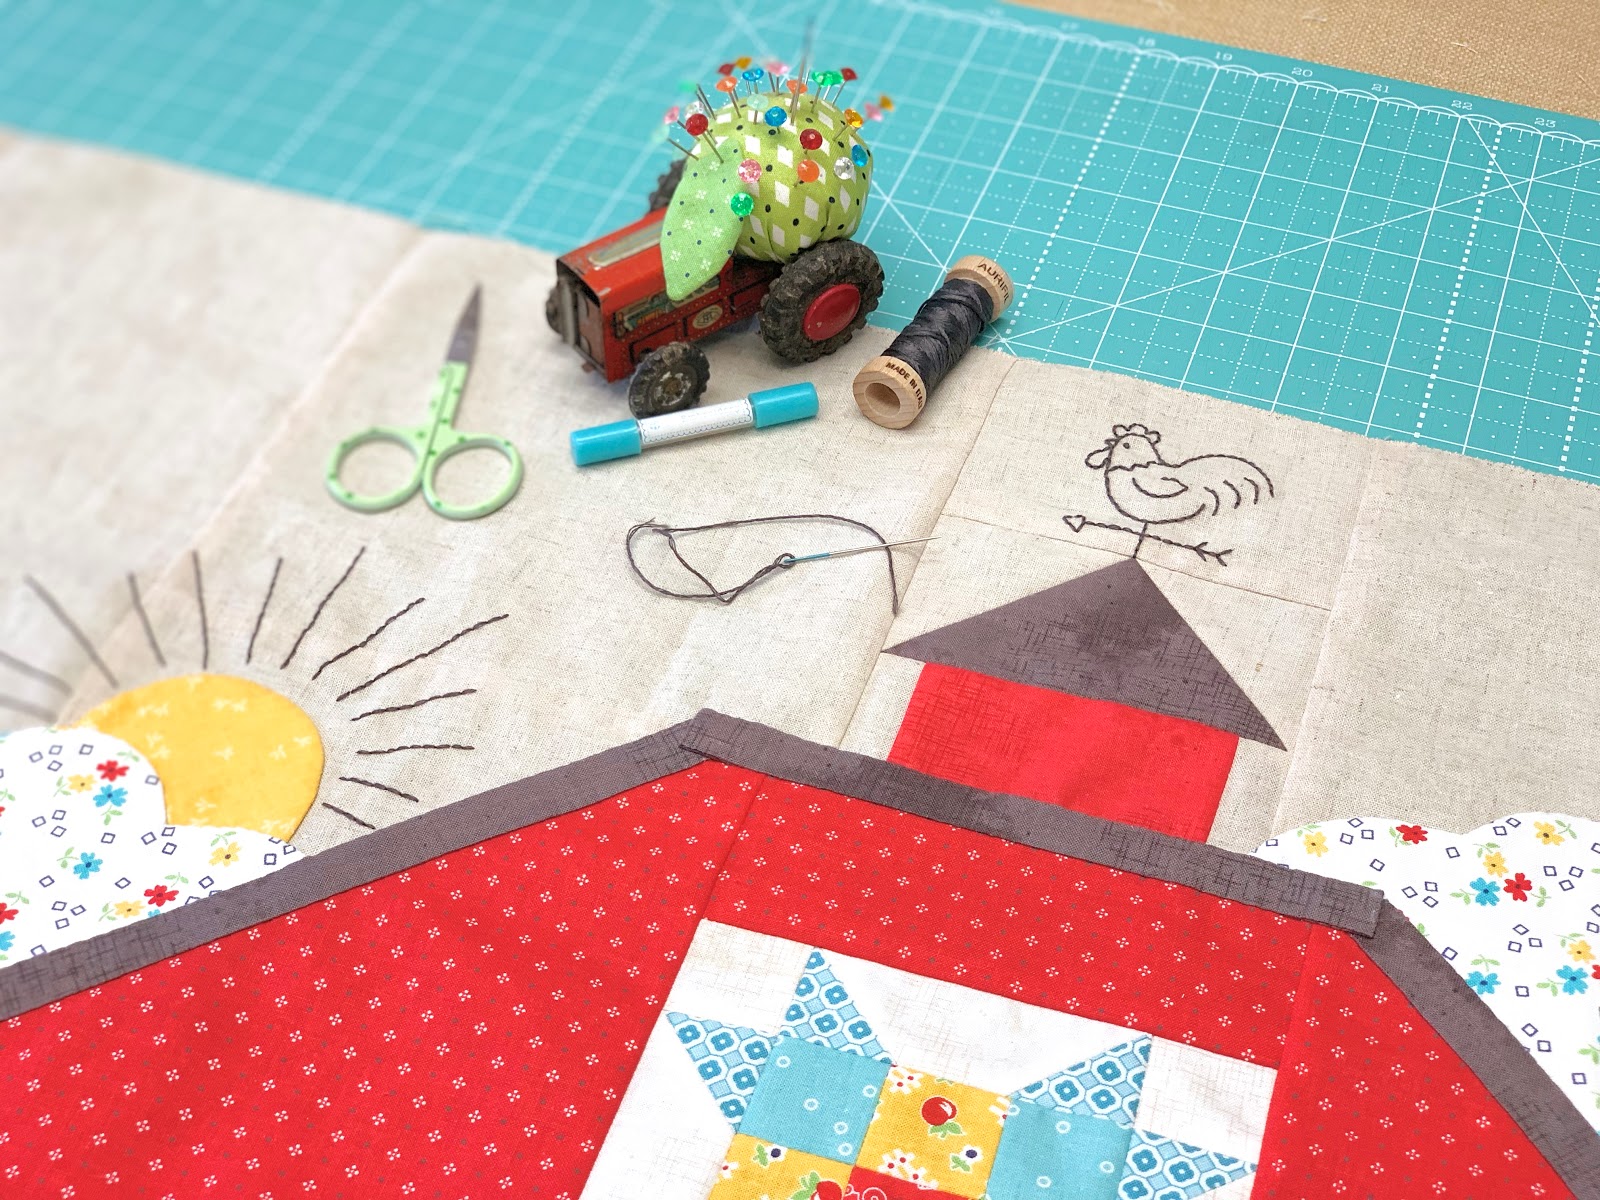
The sun rays and the weathervane rooster
are done with 3 strands of
dark gray aurifloss and a backstitch.
I didn't trace the
FARM SWEET FARM words
across the top yet because
it extends into the tree block as well.
After the applique on this block
is finished I'll sew the tree block
to the right side and trim it up.
But first I'll sew the buttons onto these flower centers...
And sew a tiny little button
onto the dog collar for an ID tag:)
Now it's time to sew the tree block
to the right side of the barn block!
I lined mine up like this...
Pinned and stitched them together...
of course using a 1/4" seam allowance.
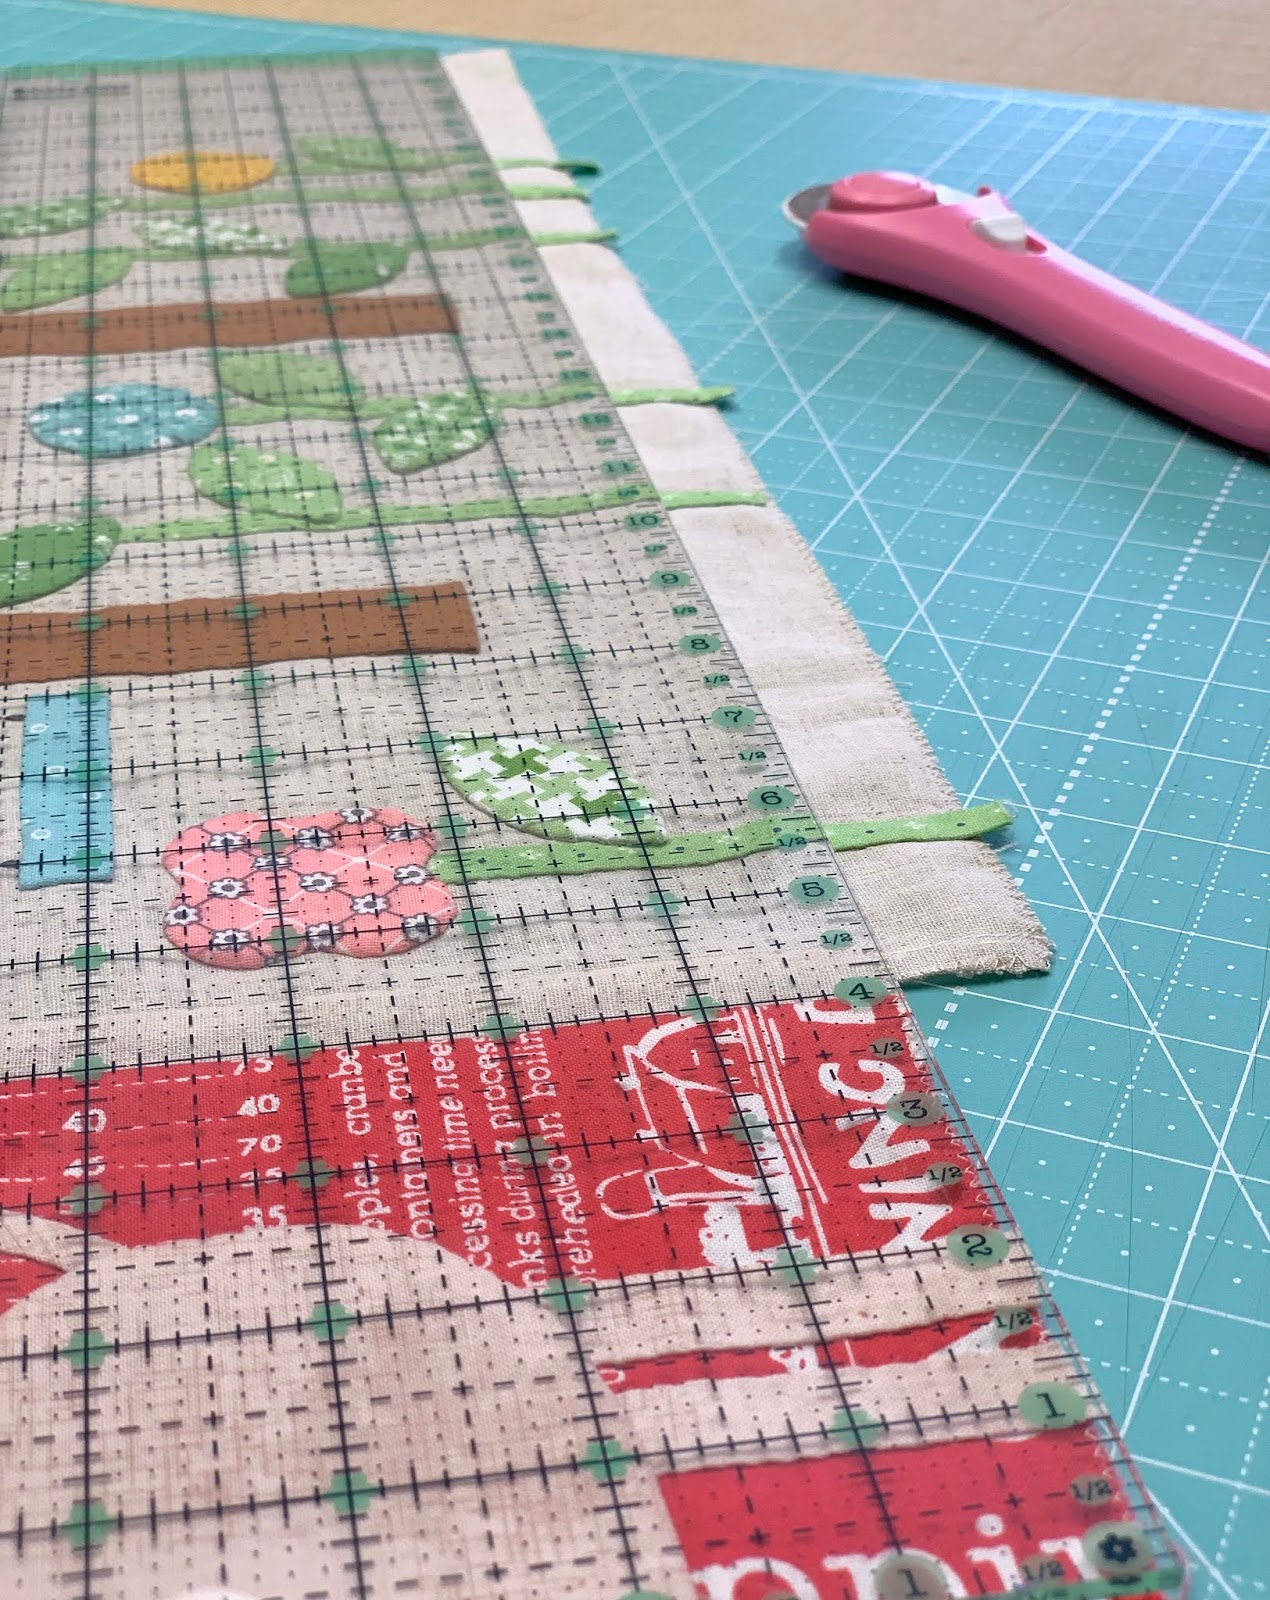
Now it's time to trim down the tree block:)
I trimmed the excess off of the top
of the tree block...using a long ruler
to keep everything straight.
Remember that the tree block
will need to be trimmed at
24 1/2" tall just like the barn block.
I used a 24 1/2" long ruler
to keep everything in alignment...
and I measured 3-4 times before cutting:)
When trimming the bottom I was
sure to keep it nice and straight
with the bottom of the barn block.
Last thing to trim is the excess
off the right side of the tree block.
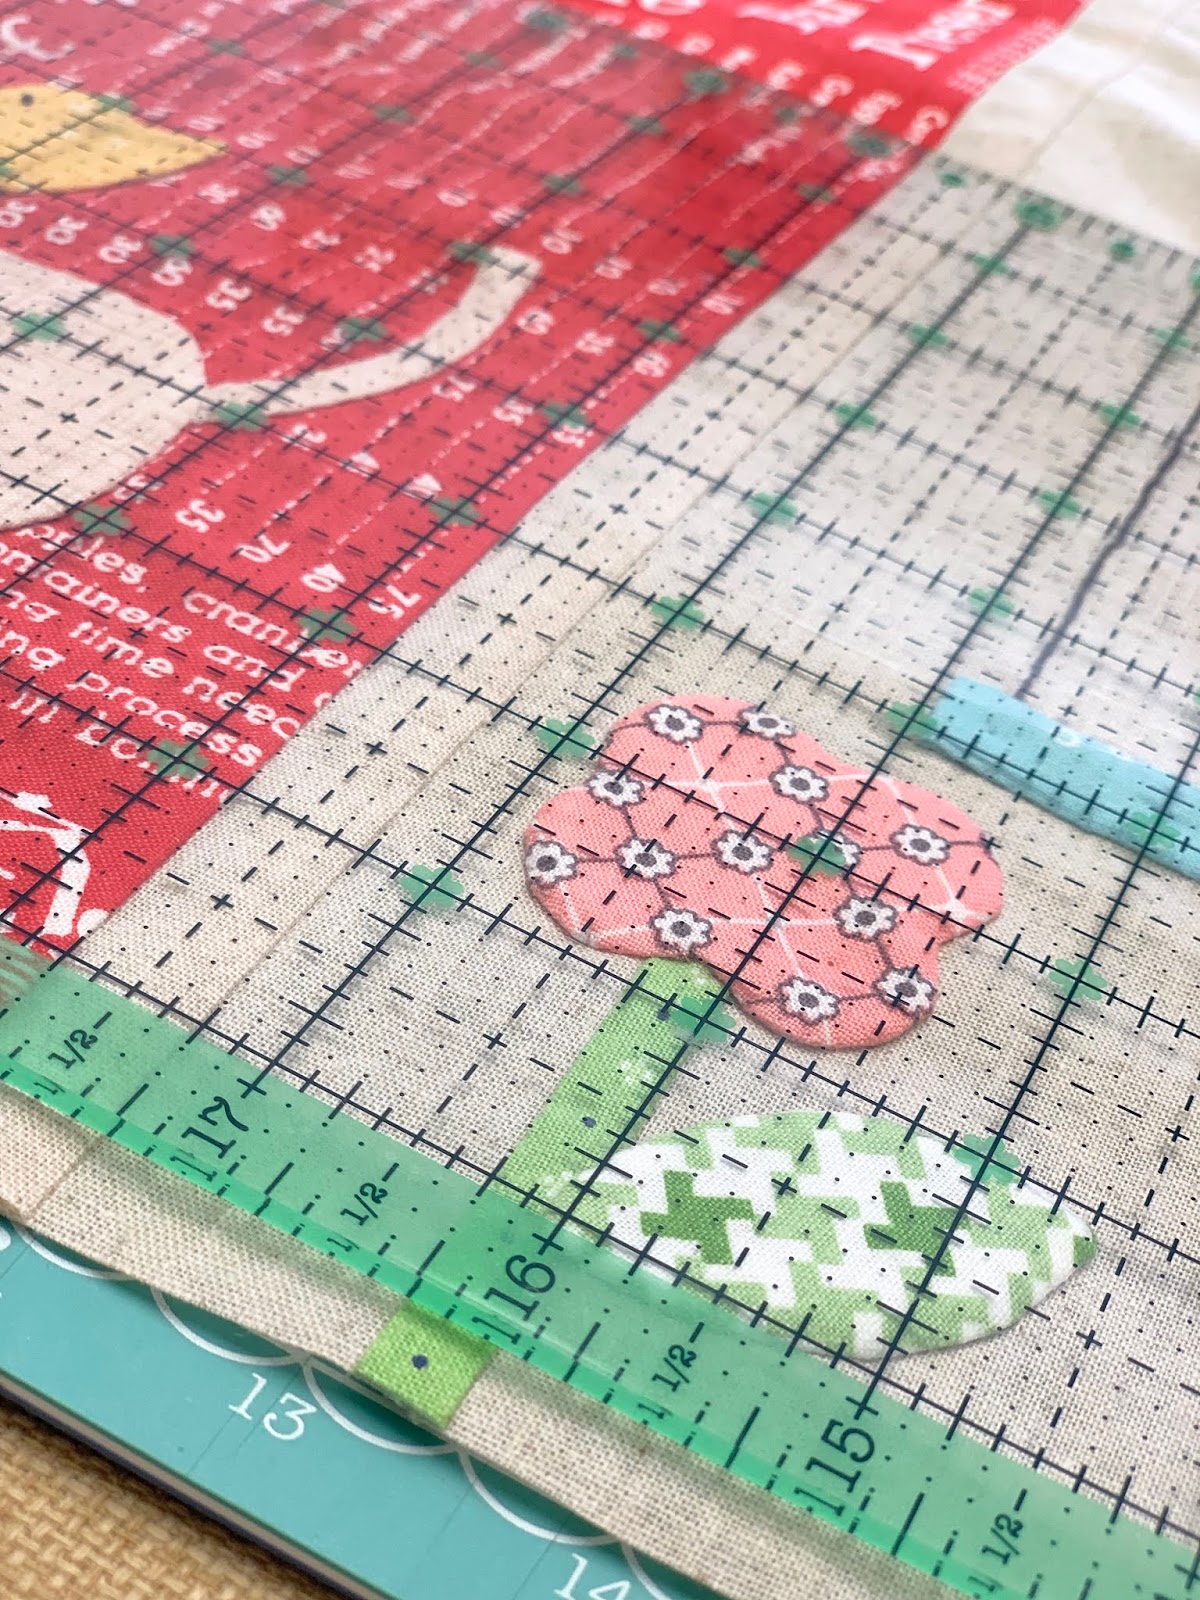
I placed my ruler on the seam at
17 1/4" just like this...
Then trimmed the side.
The tree block finishes at 17" but
you still need 1/4" leftover
on the right for the seam allowance.
That's why I measured 17 1/4"
from the finished seam
on the left before trimming:)
Now that my trees are joined
next to the silo I can applique
that leaf that I've been saving
on my tractor pincushion!
I pinned it using one of my
Pretty Pins - Mini Applique
and quickly appliquéd it down.
These pins are super tiny ...
less than 1" long.
I use them when I'm doing something
quickly and don't want to
take time for glue basting to dry:)
I love them!
Next up is sewing on the
Cute Little Buttons
that I had already chosen and
set aside for this block:)
I thought you may be wondering
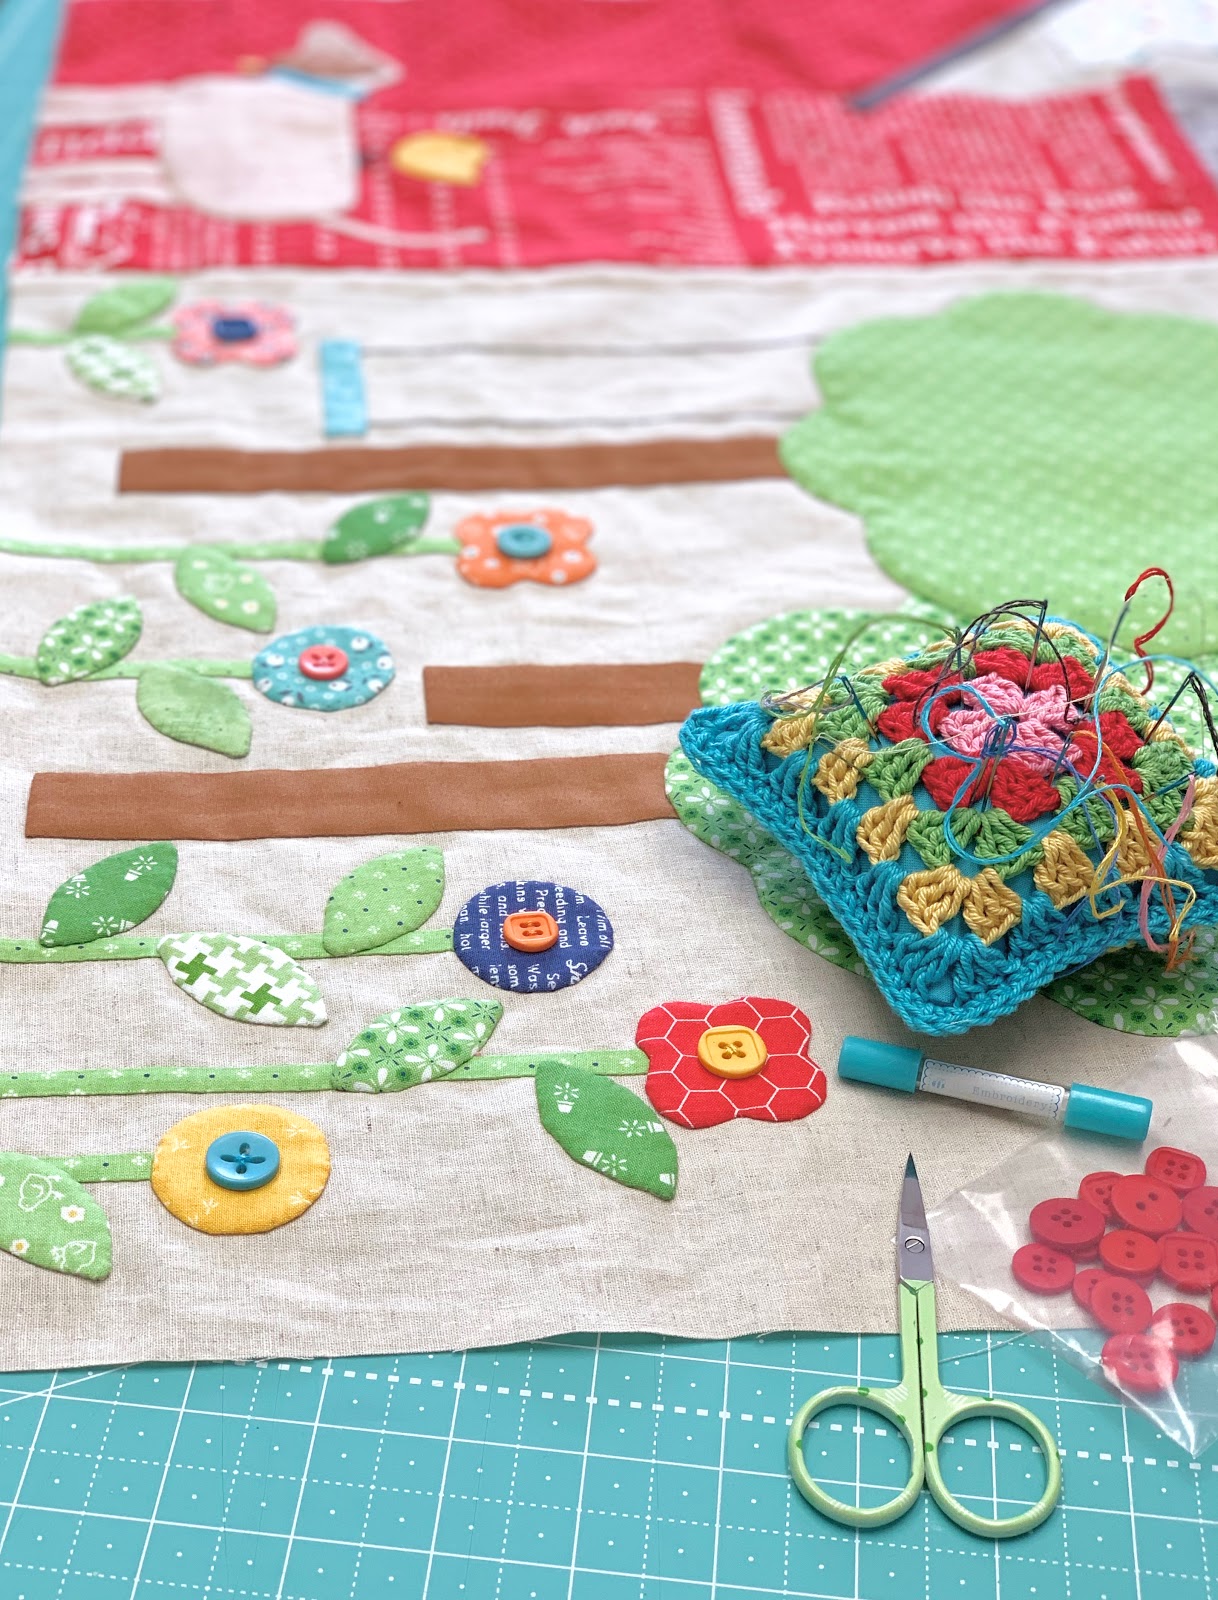
why I have so many threaded needles!
I sew the buttons on using
matching Aurifloss and so I keep
a threaded needle with each color
on my Granny Square Pincushion.
Sewing on a button takes
very little thread so when I finish one
I just place my threaded needle
back into the pincushion until
it's time to sew buttons
onto the next block.
That way I save thread and time!
I just grab by pincushion
and it's all ready to go:)
Did you know that I have a
video tutorial on how to
make my Granny Square Pincushion?
Making a granny square is easy
and is a beginner friendly crochet project.
You only need to know how to
do a few basic stitches...
chain stitch...slip stitch
and double crochet.
Easy peasy!
My grandma taught me to make my
first granny square when I was
6 years old and I have been
"hooked" on them ever since:)
It's a 3 part tutorial.
Click on the links below
to watch each one.
I use my Chunky Thread and
100% Cute Crochet Hooks
for all my crochet projects.
I have 20 colors so far...
with six new on the way!
Of course they match my fabrics too:)
These are my mini skeins that come
in a cute little sampler pack.
Right now there is
and my
100% Cute Crocket Hooks
#4 Sampler Package will
be available soon:)
All colors also come in full skein size.
Buttons on the flowers are sewn
but I'm saving the ones for the
apple tree until after
the quilting is completed!
Okay!
The only thing I left for me to do
on my block is trace the
Farm Sweet Farm embroidery and stitch it.
I'll use 3 strands of
dark gray Aurifloss and a backstitch:)
I'll also trace the hearts and use 6 strands of red and a satin or fill in stitch.
After that...
the center row of the quilt
is completed and ready to
sew into the quilt.
At this point...
the row should measure
24 1/4" tall x 55 1/2" wide
I'll see you here next week
when we will start on row three!!
xx
Lori