
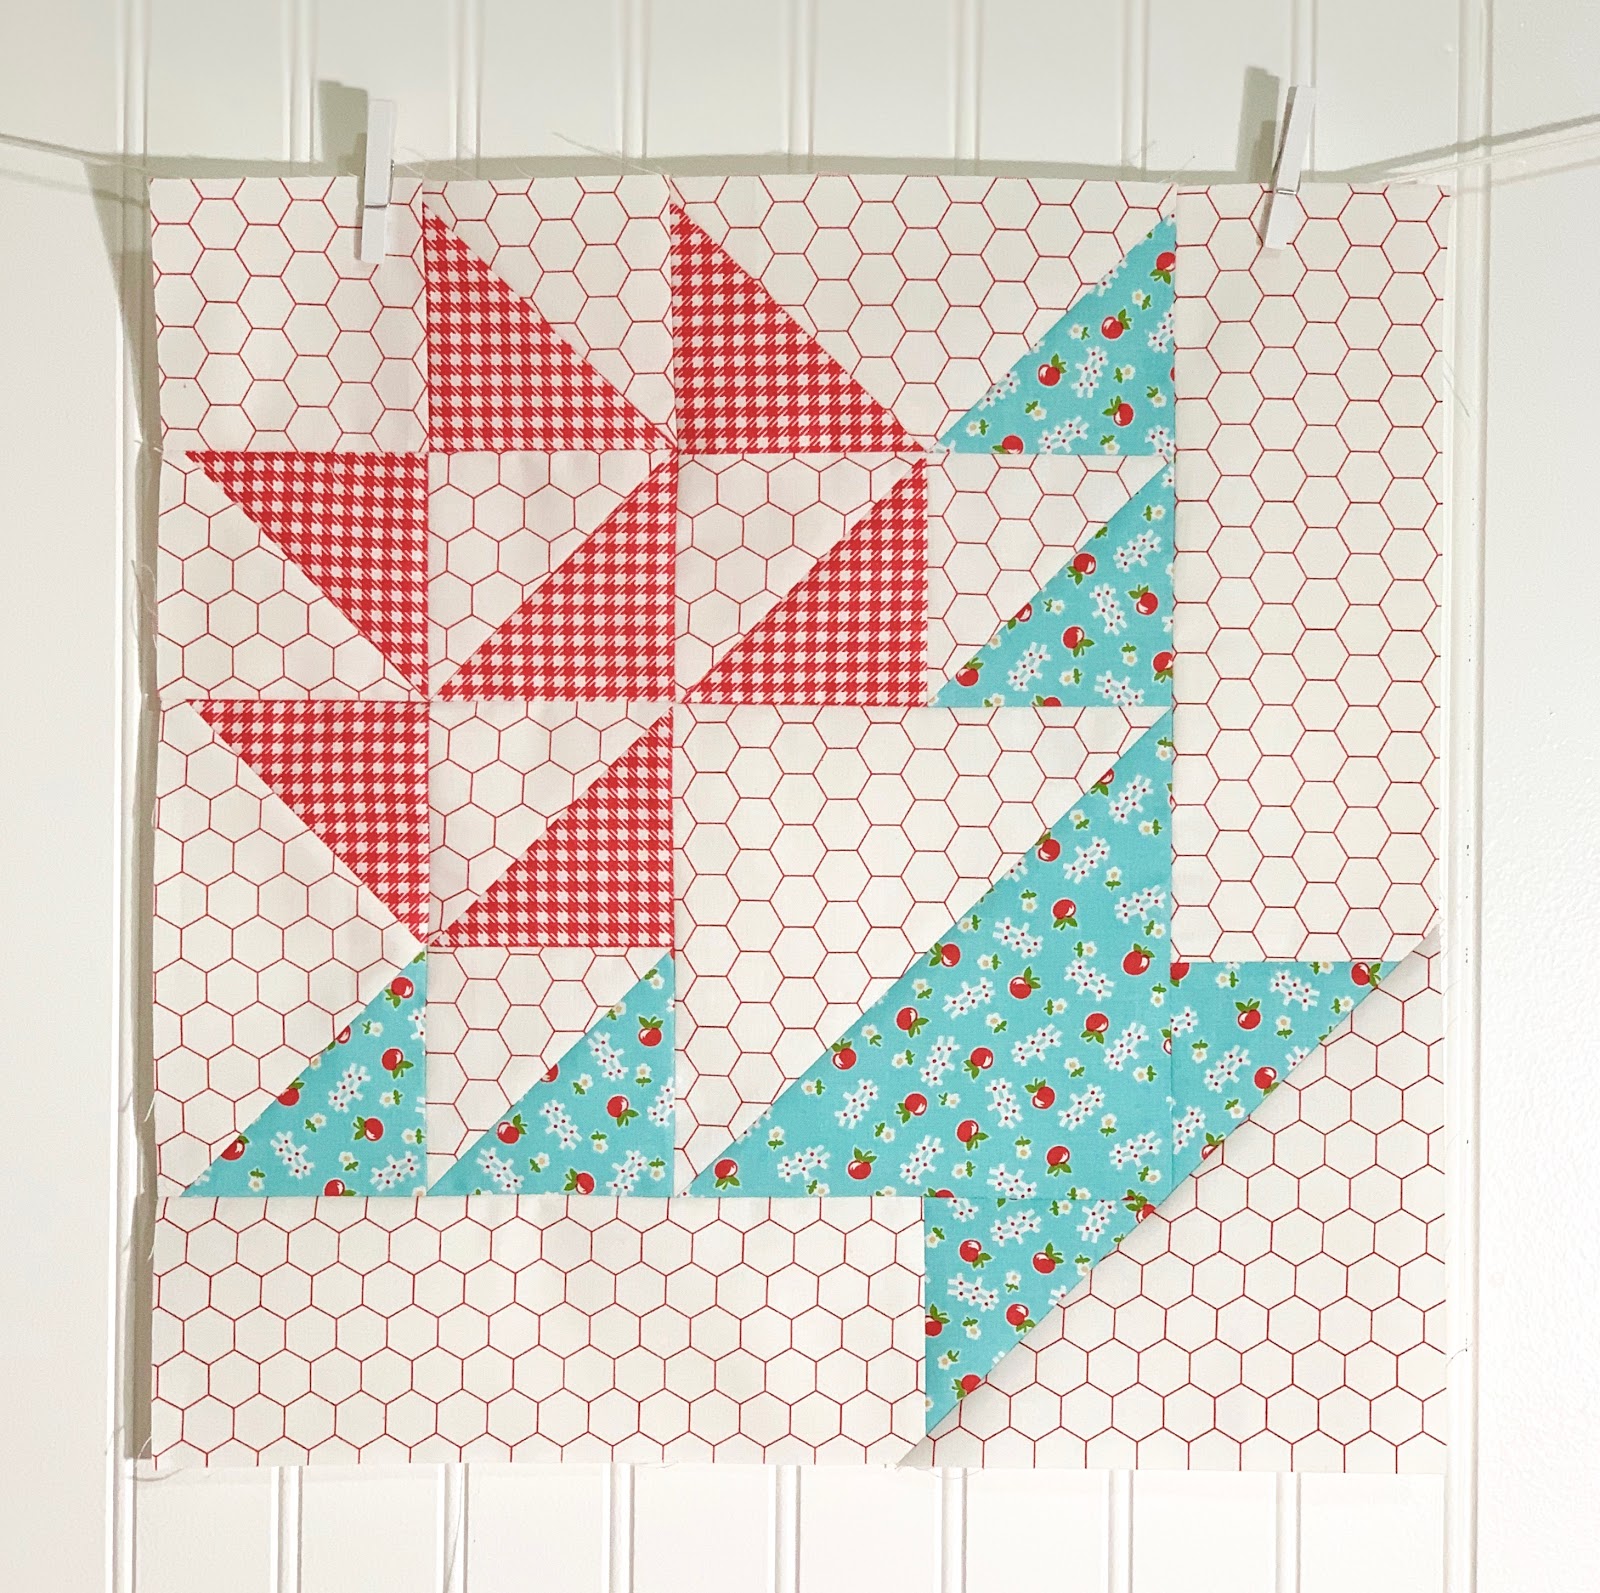
Pattern Basket Block
finished size
15" x 15"
Well here we are again
because I have another vintage block
from my grandma's pattern stash
that I want to share with you.
I have big plans to do several vintage block tutorials for you...
in several different sizes and then
put them all together in a quilt!

I would love for you to come along
on this vintage sewing journey with me!
I'm so grateful that my grandma's
(both of them)
shared so many patterns with me.
I have often shared some of them
here on my blog and of course
while teaching my workshops:)
I'd like to continue to share even more
of them with you here
on a regular basis.
I appreciate you and I am thankful
from the bottom of my heart
for the quilty love and support
that you have given to me.
Sew... let's do this!

I have been waiting for my
Farm Girl Vintage fabric collection
to get here so that I could start my
Vintage Block Along
There is today's vintage pattern page
tucked underneath my design board...
a basket block from the
1930's depression era.
I love it and have sewn
this basket several times.
If you are wondering about the tags...
I make fabric swatches for each
of my fabrics so that I can have them
at my fingertips when pulling for a block.
It works out great for me because
I choose from the swatch without getting
all of my fabric out at once
and that saves so much time:)

While I have been going through
grandma's patterns and choosing which ones
to share first...
I have felt close to her and
I'm thrilled to come across pages
where she made a note or underlined something...
or bookmarked a page:)
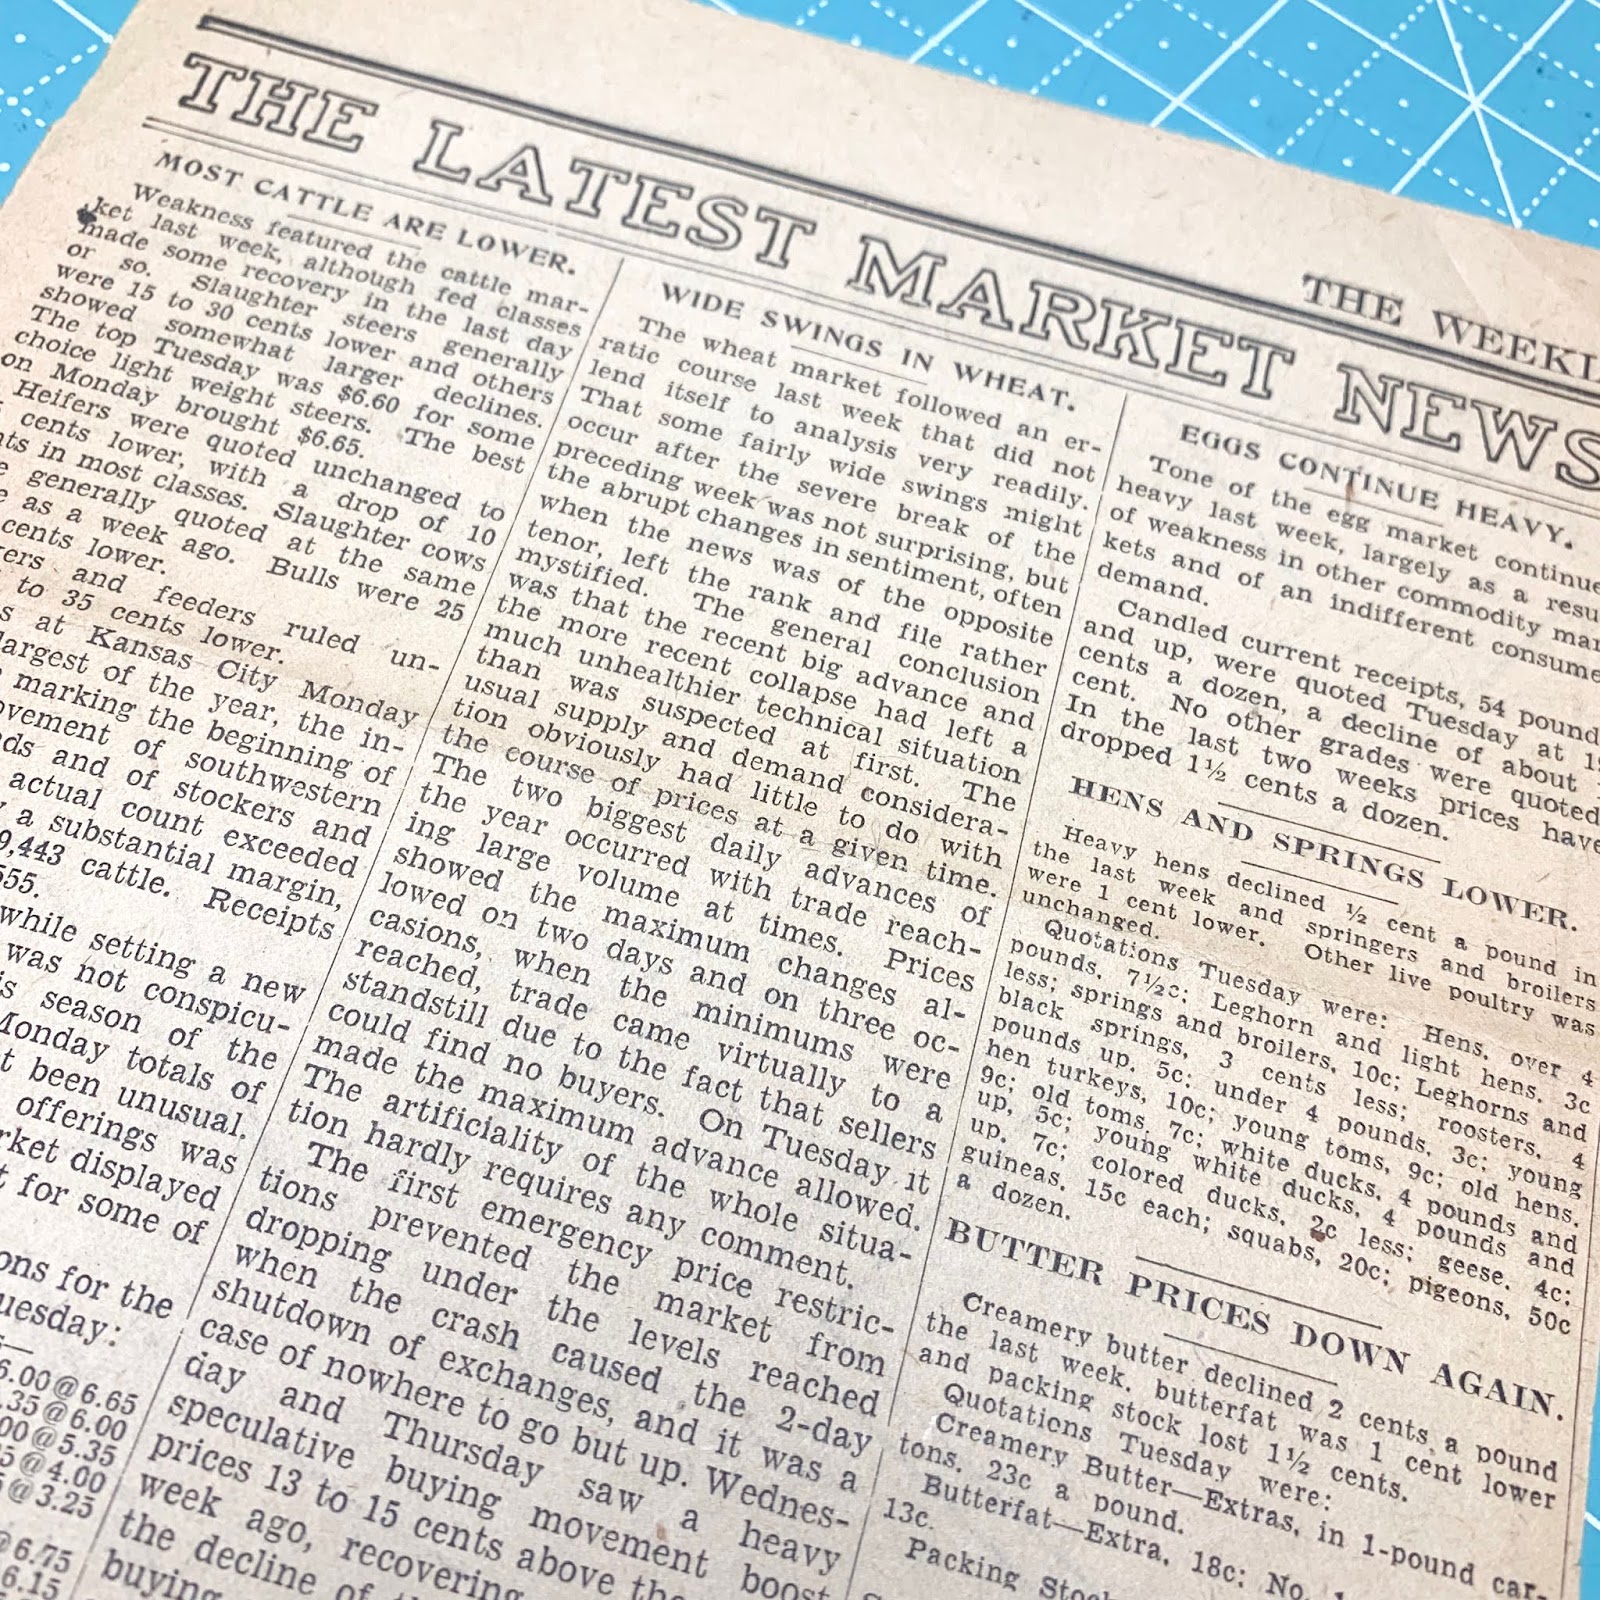
I love looking through the things
that she did and also reading about
what was important news or going on
at that time in their lives.
I'm sure my grandpa read all about
the latest farming news!
This page talks about
cattle, wheat, eggs, hens and butter:)
I'm sure that some of the patterns
that are only just a clipped page
are from a newspaper and may have
come from her mother...
my great grandma Martha
or even one of her
sisters, friends or aunts.
They all quilted together and
I'm sure swapped patterns often!
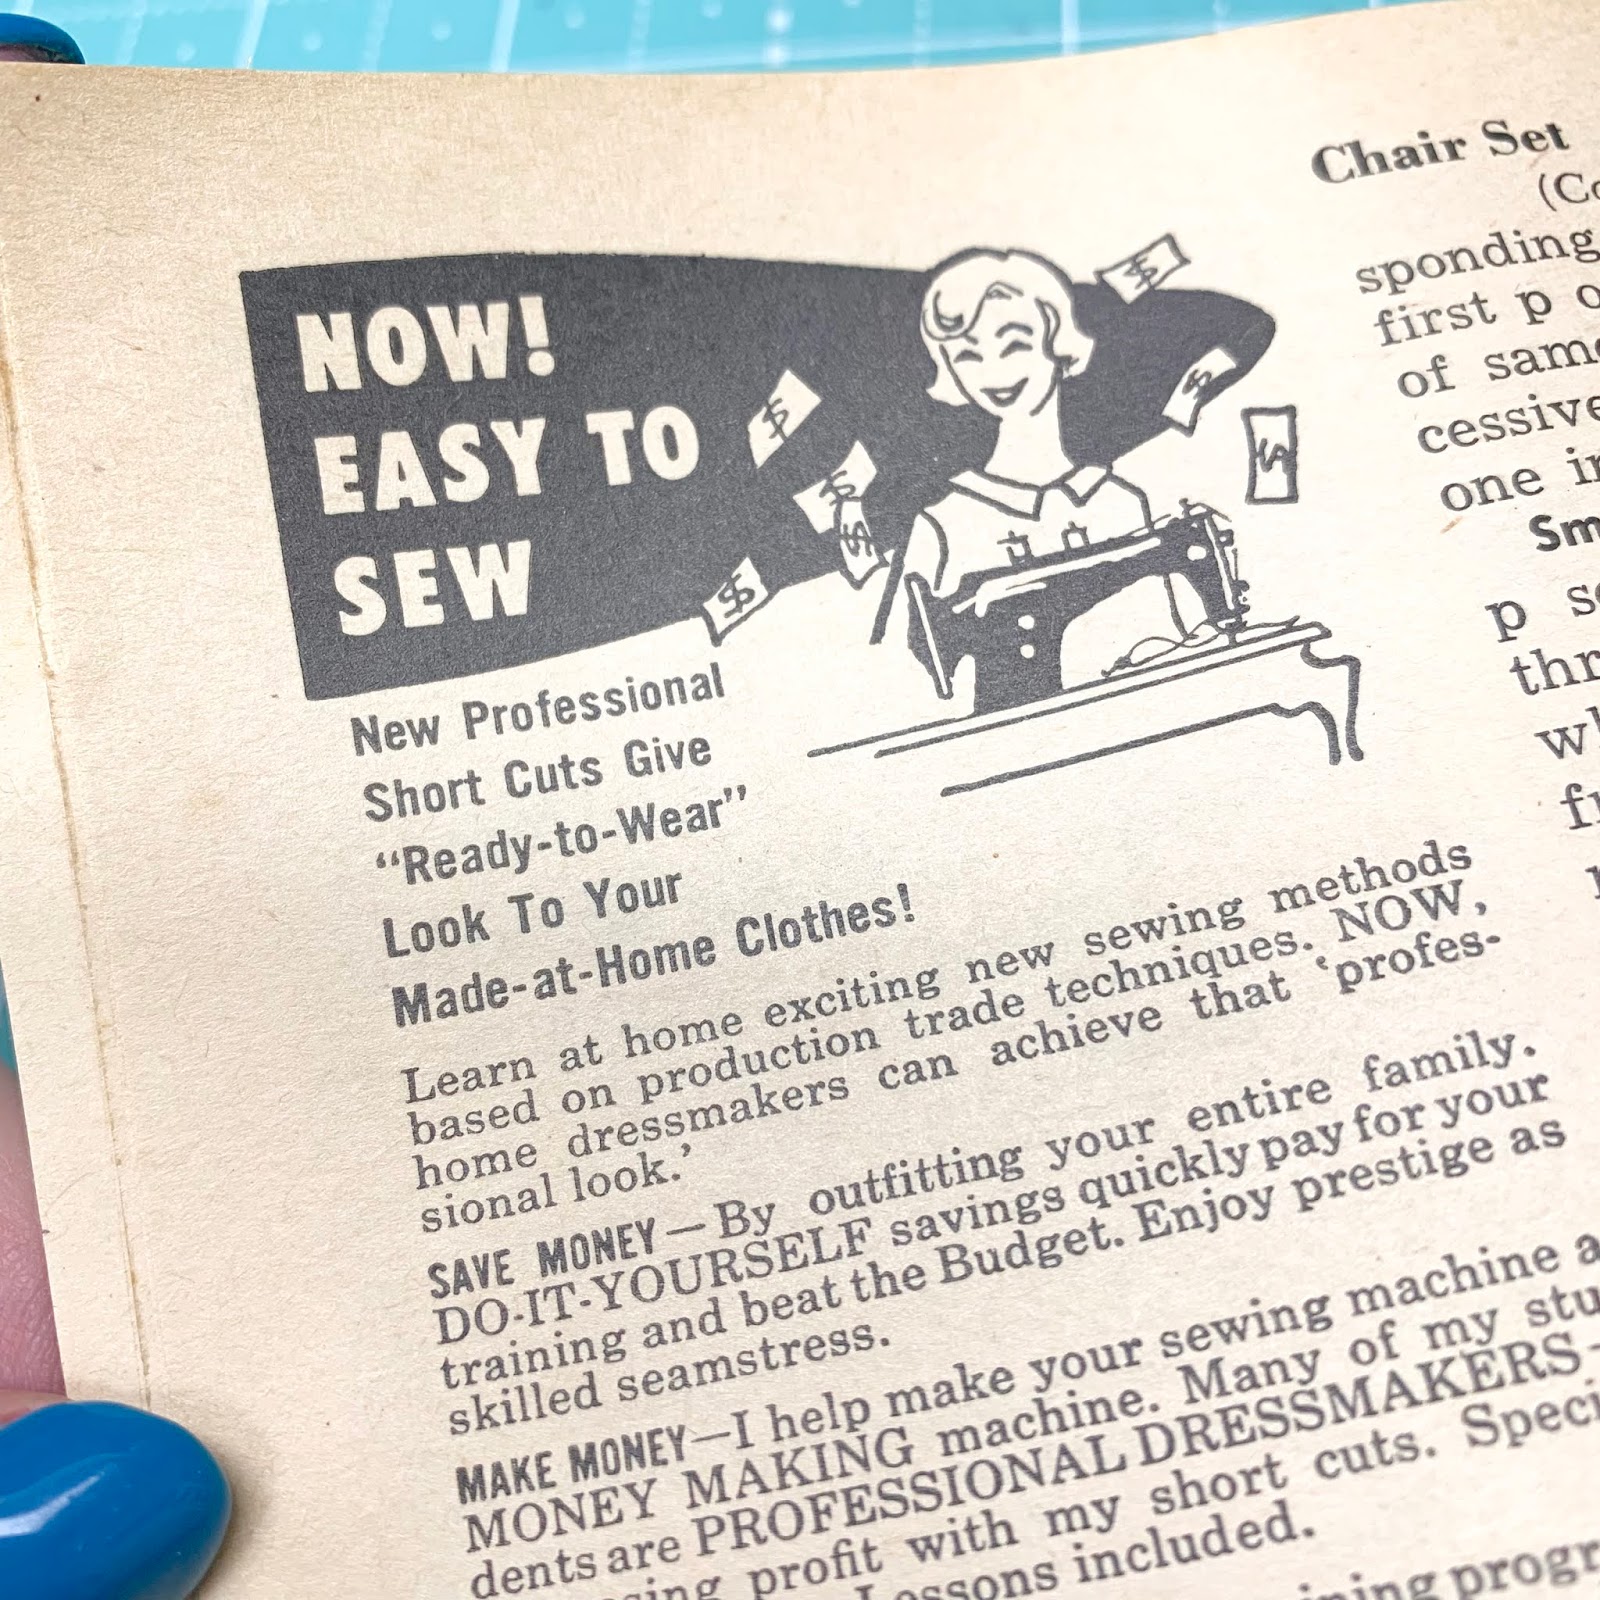
I also love the vintage ads and
vintage graphics are so so darling!
Look how happy this housewife is
to be saving all that money by
sewing clothes for her family
in the latest fashions
using professional short cuts!!
Just goes to show that
DIY never goes out of style:)

And speaking of style and the latest fashion...
how adorable are these dresses?
I remember my mom and my grandma wearing "everyday dresses"
that they had sewn themselves.
If I had that plaid dress...
those would be handy pockets
for my cell phone! lol

Okay let's move onto the block tutorial
and talk about fabric first.
Of course I'm going to be using
a few prints from
Farm Girl Vintage for this block.
You can just grab vintagey style fabric
from your stash if you'd like...
because scrappy is happy!
You need a background and
2 colors for this block

So many vintagey color ways to choose from...

And I decided that I really wanted to
use the aqua apple print...
and of course some red gingham!

I chose to use this print from my
Bee Backgrounds...they are my go to!
From the background you will need to cut:
2 - 6 1/2" x 6 1/2"
2 - 3 1/2" x 9 1/2"
2 - 3 1/2" x 6 12"
8 - 3 1/2" x 3 1/2"

Fabric One you will need to cut:
1 - 6 1/2" x 6 1/2"
1 - 3 1/2" x 6 1/2"
5 - 3 1/2" x 3 1/2"

Fabric Two you will need to cut:
7 - 3 1/2" x 3 1/2"

Now let's start sewing!
Grab 2 - 3 1/2" x 6 1/2" background rectangles
and 2 each of the 3 1/2" squares.
We are going to make 2 flying geese.

Either mark your fabric or use the
to add your easy corner triangles
onto each side of the rectangles.
If you are not familiar with my method CLICK HERE
for the last block tutorial
shown in more detail.

Take note that you will need to
do one side before adding the other side.
Your flying geese should look
just like this.
Set them aside for a bit.
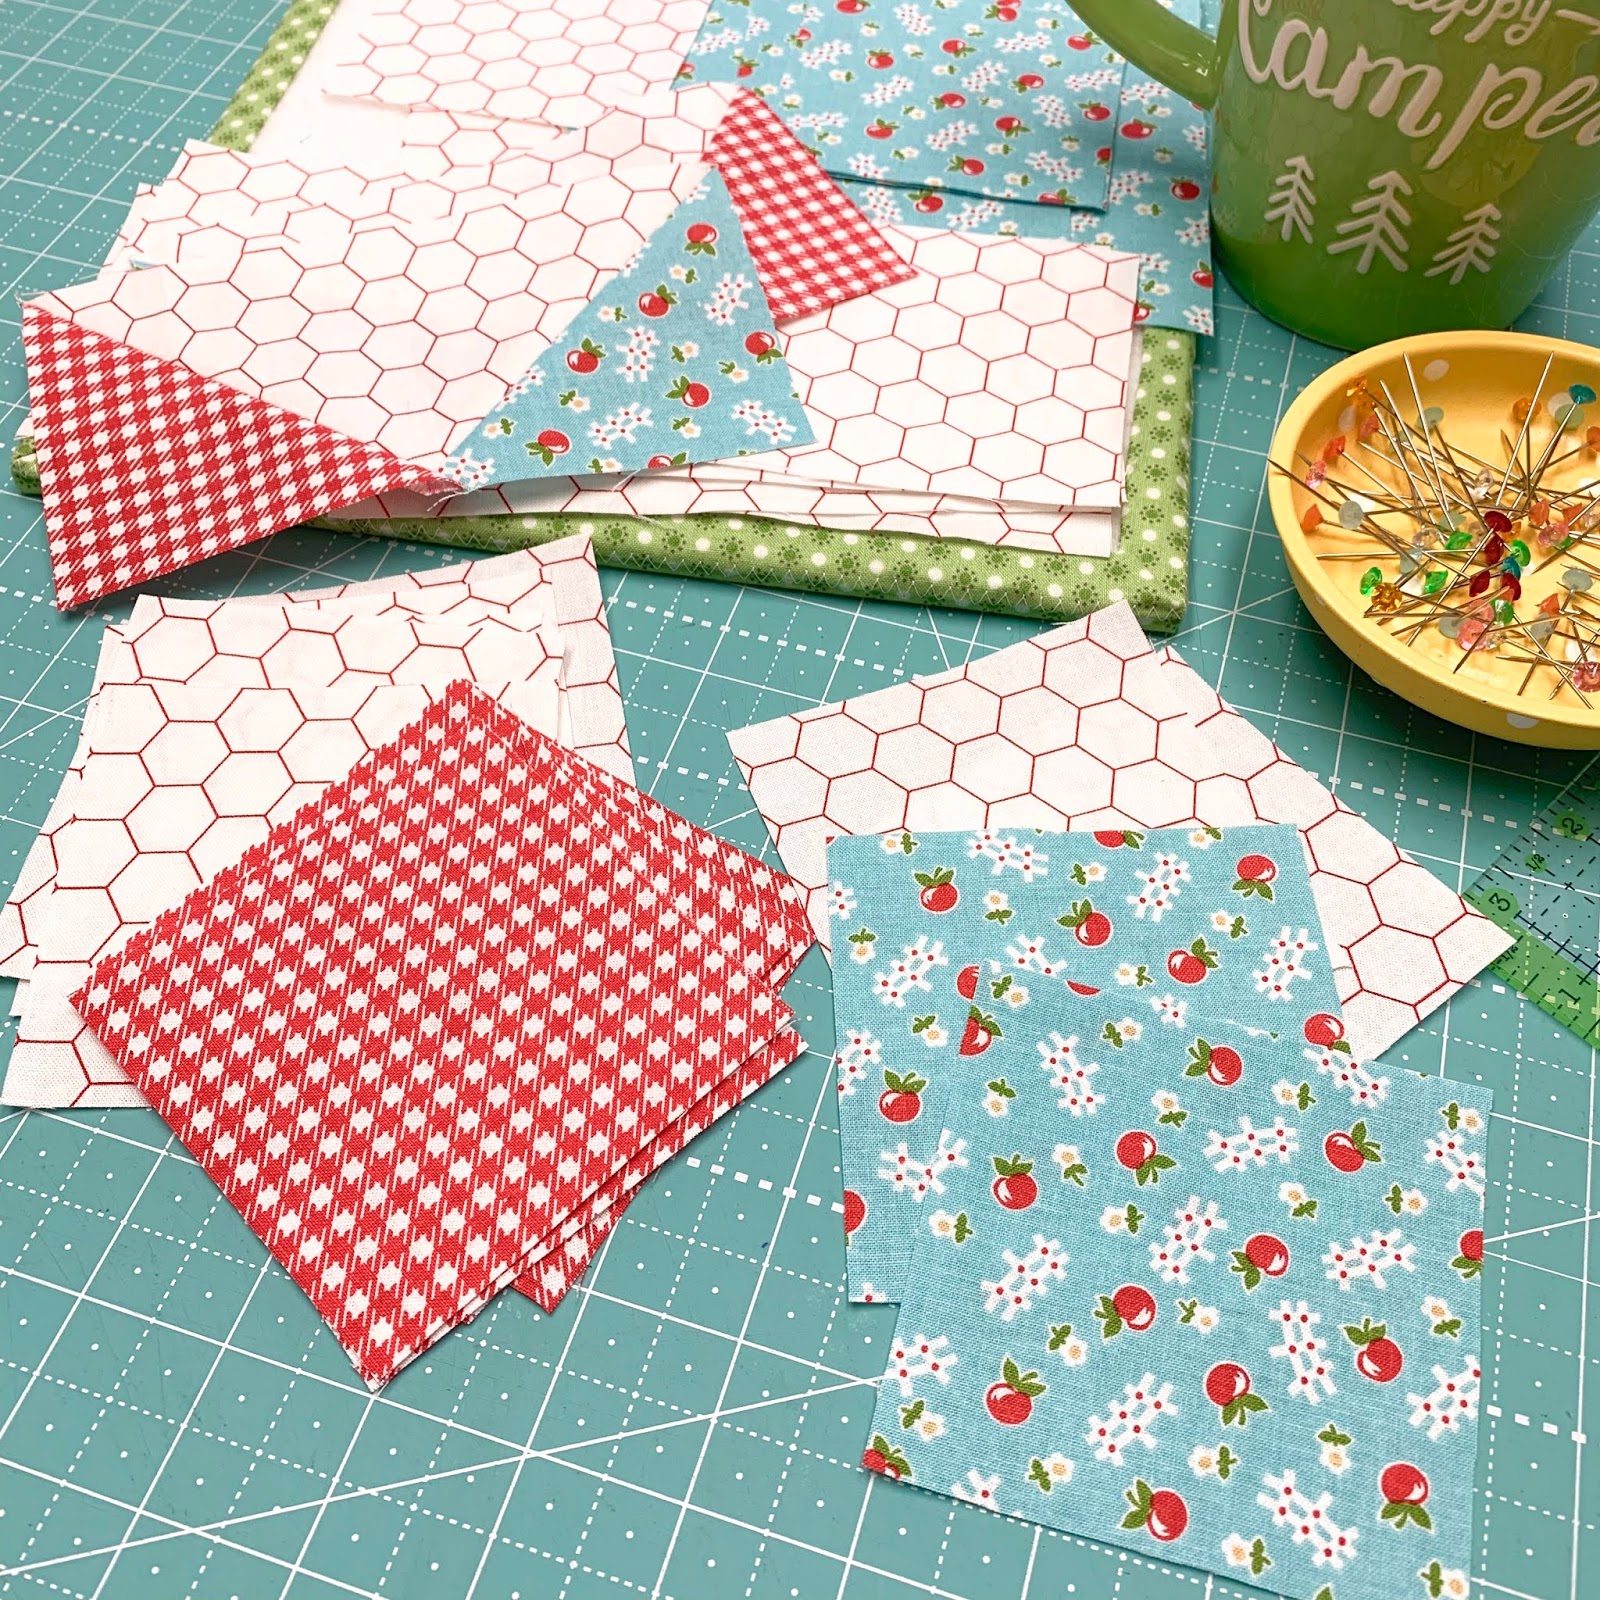
Now grab 7 of the 3 1/2" squares
from your background and
5 from the red...
and 2 from the aqua.

You will make these into
half square triangles.

Trim away excess...

and press!
Set these aside for later.

You will need to make
one half square triangle from the
6 1/2" aqua square and one of the background squares.
When my squares are this large
I draw a line from point to point.

Trim away excess and press!

If my easy corner triangle trimmings
are big enough to cut at least 1 1/2" squares I do so.
Then I add them to my scrappy stash
to use for later:)
I can get a 3" square from both pieces
and I cut them at the same time...
easy peasy!

After cutting the 3" squares
I still have 2 smaller triangles
left from that...

So I measure to see if I can
cut 1 1/2" squares and I can!

This little Bisley file cabinet
sits on my cutting table and the
top drawer opens up very deep into
4 compartments.
That's the drawer where I stash my
leftover squares in for convenience
when I'm cutting.

When each compartment of the
top drawer is full
(I keep other supplies in the other drawers)
I move them into larger containers
that I keep squares in that are
cut all the same size.

I only cut leftovers into squares in increments of
1/2" not 1/4".
For example:
1 1/2", 2, 2 1/2", 3, 3 1/2" etc.
I keep those bins in the bottom
of this aqua cupboard in my studio.
You would be surprised how often
that I use those squares!
They are my go to for scrappy happy projects.
"Use it up...wear it out...
make it do...or do without!"
My grandma would be sew proud:)

I have used my scrappy storage and
scrappy sewing method for years
and I love it.
If you want to see how I
keep it organized in my studio
to watch Kimberly taking a secret tour
of my studio and going through
my drawers and things while I
was upstairs getting ready
for filming lol
She is a hoot!!

Okay...back to the block!
Sew these two remaining pieces together...

Like this and you are ready to
start putting segments
for the block together.
You should have a 6 1/2" background
square leftover afterwards.
Keep it handy because we will use it last!

Add two half square triangles
onto the bottom of a flying goose
exactly like this.

Now do one exactly like this...

And finally...one just like this!!

Now you have 4 segments to sew together
into a square...basically ...
a four patch!
Each segment should measure
6 1/2" square at this point.
Now is the time to make sure that
all of your half square triangles
are going the right way or you may be spending time with "the ripper" haha

Now you have a square that should measure
12 1/2" at this point:)

Add the shorter strip onto the bottom
and then the longest strip
to the right side after that.

Looks strange right now but wait...

Mark your last background square
and sew an easy corner triangle
onto the bottom!
I pin them when they are this large.

YeeHaw!!!

Your Pattern Basket Block should measure
15 1/2" x 15 1/2" ...
that is the unfinished size.
I named this block Pattern Basket because
of course it's full of my grandma's patterns!

It looks great when on point as well:)

Oh! I forgot to say that
of course I cut these squares
from the leftover after trimming
that last large easy corner triangle.

So this is my 6" Grandma's Star
from my tutorial a few days ago...

The colors of both blocks
look super cute and patriotic too!

12" Grandma's Star
and
15" Pattern Basket
CLICK HERE
for the Grandma's Star tute:)

It's going to be fun to make
different sized blocks
and have them all in one
Vintage Block Along Sampler Quilt!!
I have one more block
that I'll be posting this weekend ...

So please stay tuned:)
Take note that when posting on
use the hashtag
#VintageBlockAlong
because we all want to see them!

Thanks for going back in time
with me
and sewing vintage!!
We will chat again in a few days:)
xx
Lori

