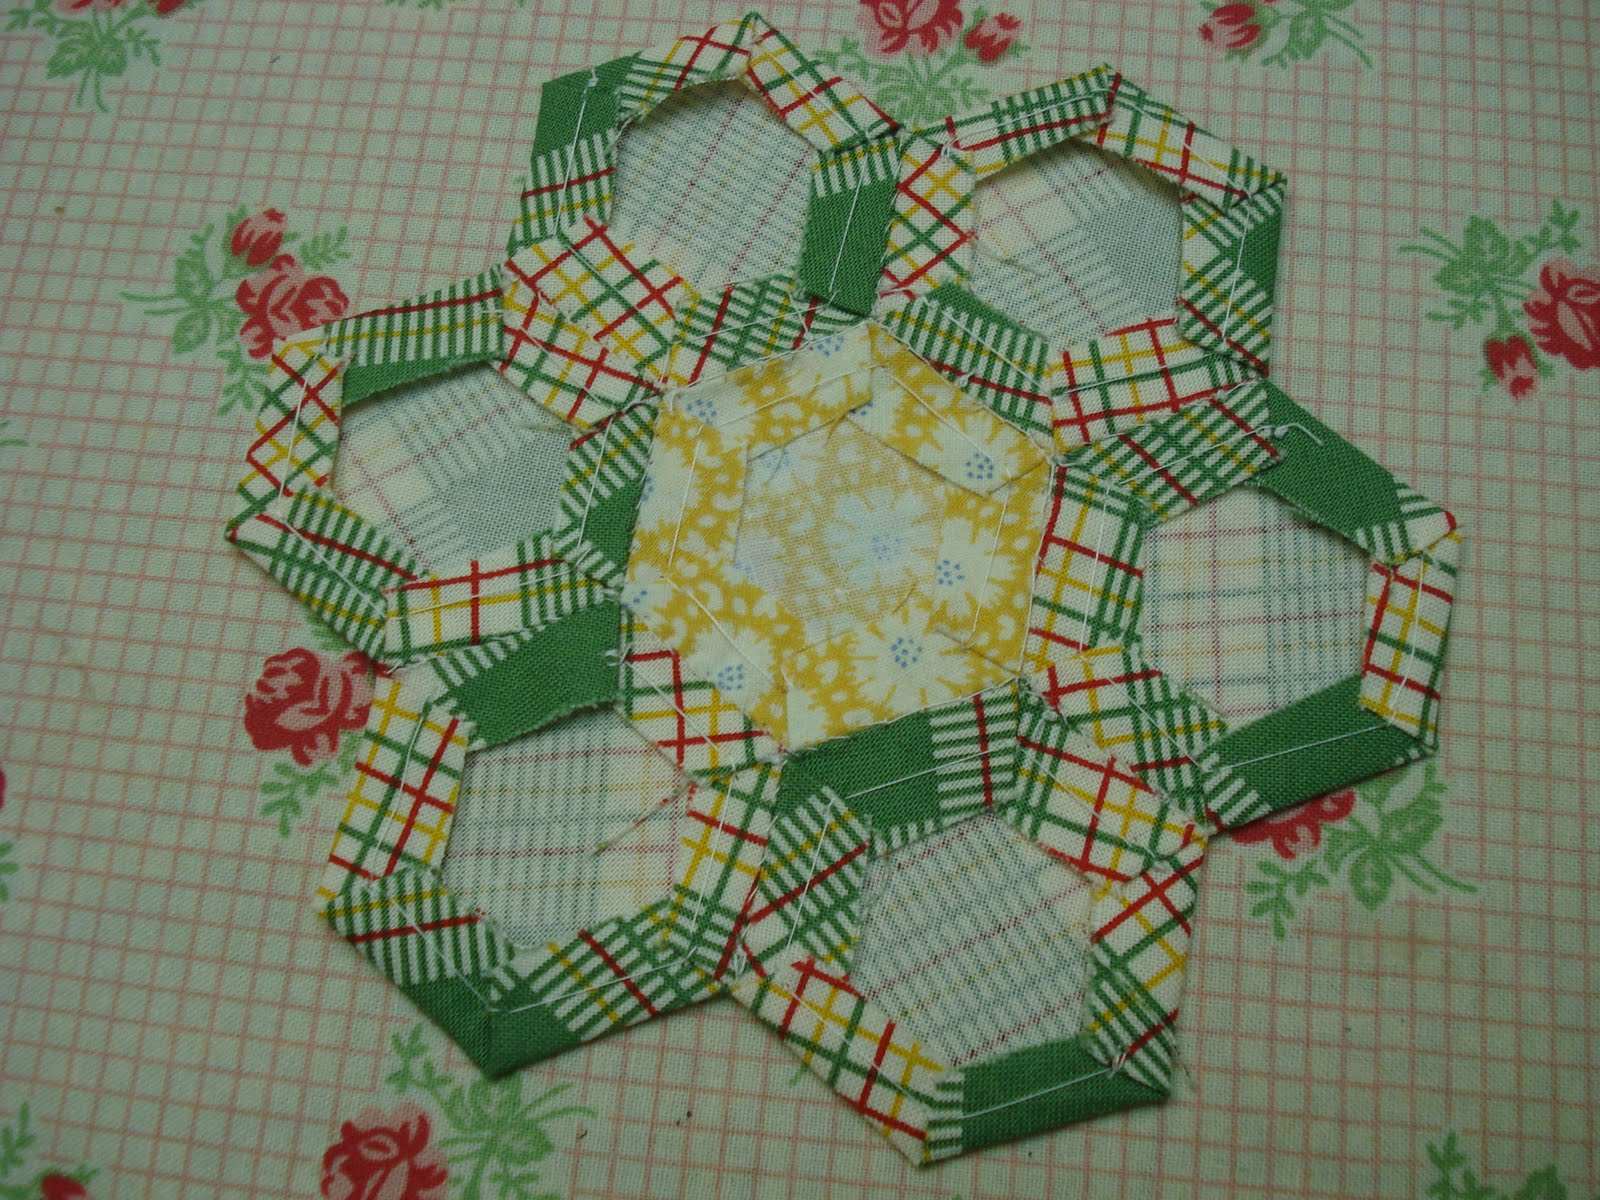
Today I wanted to show you
how to make
patchwork flowers and leaves
with my Sew Simple Shapes
A few weeks ago I did some tutorials
on how I prepare my pieces for
appliqué using the
BLOOM Sew Simple Shapes.
to see those tutorials
if you missed them:)

If you don't have your
BLOOM Sew Simple Shapes yet...
And join the fun!

First up...
I'll be using the
A-23 Sew Simple Shape
from the set.

This is what the flower
looks like using one
fabric for the entire flower
and one fabric for the center .
I used A-2 Sew Simple Shape
for the circle.
Today I want to show you
how you can make the flower
by doing just a little bit
of patchwork first:)

Choose 4 - 2 1/2" squares
from your scrappy stash
and sew them together
into a four patch like this.
Use a scant 1/4" seam allowance.

Press the seams open
and place the A - 23 template
onto the wrong side...
lining up the center marks
on the template
with the center of the
seam allowances and
trace around the template...

Like this.
This line is your stitching line:)
I use a .05 mechanical pencil
for a nice thin line.

Now cut a 5" square of the

Pin together with your
marked lines facing up...

And stitch directly
onto the lines...
all the way around.
Don't forget to backstitch
when you stop and start:)

After stitching...
trim an approximate
1/4" seam allowance
all the way around
like this.

*This step is important!
There are 4 "cleavage" areas
in this A - 23 Sew Simple Shape.
You will need to
clip right up to the stitching
(but not into or past the stitching)
just like this...
so that your flower will
lay flat when you
turn it inside out.
Clip all 4 cleavage areas of the flower.

Now pinch the Pellon
away from the flower front
and make a small clip
in the Pellon only.

Cut an "X" like this
for the opening to turn.

Turn right side out and
use a smoothing tool to help
push out the points and curves.
***Use this tool gently...
don't poke through the Pellon:)

Press it nice and flat
from the front...not the back.
Cute right?
It looks complicated and
somewhat like
english paper piecing
but as you just saw...
it's machine sewn and easy peasy!

I chose to use
A-2 Sew Simple Shape
from the set to make
the center circle for
this cute patchwork flower.

I used a 3 1/2" square of fabric
from my scrappy stash
and a 3 1/2" square of Pellon.
I traced the sewing line
onto the Pellon.

Pinned...

Stitched and trimmed...

Cut the"X"...

Turned and pressed.
You know the drill by now!

Now I have a cute patchwork flower
ready for hand or machine appliqué:)

It's time for some leaves.

I cut a 3 1/2" x 4"
piece of fabric
and also Pellon...
and traced around the A-11
twice onto the Pellon.

If you are making a set
of matching leaves...
it's easier to do them
both on one piece of fabric:)

Two matching leaves done:)

Now for a
fun and easy patchwork leaf!
I used
Sew Simple Shape A-12
for this set.
I cut each fabric strip
1 1/2" x 4 1/2"
and sewed them together.

Lay the template onto
the wrong side with the
seams pressed open and
trace the stitching lines
like this.

Pin to a piece of Pellon...
cut 2 1/2" x 4 1/2"

Stitch and trim...

Turn and press.
I love how these
patchwork leaves look...
don't you?
Again...
it looks very complicated
but is sew simple!

Next time...
I'll show you how to
make stems and even more
patchwork flowers using
different Sew Simple Shapes.
See you then!
xx
Lori