Okay...this is the post where I tell you how I use 6 mini boards all at once!
(you can find out how to make them HERE) Well the explanation is pretty easy
and straight forward.
It's because I don't like to waste time!
I love making sampler quilts but let's face it...they take a while because each block is cut differently and consists of different fabric combinations.
So what I do to save time is to choose the fabrics for 6 blocks at a time.
This way...my fabric piles are already out on my counter...and I can choose several different color combos for a nice variety.
I really like the choosing fabric part of making and planning a quilt and doing it for several blocks at once is a way that I can really enjoy the process!
After the fabrics are chosen...I cut them into thier individual blocks...and lay each of them out on a design board along with the pattern or page number, name of block or notes etc.
Like this...
After they are all arranged on the design boards...I stack the boards on top of each other so that all of the block pieces and instructions are nice and protected!
I set them next to my machine so that they are all ready to go when I have time to stitch them together...
(this way, they also become portable and easy to take on a sew day with friends).
And if you're like me...you are definitely working on more than one project at a time and this way...you can set these aside and work on something else if you are sew inclined:)
But I digress...
Anyhoo...when sewing, I start with the block on the top design board and when that first one is complete,
I go to the next one...and tada!!!...it's all set up just how I left it and waiting patiently to become another FWQAL block!
There is something very satisfying about getting 6 sampler blocks complete in an afternoon...or even just one at a time when I only have a few minutes to an hour to sew:)
When all 6 blocks are complete...
I start the choosing fabric and cutting process all over again and stack 6 more ready to go for the next time!
This is how I piece and plan all of my quilts and I make design boards to go along with what ever block size I am making for that particular quilt.
I usually make them about 4-6 inches larger than the size of the finished block.
For example...
if the block finishes at
8"...I make them 12"...
If the block finishes at
12"...I make them 18"...
and so on.
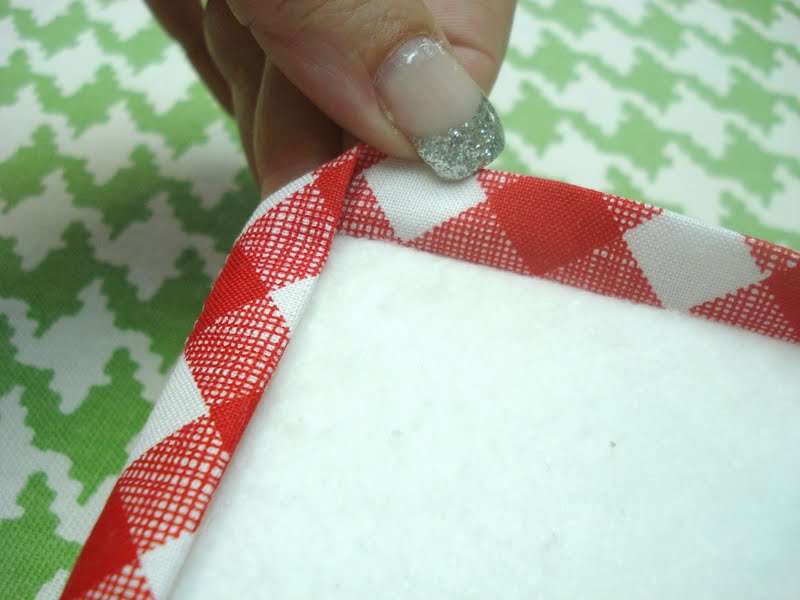
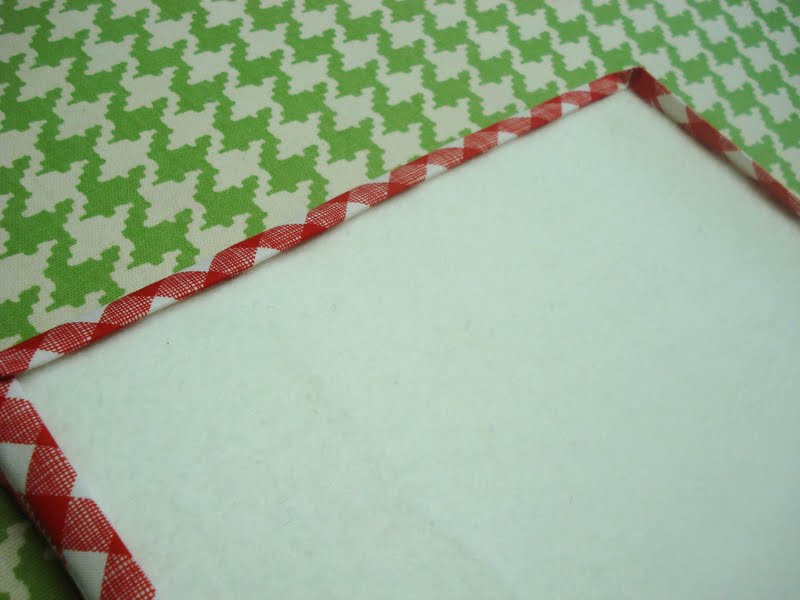
When I finish the edges of the larger boards with fabric...
I simply sew 2 1/2" strips together to make them long enough to fit around the board. I stitch them together on the diagonal and it is a really cute scrappy look.
Also, it's a great way to use up leftover
2 1/2" strips:)
I have been making these for so many years now that I have several sizes made already so I really don't have to make new ones for each and every new project....
although they do get old and worn out looking after alot of use so when that happens...I throw them out and replace them with new.
Another thing I do is have an extra one on hand that I can use for
"a lid"
to place on top of the
"prepared for sewing" stack if I take them with me on retreat... or on a sew day...or camping.
After all...I don't want the wind to blow away my block pieces that are on the top!
I also tie a ribbon around all of them when transporting so that they stay stacked and secure:)
Well...I know this has been alot of explanation about my design boards.
Especially for such a simple thing ...but I love them.
They help me to be more efficient with my sewing time and they also help me to enjoy each step of making a quilt!
I will be showing my FWQAL blocks as I make progress and I have also started to post them on my new flickr account...feel free to check them out and all of the other
The above is what the button looks like and you will find it on my right side bar so that you can click on it anytime to see all of the blocks being posted there.
Until next time...have a quilty day my friends!
xx
Lori