I've been sewing some really fun and easy little coasters for gifts.
I used 5" squares and I thought that
today I would show you how I made them.
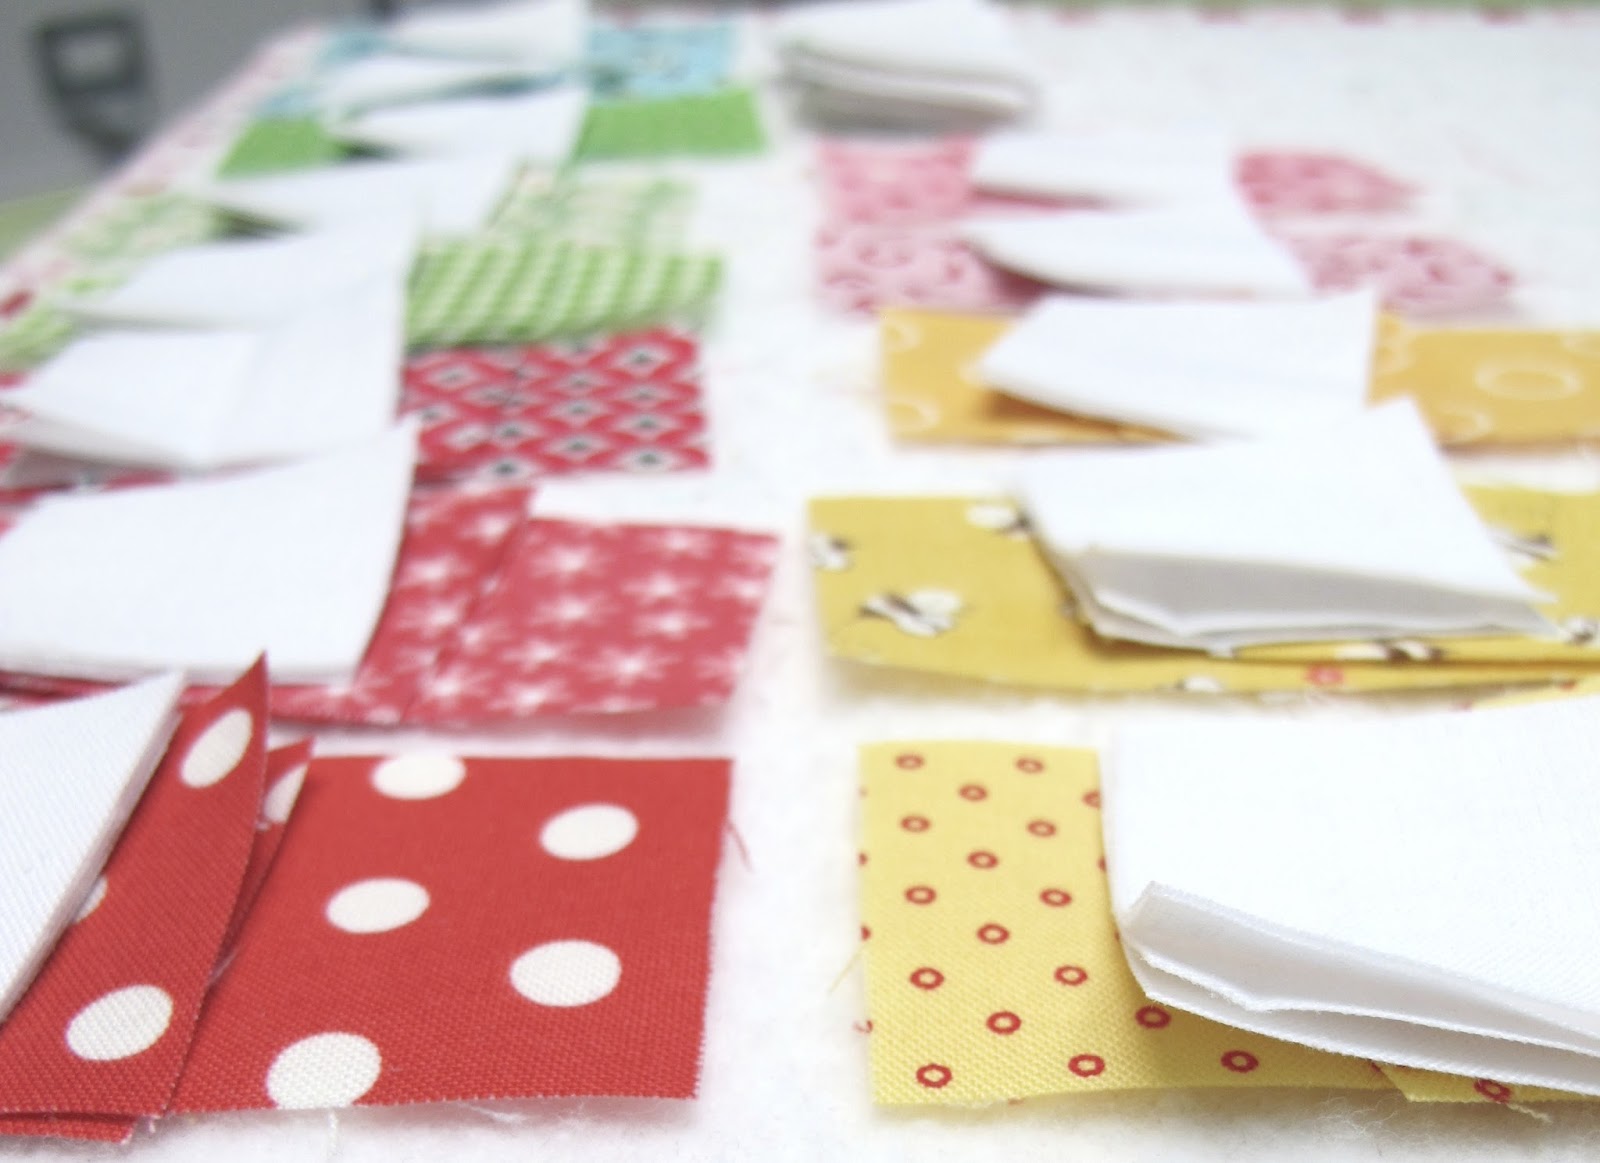
Windham Fabrics sent me this darling charm pack
"Wallflowers" to play with
and I thought it would be cute for these coasters.
My quilty coasters would also be the perfect project
for leftover 5" squares from your quilty stash:)
I used the Omnigrid Marking Rulers Trio
to make my coasters.
You can get yourself a set by clicking
(*they happen to be having a special this month…YaY!)
I laid the longest ruler across the center of one square from corner to corner.
I marked on both sides of the line with a mechanical pencil.
Because the edges are pinked…
you might not be able to get it marked exactly centered…
but no worries!
Just do the best you can.
I square them up afterwards
and there is plenty of room to play with:)
Place two 5" squares right sides together
and sew directly onto your marked lines…
then cut them apart.
Press the seams open for less bulk.
Now mark again like this…
using the medium length ruler in the set.
Place two of them together like this...
and place a pin right into the seams
at the marked lines on BOTH squares
so that the seams will line up after sewing.
Sew directly across your marked lines again…
and cut apart.
You guessed it!…
press the seams open.
Now you will need your
to square it up.
I like to use the
turning mat to trim up my blocks.
Now cut a 4 1/2" piece of batting from
your batting scraps for each coaster.
Place your square directly onto the batting
and do a quick machine quilt on it!
It's not necessary to have a piece of backing fabric for this step.
(but don't forget to use a walking foot)
I quilted across the coaster both ways diagonally
and then 1/8" in from the edge.
I trimmed off the excess batting and laid it
right side up onto the center
of the wrong side of a 5" square.
I folded the sides of the backing squares twice…
with the last fold overlapping the edges of the coaster.
Work with one side at a time...
and top stitch the edges of the backing…
enclosing the edges of the coaster within.
You can see on this one that I have one more side left to do.
(use your walking foot for this too)
YaY!
One cute little quilty coaster complete!
Just keep going until you
make as many as your
cute little heart desires:)
I think a set of four quilty coasters…
would be an adorable little
gift for the holidays!!
makes me smile:)
Have a quilty kind of day…
xx
Lori