

Today I'm going to show you
how to make the third block in my
Vintage Block Along

If you are just tuning in...
the short explanation of
this tutorial series is:
1.My grandma was a quilter and made
many many quilts in her lifetime.
2. She gave me her basket
of patterns that she used
to make her quilts.
I'm sure some of those patterns
came from her mother (Martha)
and sisters as well.
3. I am taking several of those
vintage block patterns and drafting
them so that they can be rotary cut
and sewn by machine instead
of using templates...
which is how the patterns
all were back then:)
4. I'm sharing blocks from her
pattern basket via tutorials
here for you on my blog.
5. I have been waiting for the release
of my Farm Girl Vintage fabric
to do this series because both of my
grandma's were the original
farm girls in my life:)
6. The blocks will finish at all different sizes..
and I will put them together into a quilt..
I'll show you how as well.
7. The tutorials will be about one a week.
I've done three so far this week
just to get a good start!
8. I'm not sure how long this will go
or how many blocks I will be doing...
but let me just say that there are
a lot of good vintage blocks
in grandma's basket!

Grandma always made the
best use of her time.
Between all of the things that
a farm wife did back then...
she always managed to make time
for quilting and stitching
with her sisters, my mom,
and me and my sisters too.
She made so many beautiful things
to make her home a comfortable
and a welcome place to be.
The photo above was a
stamped on linen cross stitch
and now hangs in my bedroom.

This is my grandma's cute little farmhouse.
I think she must be taking the picture...
from left to right is
Uncle Ron, my grandpa (Nat) Uncle Bruce,
and then my mom and dad.
Mom was the baby of the family.
This must have been when
my parents were engaged.
Grandma and grandpa raised 5 children..
Aunt Doris and Uncle Lynn
are not in this photo.
An addition was added to the farmhouse
a few years after this photo was taken.
Now my cousin Matthew and
his family live there:)
Grandma loved to decorate and
take good care of her home
and make it a place of rest
for grandpa when he came in from the farm.

Grandma also loved to be with Grandpa
when he was out with the sheep herd too:)
Farm Life was full of hard work and
they worked together and loved it:)

Okay...time to make a block!
Grab your fabric and let's get started:)
If you are using Farm Girl Vintage fabric
I would suggest a fat quarter bundle
along with both fat 8th panels.
I'll be using some of my Bee Backgrounds collection
for the blocks too.
I like to use scrappy backgrounds.
I like the way that they
add to the vintage look.
So no worries about the background
yardage amount for the quilt...
just use what you have...
a different one for each block
or choose 6-8 and use them throughout.
It's your choice!


I decided on these three prints...
you will need 3 colors and
one background for this block.
I chose to use my new aqua pin dot
for the background.
It was originally part of my
Sew Cherry 2 fabric collection
but is now a
Riley Blake Designs Basic...
YaY!

This is the block that I chose out
of my grandma's pattern basket
for this week...
And yes I had
out on my work table
and I just had to add some
round granny's
to the photo for fun!
After all...crochet is vintage too:)
My other grandma taught me to crochet.
She loved it and she crocheted
ALL the things for us back then:)

From your background cut:
4 - 3 1/2" x 6 1/2"
8 - 3 1/2" x 3 1/2"
36 - 2" x 2"

From Fabric One Cut:
4 - 6 1/2" x 6 1/2"

From Fabric Two Cut:
4 - 3 1/2" x 3 1/2"

From Fabric Four Cut:
9 - 3 1/2" x 3 1/2"

Pair up these two squares to make
4 half square triangles.

Mark a line or use the
and sew from point to point
with right sides together.
to view how I put it on my machine:)

Trim off the excess and press.

I use my trimmings and cut a
1 1/2" square from each at the same time.
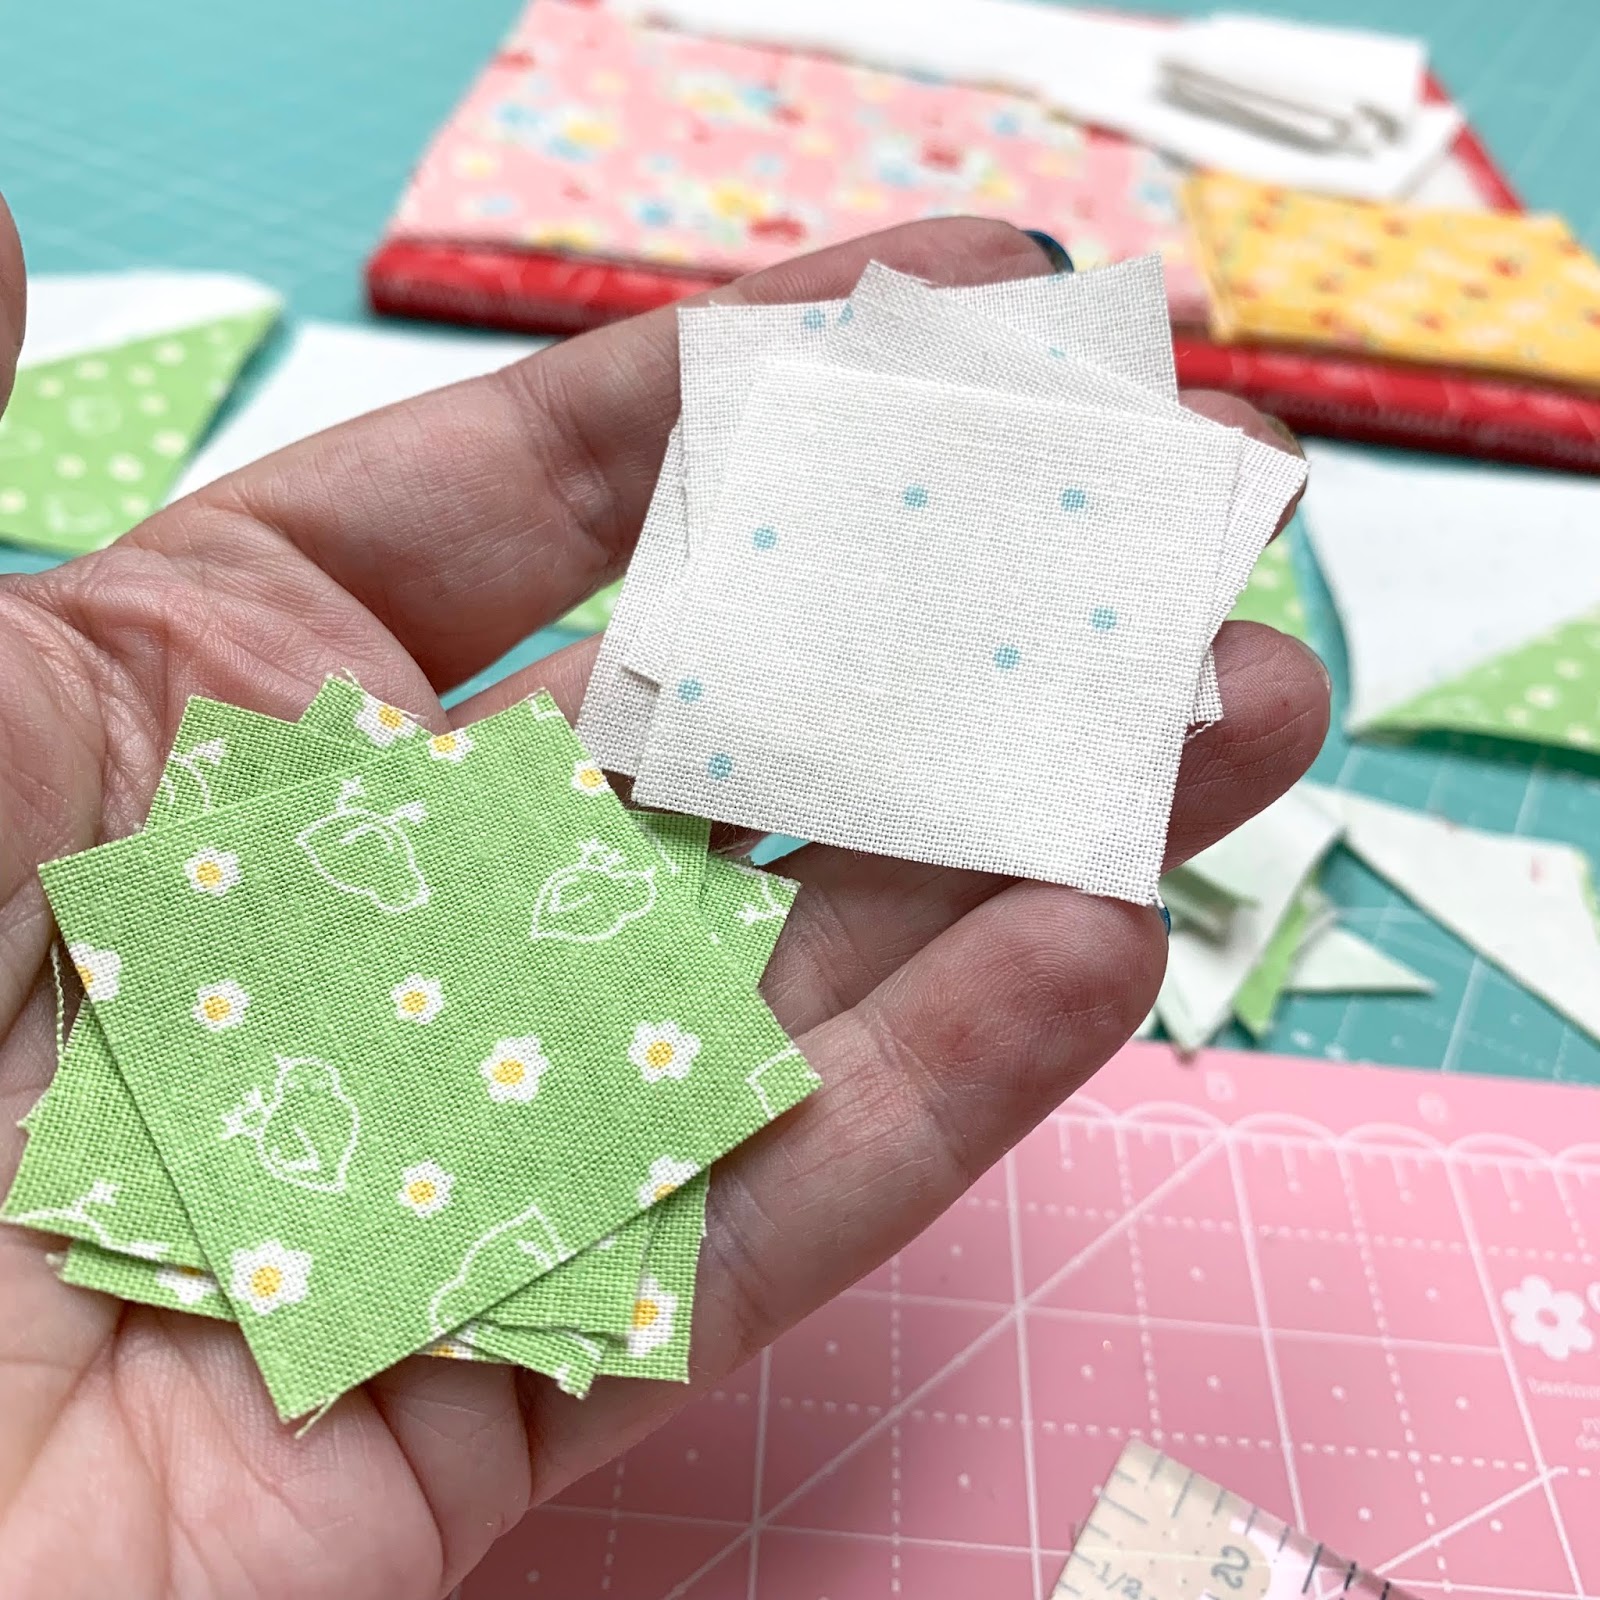
Four 1 1/2" squares to add to
my scrappy square stash:)

Set the 4 half square triangles aside
and grab the nine 3 1/2" squares
and the 2" background squares.
We are going to make
9 square in a square blocks.

Sew an easy corner triangle onto
one corner of each square like this.
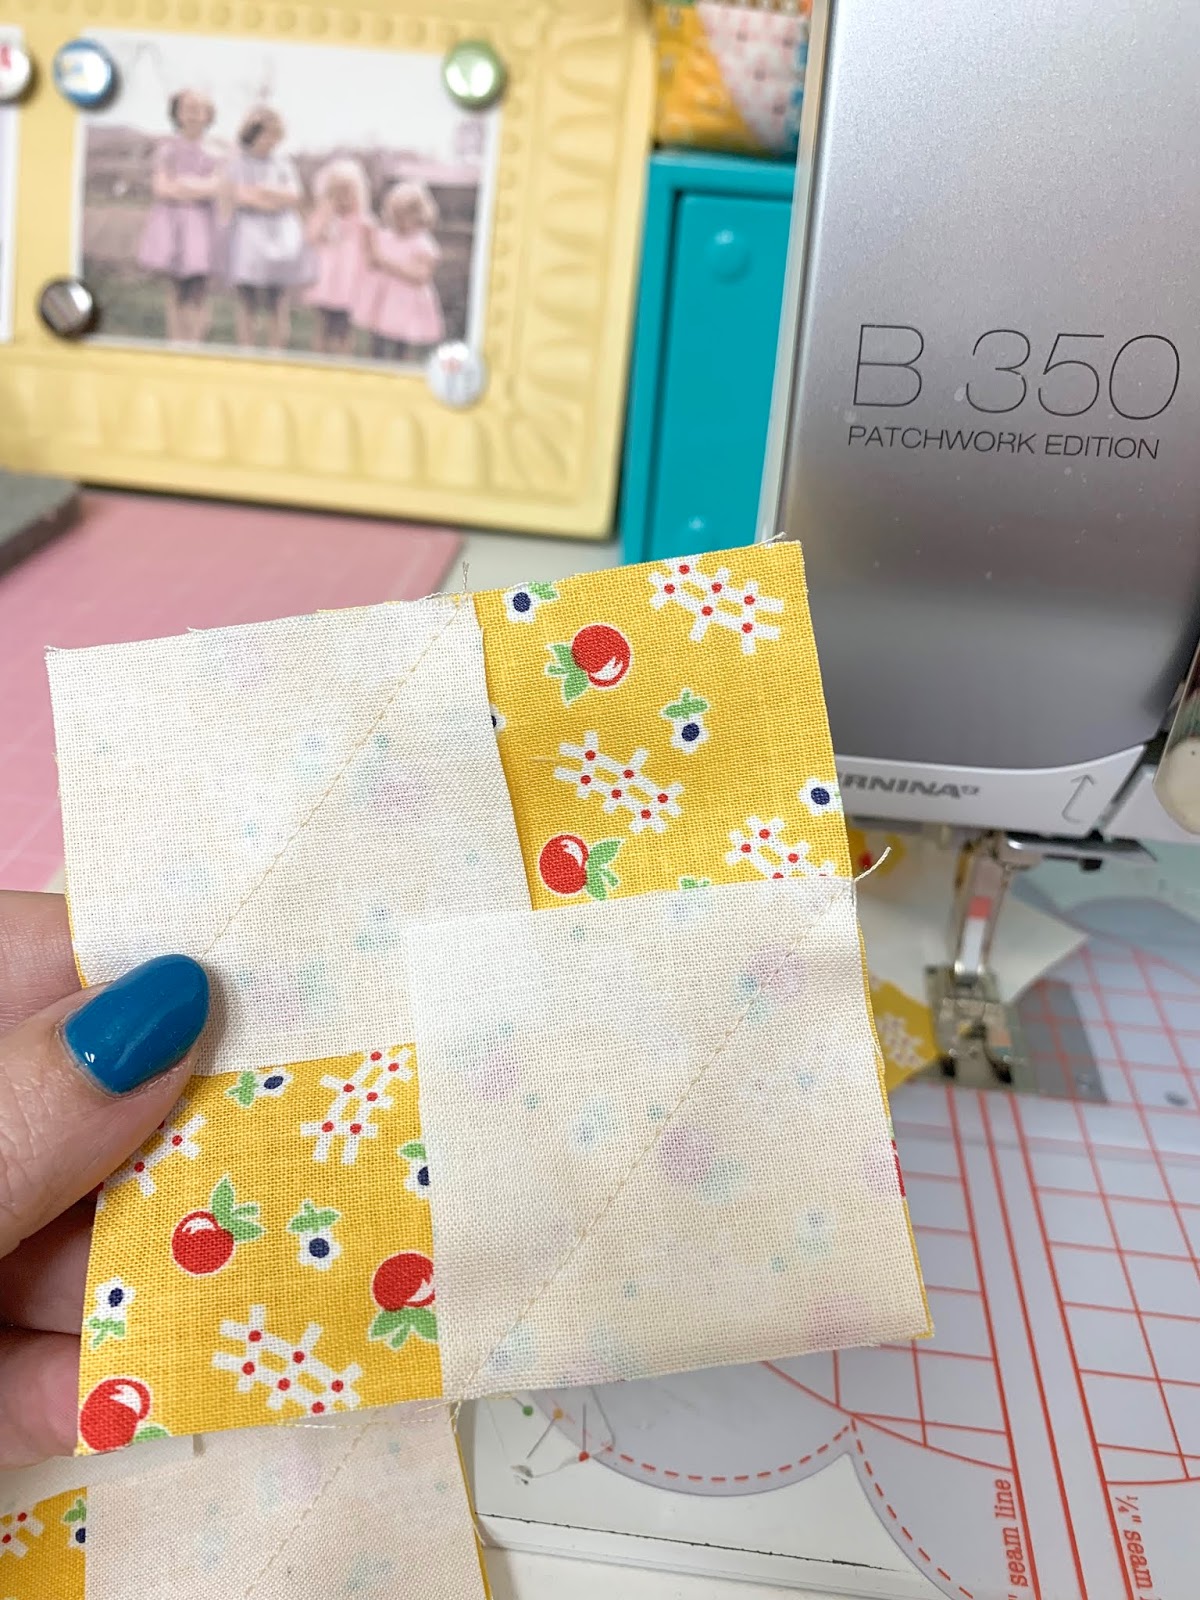
Now sew one to the opposite corner.

Trim away the excess.
These trimmings are too small
for me to keep:)
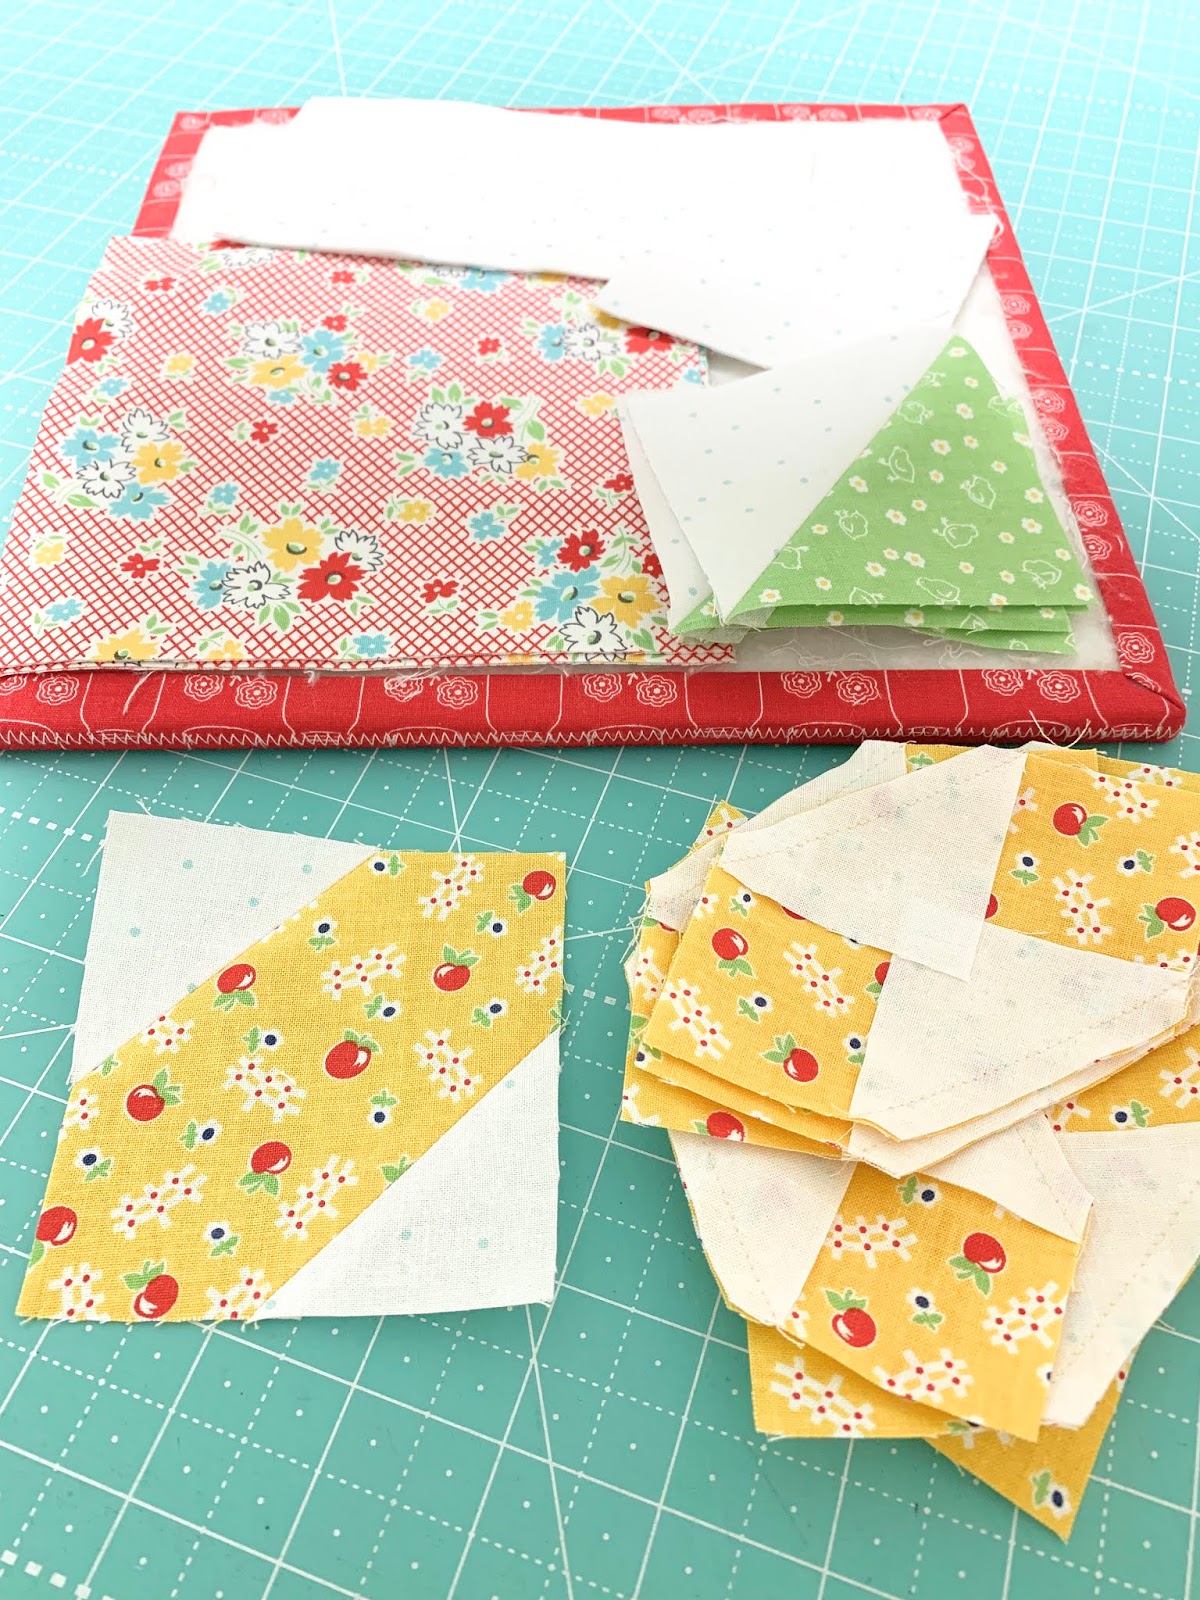
I pressed my seams open.
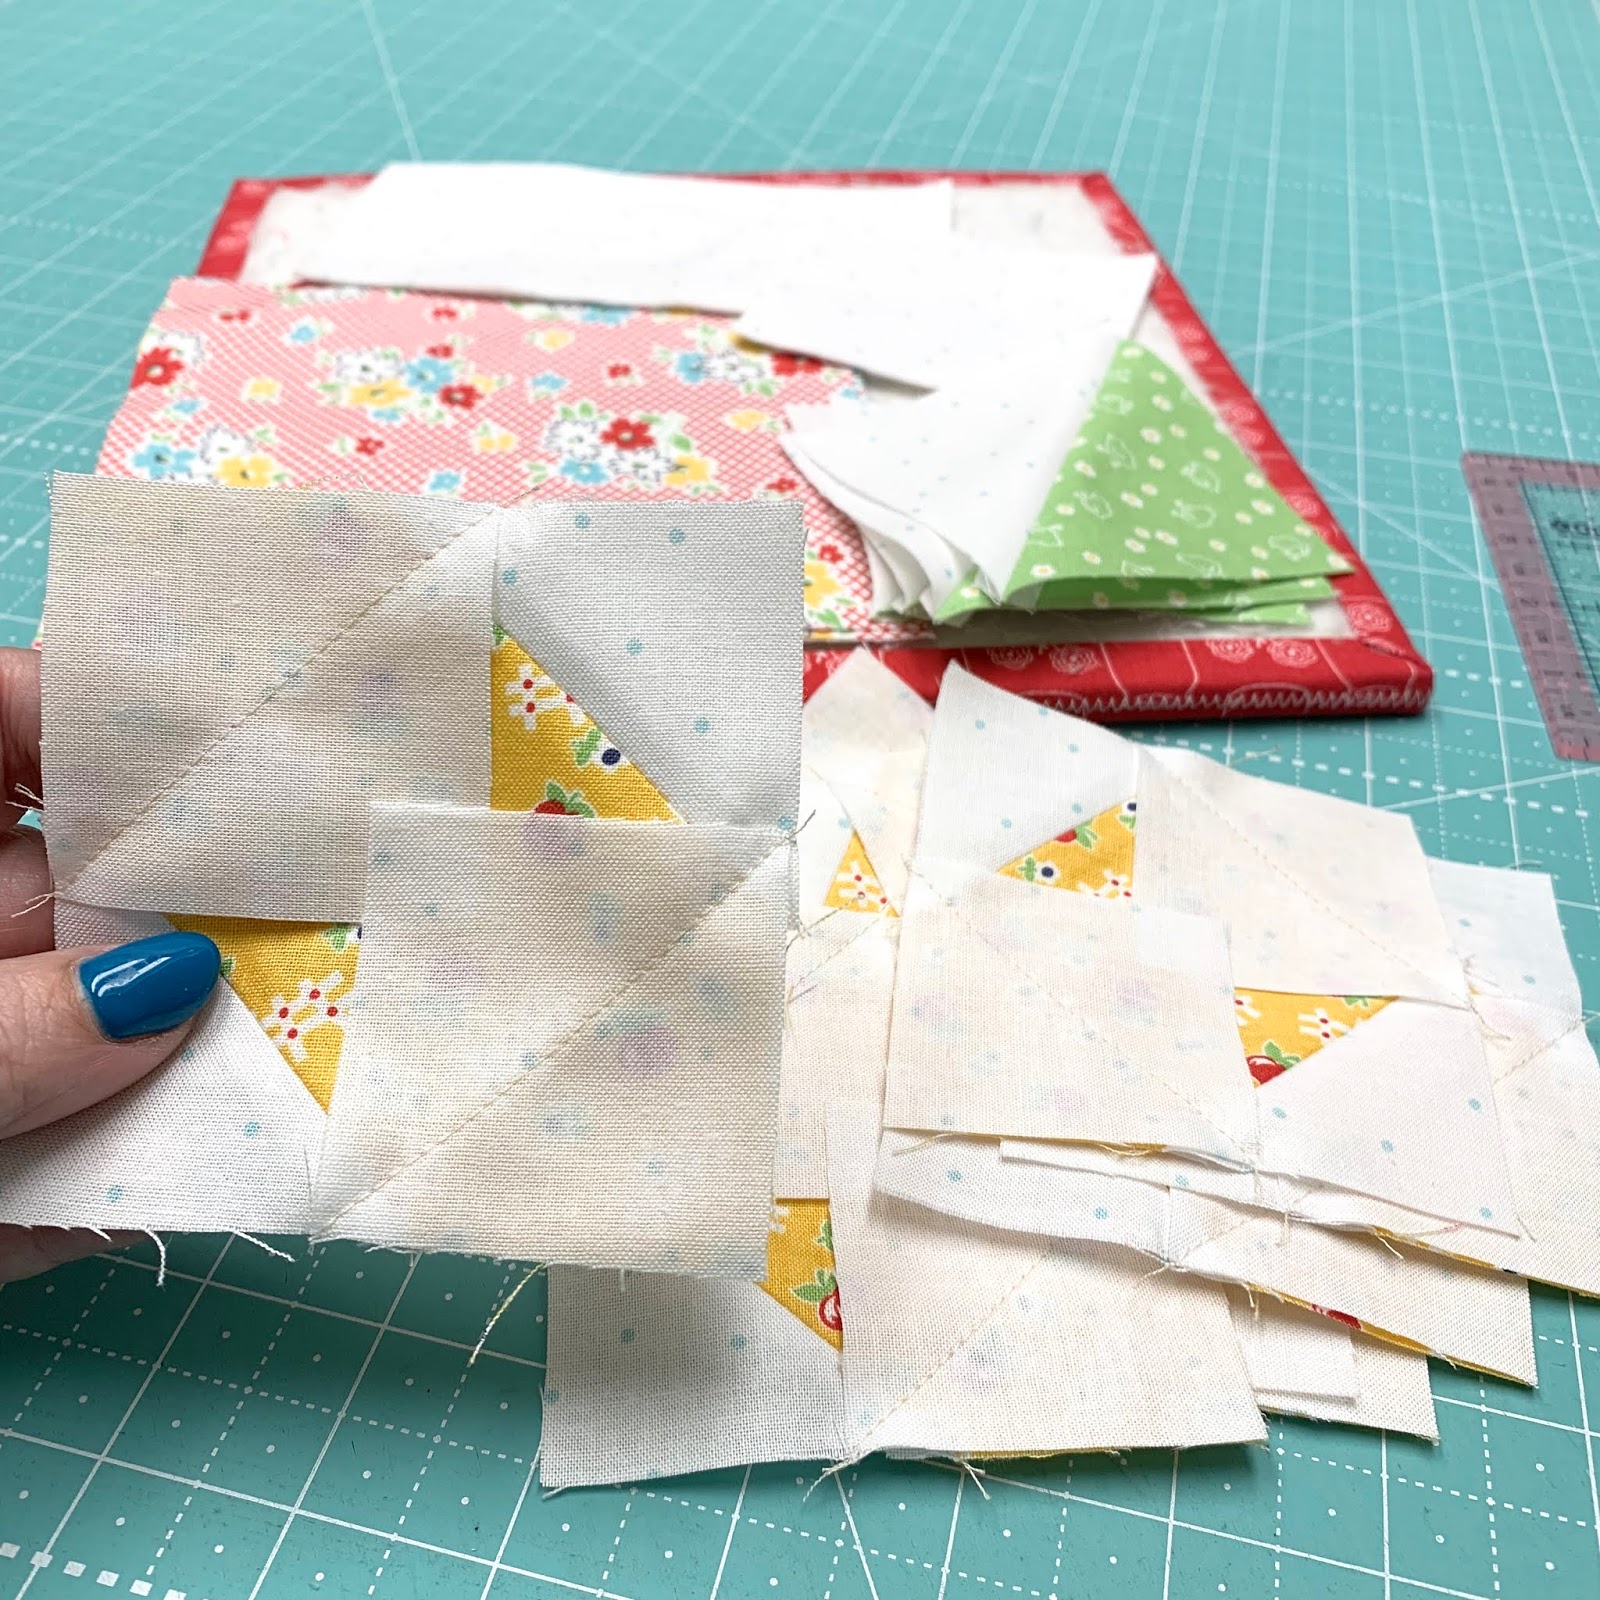
Now add the 2 remaining
easy corner triangles.

Trim and press.

I used my 3 1/2" Trim-It Ruler
to square up these square
in a square segments if needed...

And also the previous
half square triangles.
The lines on my Trim-It Rulers
make it so easy to get things squared up!

Okay...
now it's time to start sewing
your segments together.

Sew them together like this.
You should have 4 of each and have
one square in a square leftover
for the block center.

I used my 6 1/2" Trim-It Ruler
for these segments.

Mark a line from corner to corner
on your large squares.

You will be sewing an
easy corner triangle onto
the bottom of these 4 segments.

I always pin these when the squares are
large so that they line up perfectly.

By the way...
I've had several questions about my
cute little tractor pincushion.
I made it a few years back with the publication of my
I love to make pincushions out of
small vintage things and when I saw this
cute vintage toy tractor
I just knew it would be a
perfect pincushion for this
vintage farm girl:)!

Here's a quick tutorial for you...
I simply used one of my circle rulers
to cut a circle of fabric.
Sorry that I can't remember which
size because it's been too long!
I just turned under and gathered the edges
by hand and stuffed it firmly...
then tied off and knotted it.

Then I glued it right onto the
tractor seat using a glue gun.
Cute and easy peasy!
Now back to my original tutorial!

When you are trimming
the excess from these segments...
make sure that you have the
half square triangle side up
so that you can be sure to
trim off the correct part!

I pressed towards the half square triangle.

And yes...
I sure did cut these squares
for my stash out of the trimmings:)
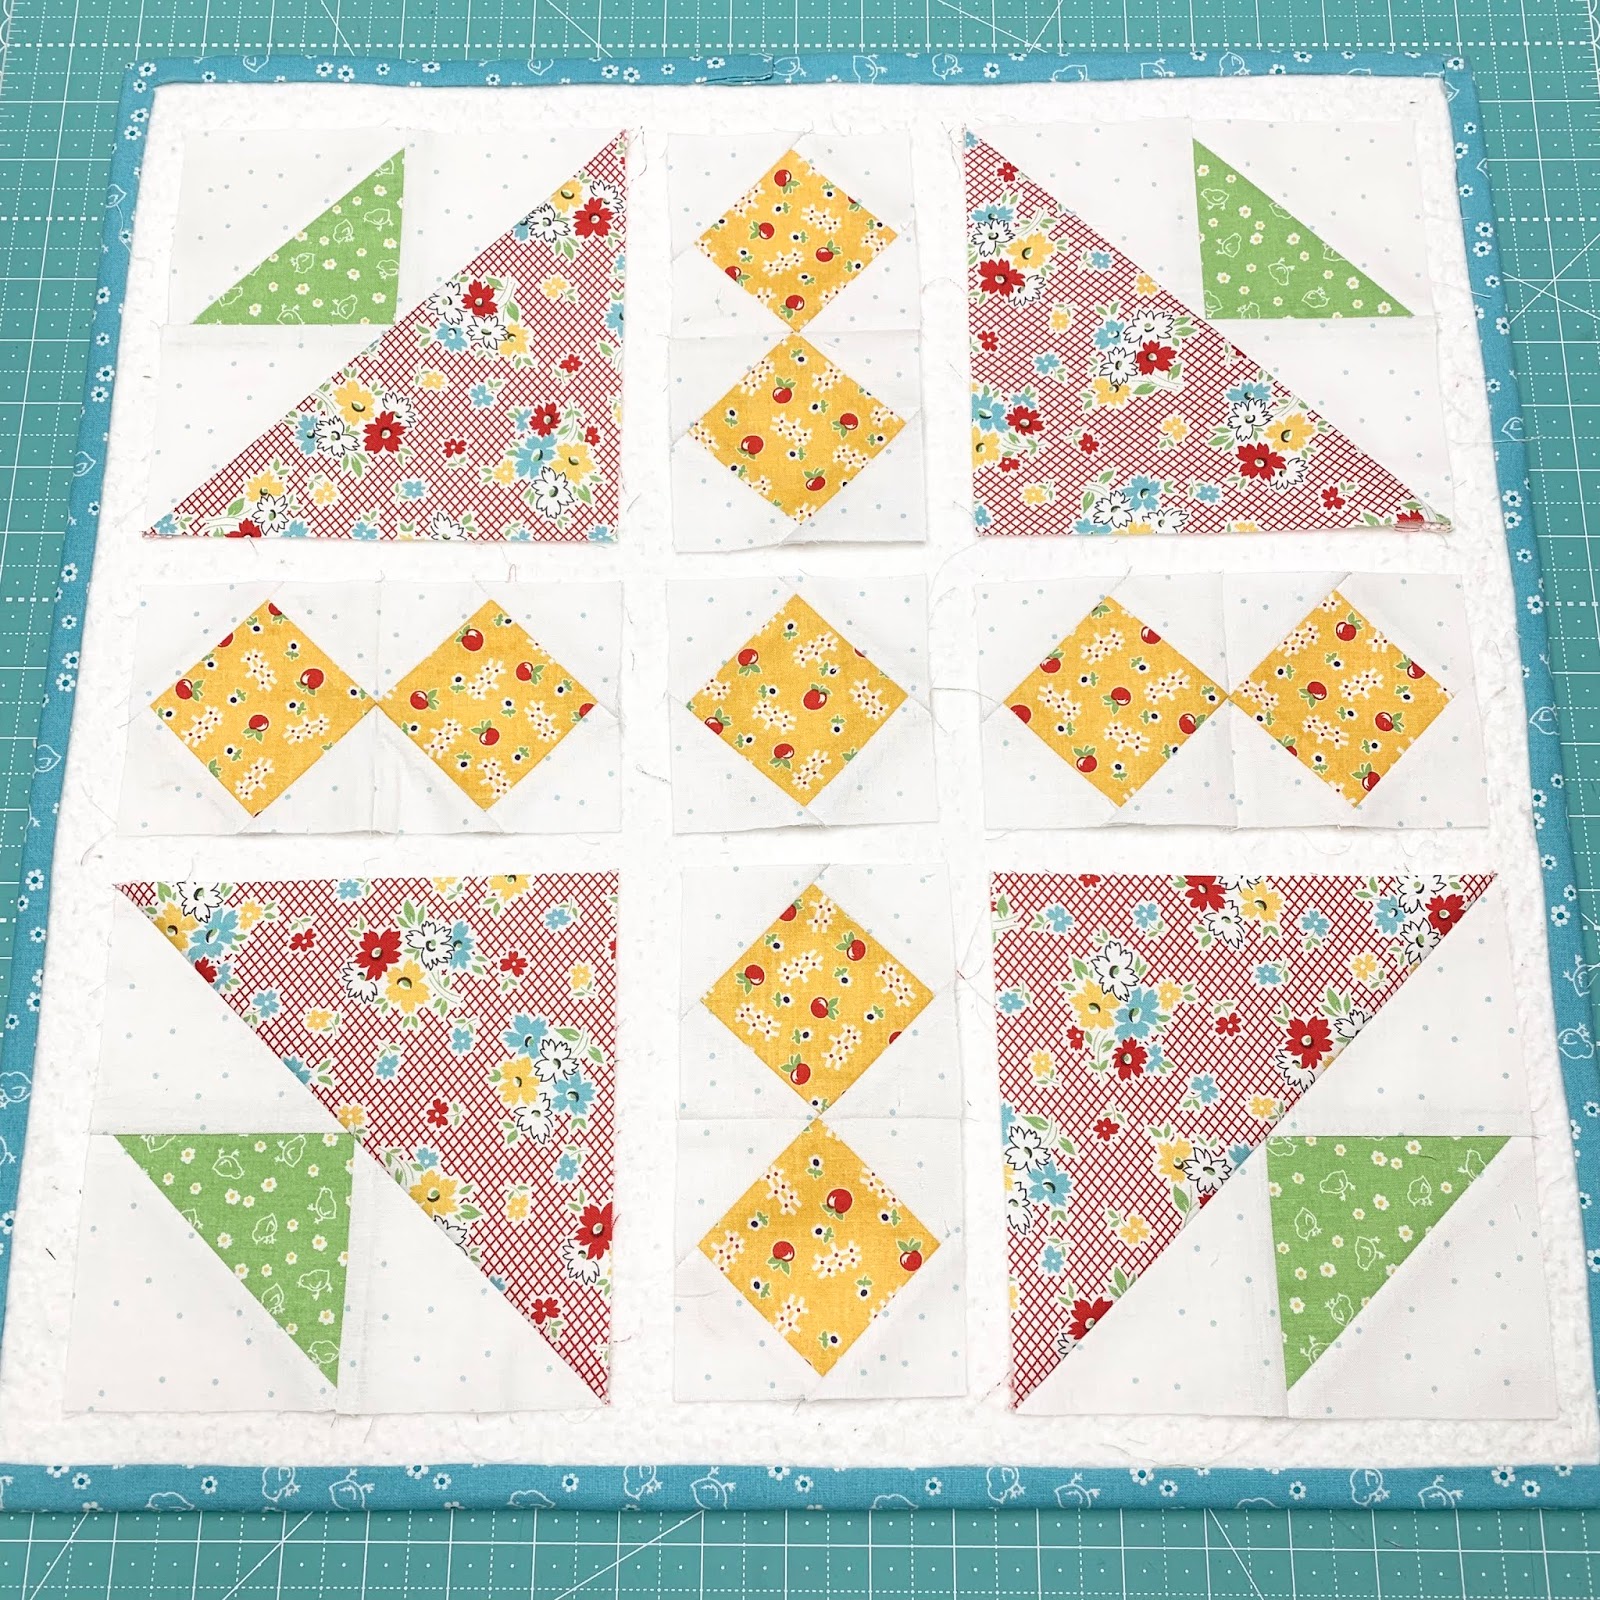
Lay out your block like this.
It's a simple 9 patch now and
you can sew 3 rows of 3...

And then sew those 3 rows together.

This is the back of my block.

AROUND THE CORNER
15" x 15" finished
15 1/2" x 15 1/2" unfinished

This block has the perfect vintage flair
and I'm really happy with
how it turned out!

I named it "Around the Corner"
because we did a lot of
easy corner triangles and also...
my grandma just lived around the corner
from our little farm:)
Also 2 of my great Aunts and Uncles
lived just around the block from us
on opposite corners as well.
My Aunt Isabelle and Uncle Elt on one ...
Aunt Edith and Uncle Jim on the other.
Isabelle and Edith were 2 of
grandma's 5 sisters:)

So here are the first 3
Vintage Block Along blocks together.
Sew vintagey fun!!


If you have missed these tutorials...
here are the links.
Just click on them to
take you right to them.

Thanks for tuning in to my
Vintage Block Along!
Chat with you next time:)
xx
Lori

