Friday, September 16, 2016

Farm Girl Friday - Farm Girl Vintage " Hauling Day" Block Tutorial!!!


I want to show you something fun that 
we did for our 
Farm Girl Vintage Retreat 
last week.
This is my Farm Girl Tractor 
(without embroidery yet)


The pattern for the tractor block
 is on page 82 in my book


We just celebrated 1 year of 
playing with my book!
I've had so much fun doing
 Farm Girl Fridays and Farm Girl Retreat/Workshops:)

I designed the Cake block and
 did a tutorial here as well.
 to bake a Farm Girl Layer Cake!

Today let's continue the celebration by making the tractor trailer! 


I used the same fabrics for my trailer that I used for the tractor:)


When I made my tractor...
 I made 3 small tire units instead of one - 
 so that I had two extra to use for the trailer.
Background for Trailer: 
(after tire units)
A- Cut 1- 6 1/2" square
B- Cut 1 - 5 1/2" x 7 1/2"
C- Cut 1 - 4 1/2" x 10 1/2"
D- Cut 1 - 3 1/2" x 22 1/2"
E- Cut 1 - 3 1/2" x 6 1/2"
F- Cut 4 - 1 1/2" x 6 1/2"
G- Cut 1 - 1 1/2" x 2 1/2"


Then I cut a 1 1/2" x 22 1/2" 
for trailer bed
 and
I cut a 1 1/2" x 6 1/2" 
for trailer hitch.


*NOTE - If you are making the quilt with 3 tractors 
you will need about 3 1/2 yards of background fabric.
My background is 
Riley Blake Swiss Dots in Red:)


First step is to sew the "G" background 
piece to the hitch like this:)


Now assemble the bottom section of the trailer like this:)


You will need to make 3 different Farm Girl Blocks
 from the book to fit onto your trailer.
Make them in the 6" size! 
There are so many 
Farm Girl blocks to choose from
 when deciding what your 
tractors will be hauling...
but I thought it would be fun for this tutorial 
to whip up 3 Haystack Blocks
 from page 38 in the book...


So that this tractor would be 
"Hauling Hay"!!!
Something we did every season
 on our small farm:)
After making three 
6" Farm Girl blocks of your choice...
sew the top section of the 
trailer block together like this.


Add piece "C":)


Sew the top to the bottom...


and hitch your trailer to your tractor and
 get ready to haul some cute farm girl stuff!


Here are a few of the 
super cute tractors 
made at our retreat...


A Happy Farm Girl...
 and another tractor and...
 6" blocks getting ready to be hauled!


Looky at this quilt!
Super cute Farm Girl 
 hauling happening here:)


This is my friend Judy's quilt that 
she made from 3 Hauling Day Blocks:)

YaY!!!

I hope you enjoyed my super easy new Farm Girl Friday tutorial and that it's inspired you to make your own Hauling Day quilt:) 

I can't wait to see what your Farm Girl Tractors are hauling on my 

Play along and use the hashtag
#HaulingDay

xx
Lori


P.S. We also made some mash-up blocks from last years Farm Girl Fridays!

The top one is my 
6" Patchwork Pumpkin 
block mashed up with the 
heart from my
 6" Baby Chick block:)

The bottom photo is my 
12" Patchwork Pumpkin 
mashed up with my
 6" Simple Star block:)
All patterns are in my 
Farm Girl Vintage 
book of course!

Monday, September 12, 2016

Cozy Christmas Sew Along - Week Five - Block Five!!


Well here we are on week five.
YaY! 
Time flies when you're having fun!


Are you ready for block five?
to download the free pattern:)


for the 
Cozy Christmas 
Sew Simple Shapes


And grab your 
Cozy Christmas fabric!


And let's build a snowman!

#CozySnowmanBlock


Here are my 
fabric picks for this week.


Cut all of your pieces 
according the cutting guide.
to download

Cut your 7" background square. 

Cut a 1" wide strip and 
prepare it for the scarf:)


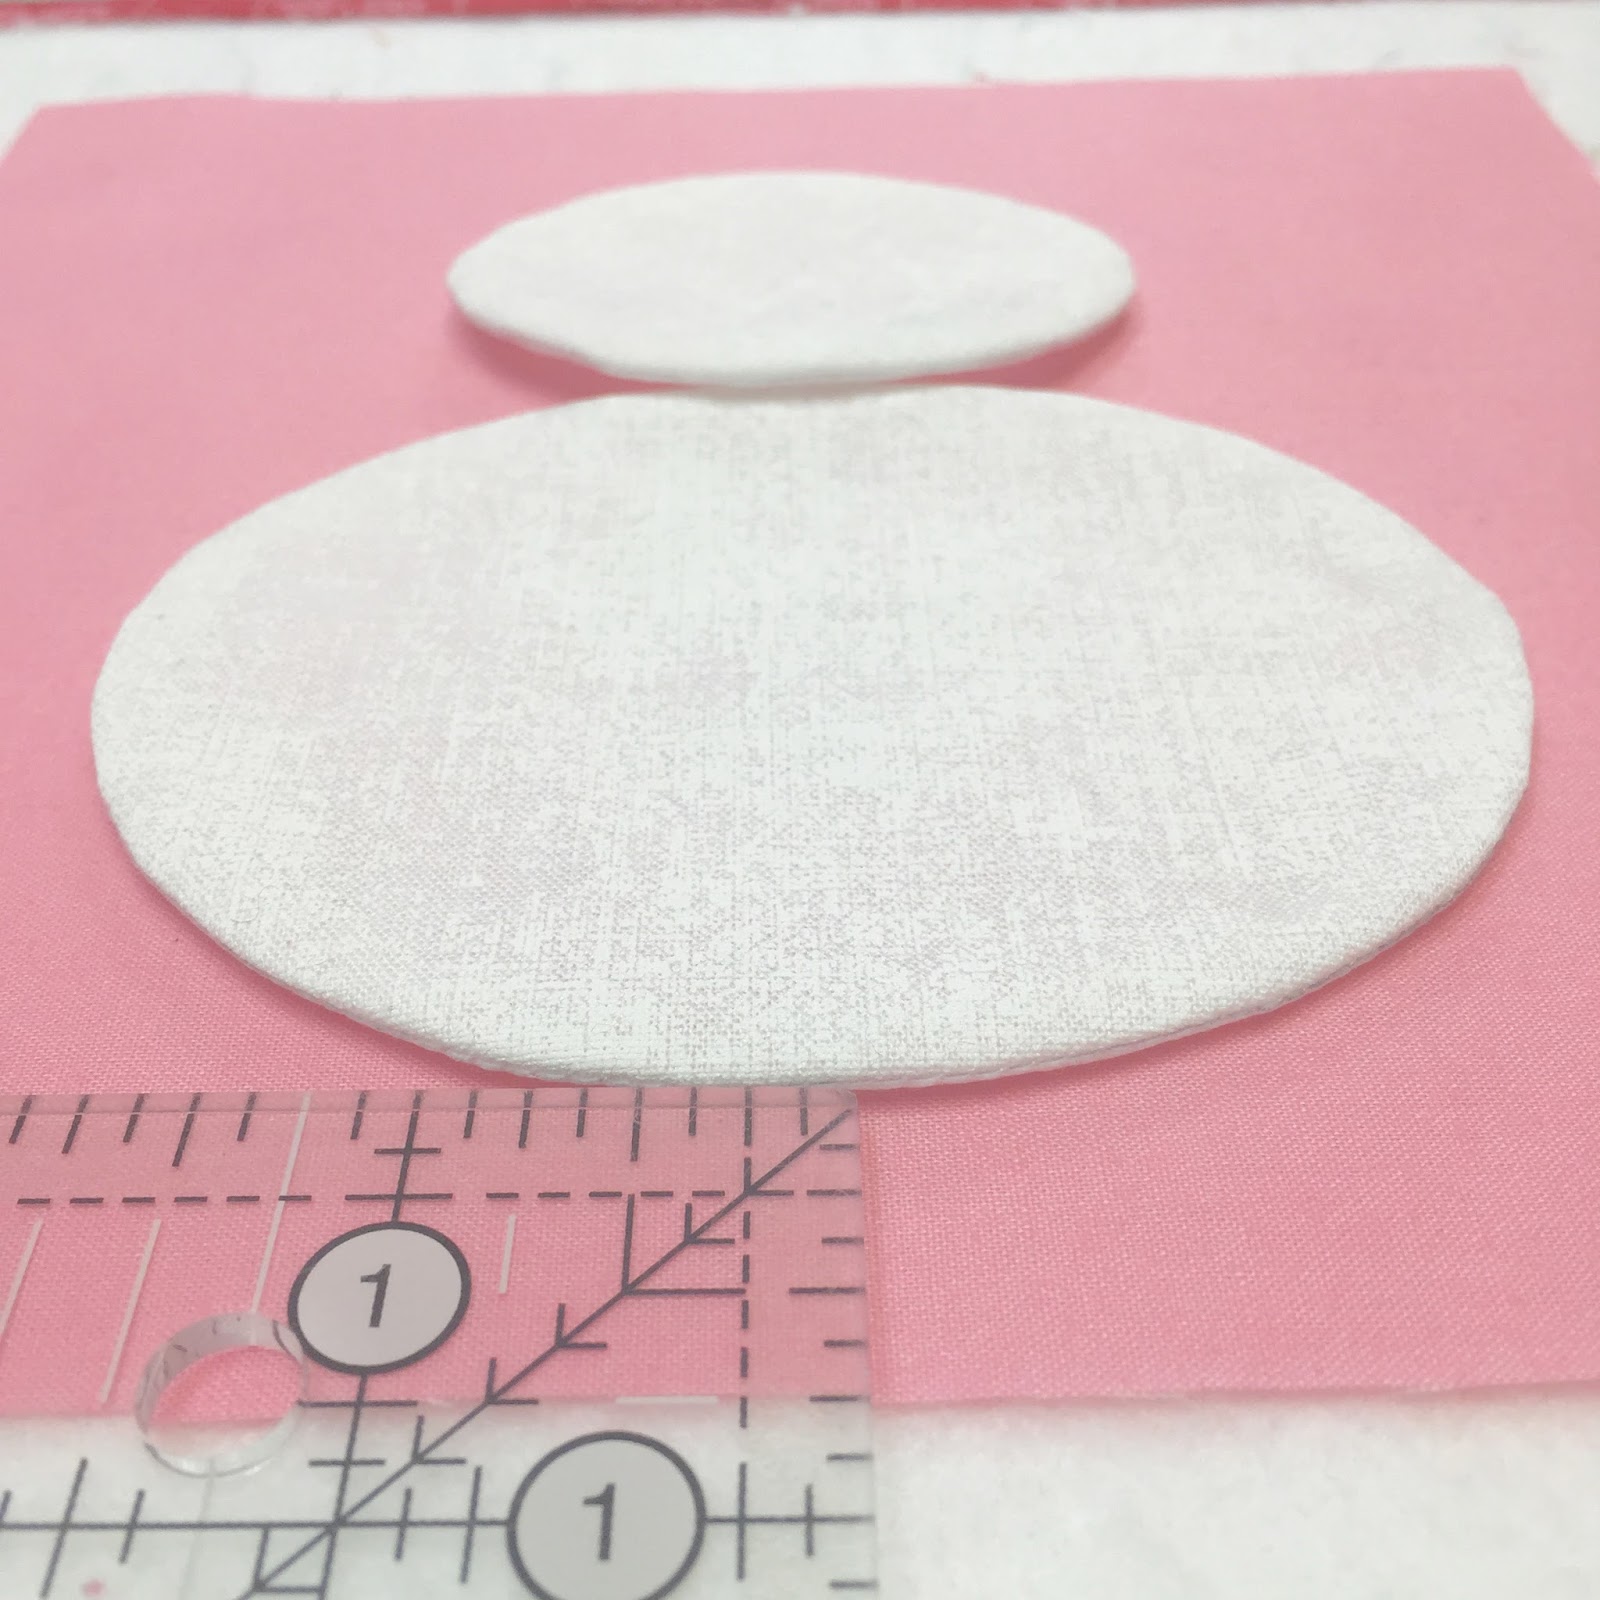
Trace your pieces onto the interfacing.
You may choose to trace your B-13 piece
 with one in reverse like I did for this block...


Or trace them both the same
 like I did for my snowman pillow.
It works both ways!


After sewing...
clip the inside curves 
on the scarf ties like this...


And the cleavage on
 the top of the heart.


Turn...shape...and press!

I show all of these steps in the 


Place the bottom of the snowman 3/4" up from the bottom edge.


Trace your snowman face 
BEFORE
 you place it 1 1/4" down
 from the top edge.


The heart goes in the bottom center oval.
Press the left edge of the scarf under 1/4" and place like this.
You can trim just trim off the other end 
without pressing under
 because the scarf ties will cover it...


Like this:)


Now he's ready for appliqué!


I used all six strands of my
I used a backstitch to embroider the arm, earmuff and carrot nose.
I used a crosstitch for each of his eyes.

I used two of my 
for his cute little earmuffs:)


I trimmed up my block to 6 1/2" square and
 made my flying geese and half square triangles.


I used the white sparkle print
 border for this block:)


Meet your new Cozy Snowman!
He almost makes me ready for snow.
I said almost.
Not yet!


I love seeing your blocks on my 
Keep them coming...
 you are doing great!
xx
Lori


Monday, September 5, 2016

Cozy Christmas Sew Along - Week Four - Block Four!!


Welcome to week four of our 
Cozy Christmas Sew Along


We have finished the 
blocks for the first row...
and now to start the second row:)

If you haven't started yet...
no worries...It's never too late!

to download the 
free pattern for the quilt.


to get the 
Cozy Christmas 
Sew Simple Shapes


We are using my
Cozy Christmas 
Fabric Collection 
for this sew along

Visit your favorite quilt shop or 
search online for the 
Cozy Christmas Quilt Kit


This is our block for this week
#CozyWreathBlock


These are my fabric choices 
for the appliqués.


If you haven't done so...


to download the cutting guide


And cut all of your 
interfacing and fabric pieces 
according to the guide.

Don't forget to cut your 
background 7" x 7" square.

Also cut a 1" wide strip... 


And prepare the bias tape 
for the center knot on the bow:)


Trace your shapes onto the interfacing.
Remember to trace one of the
 B-13 shapes in reverse 
just like I showed you 
in the week one video.


Stitch onto your tracing lines and trim.
***NOTE***
If you would like to see the video again 
or any of the tutorials for the first three blocks...
I have added a link to each post right here
 on my blog on the right sidebar. 

Just scroll down until you see the week
 that you want to view and click on it.

You will need to be viewing the 
full web version
 of my blog to see the icons on the right.


Make one clip in each "cleavage area" on the wreath shape. 


After trimming your B-13 pieces 
you will need to clip the 
INSIDE CURVE section only.

Clip right to the stitches
 but not into the stitches.

Because of this stitching...
your appliqué piece will lie flat 
after turning it right side out...


Like this!


Lay the wreath out onto your
 background square and position it
 3/4" down from the top.


Now place the circle in the center.
I like to use the markings on my template 
to help with the centering:)


Place the bow ties so that they are 3/4"up from the bottom edge.


Press your bias tape under on the
 2 remaining raw edges like this.


This will be the last piece that you appliqué:)


After appliqueing the wreath
 and the center circle... 
I removed the bow pieces 
so that I could do the ties first...


And then finished up the bow:)

I trimmed up my block to 6 1/2" square and 
I sewed the little bells borders on.


Time for the

***You may choose to do this part
 after your quilt is quilted***


I laid out my buttons and
 took a photo on my iPhone 
so that I wouldn't forget
 what color went where.

I used 6 strands of matching 
to sew each button on.


I added the flying geese and
 half square triangles on...
and my cozy wreath is decorated!


YaY!
I love this little wreath:)


#CozyWreathBlock

Next week...
 we will build a snowman!
xx
Lori

Related Posts with Thumbnails