


"EMBROIDERY SCISSORS"

"FAT QUARTERS"

"One and Two QUILT BLOCKS"

Welcome to week five of the
"MY HAPPY PLACE"
Sew Along!
Join me here each week
when I will be doing tutorials
on the blocks for the quilt.
I will be posting each Monday
right here on my blog
and you can follow my tutorials
any time during the week that
is convenient for you.

For this sew along...
We are making the
My Happy Place Quilt
74" x 88"
I've been sew excited to begin...
This is going to be fun!!

The quilt is made with my newest fabric
collection called STITCH...


I am having a lot of fun
with all of the prints in the kit
and I hope that you are as well:)

As all of my
Sew Simple Shapes Sew Alongs go...
We are using the shapes
for the pattern of this quilt
and of course the Sew Along Guide and my tutorials each week.
The set of shapes that we are
using for this quilt are called
MY HAPPY PLACE
I have already posted the
post which details all of the supplies
for the sew along and how it works.
I have also given the link there
for the free PDF Download
of the Sew Along Guide
to read that post.

As per the sew along guide
cutting instructions...hopefully
you were able to have
everything for this weeks blocks
all cut and ready to go.
This weeks tutorials
are here on my blog
and let's get started on them!

Sew Simple Shapes
for the Sewing Scissors Block
you will need:
6 - L6
6 - L5
3 - L22
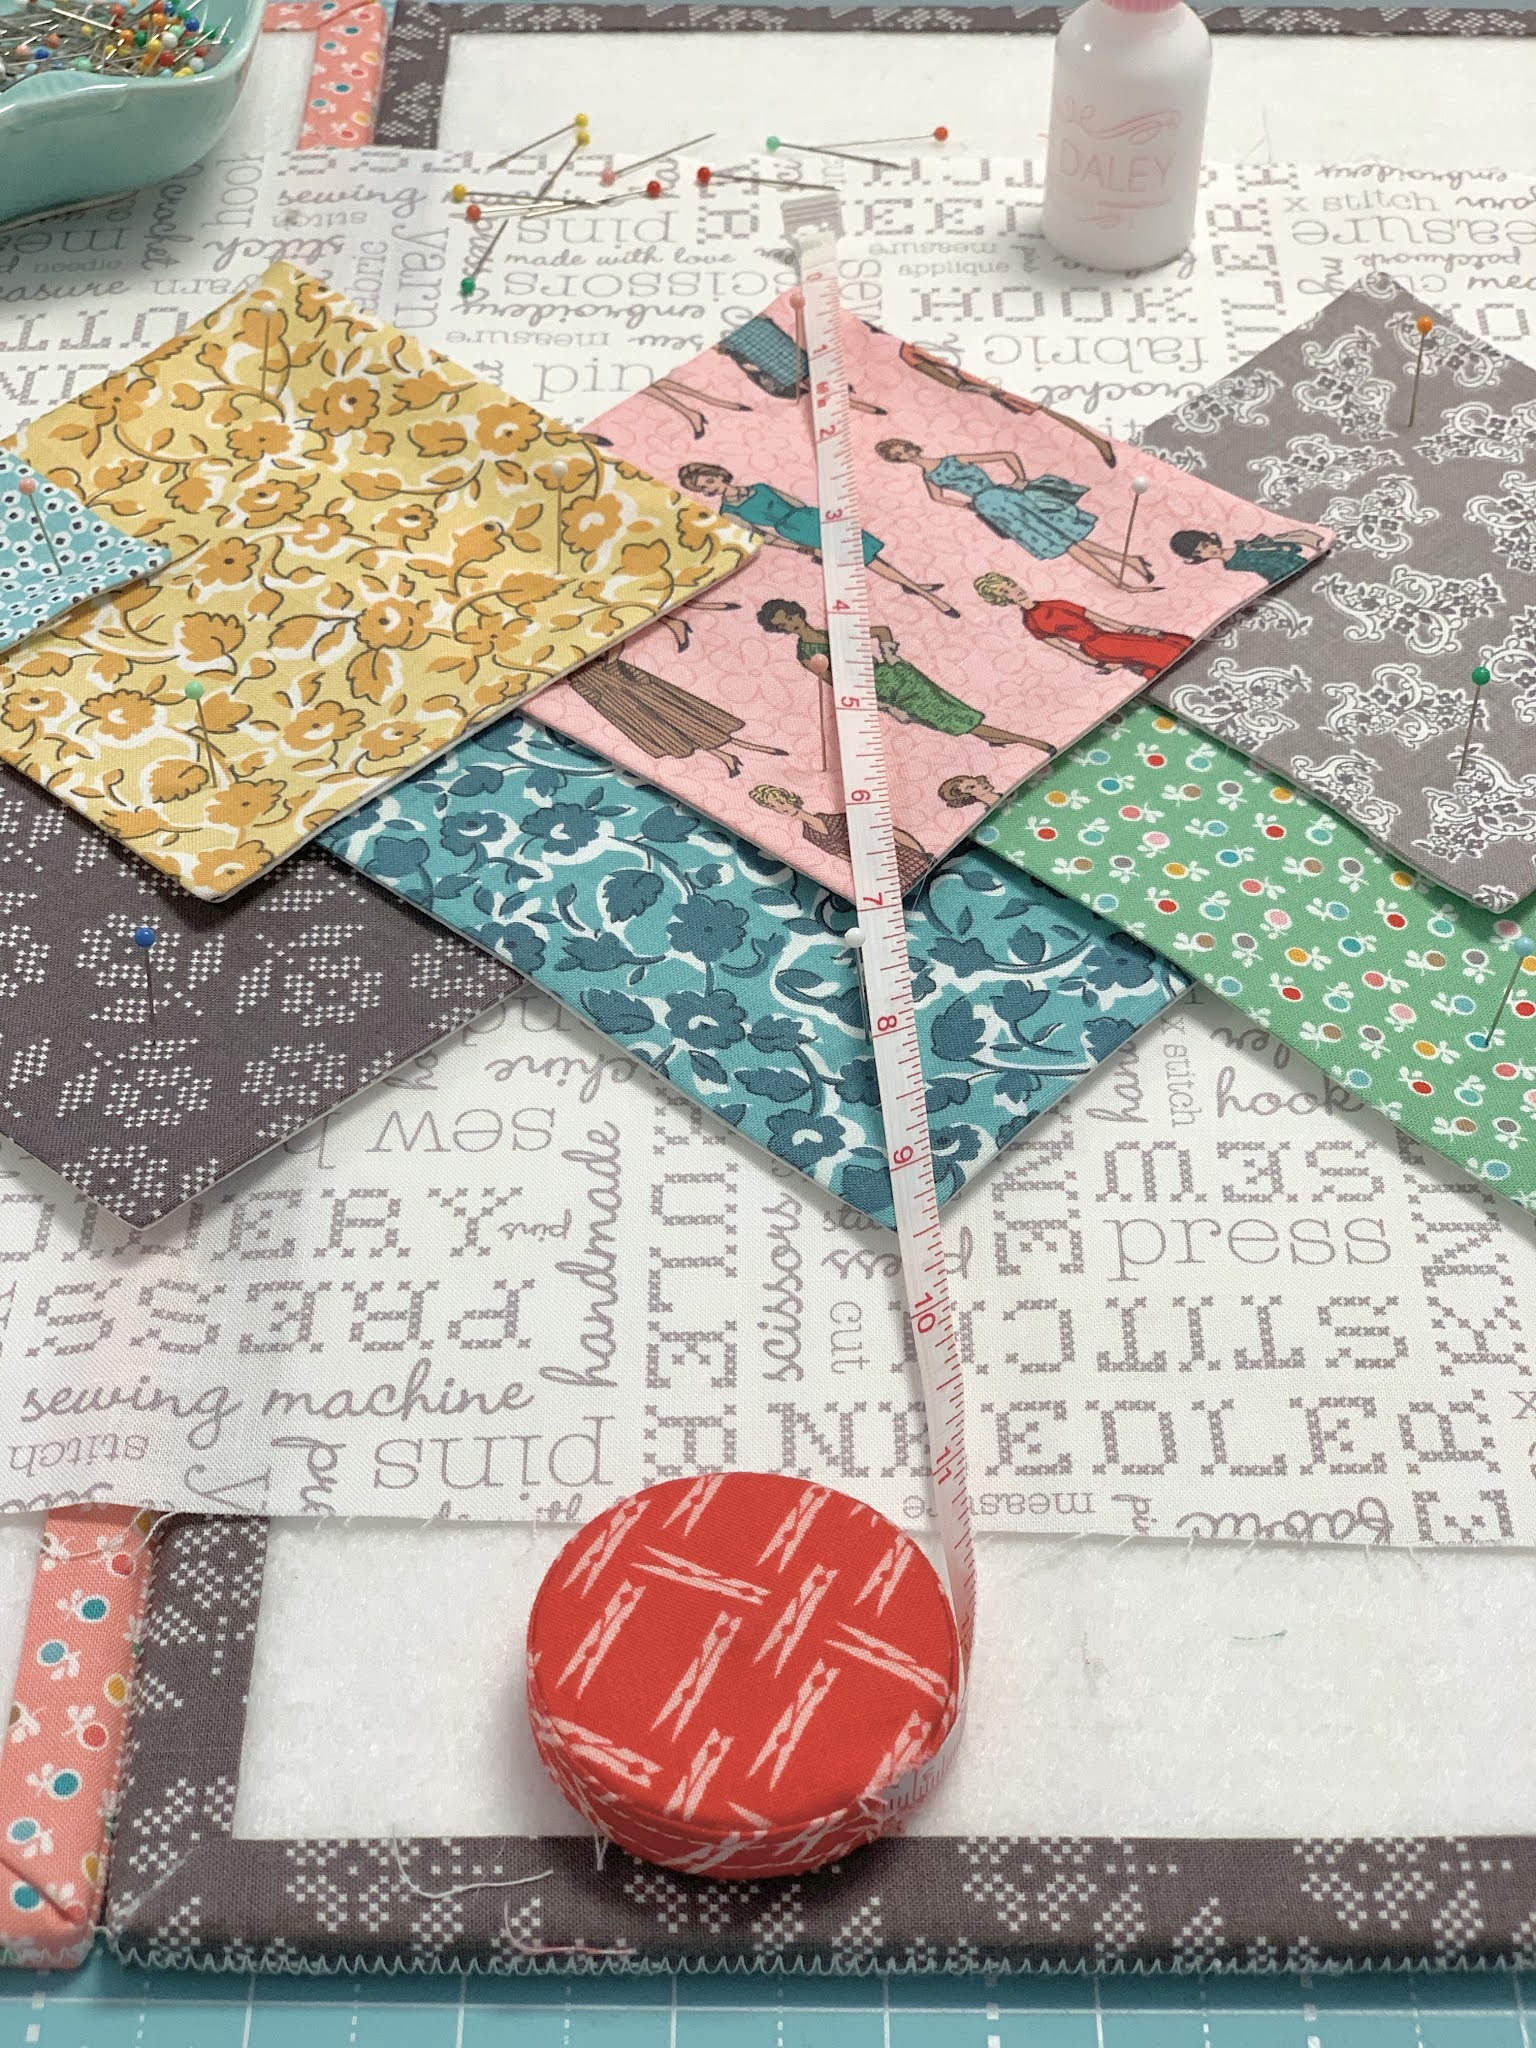
You will of course need to
have your fabrics cut
per the sew along guide
and
You will need a 3/4"x 21"
strip cut for finished
3/8" straight strips
You will need to
have your background cut:
9" x 14"
and you will trim it to
7 1/2" x 12 1/2"
AFTER
it is appliquéd:)

Sew your shapes...
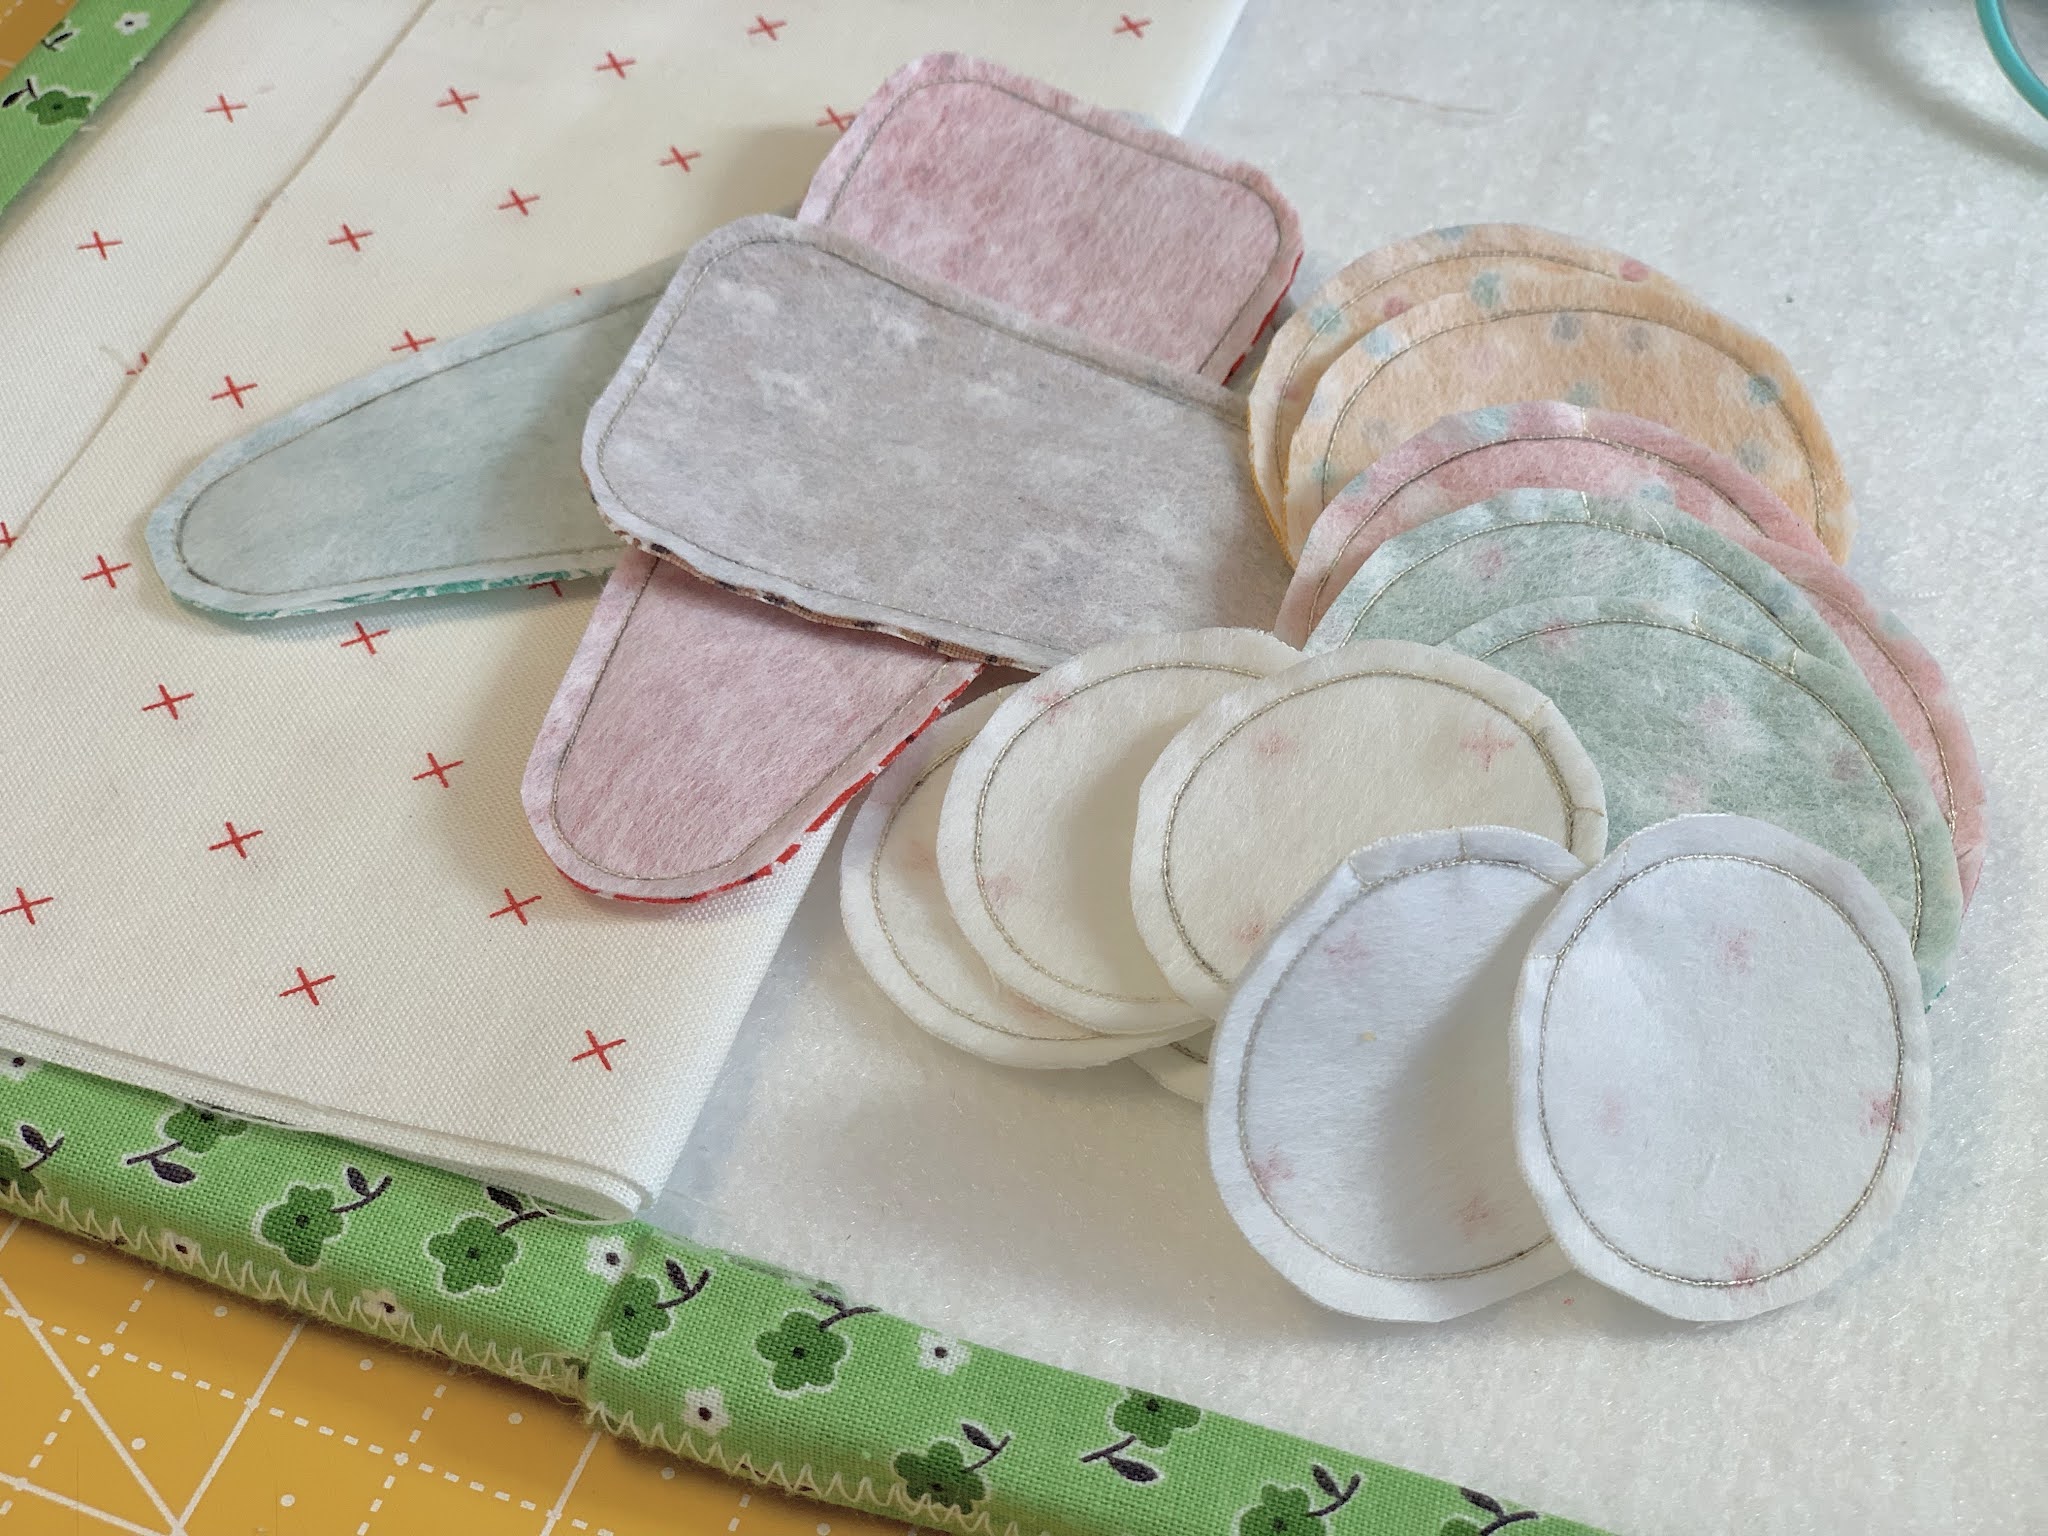
And trim them.
There is no clipping seam allowances
needed for any of these shapes
so you can just turn and shape...

Like this!
Go ahead and run the 3/4" strip
through the 3/8" bias tape maker.
The first thing that I did
before pinning down my shapes
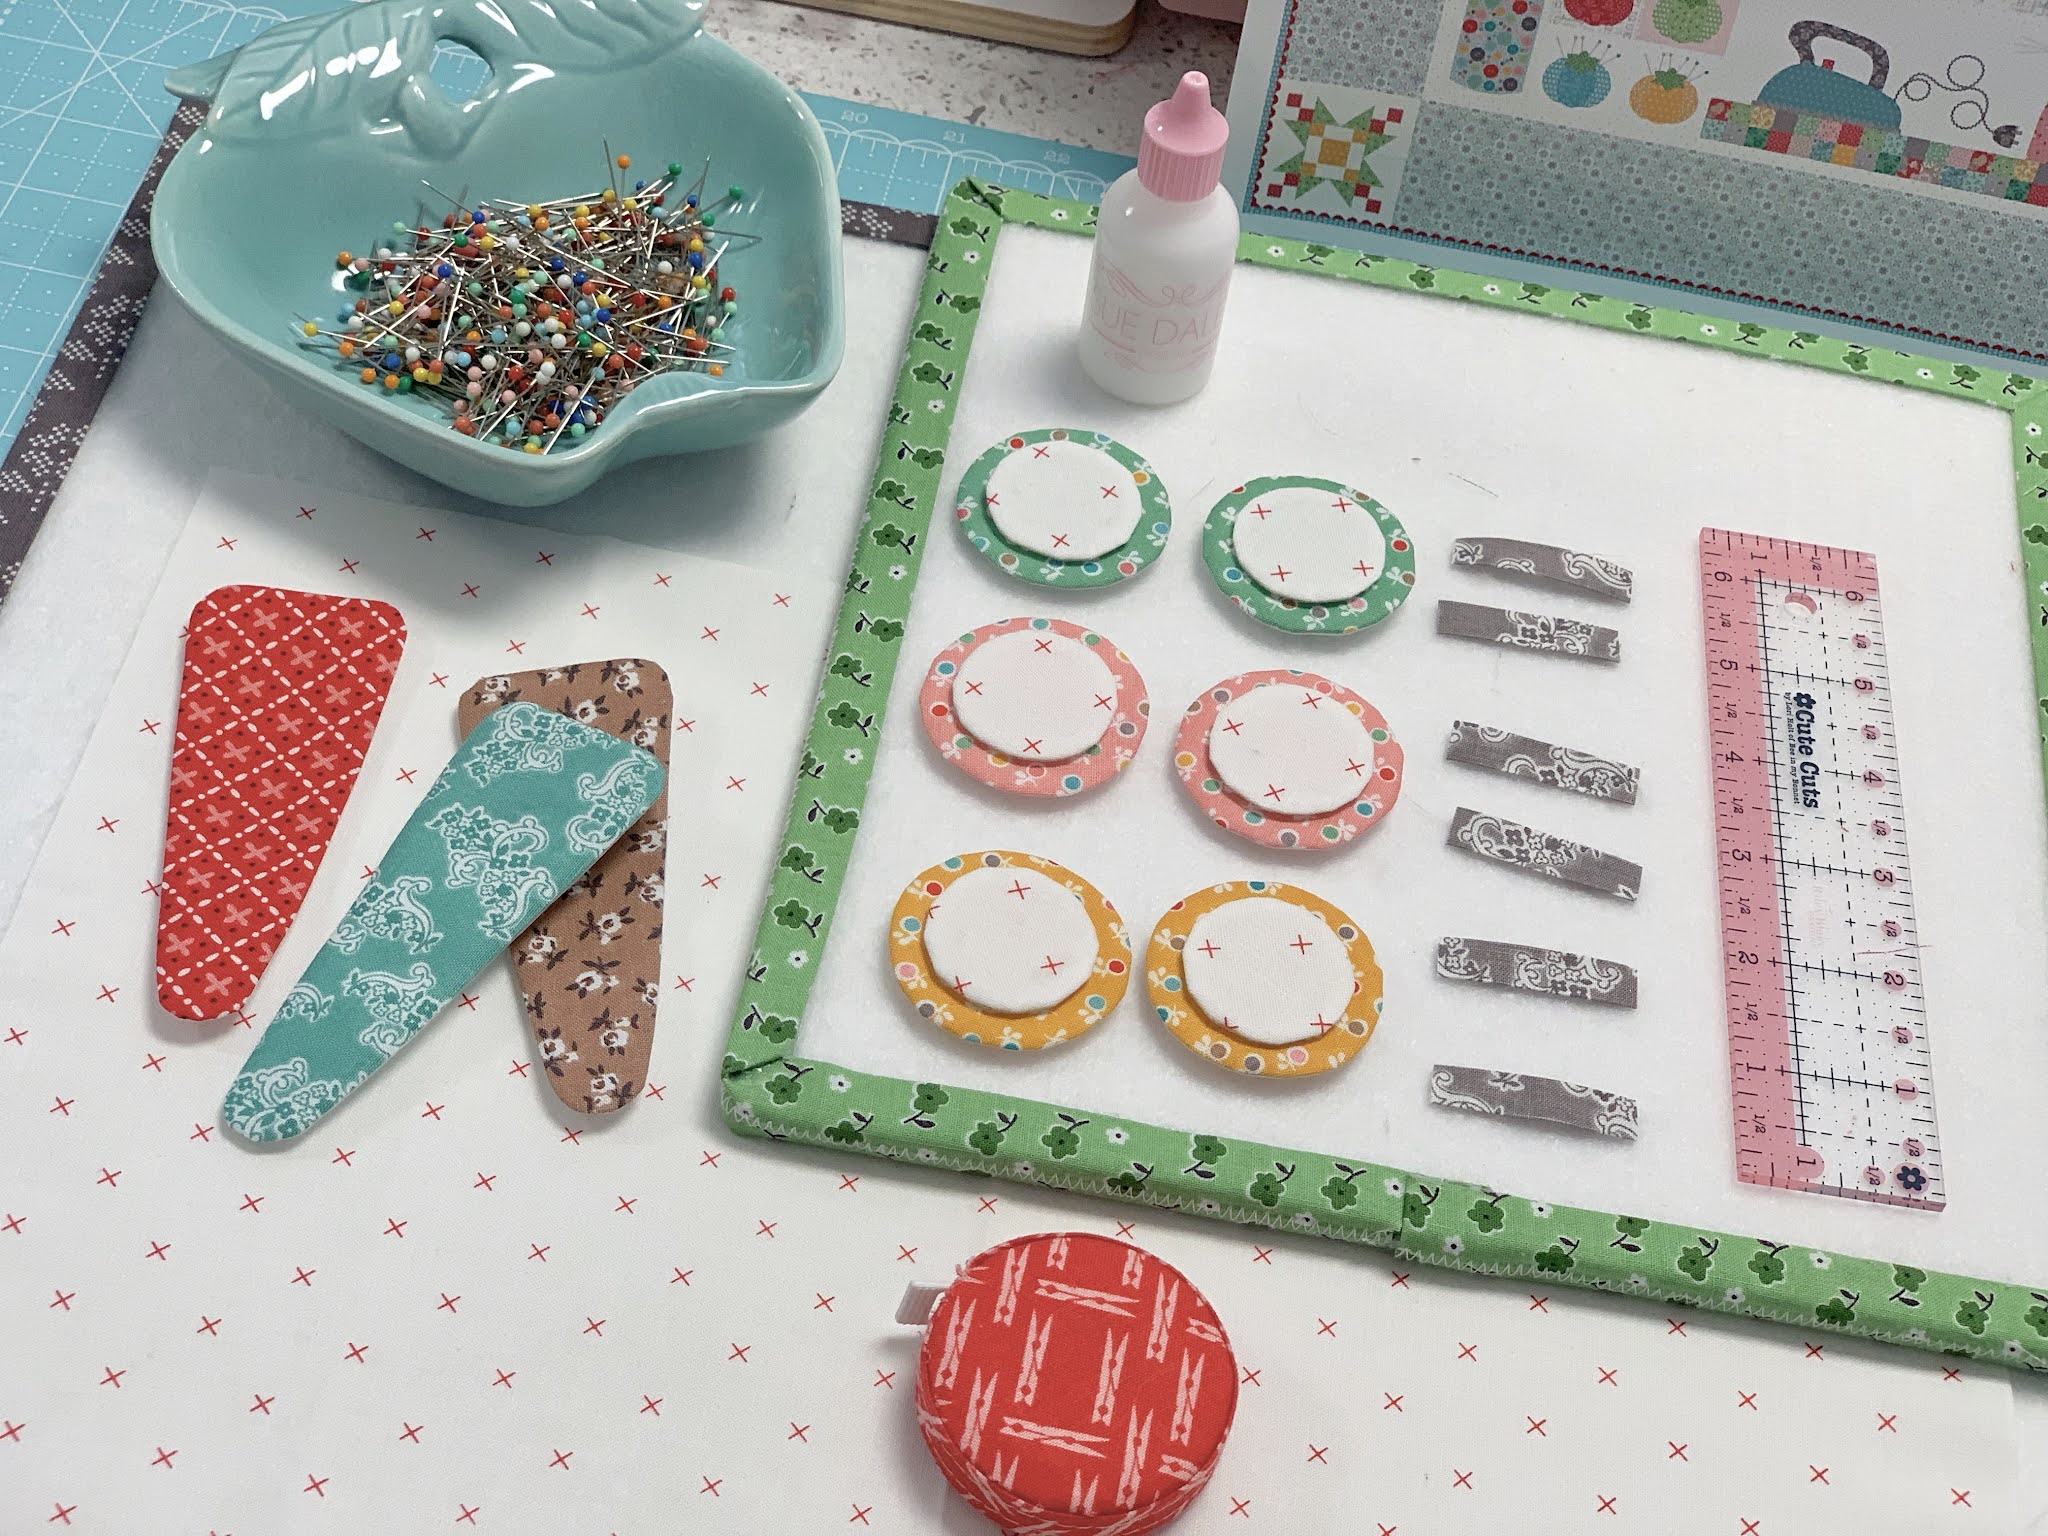
is to glue the small circles
onto the larger circles
and cut 6 - 1 1/2" long strips
for the scissor handles.

I pressed my background fabric in half
so that I could center the
first pair of scissors.
Take note that the circles for
the handles touch each other
and together with the scissor sheath
it should measure 6 1/2" long.
Pin this center pair into place first...
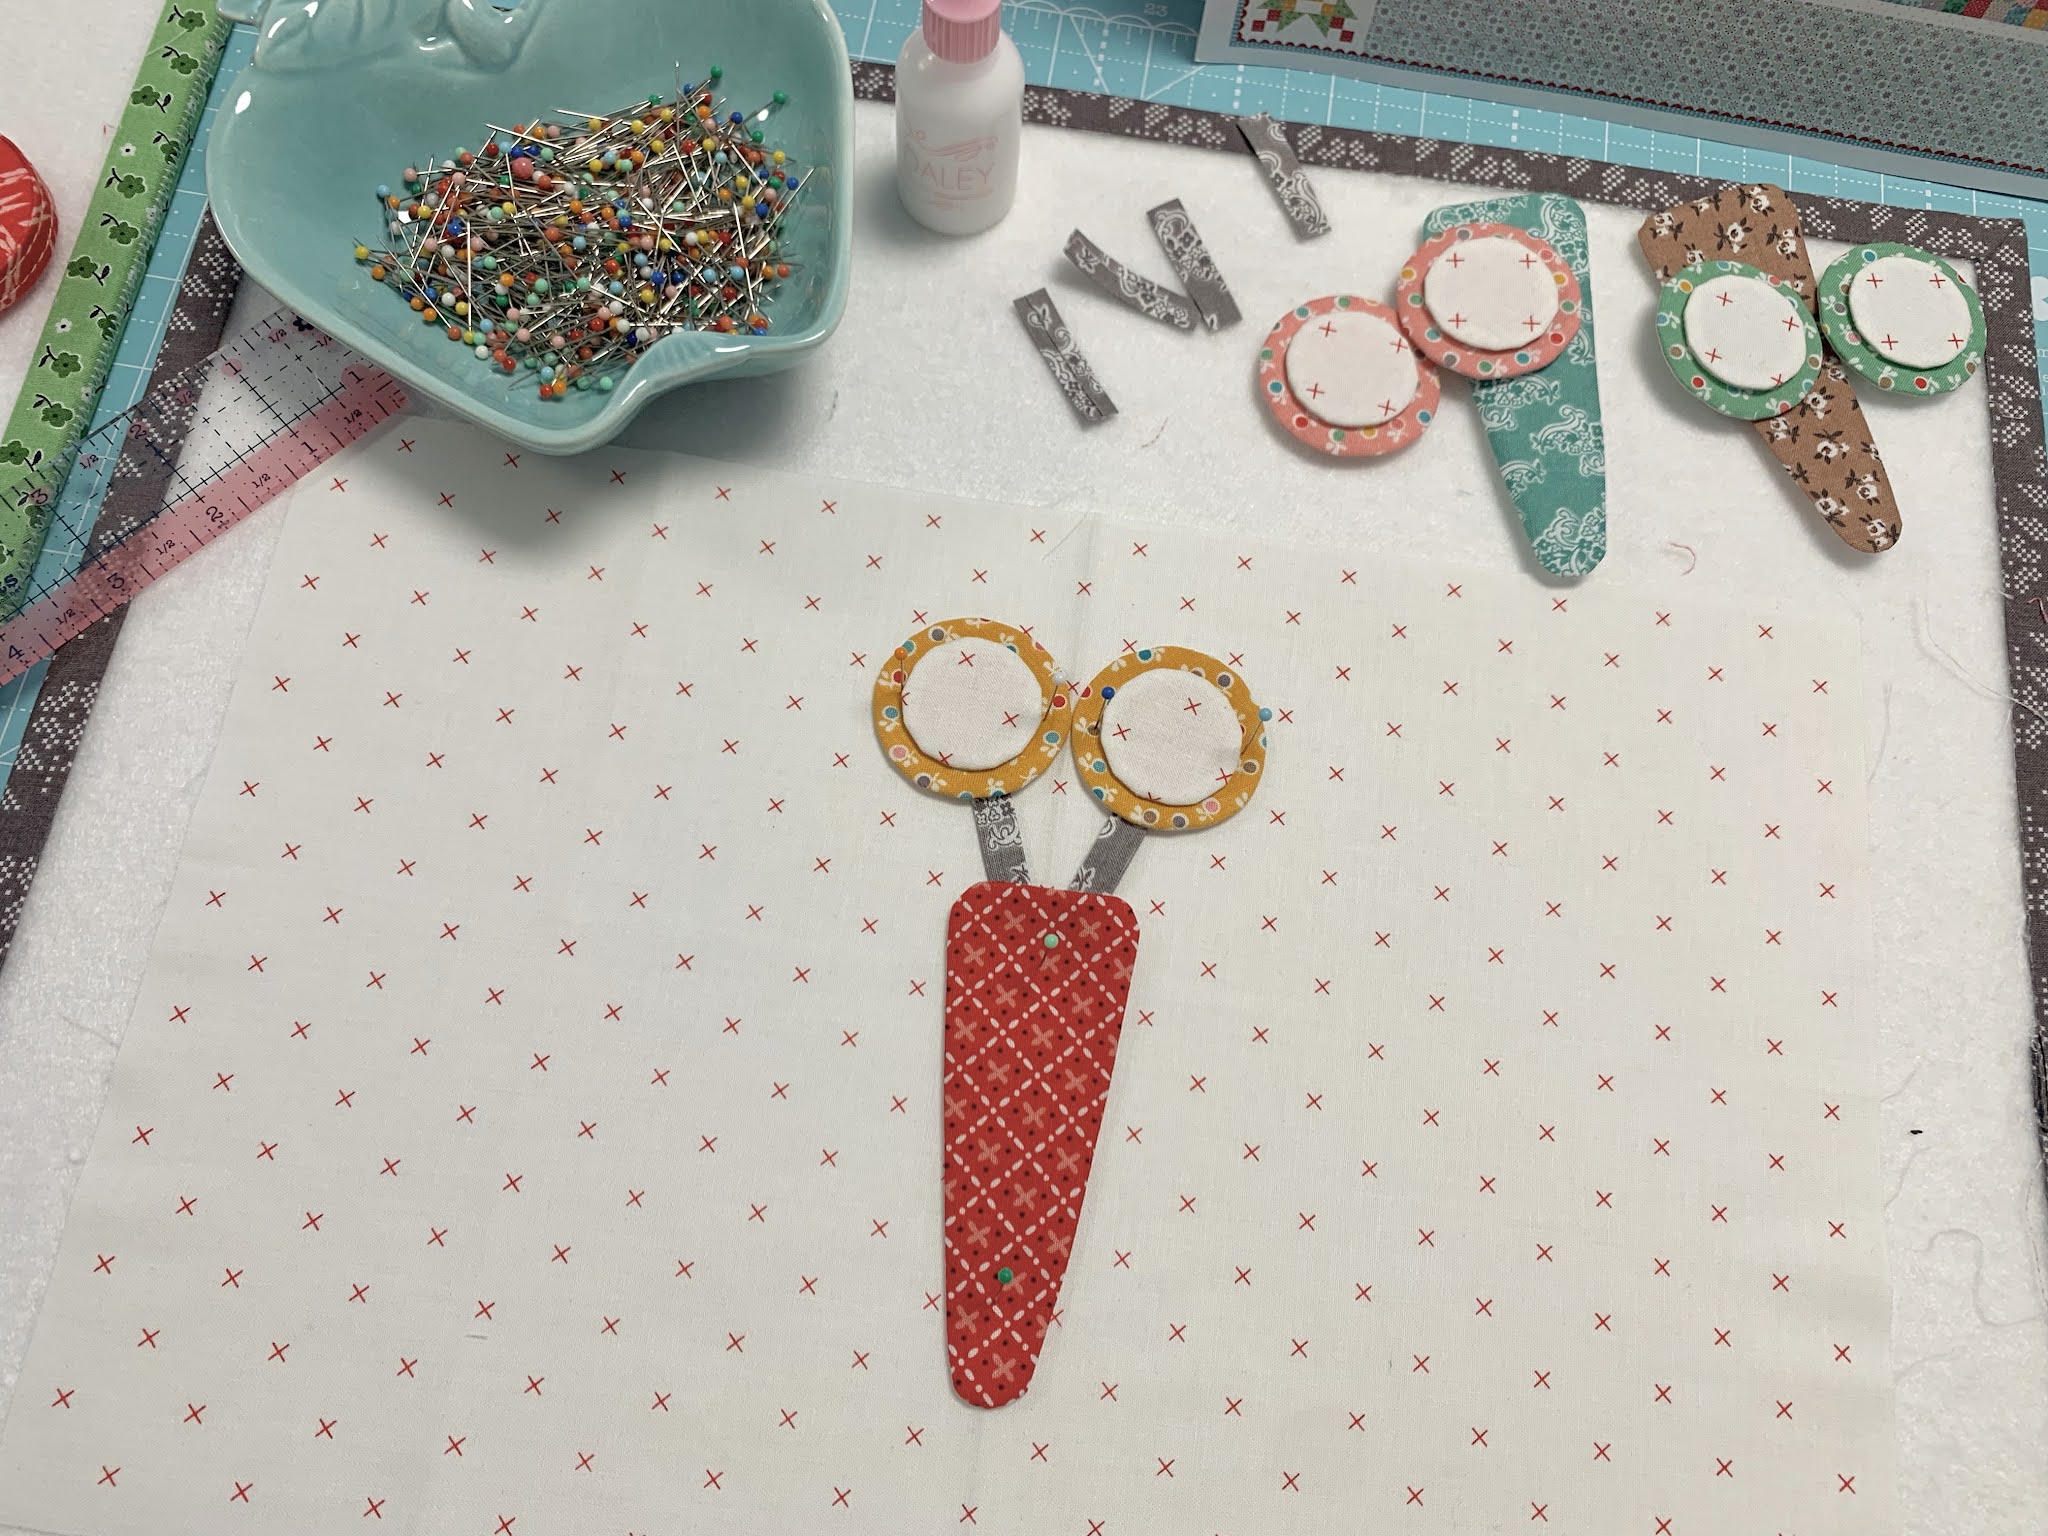
Add the strips for the handles...

And then pin the other handles into place.
It should measure 11" wide and
to make sure that I had them
spaced evenly
I placed a ruler on the center pair
at the 5 1/2" mark on the ruler.

I pinned and glue basted all of the pieces.
All 3 pairs of embroidery scissors
together should measure 11" wide.
Each pair should measure 6 1/2" tall


"EMBROIDERY SCISSORS BLOCK"
After I have appliquéd my block
I will trim it down to
7 1/2" x 12 1/2".
It will finish at 7" x 12"
when it's sewn into the quilt.
Now let's do the Fat Quarters Block!

For the Fat Quarters Block
you will need
Sew Simple Shape:
10 - L7
And your fabrics cut
You will need to
have your background cut:
12" x 26"
and you will trim it to
10 1/2" x 24 1/2"
AFTER
it is appliquéd:)

Sewing these shapes are easy peasy...

Before turning and shaping...
clip a little bit off of
each corner to reduce bulk:)

All ready to go!!

Layer your squares by starting
on the bottom row left like you sew here
(darker green fabric)
and continue with that row...
It should measure 23" long.
Add the above row by starting with
the gray fabric on the right side
and ending with the nutmeg appliqué print.
The squares together
should measure 9 1/2" wide.

Pin and glue baste:)
I named this block Fat Quarters
to represent FQ's folded into squares
like they come in a FQ Bundle...
but of course they could just
represent pre-cut squares as well!
Take note that this block
will be thicker of course
because of all the layers
but that does not bother me at all
and will not be a problem.

"FAT QUARTERS BLOCK"
After I have appliquéd my block
I will trim it down to
10 1/2" x 24 1/2".
It will finish at 10" x 24"
when it's sewn into the quilt.
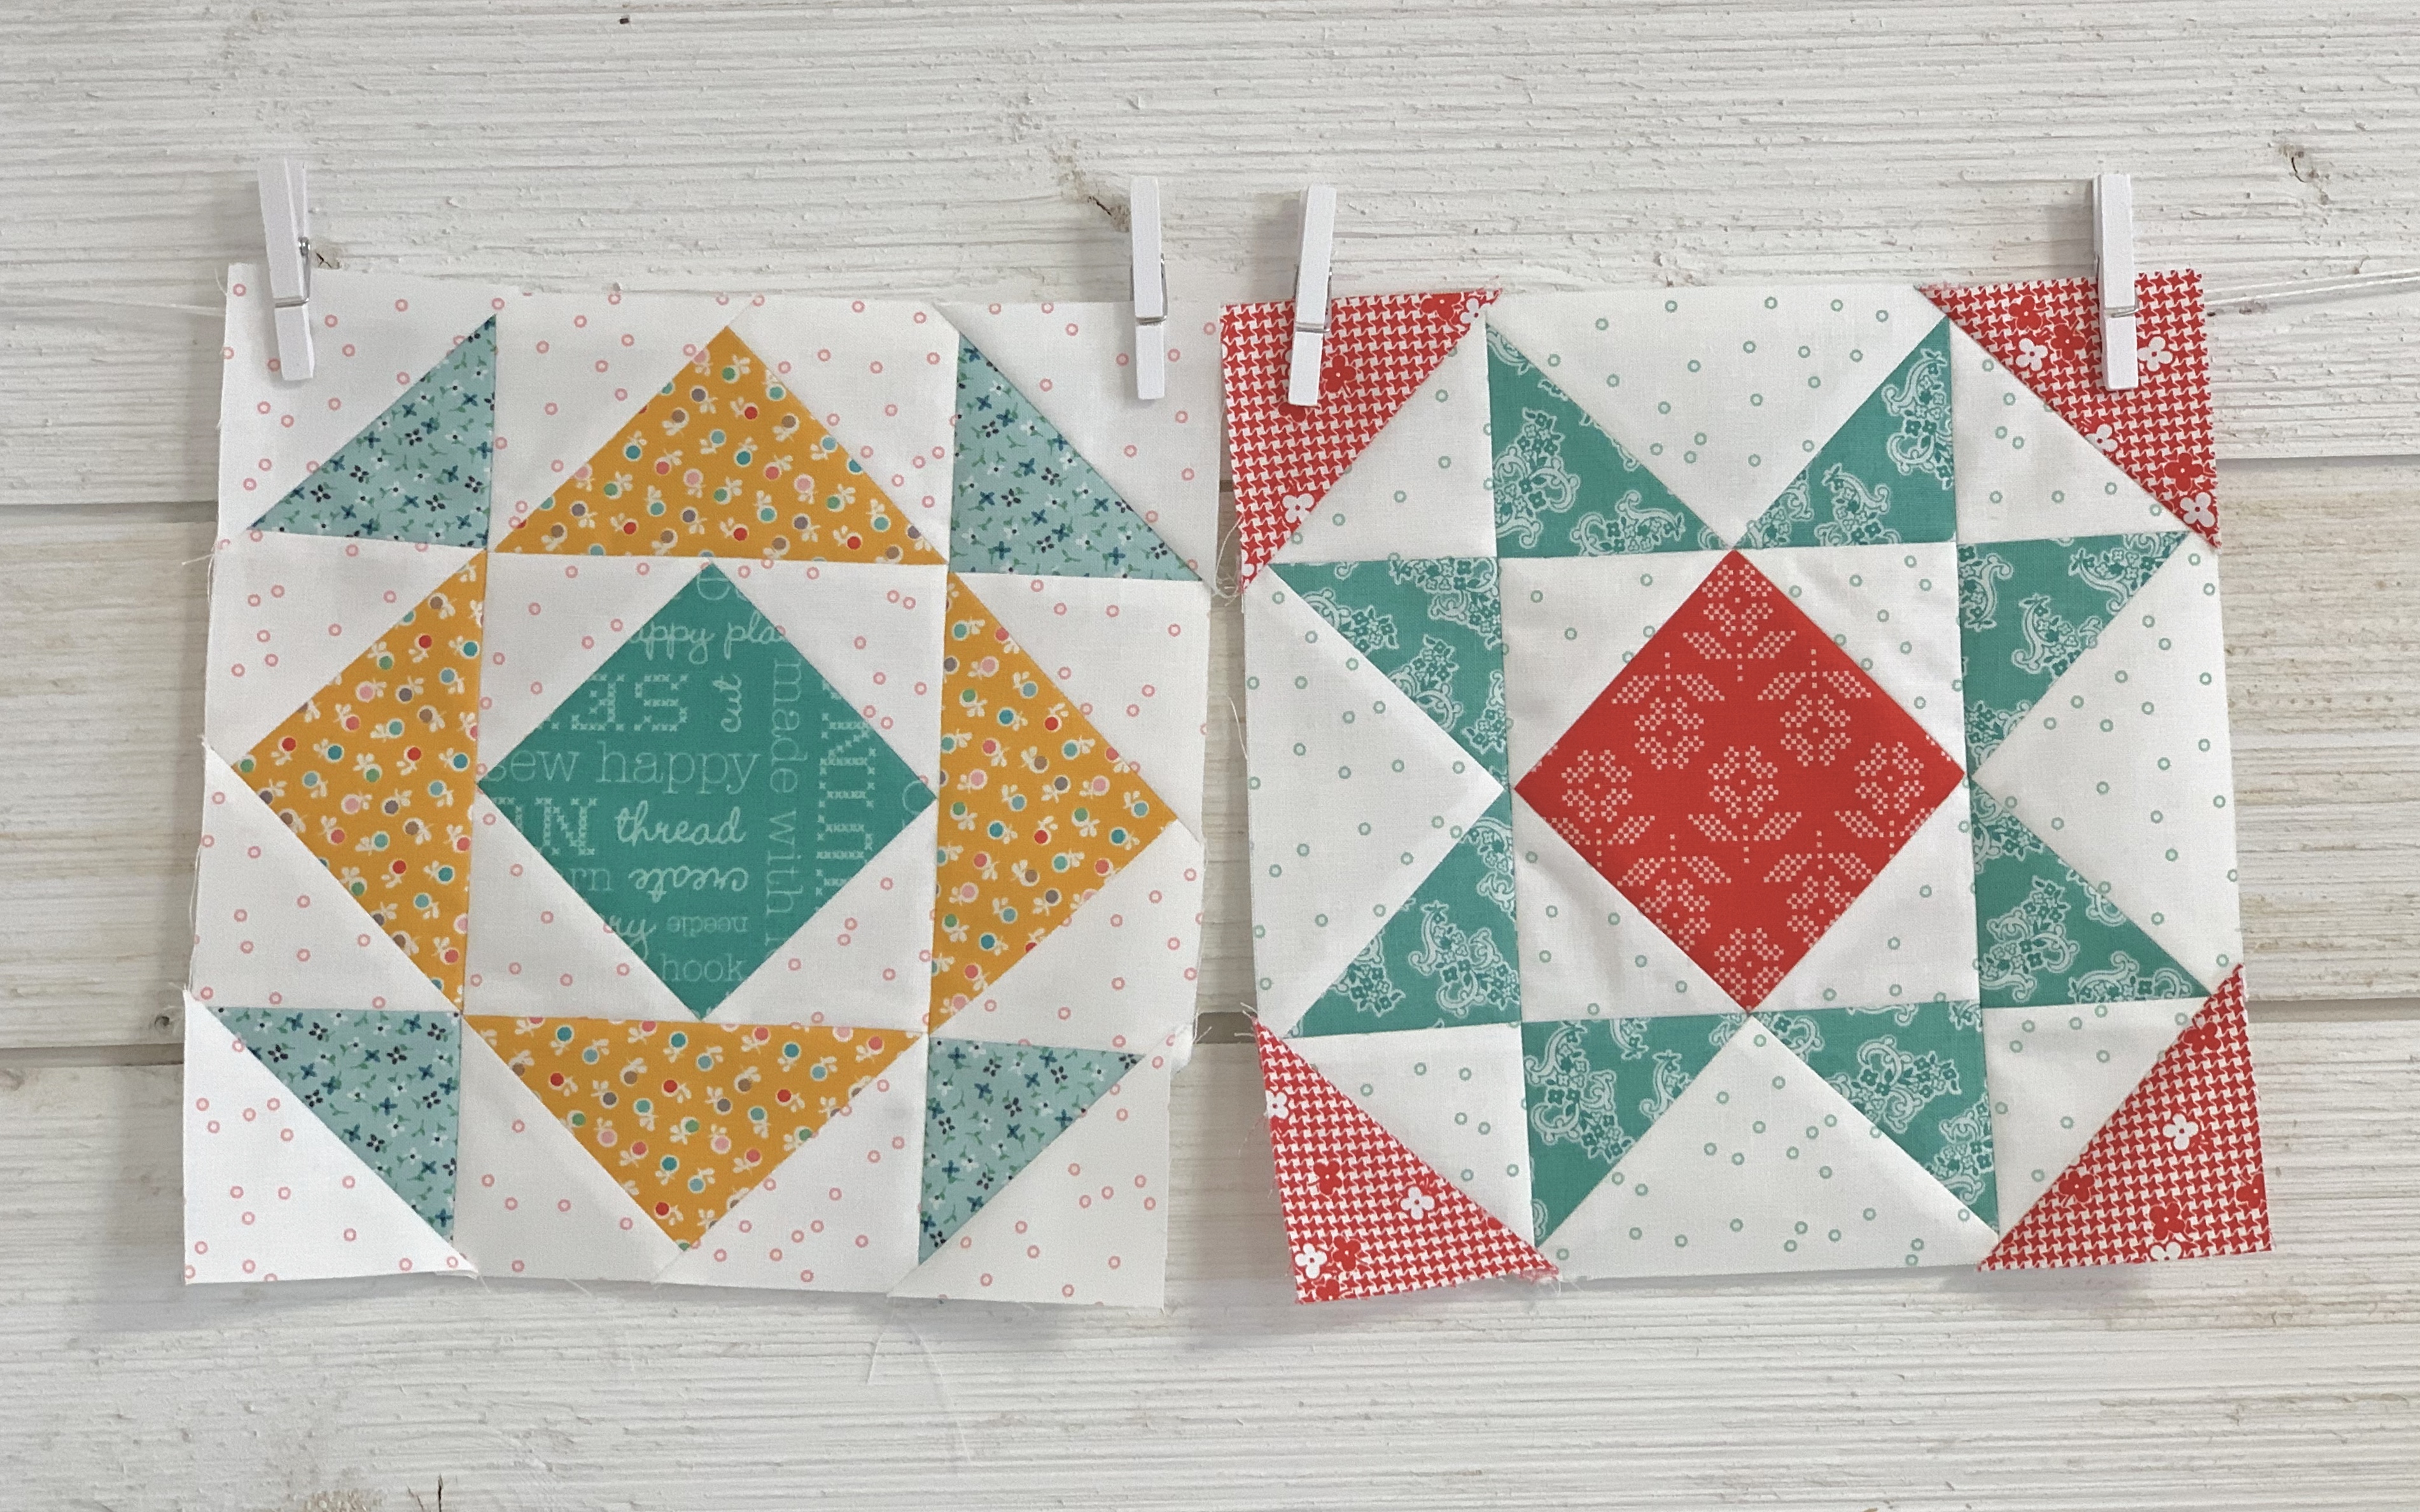
Now for Quilt Blocks One and Two:)

Last Friday was my regular
filming day for my YouTube Channel
and so I did a tutorial there
on how to make my blocks.

to go on over and
visit with me in my Happy Place!

I give you lots of tips and tricks
on how I sew my blocks...

And I also talk about the
"bonus project"
that I will be making
during this sew along.
I hope you will join me for that too!

It sure is amazing how quilt blocks
can look so completely different
just by making a different size or
by different color placement.
That is exactly what keeps me passionate
about quilting and designing
and that is the basis of my
video tutorial and I sure
hope that you enjoy it!
If you do...
please leave me a like on my video
and leave me a comment there
on my channel about my video tutorial:)

Here is a look of our blocks so far...
and I'm loving it!
I love having them on the
design wall in my happy place:)
I'll be right back here
next week with more tutorials!
xx
Lori


3 comments:
Can we just make an episode for each week and put it all on Netflix? Momma needs to binge watch this, ok? Ok! We love you too much, Lori. 🤭
I stumbled down the rabbit hole on the 'net again and found you. How can any crafter not bee totally thrilled with you, Honey!!!
I so want to sew along with you but I’m always sew bee-hind!! Love your stuff! Finishing up Flee Market flowers then starting this one!!
Post a Comment