Hello Quilty friends...
thanks so much for
joining me here again on my
blog for this months tutorials.
We are making blocks 15 and 16!
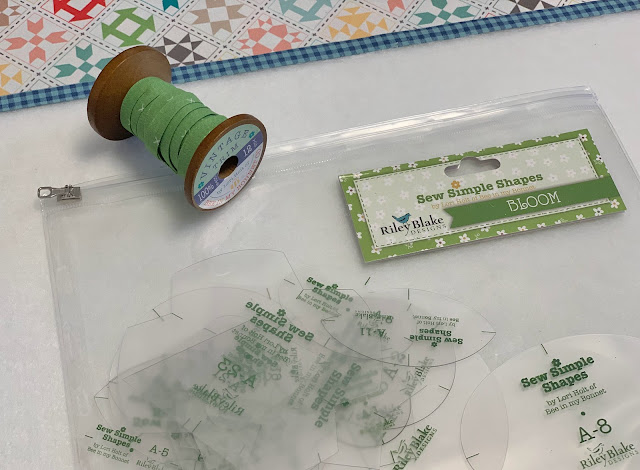
This month we are using the
BLOOM
Sew Simple Shapes
You will find the tutorial for
making the pinwheel backgrounds
during week one tutorial for this series
if you need a refresher.
I used the gray stars from Bee Plaids,
Red Chicken tracks from Farm girl Vintage,
And pink daisy and yellow circles
from my Bee Backgrounds collection.
For Block 15 I used:
1 - A1 small circle
from Farm Girl Vintage
1 - A2 - large circle
from Flea Market
8 - A20 petals
Cut 4 each of 2 different yellow prints
I used a yellow print from Prim and
a yellow floral from Cook Book
After you sew the shapes you will
need to trim and turn...
no clipping needed on these
shapes before turning:)
Lay your pieces out...
pin and glue baste as per usual:)
Your flower should be 5 1/2" tall and wide.
Of course you will need to
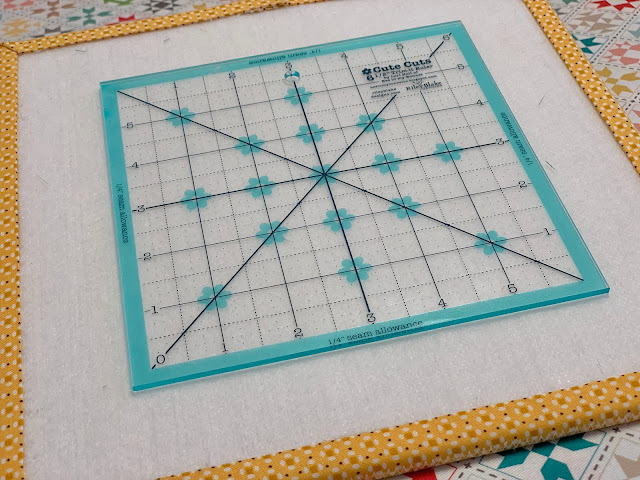
use your 6 1/2" Trim It Ruler
to keep everything lined up and
within the window
as I've shown you in my videos.
Glue baste and applique:)
For Block 16 I used:
1 - A6 small oval
from Bee Plaids
1 - A8 large oval
from Vintage Happy 2
2 - A11 leaves
Cut 2 - 1 1/2" x 3 1/2" strips
from two green prints
I used Riley Green from Bee Cross Stitch
and green X's from Granny Chic
Cut a 3 1/2" stem from your spool
and press one end under:)
BLOOM page
in the SSS Cutting Guide
that A-11 says 2" x 2 1/2"
but it should be 2" x 3 1/2"
Sew your green strips together
using a 1/4" seam allowance and
press open so that they lie flat.
Now you can sew the leaves by
placing the traced A-11 interfacing,
lining up the top and bottom points
onto the center seam.
It's an easy and fun way
to make 2 color leaves!
Now sew the remaining shapes...
no clipping needed on these either!!
your flower measures 5 1/2" tall.
The leaves are 5 1/2" wide as well:)
Glue baste and applique!
Use the 6 1/2" Trim It Ruler to trim your blocks up (after applique)
and then sew them into your stars!!
For my star around Block 15...
I used this print from my
Flea Market collection.
For the background I used
a background from Bee Plaids.
For my star around Block 16...
I used this gray print from my
Stitch fabric collection.
For the background I used
Sea Glass circles from Bee Backgrounds.
I hope you love this months blocks!
We now have 4 more blocks to go...
for a total of 20.
Depending on my filming schedule
for next month...
I may do those tutorials here as well.
If you are following my
YouTube Channel
you will receive a notification
about next month
(if you have subscribed and
hit the bell when subscribing)
Remember that as I
told you in the beginning...
this is the quilt setting that
we will be using to finish
our ReMix Mini Series Quilt.
It's my original
Sew Simple Shapes Series Quilt
that I did here on my blog as a
sew along several years ago.
The blocks finish at 12" and
so do our star blocks and so
we are using the same setting!
If you would like to plan ahead...
to go to the post for all of
the measurements for finishing the quilt.
If you are new to this series
all of the other block tutorials
and information is on my
YouTube Channel
to go check it out!
this months blocks as much as I did...
and I'll chat with you later!!
xx
Lori


No comments:
Post a Comment