

Hello Quilty friends...
thanks so much for
joining me here again on my
blog for this months tutorials.
We are making blocks 17 and 18!
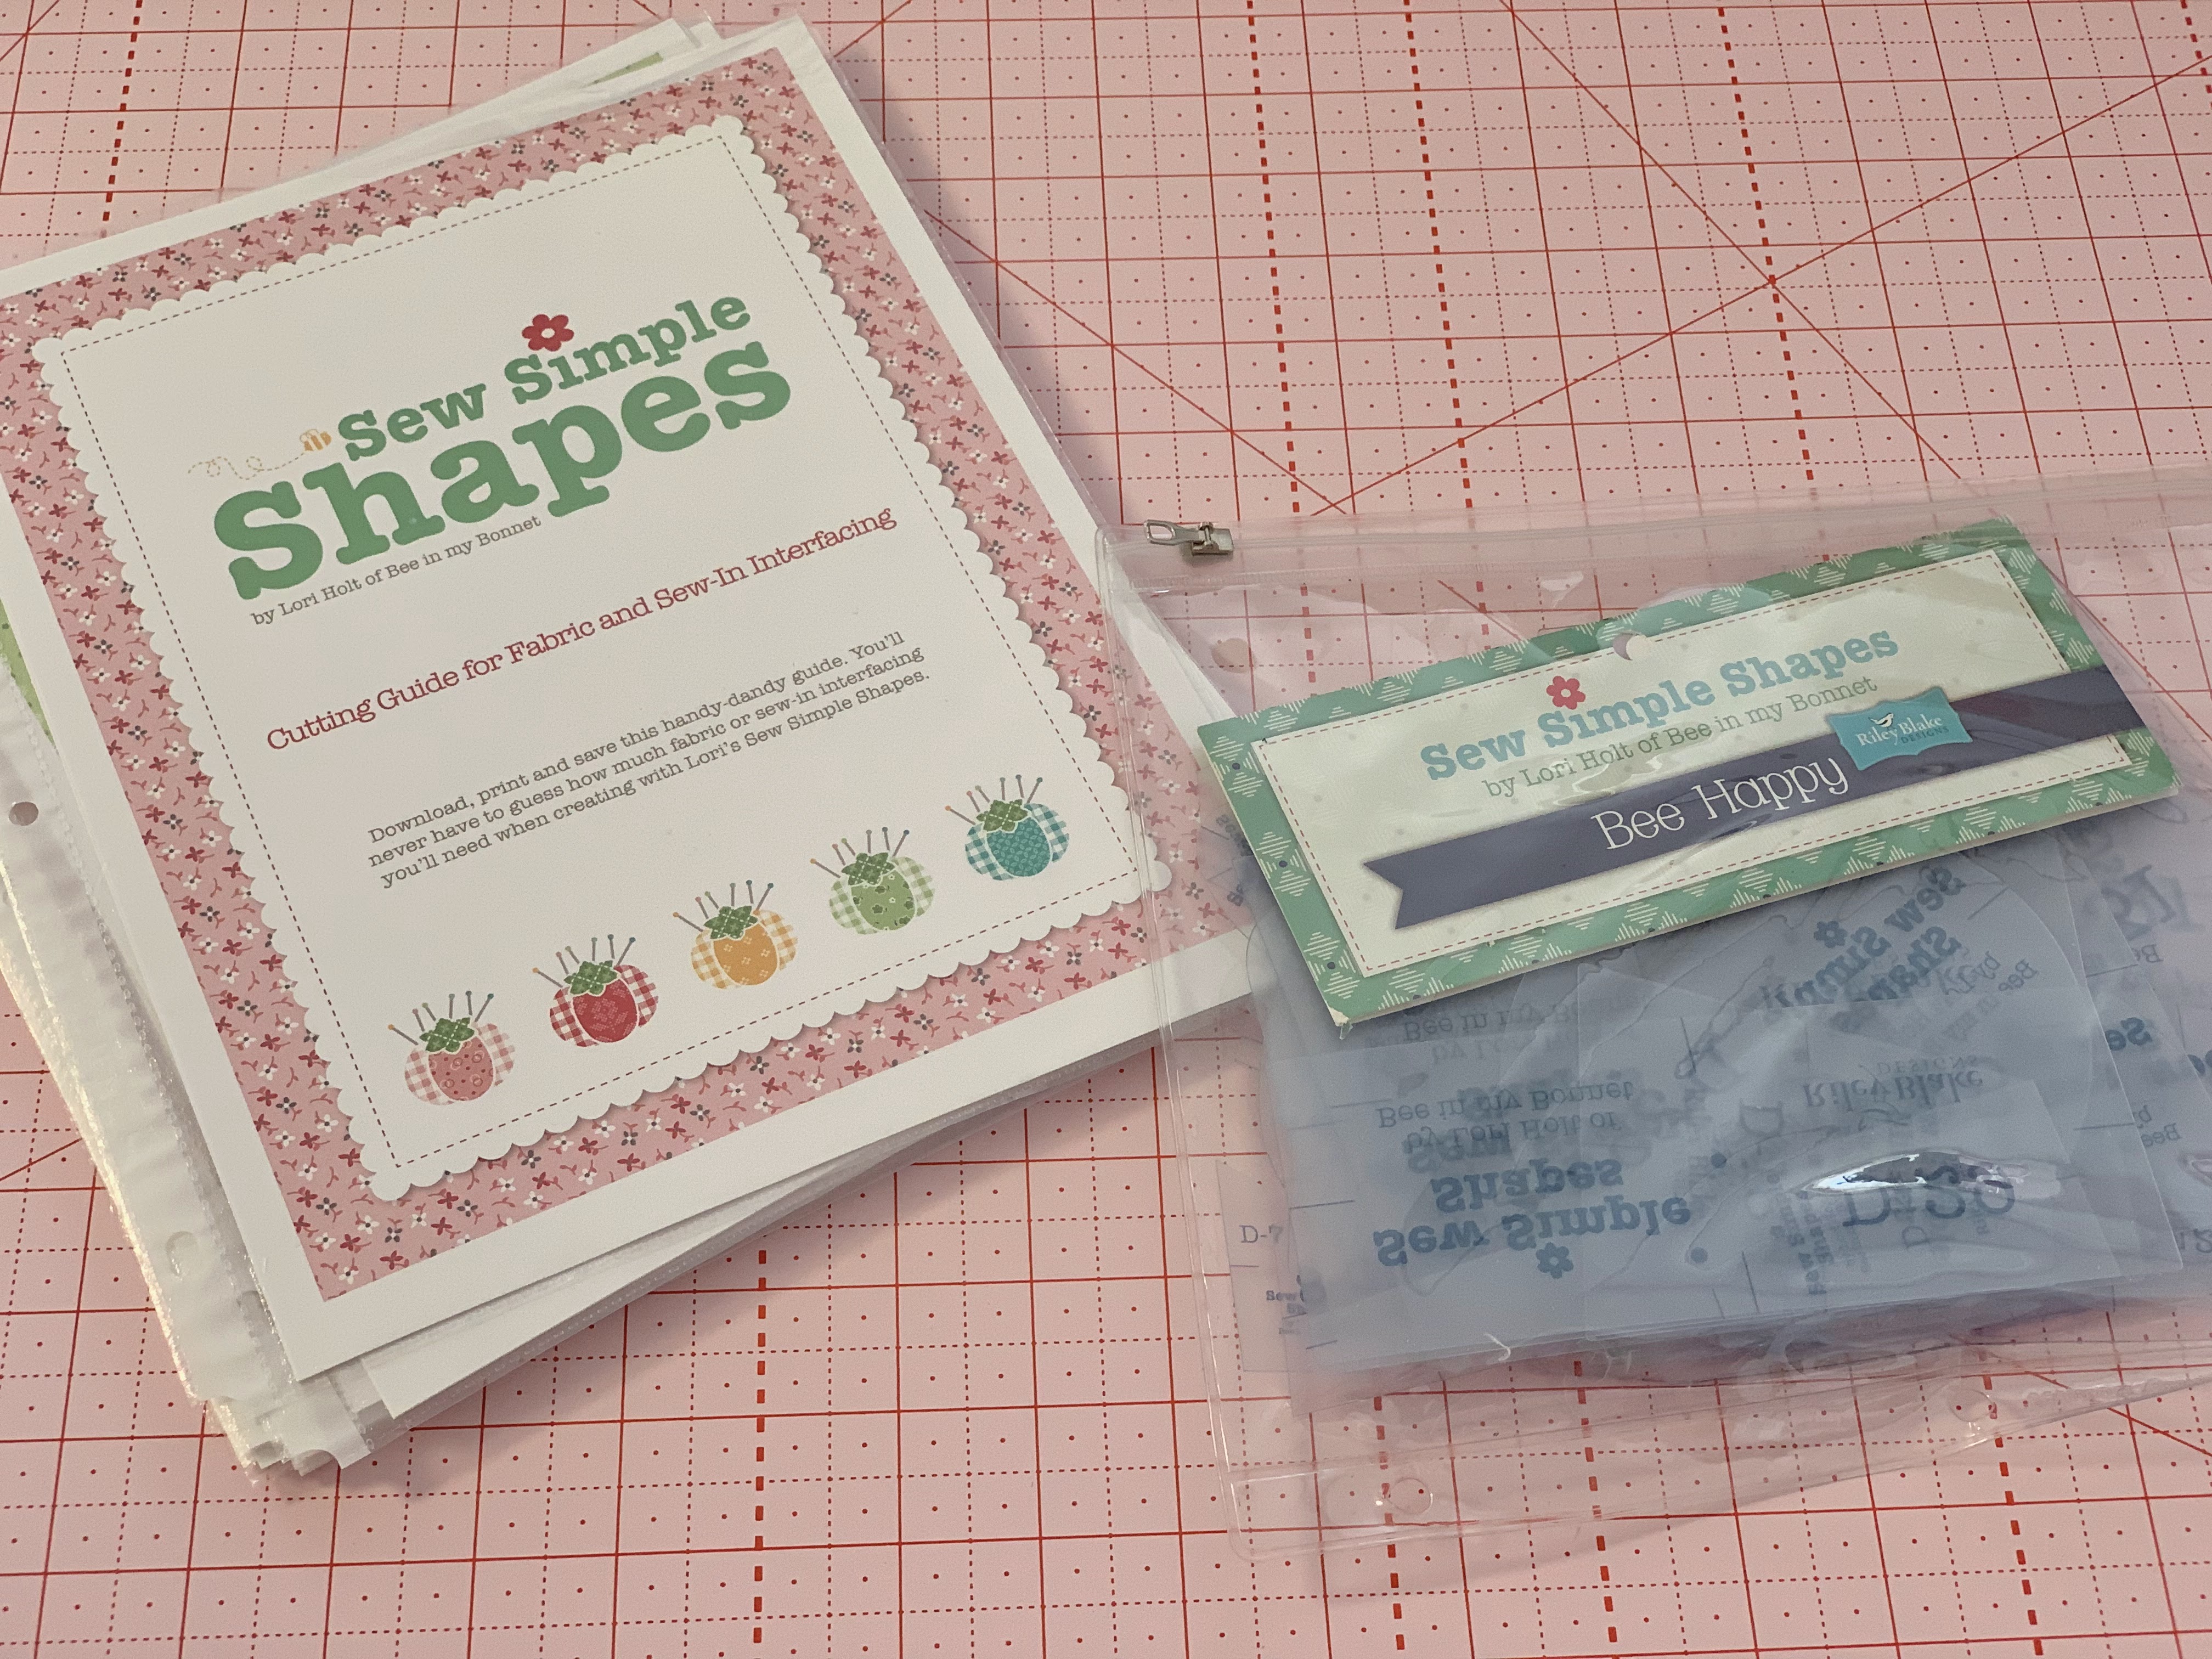
This month we are using the
BEE HAPPY
Sew Simple Shapes

Bee Happy Sew Simple Shapes
for Blocks 17 and 18:
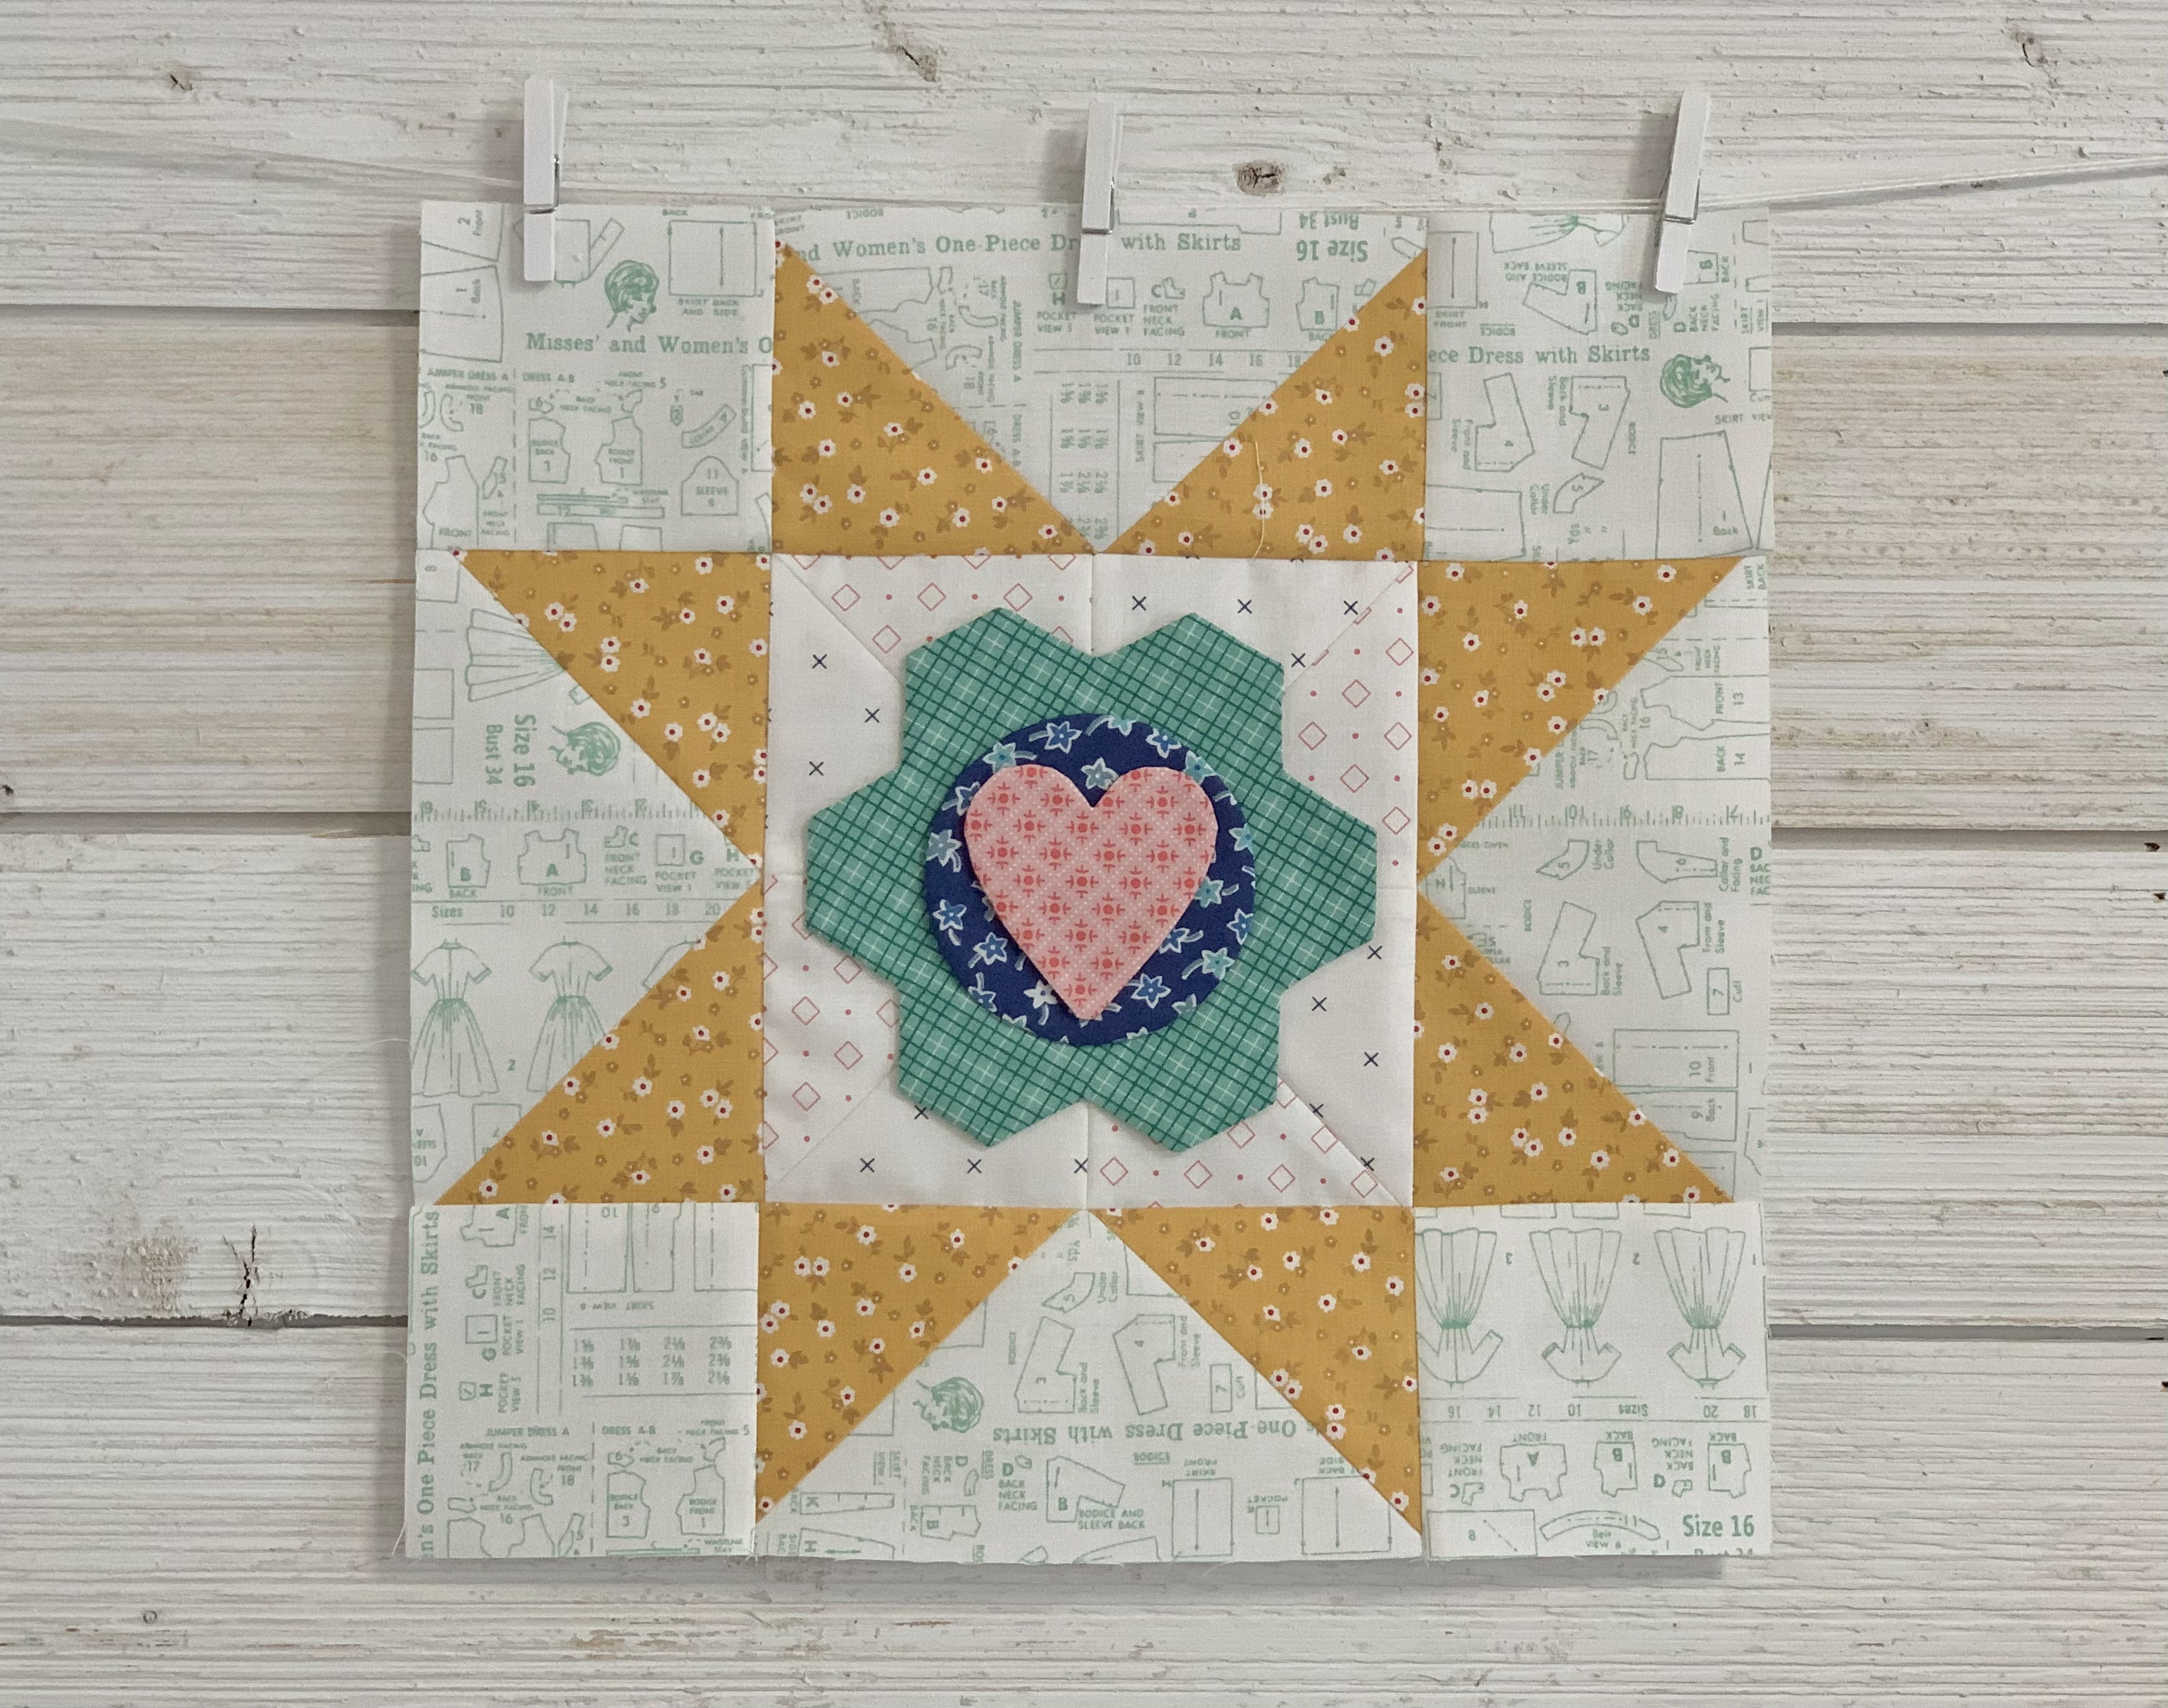
For Block 17 I used:
1 - 1 small circle
from Bee Plaids Collection
3 - D5 - flower petals
from Bee Cross Stitch Collection
1 - D13 flower
from Granny Chic Collection
2 - D20 from interfacing
Cut 2 - 1 1/2" x 3" strips
from two green prints
I used a green from Prim Collection
and green from Bee Plaids
Cut a 1/4" prepared stem
4 1/2" long from your spool
and press one end under:)
**************
For Block 18 I used:
1 - D3 circle
from Flea Market Collection
1 - D27 heart
from Prim Collection
1 - D33 flower
from Bee Plaids Collection

*NOTE remember there's no need to
give you measurements because
you just use your
Sew Simple Shapes Cutting Guide
for the size
of the interfacing and of course fabric
unless otherwise noted by me
like the leaf fabrics for this month
and also last month:)
if you have not downloaded it yet.

Sew the 2 green fabrics for Block 17
together before
sewing to them to interfacing
just like I showed you in
this photo from last month:)

My shapes are sewn!!
You will find the tutorial for
making the pinwheel backgrounds
during week one tutorial for this series
if you need a refresher.
I used the denim from Bee Cross Stitch,
Red Clover from Prim,
And pink diamonds and green stitched circles
from my Bee Backgrounds collection.
After you sew the shapes you will
need to trim and turn...
you will need to clip cleavage areas
in the teal and aqua flowers
and the heart before turning.
No clipping needed on remaining shapes.

For Block 17...
lay your flower shapes out like this.
The bottom cleavage of the aqua flower
should lie right on the
intersection seam of your background
just like my photo.

Then add your stem like this.
Your flower should be 5 1/2" tall.

Add the leaves...
they should be 5 1/4" inches wide.
Of course you will need to
use your 6 1/2" Trim It Ruler
to keep everything lined up and
within the window
as I've shown you in my videos.
Glue baste and applique:)

YaY!

Block 18
is super easy peasy to layout!
Just center all
3 shapes and glue together...
Then center the flower
onto the background like this
using the seam lines of your
background for exact placement.
Glue baste and applique!

YaY again!

Use the 6 1/2" Trim It Ruler to trim your blocks up (after applique)
and then sew them into your stars!!

For my star around Block 17...
I used this denim print from my
Prim collection.
For the background I used
a background from Bee Cross Stitch.
For my star around Block 18...
I used this daisy print from my
Cook Book fabric collection.
For the background I used
mint patterns print from Bee Backgrounds.

I hope you love this months blocks too!

I'm sew very happy with how
they are all looking together
on my design wall:)

We have 2 more blocks to sew...
until we have a total of 20!

***NOTE***
Unexpected scheduling delay!
Kassidy will not be able to film me
for the last two blocks
because of her pregnancy...
(which of course we are thrilled about
did not know when this series began)
She will have her baby
in November and will be
able to resume filming in January.
So because of that...
Riley Blake announced in their
newsletter this month
that the last two blocks
would come in January.
Thank you to everyone who
reached out to me and to Riley Blake
after reading
the monthly newletter and announcement
of the delay.
Your positive feedback and gracious
understanding of our family situation.
Quilters are so kind!!

Also...
remember that
this is the quilt setting that
we will be using to finish
our ReMix Mini Series Quilt.
It's my original
Sew Simple Shapes Series Quilt
that I did here on my blog as a
sew along several years ago.
The blocks finish at 12" and
so do our star blocks and so
we are using the same setting!
If you would like to plan ahead...
to go to the post for all of
the measurements for finishing the quilt.
If you are new to this series
all of the other block tutorials
and information is on my
YouTube Channel
to go check it out!

Blocks 17 and 18 as much as I did...
and I'll chat with you later!!
xx
Lori

1 comment:
Gosh how I love both quilts and am thinking I would like to make a top combining the two styles of blocks in an alternate setting. SO fabulous Lori. Adding to my ever growing "must make list".
Post a Comment