Monday, May 9, 2016

BLOOM Sew Along - Week Seventeen - Block Seventeen!!!


Happy Monday morning cute people!!

For those of you just joining us...
Welcome to the BLOOM Sew Along:)

We are making the BLOOM quilt...
to download the free pattern


Using Calico Days fabric...

to purchase the kit


And we are also using the BLOOM set of 
Sew Simple Shapes 
for easy peasy appliqué!

to purchase the templates and 
to watch the video tutorial from week one 
on how to make the blocks:)


Today we are blooming 
Block Seventeen:)
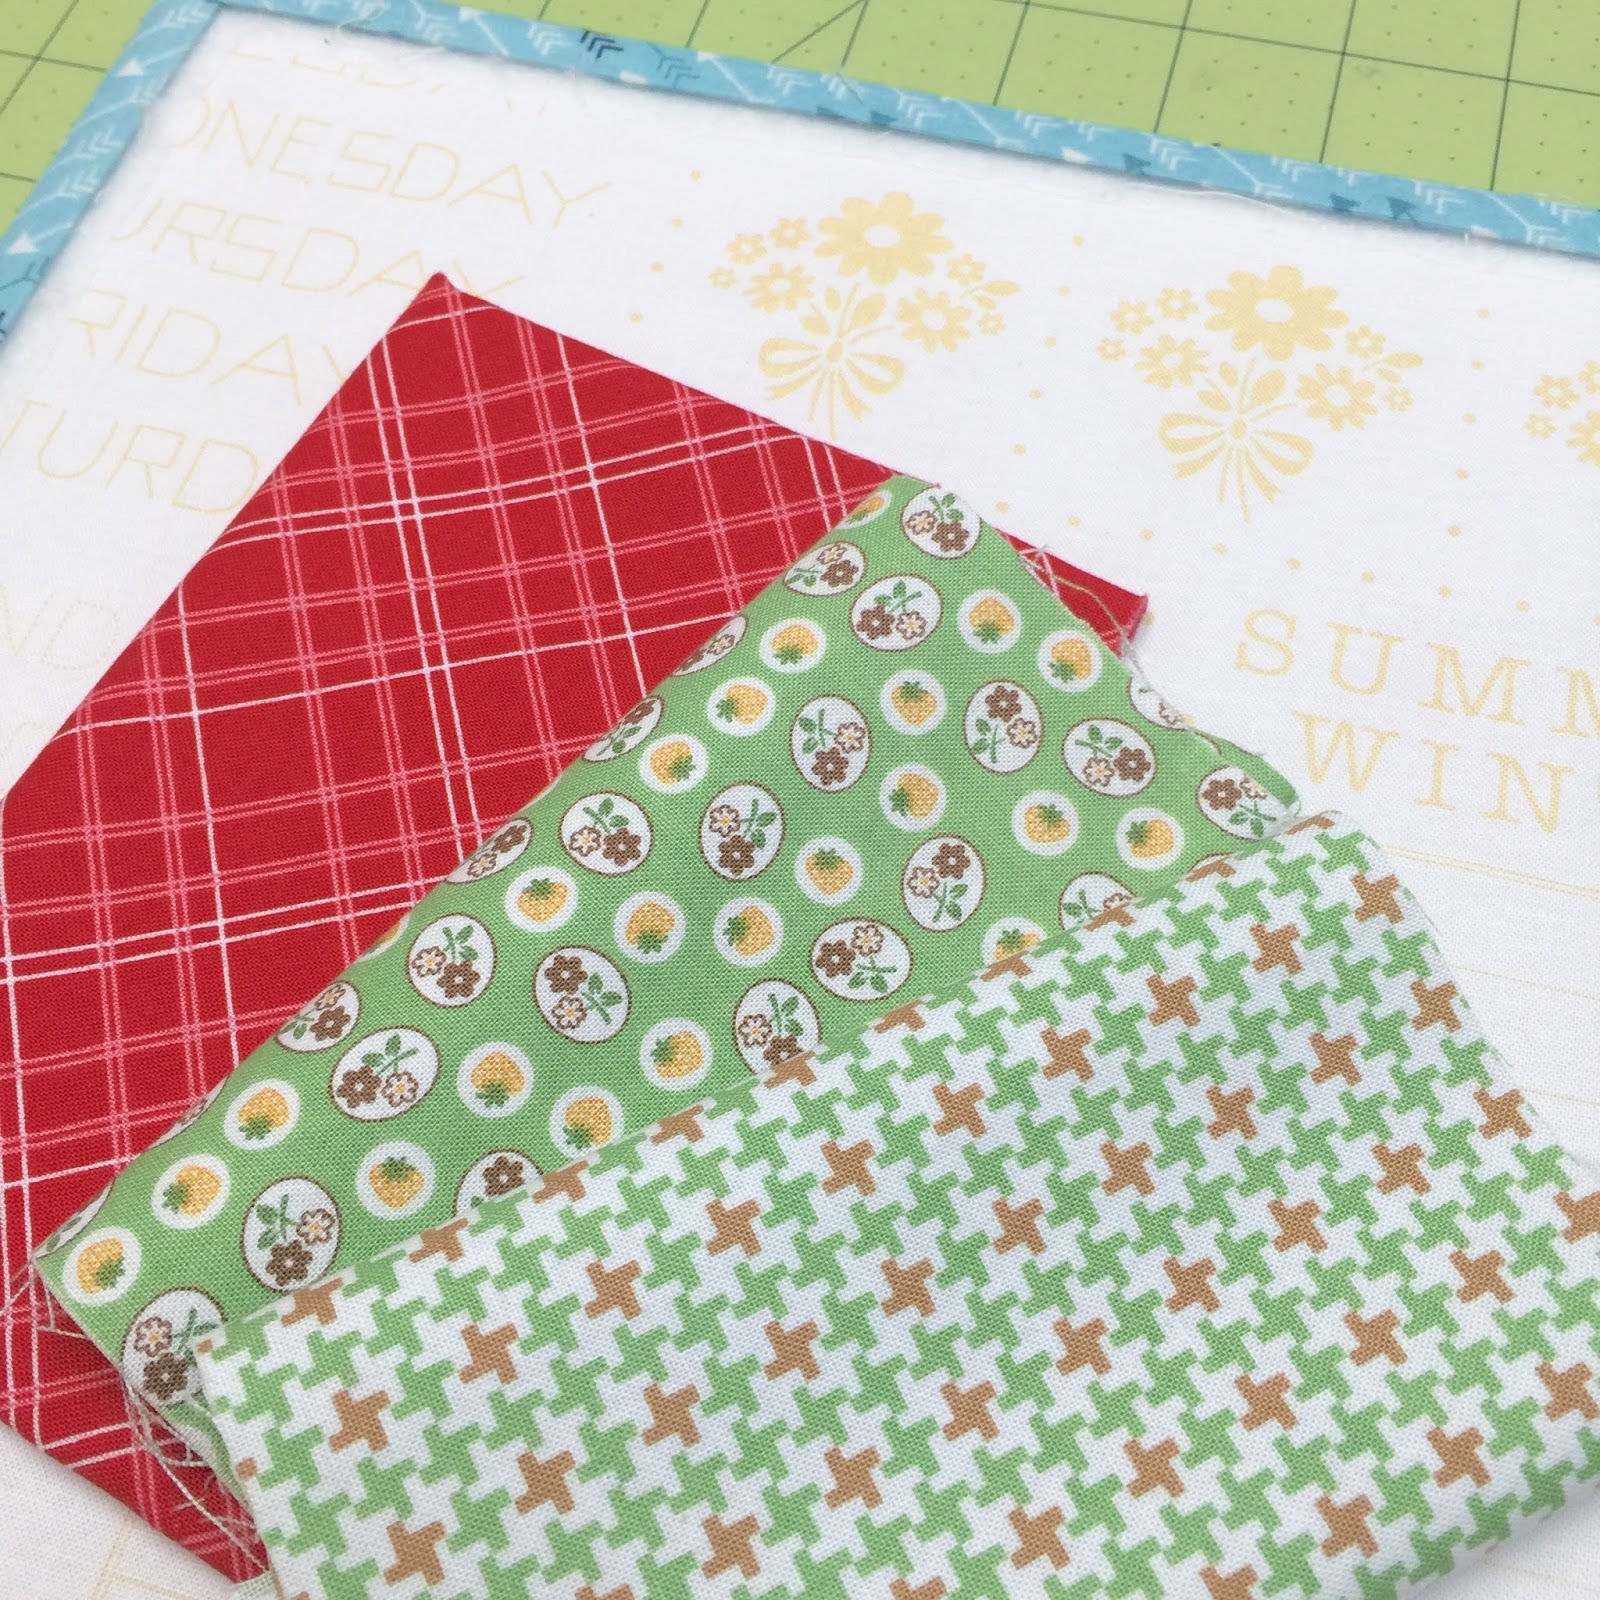


These are the Calico Days prints that I chose 
to use for this weeks appliqué shapes. 

This week we are using shapes
 A-16 and A-24


From BOTH fabric and interfacing:
Cut 1 - 4" x 5" for tulip
Cut 2 - 2" x 3" for one set of leaves
Cut 2 - 2" x 3" for second set of leaves
Cut your background 9"square and prepare a  5" long stem.

1. Trace the shapes onto the interfacing.
2. Pair up with fabric and sew directly onto traced line.
3. cut an X (in the interfacing only) for turning.
4. Turn and shape using the Clover turning tool.
Press from fabric side only.


Don't forget to clip the two cleavage areas
 in the tulip so that it will lie flat after turning.


Press your background fabric in half like this.


Place the stem directly onto the center of your 
background using the crease for placement.
The bottom of the stem should be 
even with the bottom edge of the fabric.

Place the center point of the tulip 1 1/4" down
 from the top edge of the fabric.


Glue baste or pin everything into place...


and appliqué by machine or by hand:)


After your appliqué is complete...
press from the back only 
and trim your block to 8 1/2" square.

Choose your border strips and squares...


And sew your block together:)

I love this simple red tulip with double leaves...
it's the perfect time of year to bloom one!

Don't forget to share your block on 
using the hashtag
 #BloomBlockSeventeen


I've been seeing a lot of your BLOOM blocks and 
your rows sewn together and they are all so adorable!
We only have one more row to go before the borders:)
Thank you so much for sewing with me...
it makes every week so much fun!!!

See you next week!
xx
Lori


Monday, May 2, 2016

BLOOM Sew Along - Week Sixteen - Block Sixteen!!


Happy Monday!


Today is the BLOOM Sew Along...


And we are blooming block 16:)


That means we have four rows completed in the 
BLOOM QUILT

to download the free pattern


 to get the BLOOM Sew Simple Shapes
 if you are just getting started:)


Here are my fabrics choices for today:)
We will be using 
A-6   A-8   A-9   A-11


From both fabric and Pellon:
Cut 1 - 3 1/2" x 5 for large oval
Cut 1 - 2" x 3" for small oval
Cut 2 - 2" x 3 1/2" for large leaves
Cut 2 - 1 1/2" x 2 1/2" for small leaves

Cut your background fabric 9" square
and prepare your stem 6" long.


1. Trace around the shapes onto the Pellon.
2. Pair up the Pellon with the fabrics... 
sew and trim.
3. Cut an "X"in the Pellon for turning.
4. Turn right side out...shape appliqués using the turning tool and Press.


Press your background square in half 
and place the stem in the center like this.


Place the oval by measuring down 1 1/4"
 from the top edge of your background fabric.


Place the bottom leaves
 1 1/4" up from the bottom edge.


And place the small leaves like this:)


Pin or glue baste everything into place
 and appliqué in your chosen method:)


Cut your border squares and strips...


And sew your 
#BloomBlockSixteen
I love the double leaves don't you?


Sew the fourth row onto your quilt and...
 admire all of your blocks that you have made so far. 
Only four more to go!
xx
Lori

Monday, April 25, 2016

BLOOM Sew Along - Week Fifteen - Block Fifteen!!


Good morning dear friends:)


Let's make another flower 
for our BLOOM quilt!

to download my free pattern


to get your templates if you 
haven't started your quilt yet:)


Today is block fifteen and it's a cute and simple double petal daisy:)


Here are my chosen fabrics.
We will be using 
A-2   A-11   A-19
BLOOM
Sew Simple Shapes


From BOTH fabric and Pellon:
Cut 1 - 3" square for the circle
Cut 2 - 2" x 3 1/2" for the leaves
Cut 5 - 2 1/2" squares for the daisy petals

From fabric only:
Prepare 5" long stem
Cut a 9" square for the background


1. Trace around the shapes onto the Pellon.
2. Pair up the Pellon and fabric squares and sew on the line...then trim.
3. Cut an "X" in the Pellon only.
4. Turn each piece and shape using the Clover turning tool and press.


Don't forget to clip each cleavage in the heart sew simple shape:)


Press your background fabric in half and
 place the stem in the center and even with the bottom.


Place the first petal on the center line and 1 1/4" down from the top edge.


Fan the petals around 
to form a circle like this.


Measure 1 1/4" from the bottom edge
 and place the right side leaf.


Measure 1 3/4" up from the bottom edge 
and place the left side leaf.


Place the circle in the center
 of the petals 
and pin or glue baste 
everything into place.


Appliqué away!


Trim your appliqué block
 down to 8 1/2" square. 
Cut your border strips and squares...


And sew your block together:)

#BloomBlockFifteen
is finished and super cute!

I'll chat with you here next week 
when we will sew block sixteen:)
xx
Lori


Related Posts with Thumbnails