Good morning cute people!
Today's post is all about circles.

This week I have been sewing for a new pattern called
"Lots of Dots"
so I thought it would fit right in with the blog hop!
So I made lots of small circles....

And lots of medium circles...

And lots of larger circles...

And lots of even larger 4 patch circles!

And guess what I used to make all of them?
Introducing the
by Lori Holt of Bee in my Bonnet
Yay!
I am finally able to announce that I am now designing my own collection of quilting rulers and templates!
They will have a worldwide distribution through the fabulous
wooohooo!

My first three rulers shapes
(I will announce the other 2 shapes at a later date)
are designed to fit precut fabrics...
and the first shape to be released at is the "Circle Ruler".
These rulers come in 4 different sizes and are sold together as a set.
The circles can be used with a rotary cutter but for the project I am doing today...I used them as templates.

The smallest works perfectly with a 2 1/2" square...making it easy to use with a 2 1/2" strip of fabric.

Or you can also use the smallest circle ruler to get 4 circles from a 5" square precut.

The next size up fits the 5" square precut too!

The next size fits a 7" square of fabric...

And the largest size in the set fits a 10" square!
For my new pattern I sewed four 5" squares together into a 4 patch and then laid my large circle ruler on the back of the block and lined up the marked lines on the ruler with the seam...

And traced around the edge with a mechanical pencil.

I cut a square of lightweight non-fusible Pellon interfacing....

And pinned my marked 4 patch with the right side onto the Pellon.

I took it over to my machine and stitched directly onto my marked line...completely around the circle and making sure to backstitch at the beginning and the end.
*It helps to use an open toe foot for this so that you can see exactly where your needle is going into the fabric.

After sewing the circle...I trimmed an approximate 1/4" seam allowance all the way around...

like this.

Then I lifted the Pellon away from the circle and cut a slit for turning.
I used scissors for this because they were right there and handy...but a seam ripper works great also.

The slit does not have to be very long...

Just long enough to turn right side out like this.
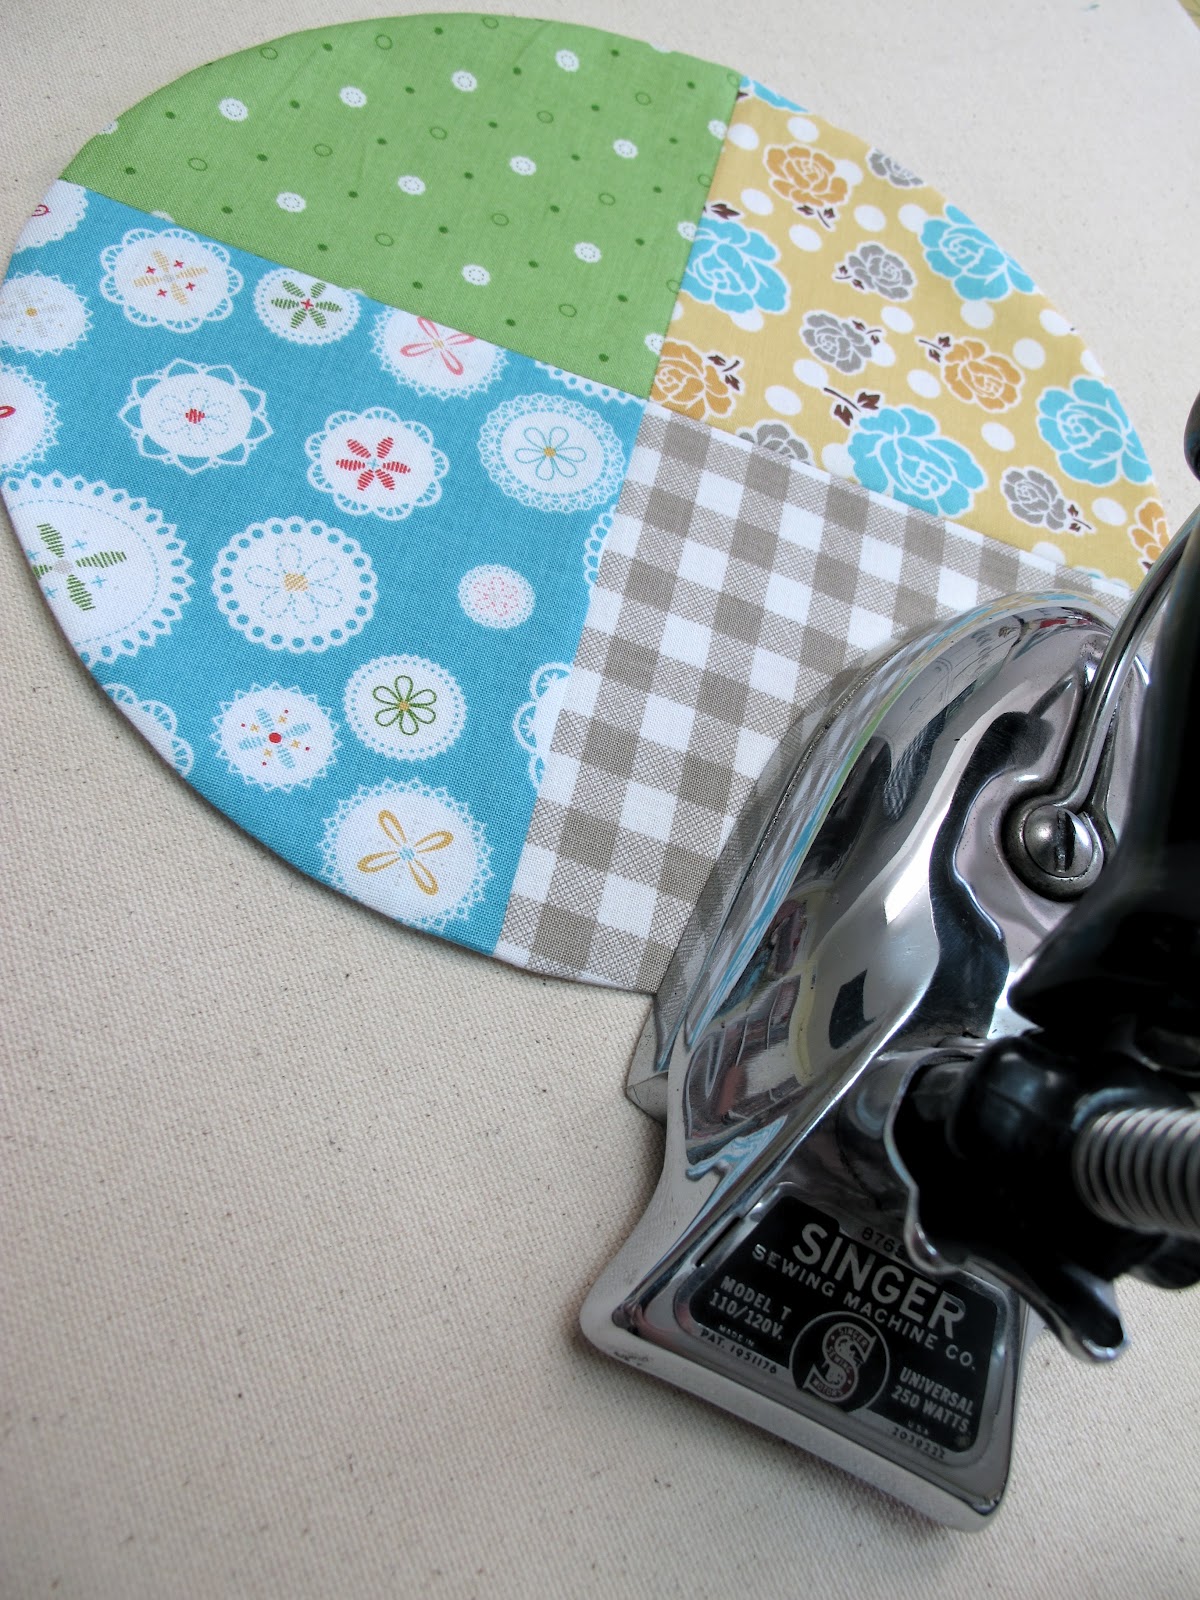
Smooth the edges and then press flat...

And you have a completed perfectly shaped circle the exact size of the ruler!

I machine appliqued a prepared smaller circle onto the center of the 4 patch.
Then I pressed a white background square in half both ways to mark the center...
and centered my 4 patch circle on top and pinned it into place...

and machine appliqued the large 4 patch circle to the white square.

I continued making lots of dots...

Using all 4 sizes of the Circle Rulers...

and using my machine to appliqué.

And here is the "Lots of Dots" quilt!
I'm happy to say that I designed this new quilt pattern...
specifically to go with the
"Circle Rulers"
I have also designed a new quilt pattern to go with each of my other rulers too!

The Lots of Dots quilt was made using my newest fabric collection...
Polka Dot Stitches
I hope you like my new rulers and new patterns...I've been having so much fun with them:)
xx
Lori