
Flea Market Flowers
BLOCK "O"

Welcome to Week Two of the

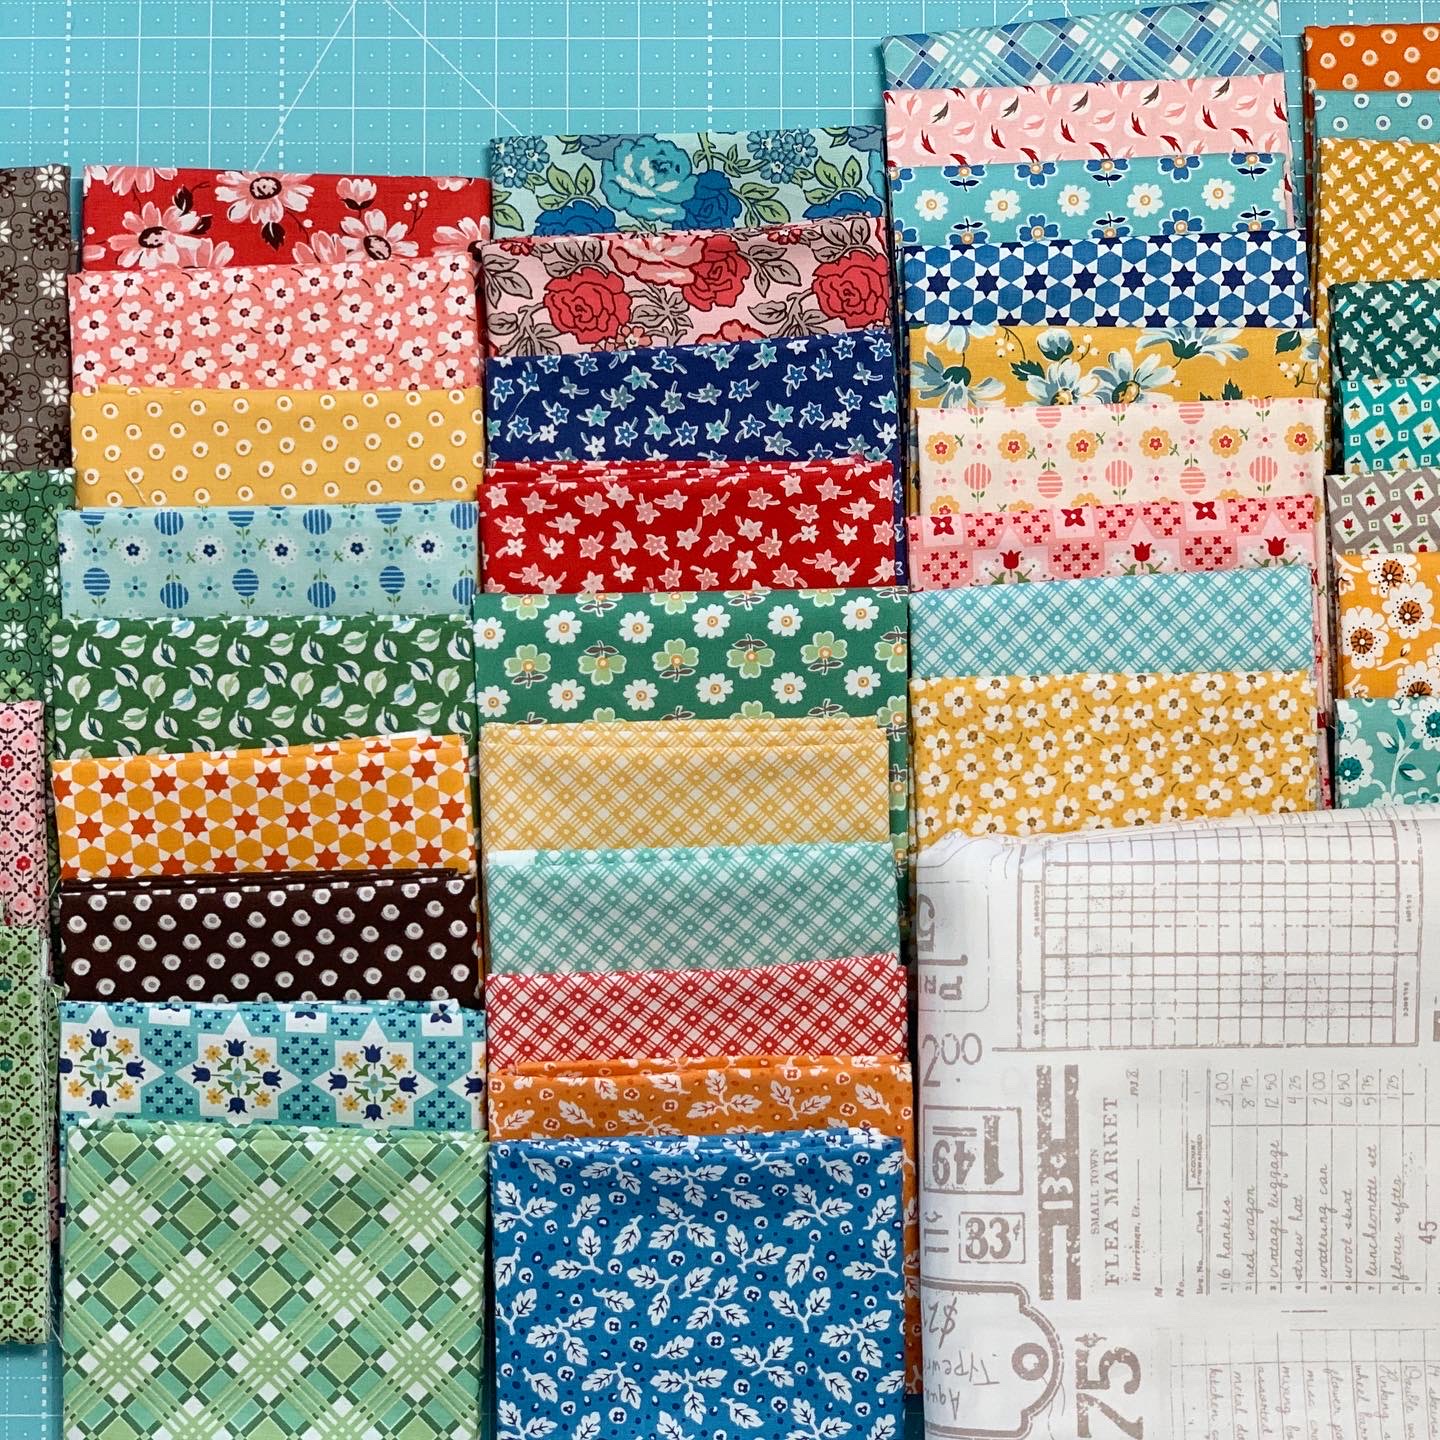
We are using my latest
fabric collection called
Flea Market
It's designed by me ...
and produced and distributed by the amazing
Riley Blake Designs:)

We are making my quilt
FLEA MARKET FLOWERS
76" x 86"

We are using my
PIE RULER
to make all of the flower petals...

This set of my
CIRCLE RULERS
for all of the flower centers...

And we are also using my
SEED RULERS
for all of the leaves in the quilt.

All of the other notions as well as fabric requirements are detailed within the
Flea Market Flowers Sew Along Guide
for the free PDF Download
I also have a "Bee Prepared" blog post
detailing everything that you will
need to know about this sew along...
to go to that blog post
if you have not read it
or you need to be "refreshed"
on any of the information!

As promised...
Last week I did a video tutorial on my
YouTube channel showing how to make
Flea Market Flower
BLOCK "M"
to go to that tutorial...
so that you can make this cute flower!!

I also did a tutorial during
week one for
Block "L"
to go to week one and this block tutorial:)
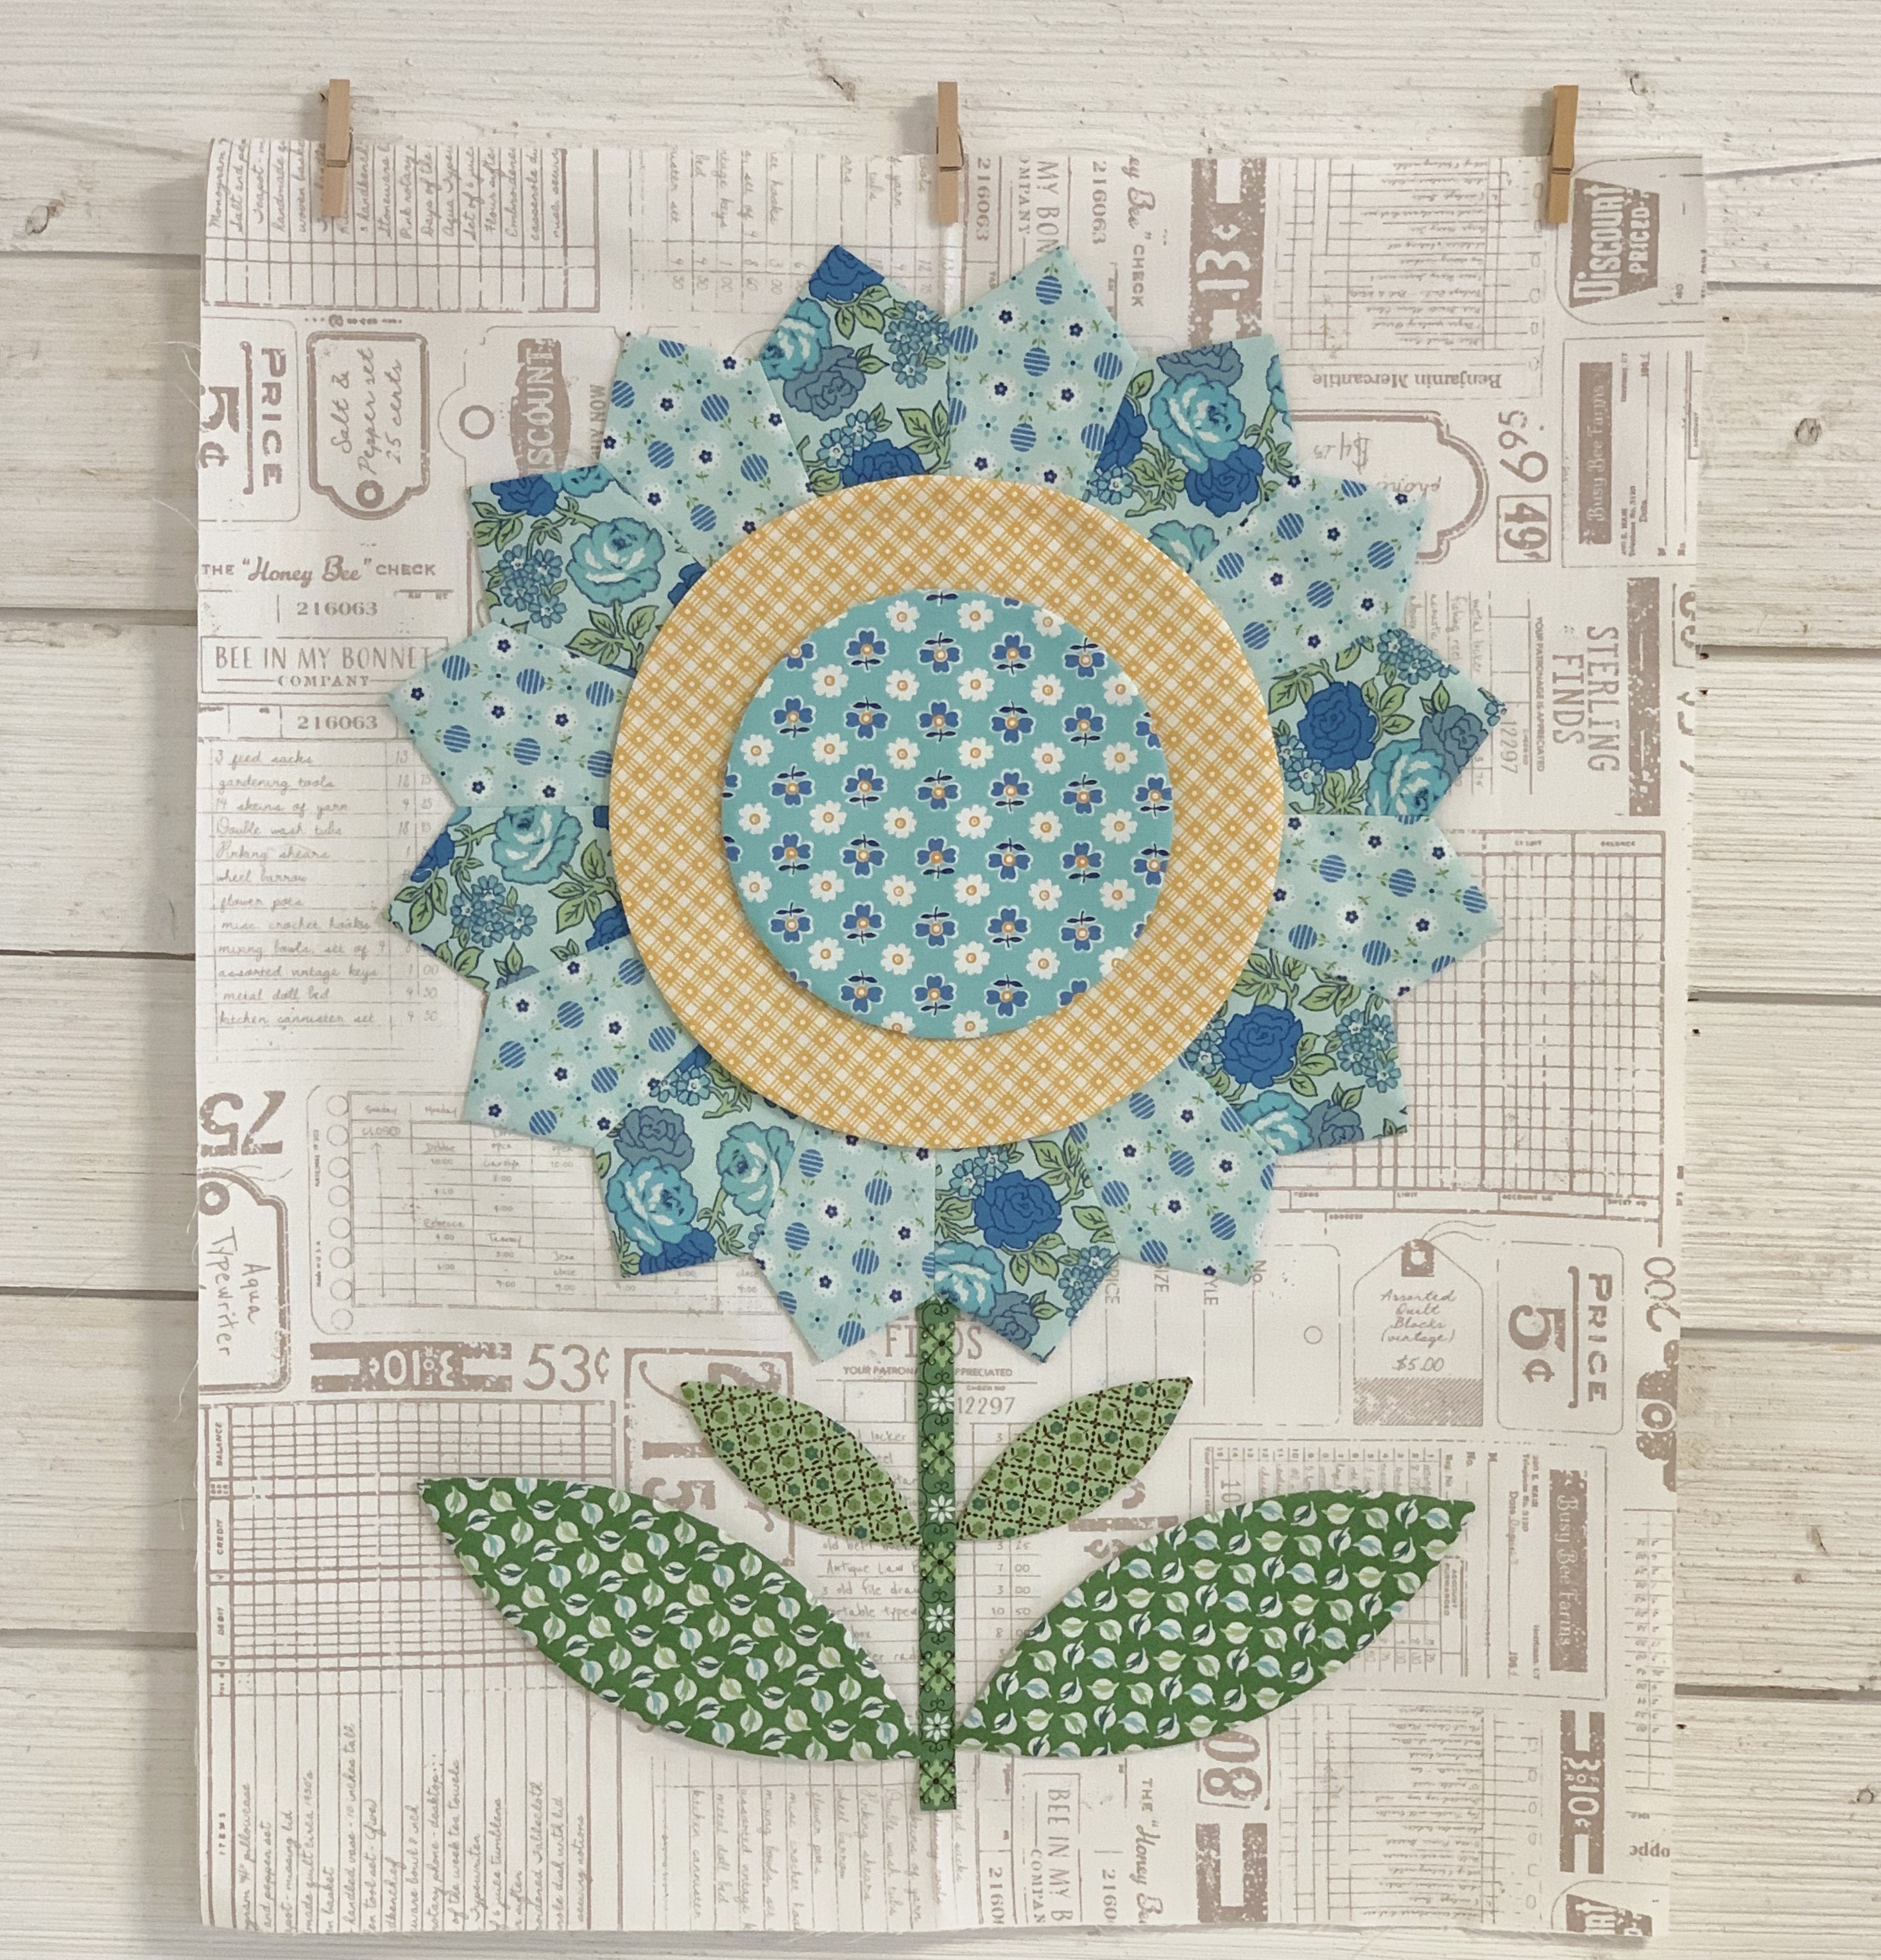
The first tutorial for this week is
Block "O"
The size of the flower
for this block is 15 1/2"
Let's get started!!

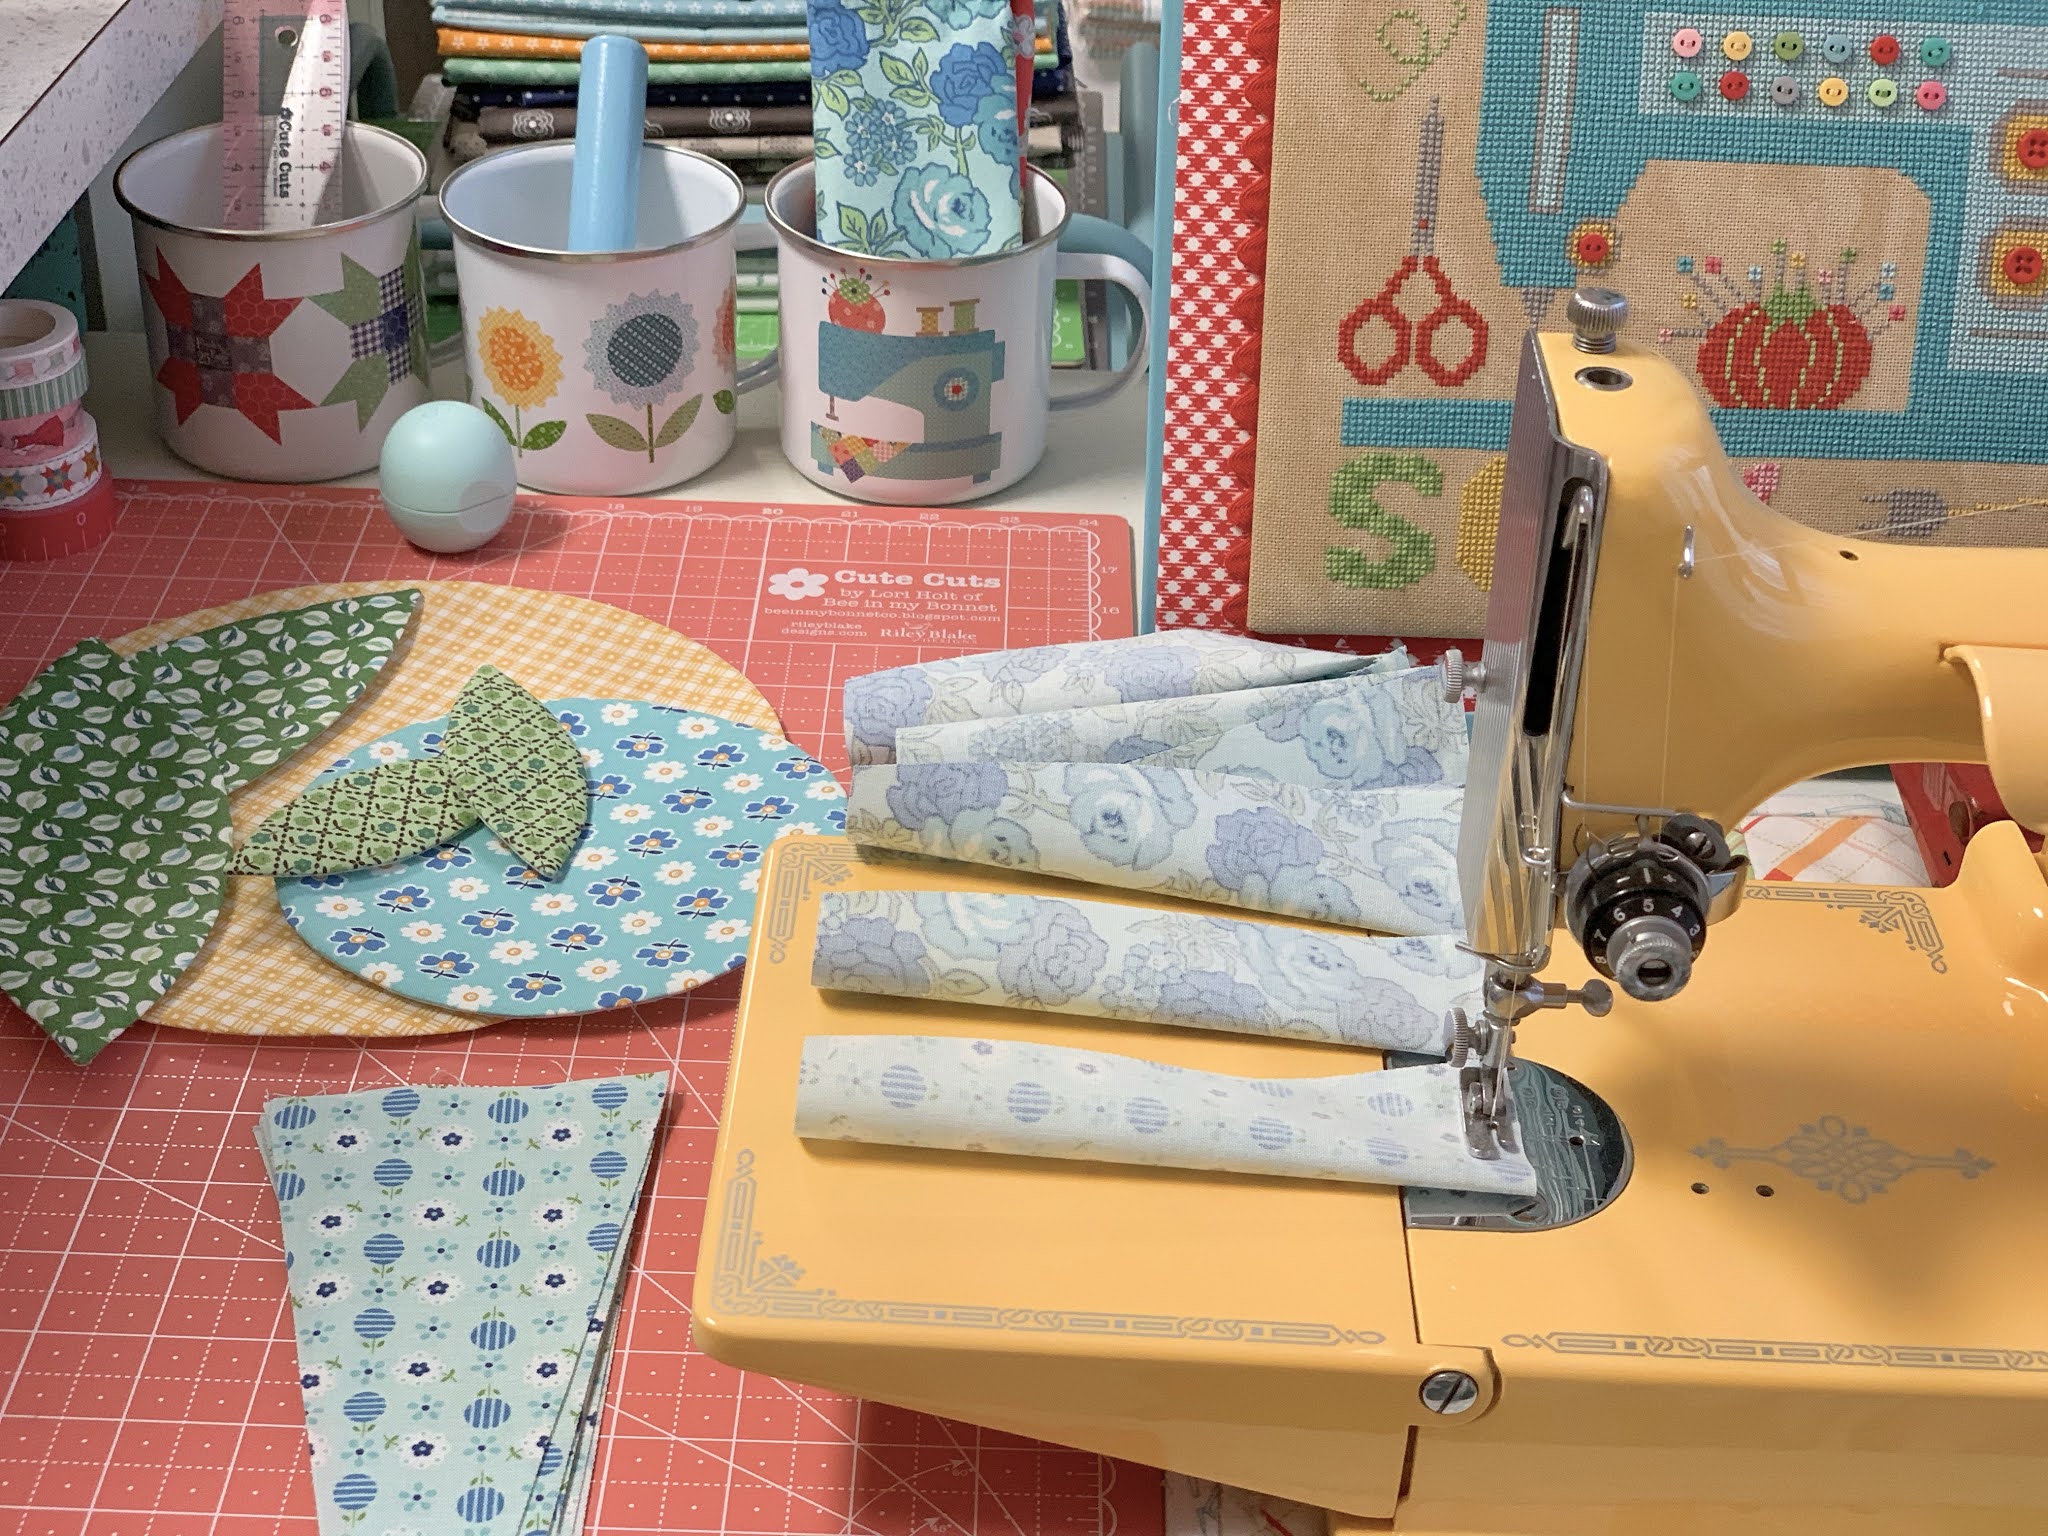
To cut the petals for the 15 1/2" flower you will need to
cut 2 - 6" x 21" strips of fabric from
BOTH of the prints that make up this flower
so that you have a total of 16.
In the photo above I am showing one strip of fabric that I have folded in half so that I am cutting two at a time.
If I start cutting on the selvedge ends...
I can easily get 6 petals from one strip and then unfold the leftover fabric on the folded end to cut a 7th petal.
Now I only need to cut one more petal from the second strip:)

When I'm cutting the petals
for a 15 1/2" flower I place
the top edge of ruler
on the top edge of fabric.
The bottom edge of the fabric
is on the 6" line of the ruler.
Of course you will flip the ruler
each time you cut
just like I showed you
in the video last week.
Remember to repeat this process
for the second print in this
flower so that you have
all 16 petals cut.

Okay!!
All my fabric is now cut and my interfacing
is traced and I'm all ready to sew!
Aside from the petals...
this is what you will need for
Block "O"
One - 9" Circle
One - 6" Circle
Two - Large Leaves
Two - Small Leaves
1/2" straight bias stem
that is cut 8 1/2" long
with one end pressed under:)
Background should be cut:
20" x 24"
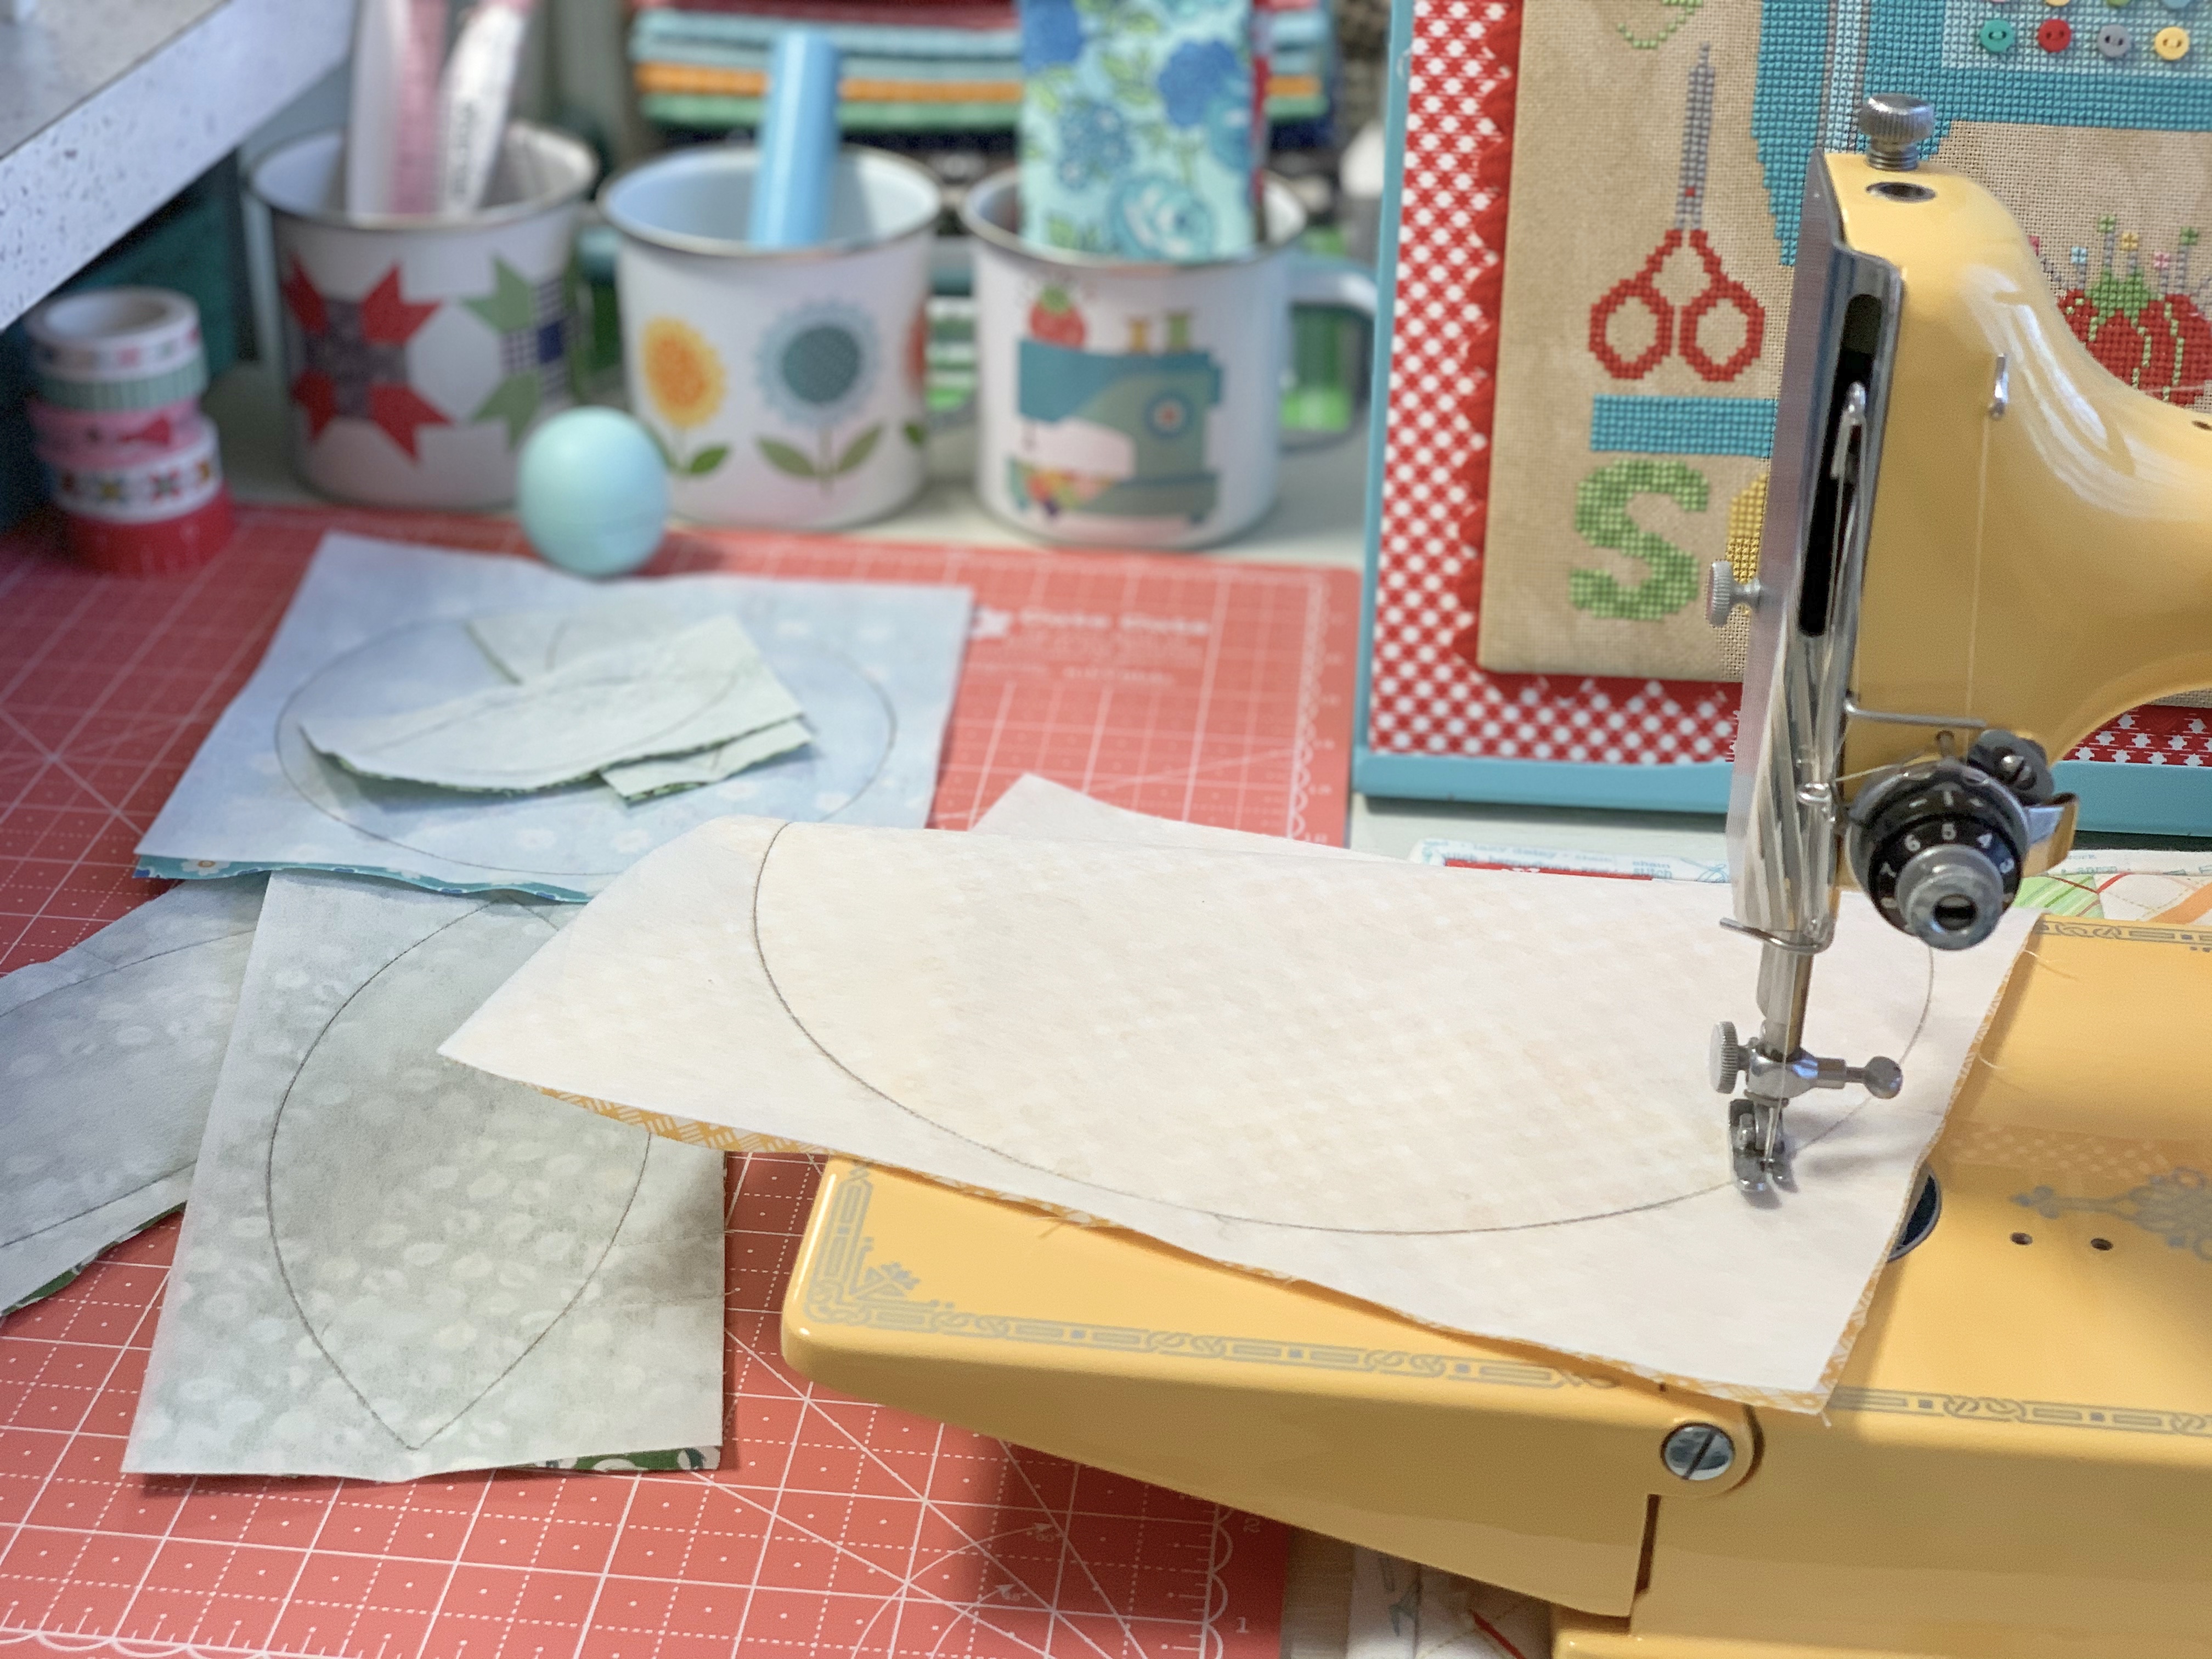
Match your fabric pieces up with
their traced interfacing piece
with right sides up:)
Sew the circles and leaves...
directly onto your traced lines
and over sew by about a half inch
or so instead of backstitching.
This makes for a smoother applique piece:)
Trim...turn...shape and press
your leaves and circles.
Begin sewing the flower petals
exactly like I showed you
in the video during week one:)

My petals are all pressed and
ready to sew into a flower!

When you sew them together remember
that you are alternating the prints.
Sew 8 units just like this...

Until you have a pretty 15 1/2" flower!

Of course you will always press the seams
open for every flower in this quilt:)

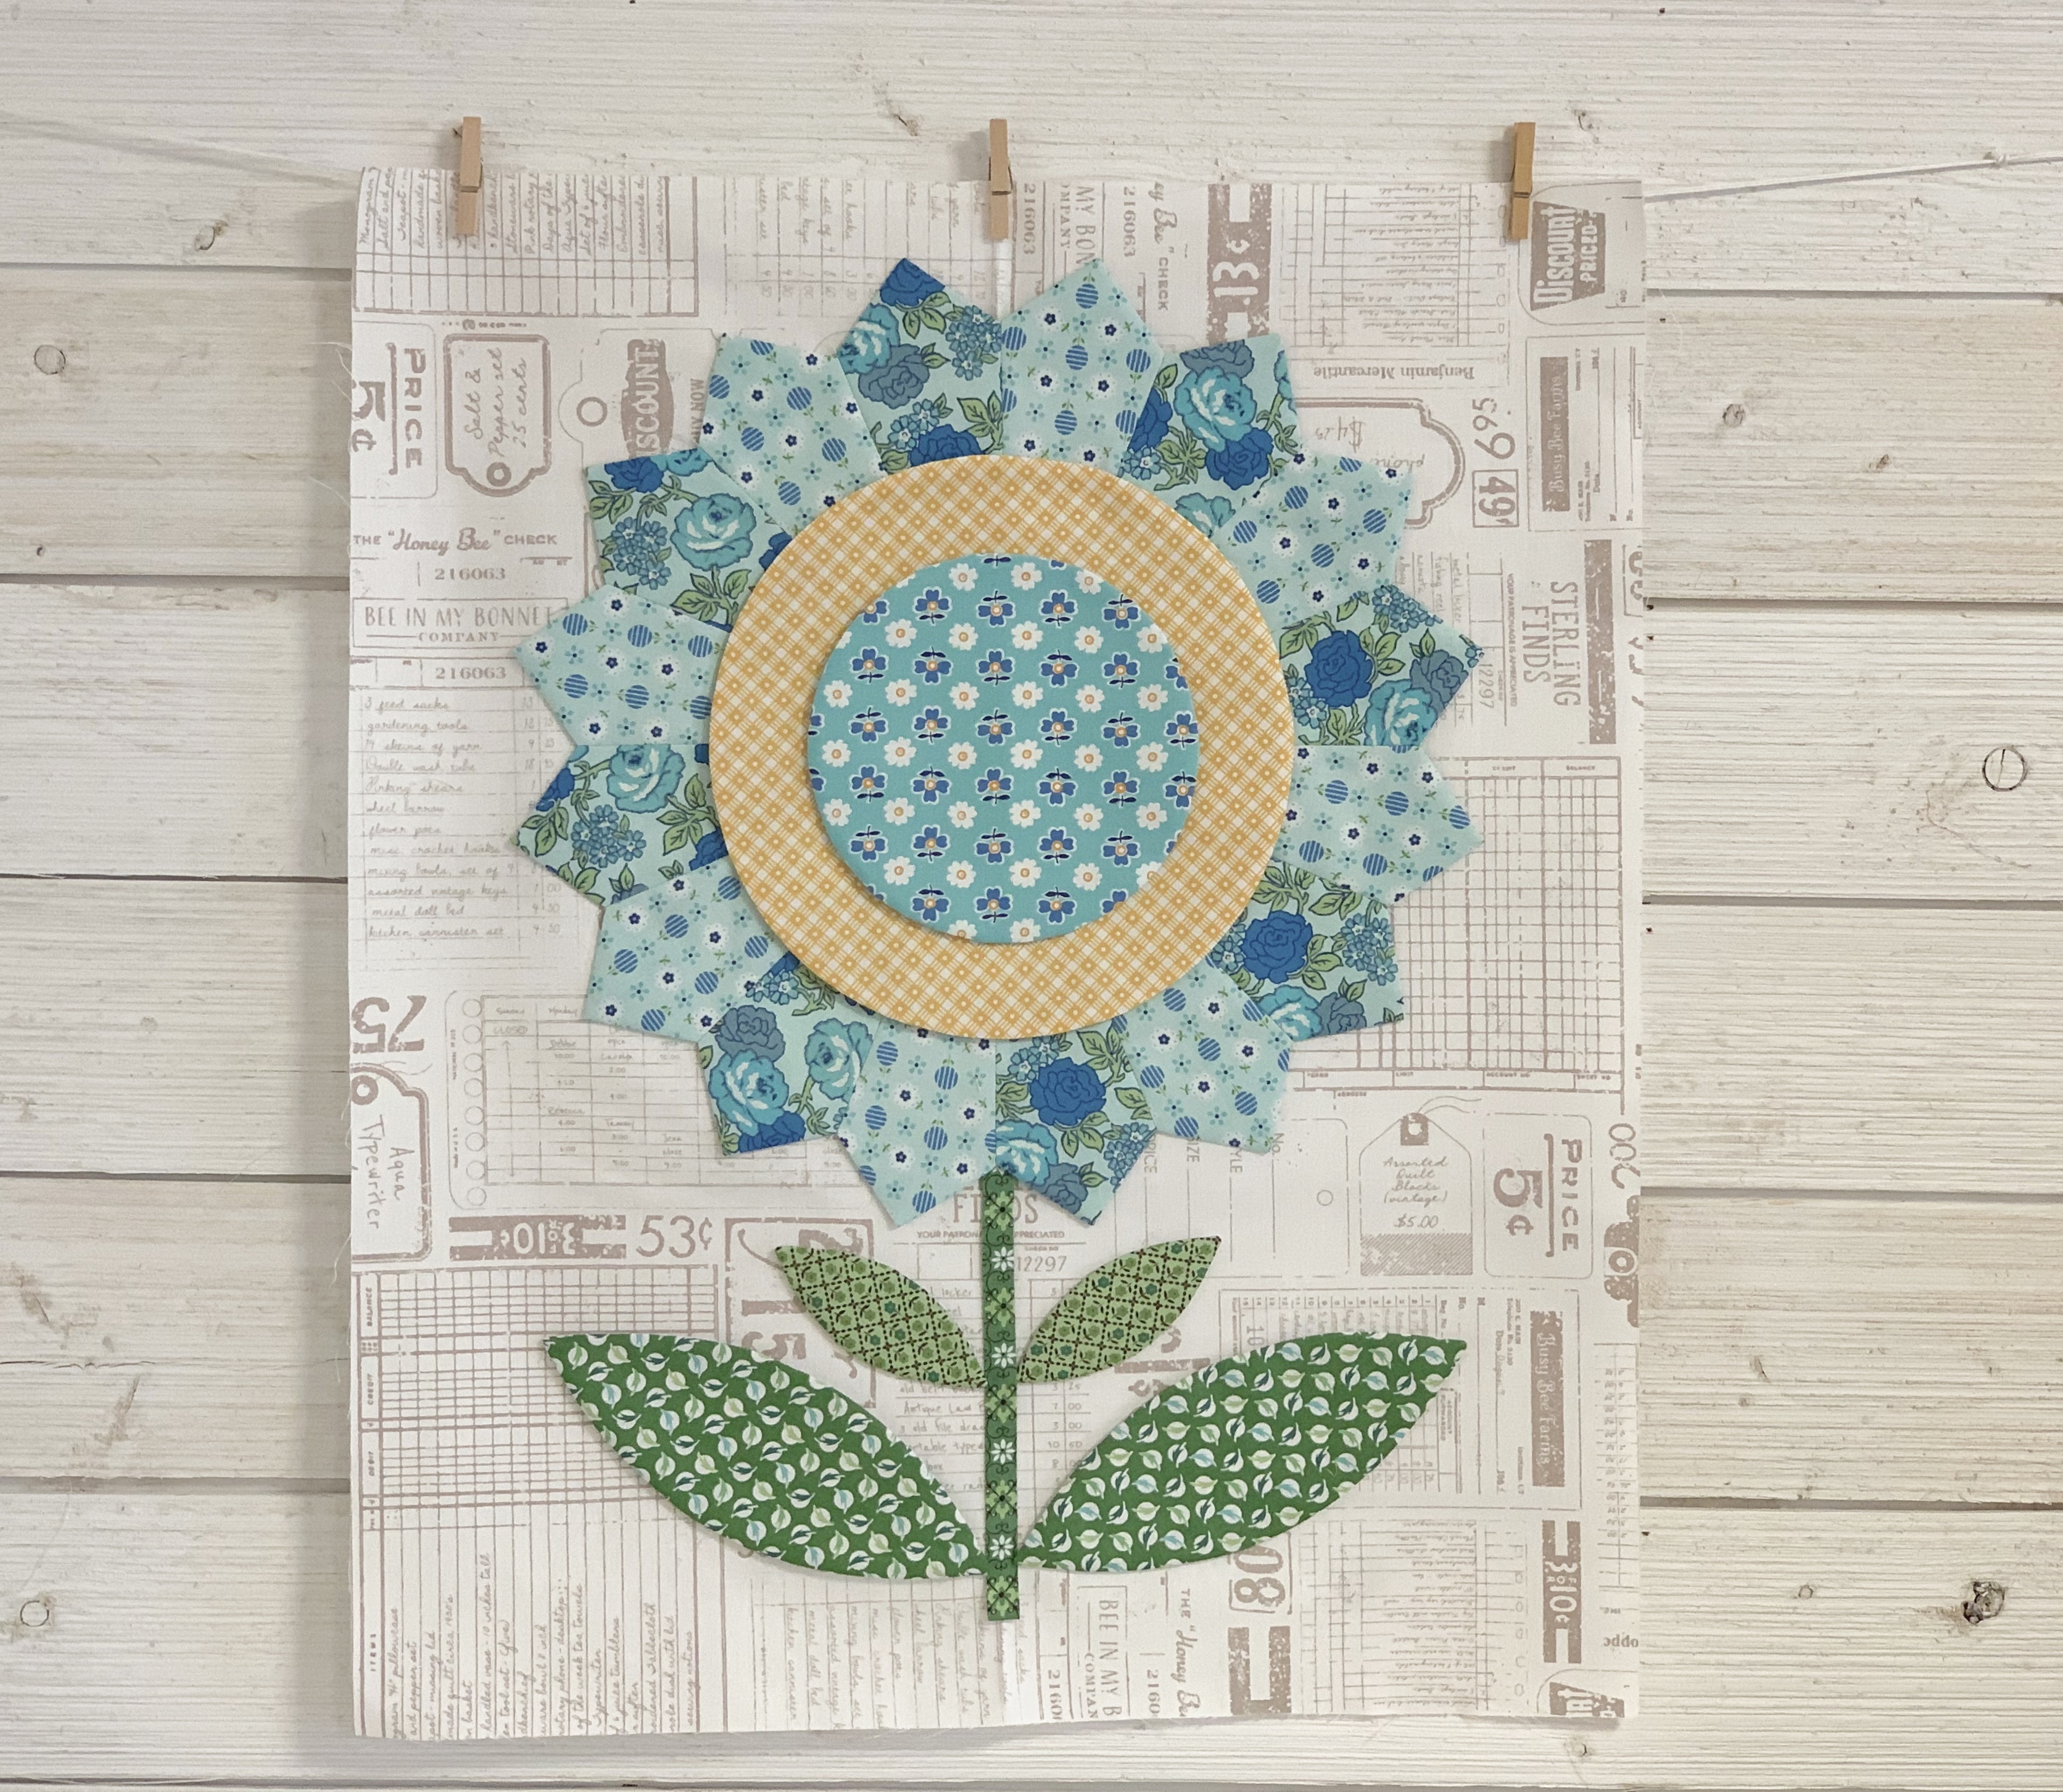
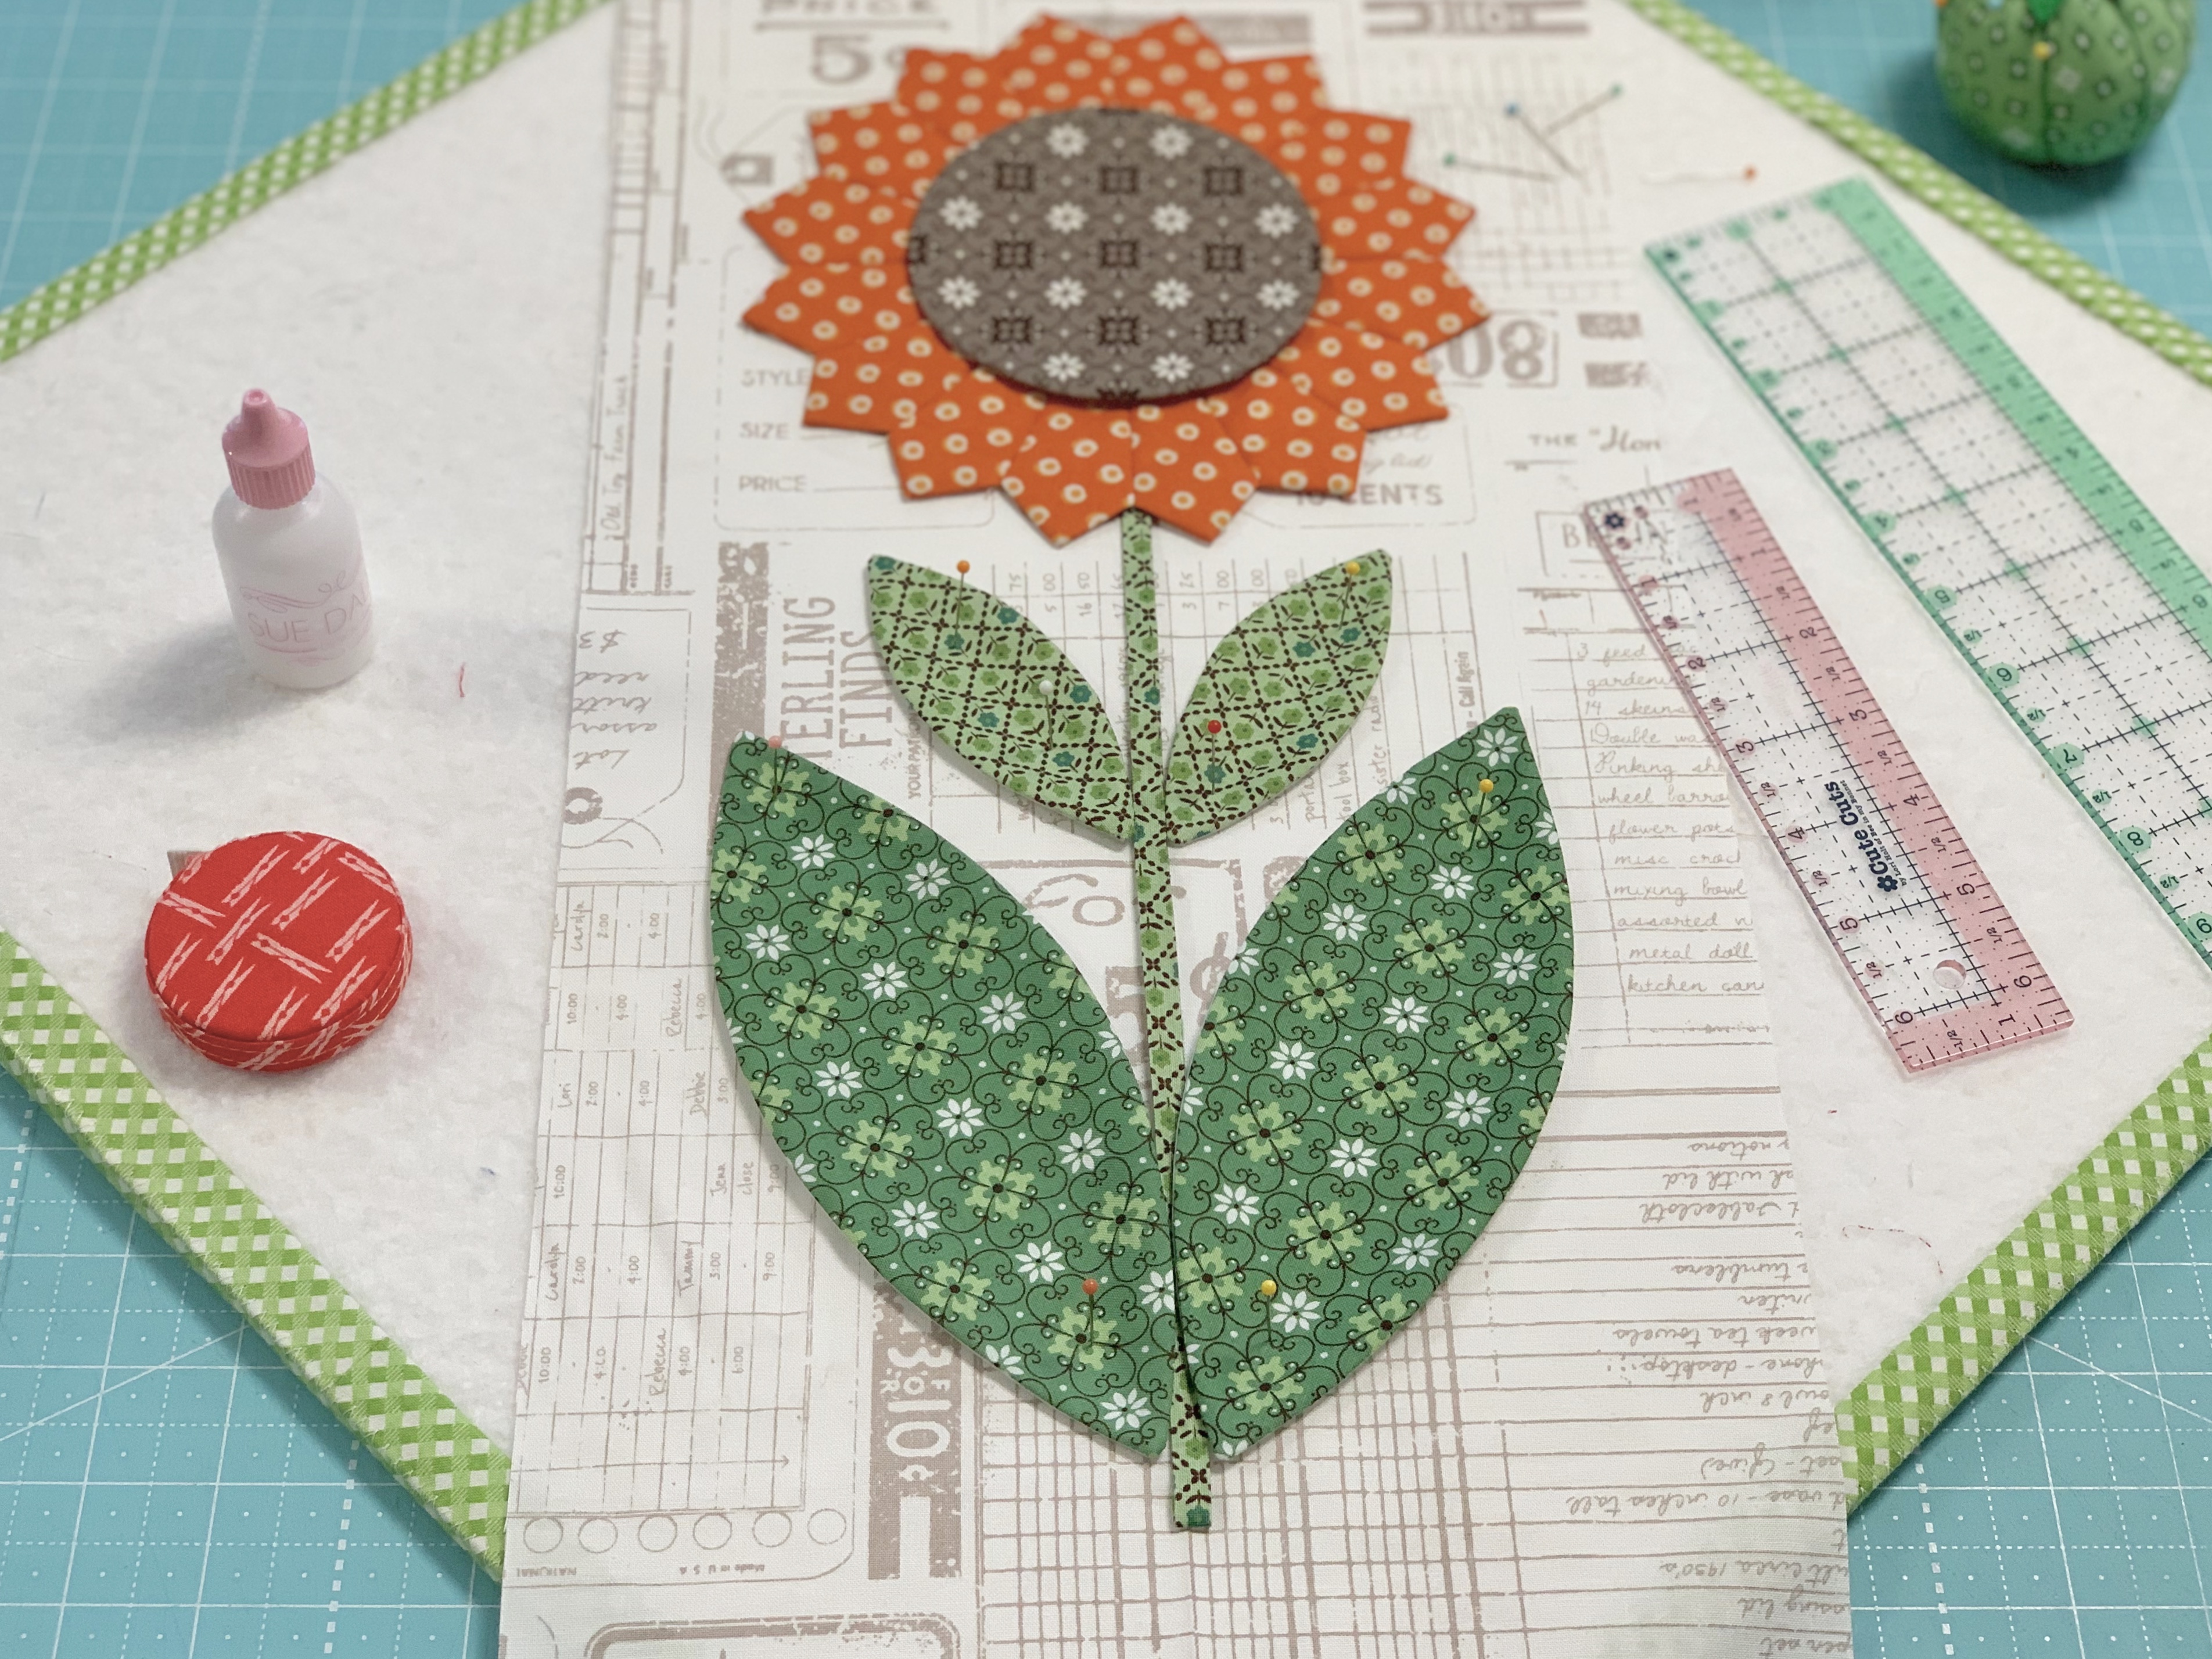
Now I have everything sewn and
it's time to pin and glue baste
so that I can applique!

The length of this flower
should measure 21" tall
from top of flower petal points
to the bottom of stem.
As far as width goes...
this rule applies when you
are laying out
all of the flowers in this quilt...
you don't want your leaves
to be wider than your flower.
If you stick with that rule
you will be good to go
when it comes time to
trim up your blocks after applique:)

Use your ruler to make sure
that you center your circles
on the flowers just like I
showed you in last weeks video.
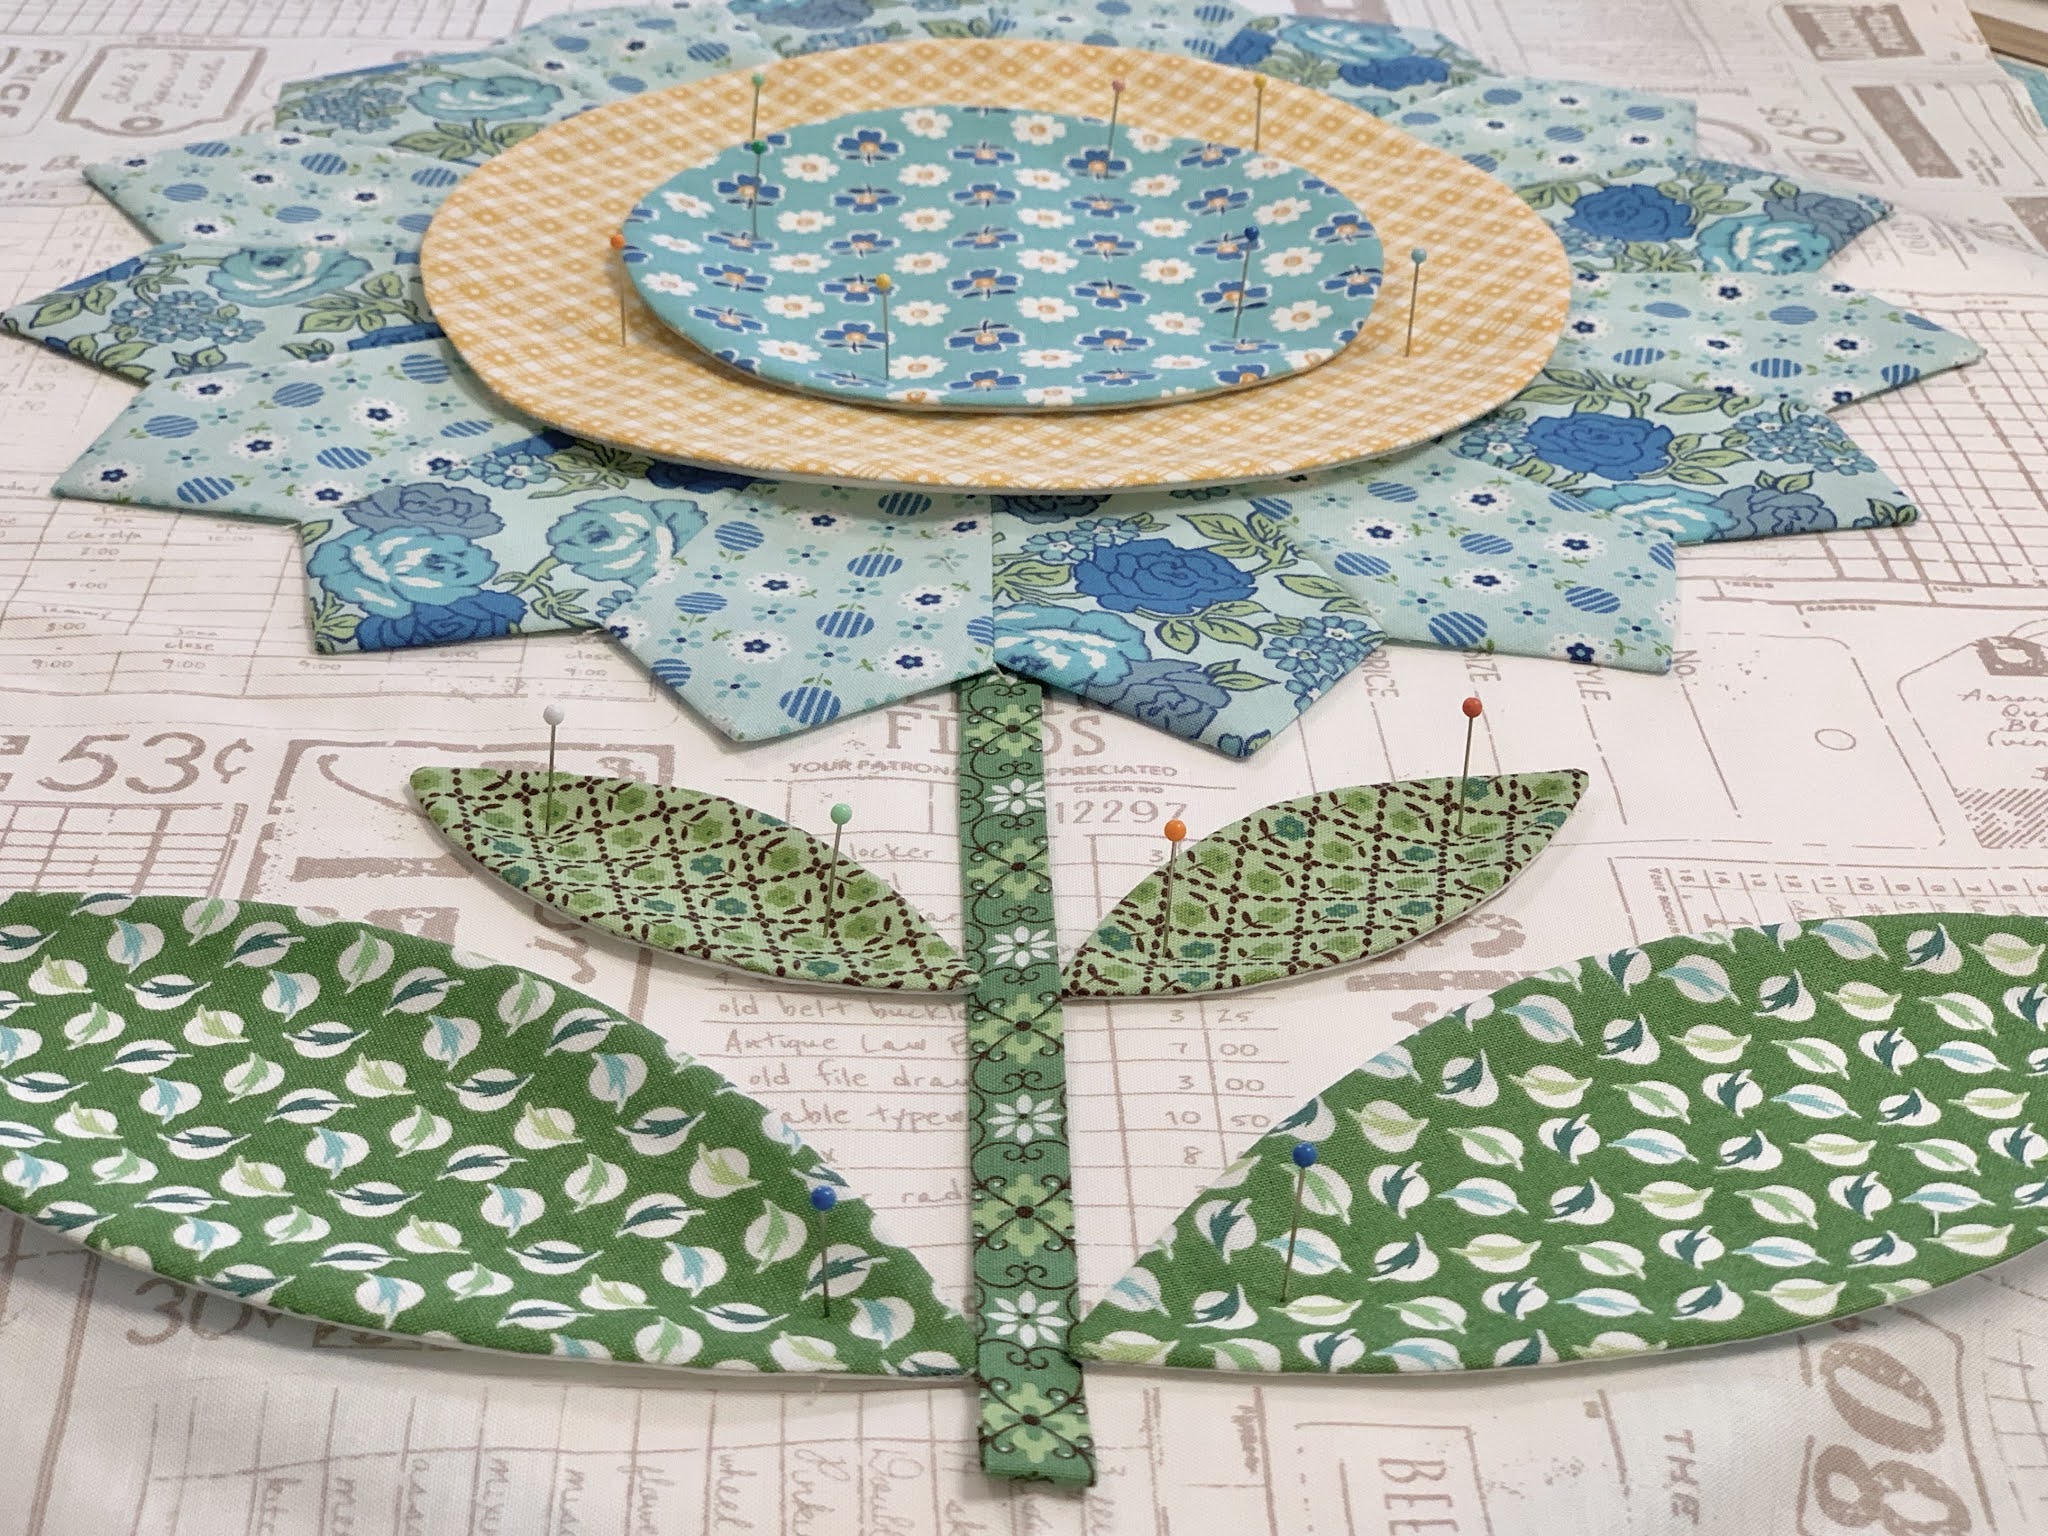
Pin your appliques (using a design board)
as you put them into place
and then when you are
happy with the placement...
go ahead and use the Sue Glue:)
Remove the pins after the glue is dry.
Then you can applique!!

So far I haven't been in any hurry
to applique my flowers yet...
I'm just having too much fun
making all of the blocks
and preparing the tutorials for you:)
However...
I have decided for sure that I
will machine applique my blocks
and that will go pretty quickly.

After I do finished the applique....
Block "O" is
trimmed down to
18 1/2" x 22 1/2"
Again...
I will chat with you about
trimming up my blocks
when it gets to that point...
or you can go ahead and trim yours
whenever you would like
as I tell you what size to trim
each block in each tutorial.
One thing that I do before
trimming down my applique blocks
is to press them.
But I only press the back!!
I do not want to damage my appliques
or press them down super flat
because I like them
to look like appliques...
not just a design printed fabric:)
After trimming...
this block will finish at 18" x 22"
after it is sewn into your quilt.
Okay!
Let's grow another flower!

Flea Market Flowers
BLOCK "N"
is another one that I am doing
a tutorial for this week as well.

For BLOCK "N" you will need to make
one - 7 1/2" Flower
so that means you will
need to cut 16 petals.
You will need to cut two
3" tall strips to get 16 petals cut.
Above is my fat 1/8 fabric from the kit
and I wanted to show you that
I did not cut the strips
3" x 21"
(the width of the fat 1/8)
because FIRST I needed to cut a
5" square for a
flower center in Block "B".
I also needed to cut a 3" square
for the patchwork center in Block "M".
There are a few pieces of fabric like this
that you will need to cut larger pieces
from first before you cut
strips for the flower petals.
I know that this is explained within
the cutting for each fabric and
I just wanted to show you how I do it.
***Just a little note from me:
Always be mindful when cutting your
fabrics to make the most use out of it
and to be able to get the
pieces needed out of each:)

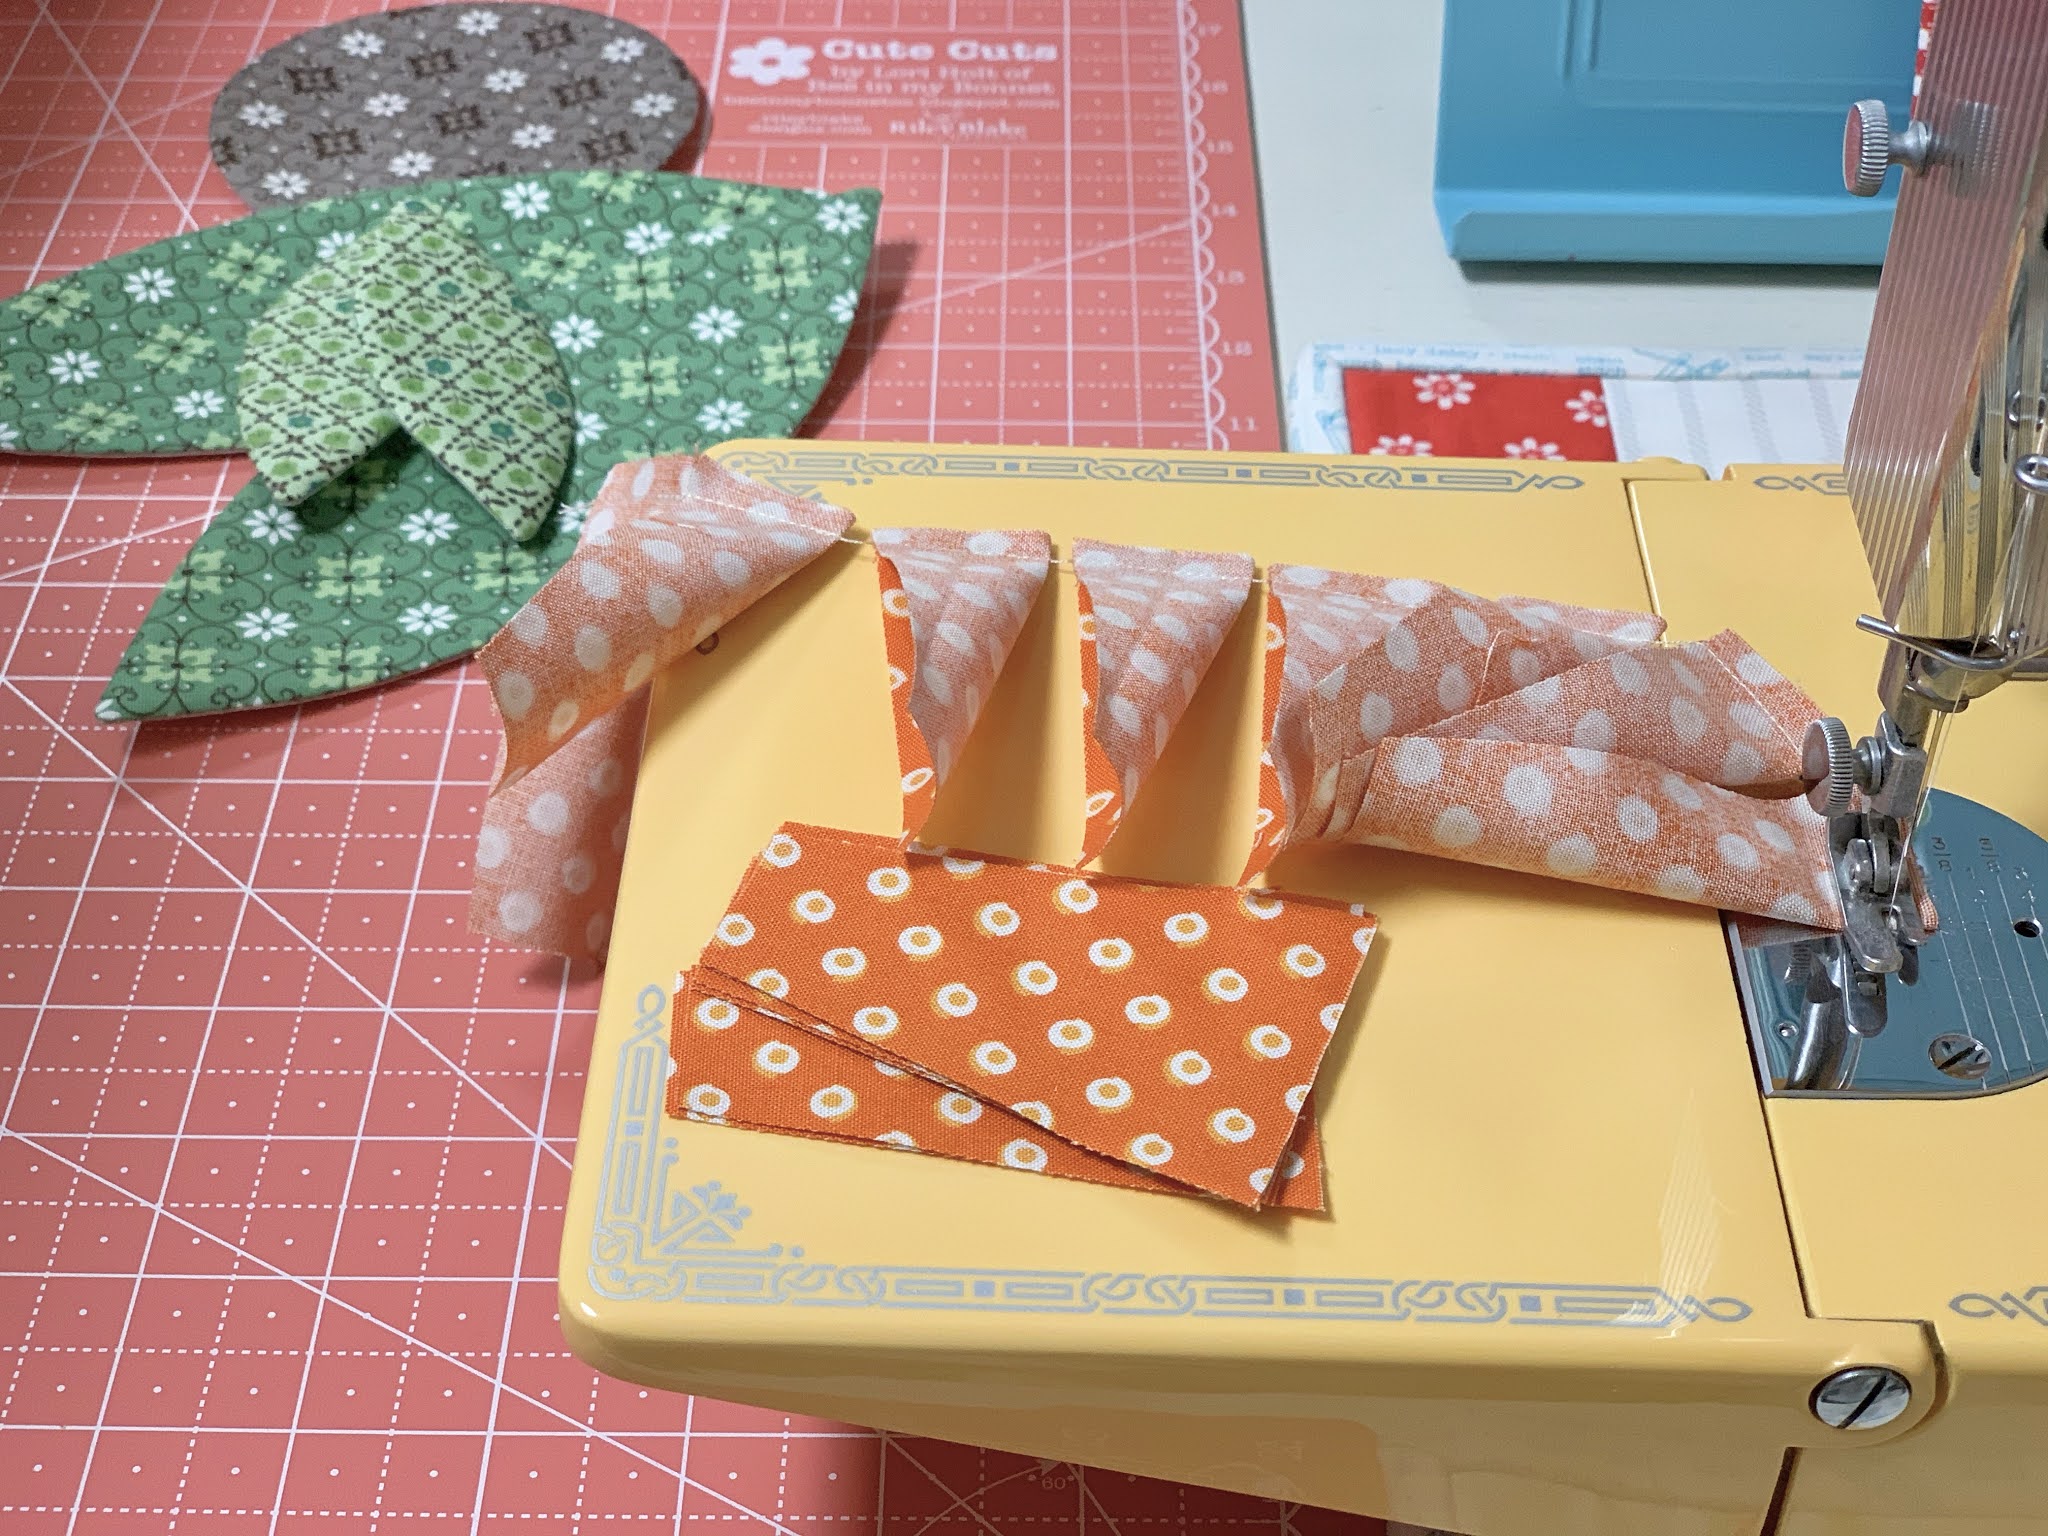
To cut the petals for a 7 1/2" flower...
lay your ruler on the fabric strips
between the
4" and 7" lines
that are marked on the Pie Ruler.

I cut them exactly the same way
that I showed you
in the video for BLOCK "M" ...
just different size strip height and
different placement of the Pie Ruler.
My 2 strips are layered on
top of each other so that I am
cutting two at a time.
You can see in my photo that
I can easily cut 16 - 7 1/2" flower petals
out of the two strips.
The other strip you see is the
remaining fabric leftover from my fat 1/8th.

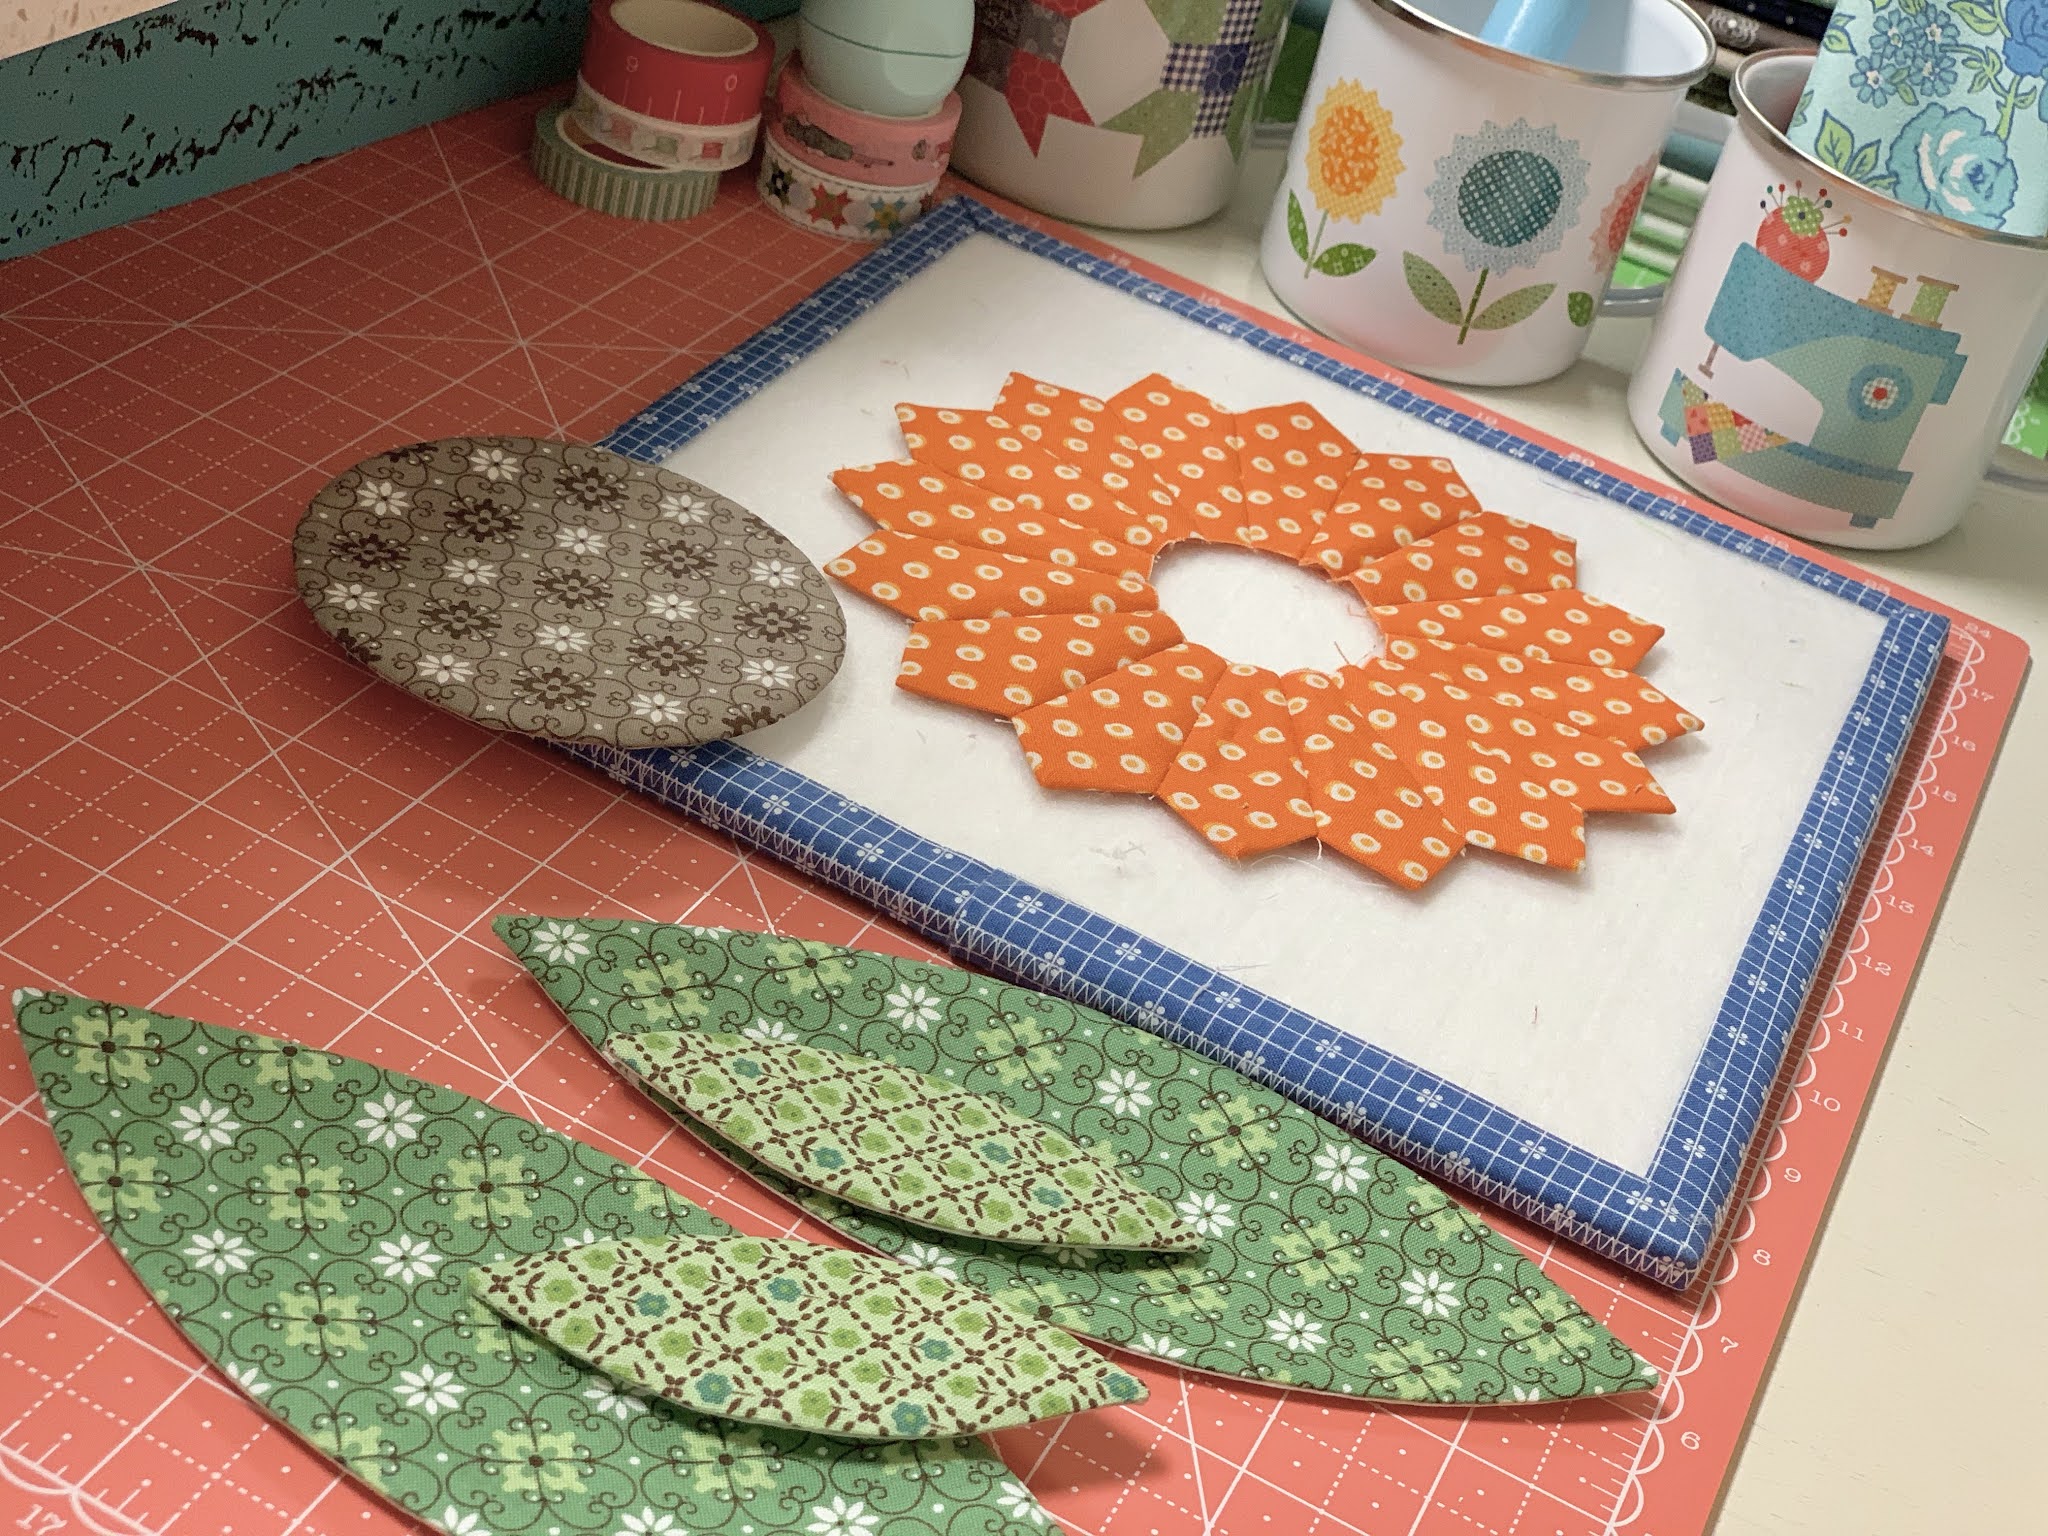
Now I have the 16 petals cut...
and I have all of my other fabrics cut for
the block and my Sew-In Interfacing traced.
Aside from the petals for the flower...
you will need the following:
1 - 4" Circle
2 - Small Leaves
2 - Large Leaves
1/4" prepared straight bias strip
11" long and pressed one end under
I cut my background
10" x 20"

I sewed my circle for the center
and both sets of leaves.
And after preparing them for applique...
I sewed my 7 1/2" flower:)
***Just a little note from me:
Remember that when sewing your
petals together that you will need to
use an accurate 1/4" seam allowance
in order for your flowers to lie flat.
If they are too "wavy" then chances are
your seams are too narrow and
have not been quite up to 1/4"
so you may need to check your seams
and sew a few of them
a little wider to correct this:)

Now that everything is sewn for
Block "N"
you can pin and glue baste for applique:)
The length of this flower
should measure 17" long
from the tips of the flower petals
to the bottom of the stem.

The bottom leaves in this flower
are lain out a little taller
so that they follow the rule
of not being wider than the flower:)

Block "N"
will need to be trimmed down to
8 1/2" x 18 1/2" AFTER applique.
It will finish at 8" x 18"
when it's sewn into your quilt.

I really like this tall skinny flower
and it reminds me of fall
because of the colors.
I wanted this quilt to
look like a garden of flowers
that bloomed through all four seasons:)

I hope you are having
just as much fun as I am playing with
FLEA MARKET!
Please post your progress picture on
and use the hashtag
#FleaMarketFlowersSewAlong
so that we can all send some
love and likes your way
and we will know who is
sewing along together with us:)
It makes me sew happy to know
that we are all sewing together
and my wish is that you are
having fun creating this quilt
and also learning a little something
along the way!
I'll meet you right back here
next week to plant more
Flea Market Flowers!!
xx
Lori

4 comments:
Love this sewalong! It's the third one of your sewalongs that I have done. Thanks for sharing your talents with us all!
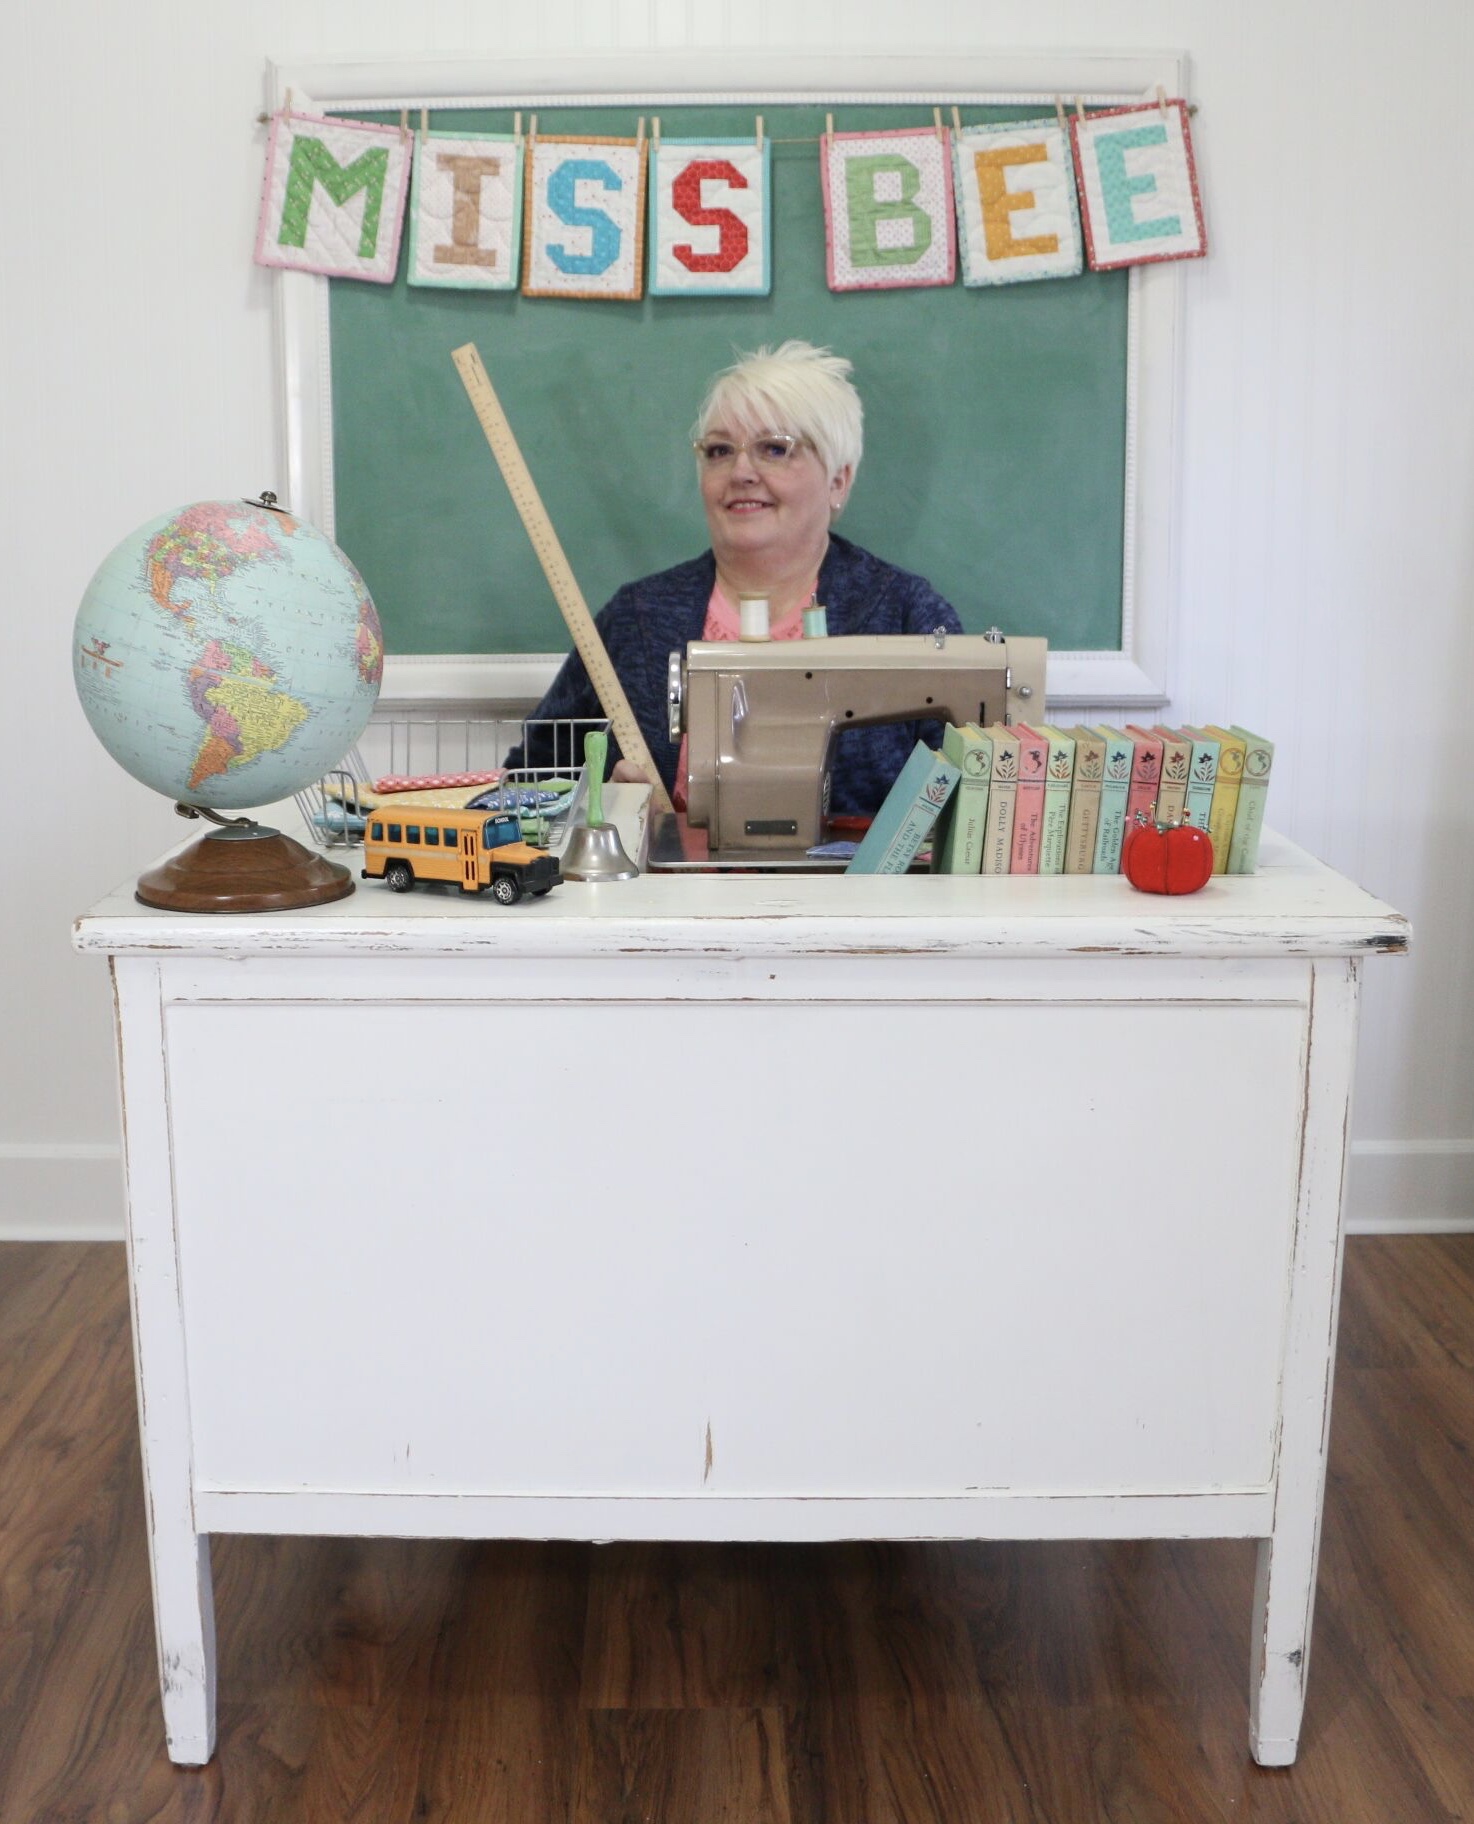
Love the Miss Bee photo and I love Miss Bee 🐝 I’m having sew much fun following along. I was even able to get the fabric... waiting for my FQShop package 😍
I'm having a LOT of fun sewing along with you, but I got off social media last year so no sharing except on my blog. I'm using stash fabrics, but I'm trying to keep with the spirit of your design. SO much fun.
When I ordered this kit for the Flea Market, I realized I wanted my sewing room clean and organized before I started this project. After many trips to the city refuse place and many thrift store donations, and lots of cleaning - I created my happy sewing place. Now when I have an hour or even ten minutes I can easily sew and it all adds up. I just finished block N and each block when finished brings joy to me. It is fun to create something beautiful than can be done in easy steps. Lori, I can't thank you enough for the joy and satisfaction this quilt project has brought to me. I'm enjoying this project so much in my clean and organized space that I'm working on making the rest of home just as peaceful. Loves and Hugs, Sew Happy from Idaho Falls.
Post a Comment