

"TOOLS and BANDANA BLOCKS"


Welcome to week three of the
"How to Build a Scarecrow"
Sew Along!
Are you ready to sew with me?
I hope that you will join me here
each week when I will be
doing tutorials every Monday!
Of course because we are all sewing
from all around the world
we all have different time zones...
But I will be posting each Monday
right here on my blog
and you can follow my tutorials
any time during the week that
is convenient for you.

We are making the
How to Build a Scarecrow Quilt
74" x 86"

.jpeg)
.jpeg)
The quilt is made with my fabric
collection called AUTUMN:)
I hope that you all have all
received your
fabric kits by now...
and that we are all ready to begin!!
If you still need one ...
just do a quick google search for
"How to Build a Scarecrow
Quilt Kit"
to find shops who still have some left.

I detail all of the supplies
that you need to make the quilt in my
Bee Prepared post right here on my blog.
I have already posted the
post which not only details
all of the supplies needed but
explains how this sew along works.
I have also given the links there
for the free PDF Download
of the Sew Along Guide
to download the sew along guide
if you have not downloaded yet.

As per usual for the first block in my
new fabric collection Sew Alongs
that FIRST tutorial is a video.
Because I now have my own
I have posted the
Crow Block
Tutorial there.
to visit my channel and watch the
tutorial and I hope that you love it!
Pretty please leave me a comment
over there and let me know:)
If you like what you see
and my other videos there...
click on subscribe and click on the bell
to be notified whenever
I post another tutorial:)

these border blocks to get us started!
if you haven't watched it yet:)

"MOON and STARS BLOCK"
for that tutorial


Remember that cutting each block is easy
because of the sew along guide
that is provided for you.

detailed for you in the
sew along guide for your convenience!

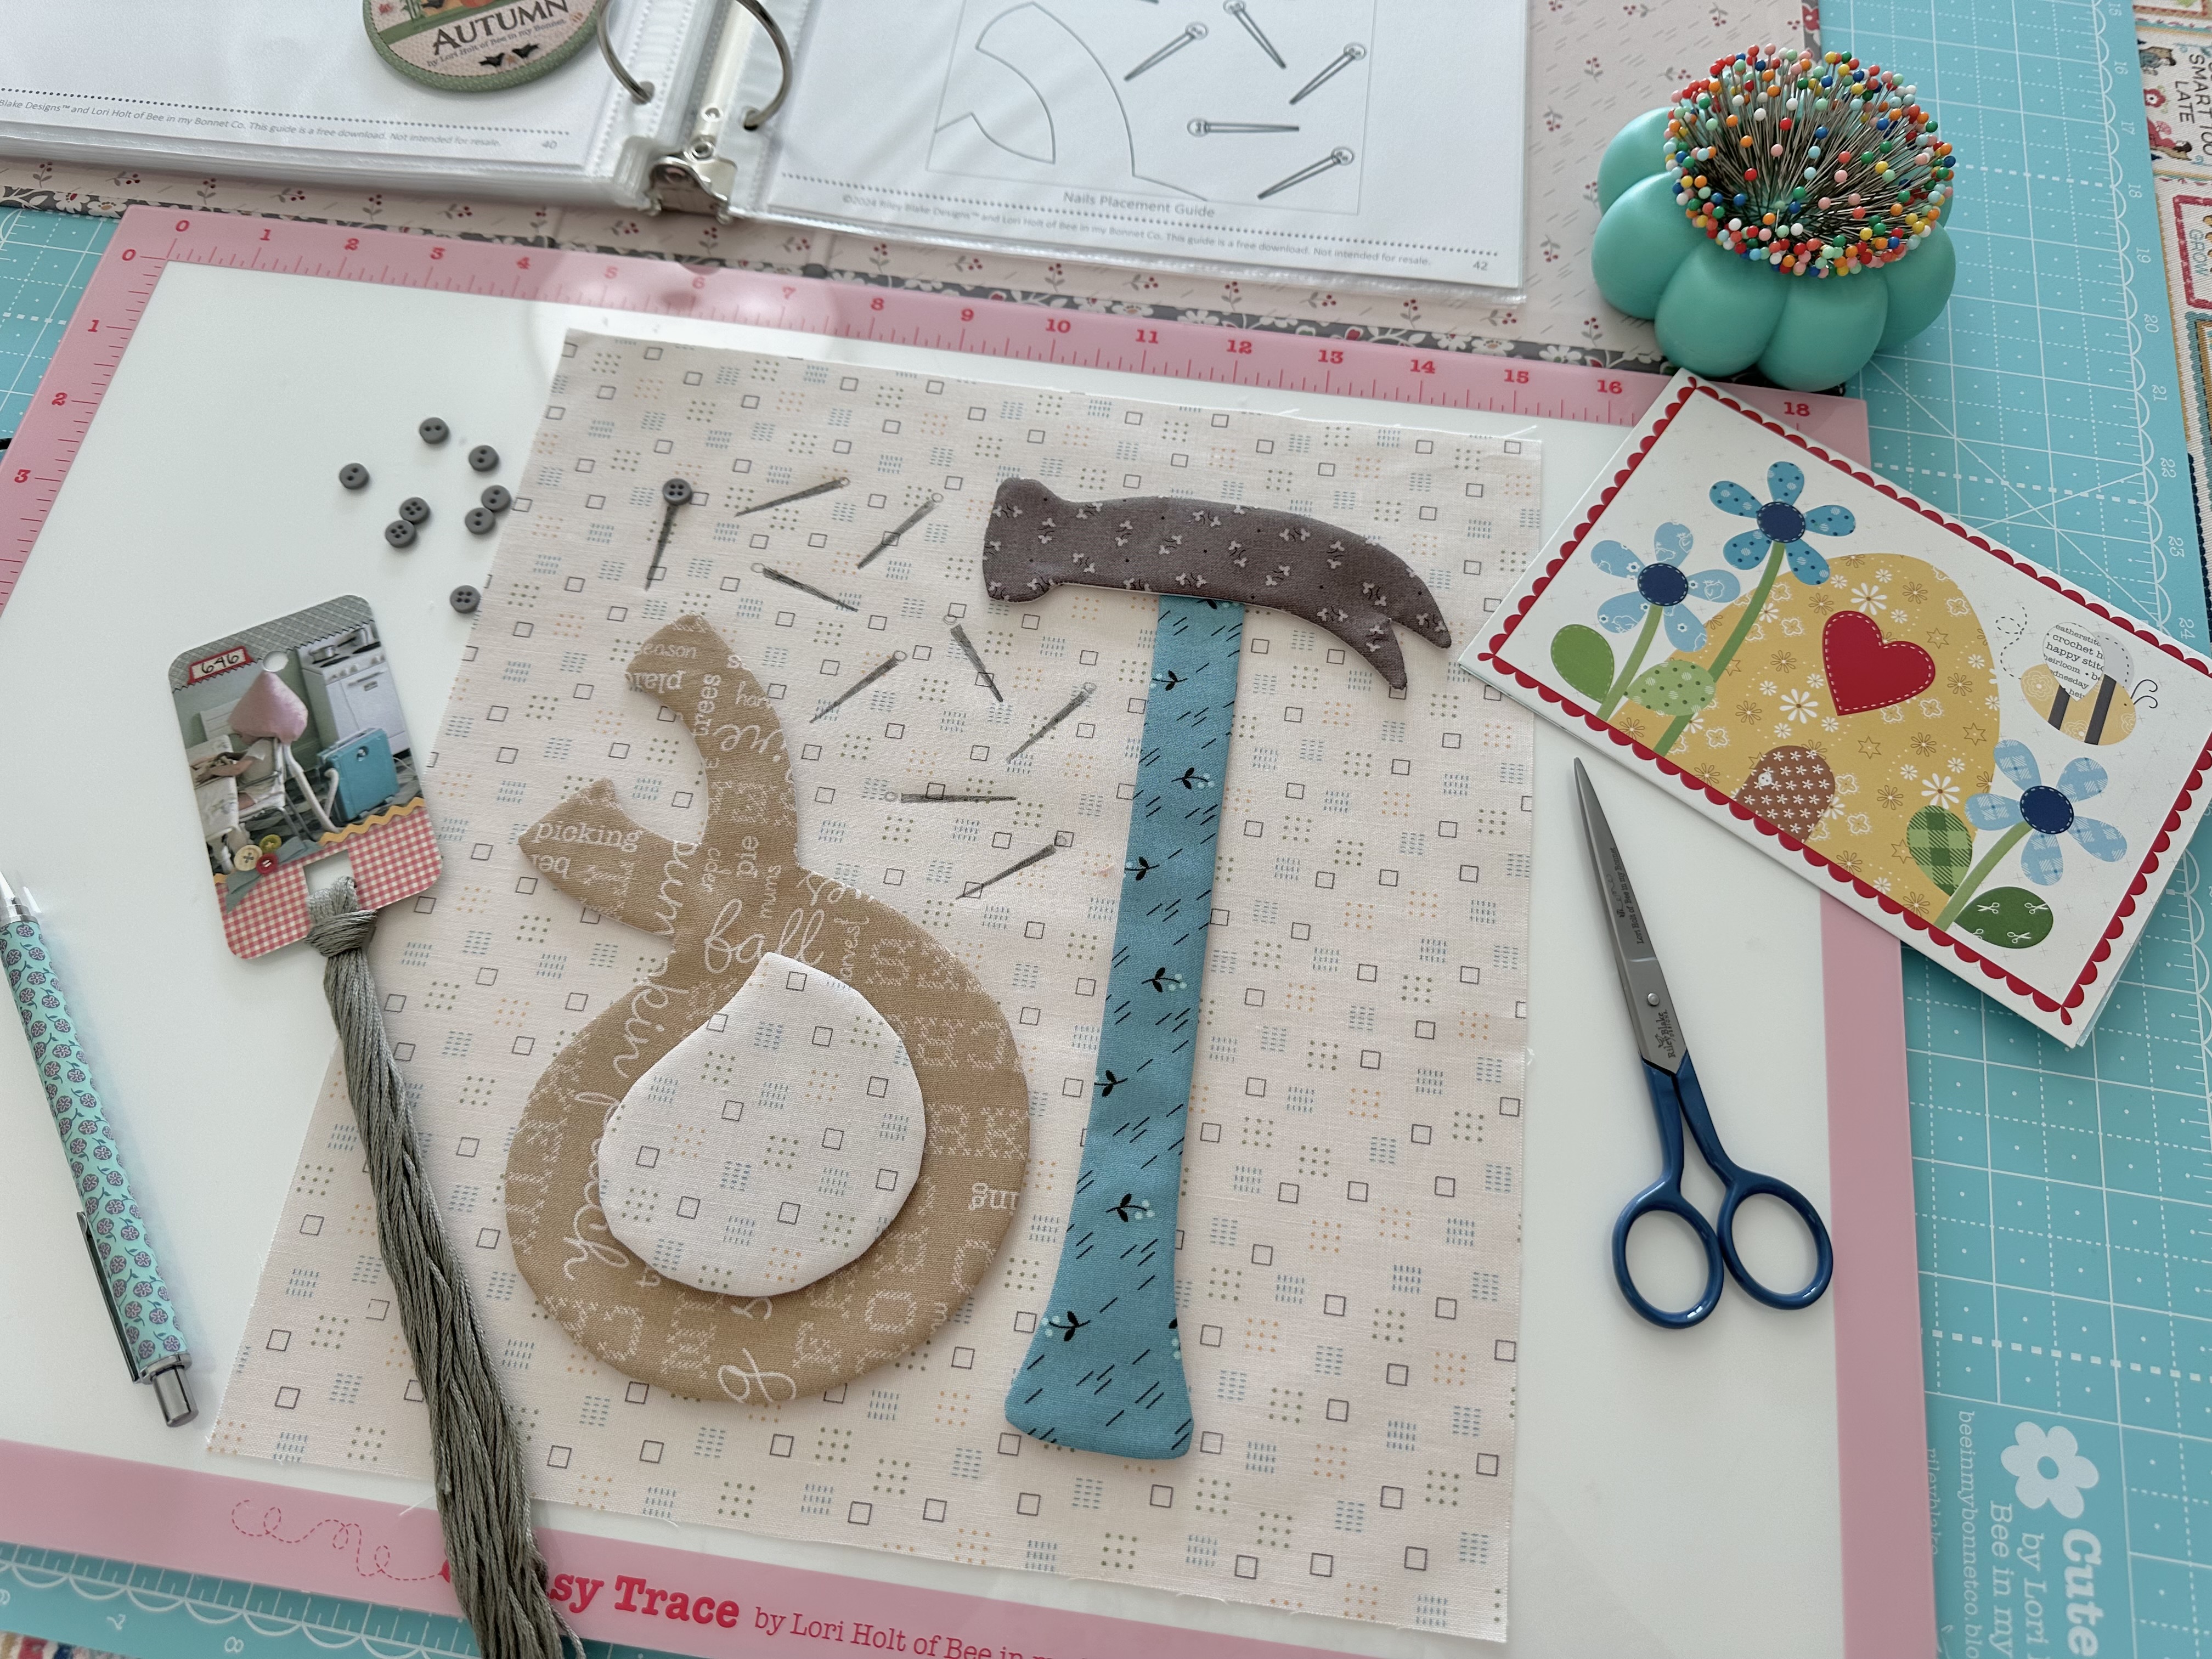
Tool Block
all cut and traced:)
I pulled out some gray
1/4" Cute Little Buttons
to use for the nail heads.

READY - SET - SEW!!

After sewing... trim the seam allowances.
You will need to clip cleavage areas
in the rope and hammerhead and inner curves
in all four shapes before turning.

Turned - shaped and pressed...

Back of my appliqués:)
I used my Easy Trace Light Box
and the pattern in the guide
to trace the nails and nail heads
onto my background fabric.
Then I sewed the Cute Little Buttons
on with the DMC Floss:)

and filled it in for hand satin stitch.
If you do not like to embroider...
you could just leave the pencil lines!
YOU
YOU
are the BOSS of your own quilt:)

Pinned and Sue Glued:)

After applique you will be
trimming it to 10 1/2" tall
so use your ruler that size
when laying it out to make sure
that your appliqués stay within the
window of the ruler height wise.

You will trim to 9 1/2" wide
so you can use that Trim-It Ruler
for laying out as well.

My tools are all ready for applique:)
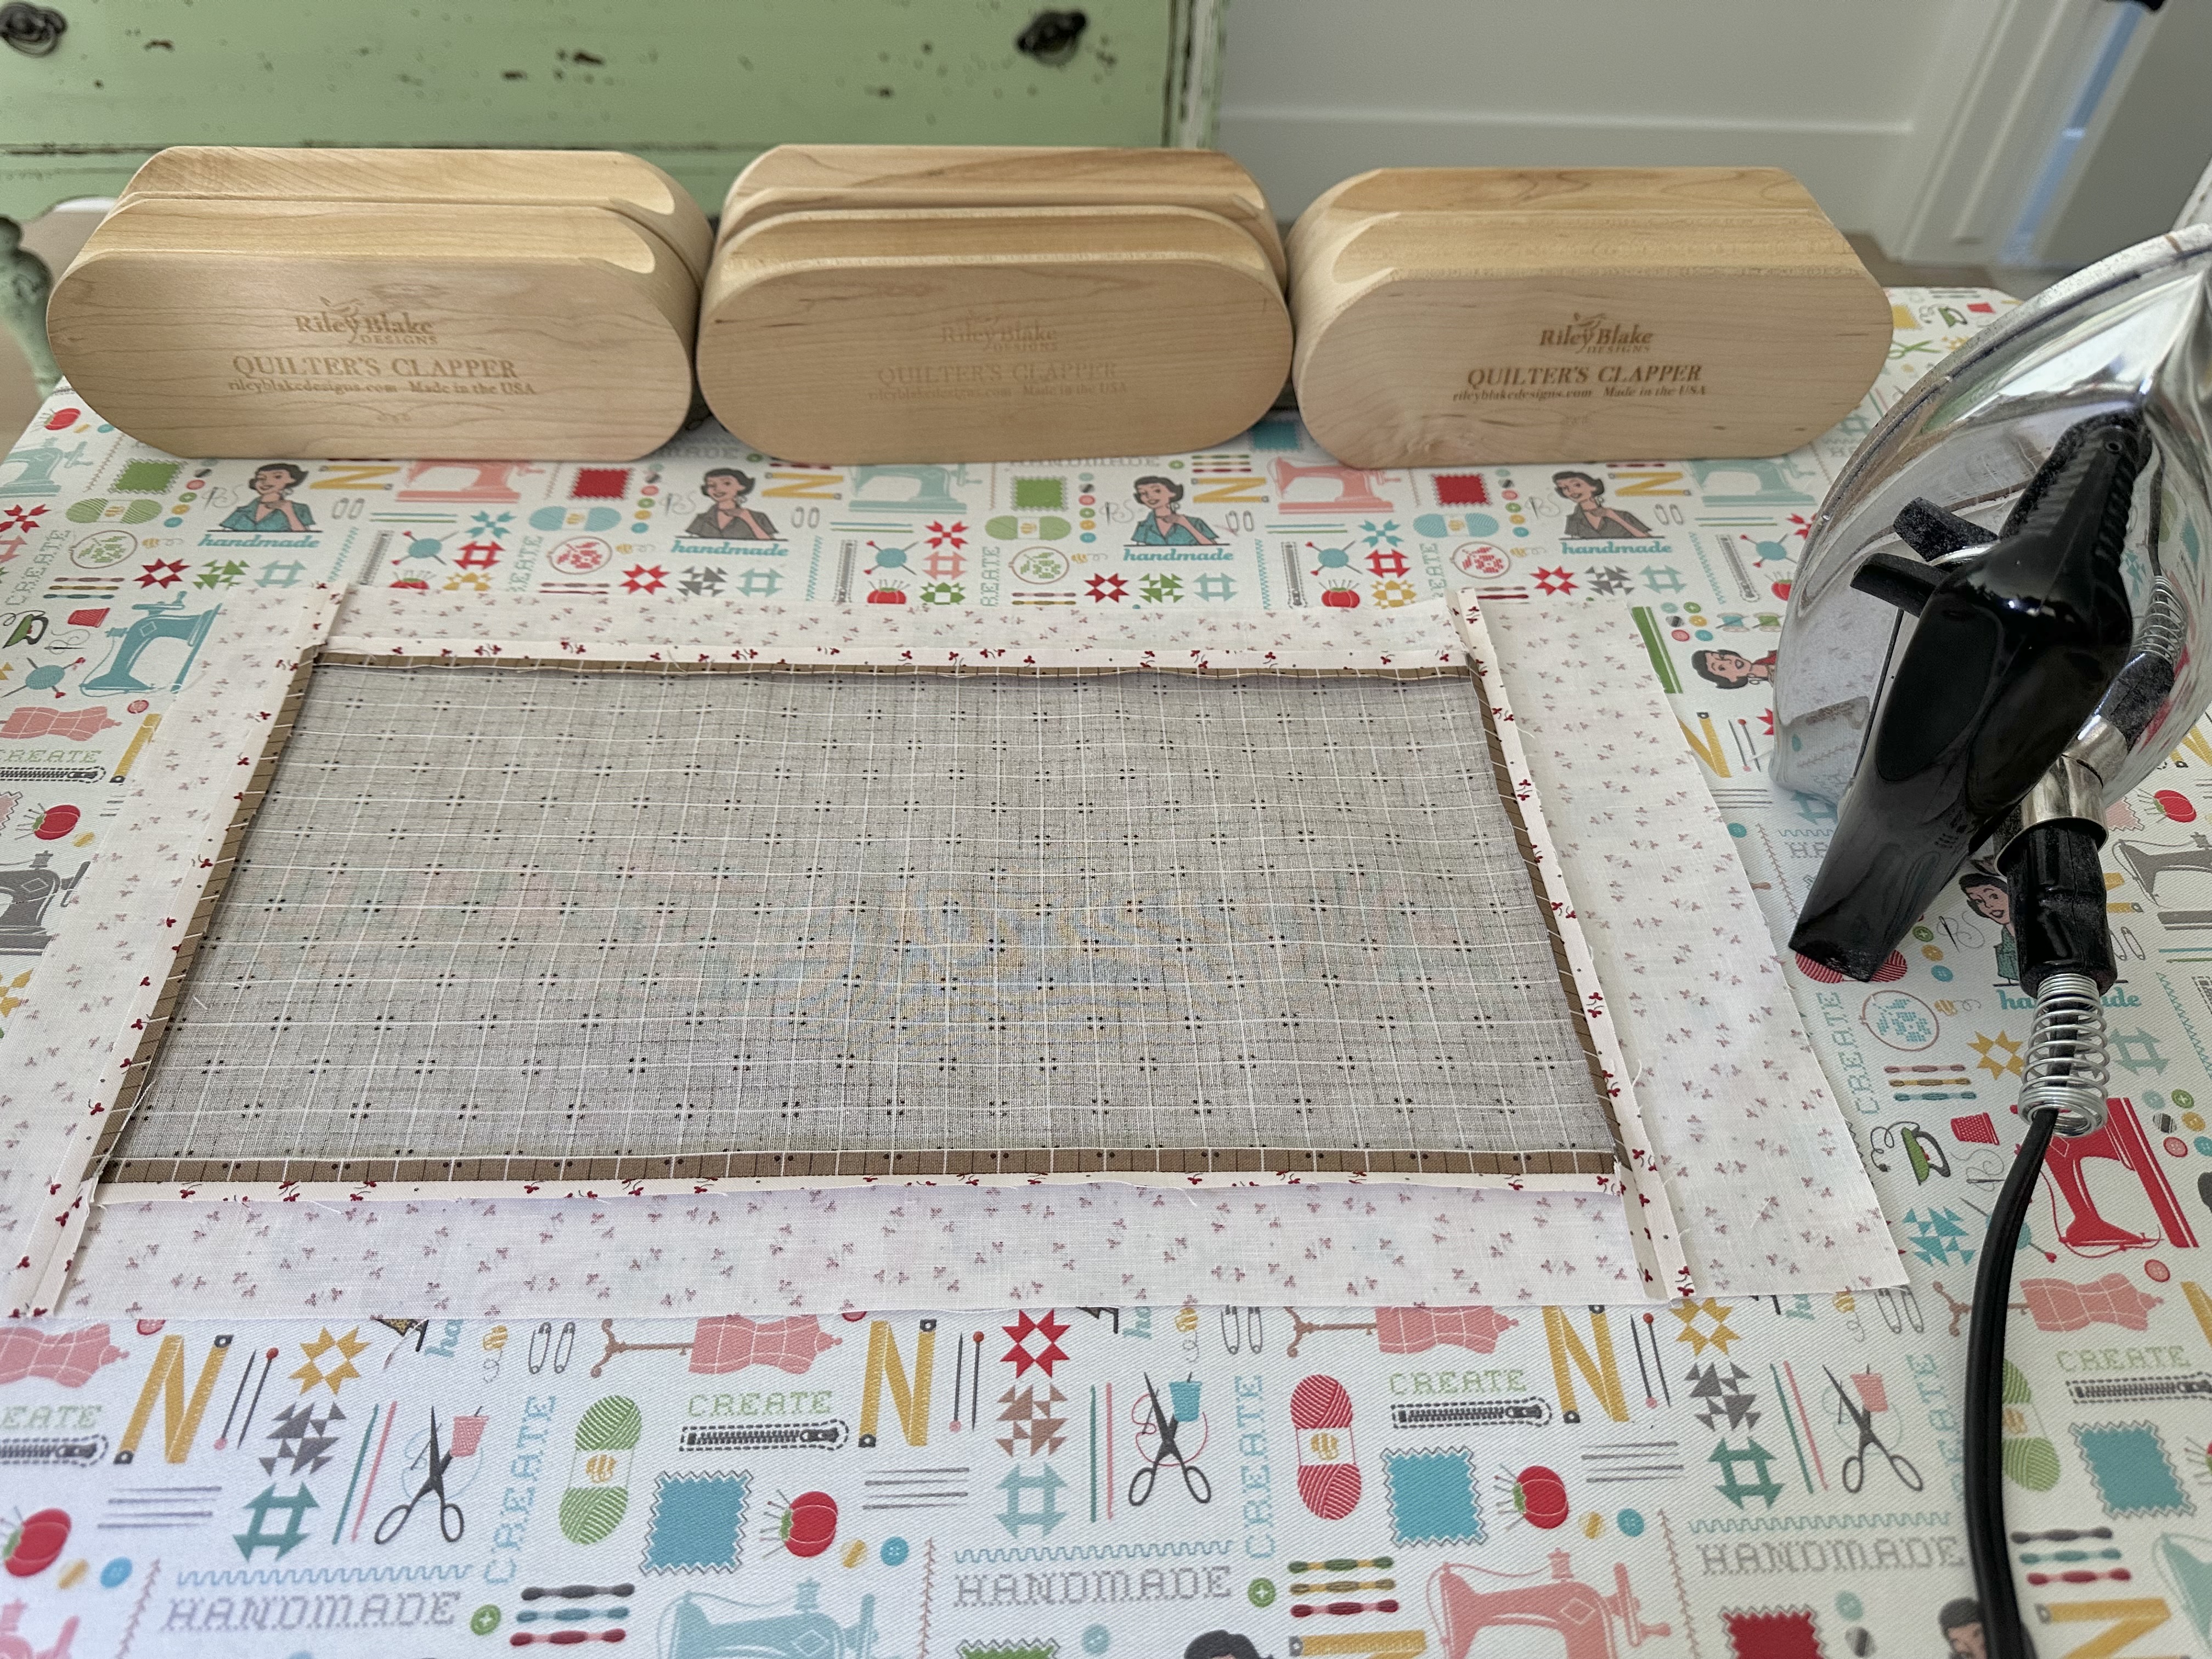
Afterwards I'll press from the back and
then trim it down to
10 1/2" tall x 9 1/2" wide
so that it can be sewn into the quilt:)

Now let's make the Bandana Block.
Mine is cut and traced and ready to sew.
*Take Note that you will need to trace
one of the R-37 in reverse.


After sewing...
trim the seam allowances.
You will need to clip the
inner curves before turning.


Turned - shaped and pressed...

Pinned and Sue Glued:)

This block is easy to layout using the
9 1/2" Trim-It Ruler.
Use it when laying out your block
to make sure everything is centered.

My bandana is ready to be appliquéd.
Afterwards I'll press from the back and
then trim it down to
9 1/2" tall x 9 1/2" wide
so that it can be sewn into the quilt:)

I've cut my gunny sack and background for piecing the block.
*There are a few things to Take Note of:
For the background,instead of cutting
2 - 2 1/2" x 9 1/2" you cut one
and you cut 1 - 1 1/2" x 9 1/2"
Also the oval shape needed is
NOT R-63 as pictured.
I actually cut and traced it
and then sewed it before I realized
it was too large and the wrong one.
The correct oval shape is R-54
BUT NO WORRIES!
It is a super easy fix without
cutting new fabric and I'll show you
when we get to that step.

Also... I prepared my 6 pieces of
1/4" strips for the x's to measure
1 1/2" long AFTER both ends
are pressed under...
and my 1/2" strip for the
top of the gunny sack to measure
8 1/2" AFTER both ends are pressed under.
I like to place a little dot of glue
on each one like this...

And pin them to my design board like this
so that they are all ready to go
when it comes time to lay out the block.

Now for the sewing!
First I added the side strips.
I pressed my seams open
so they will lie flat.
Next I added the top and bottom strips.
Remember that one is cut 1 1/2" wide
and the other is cut 2 1/2" wide...
both are 9 1 /2" long.

At this point after sewing and shaping
my oval I still hadn't realized
it was the wrong size lol

Remember that R-54 is the correct one.

Because it's smaller
you can use your same fabric...

Even if you've already sewn it
you can turn it wrong side out again
and trace the smaller size onto
the interfacing and sew it again!!
Easy peasy:)
***NOTE*** The R-54 is a bonus shape
in the set and is used for something
that I'll tell you about at a later time:)
T

This step is optional but I think it's cute.
I drew stitches onto the edge of the oval
and will use the gray DMC floss
to embroider it.

I pinned and Sue Glued the
x's across the center of the oval
and then the oval onto the
center of the gunny sack.
I also pinned and glued
the green strip across the top.

My oval, x's and top strip are
ready for applique but there will not
be any trimming up needed
because the block is pieced:)

Sew cute!!!

I hope that you enjoyed week three and
my tutorial for these blocks:)
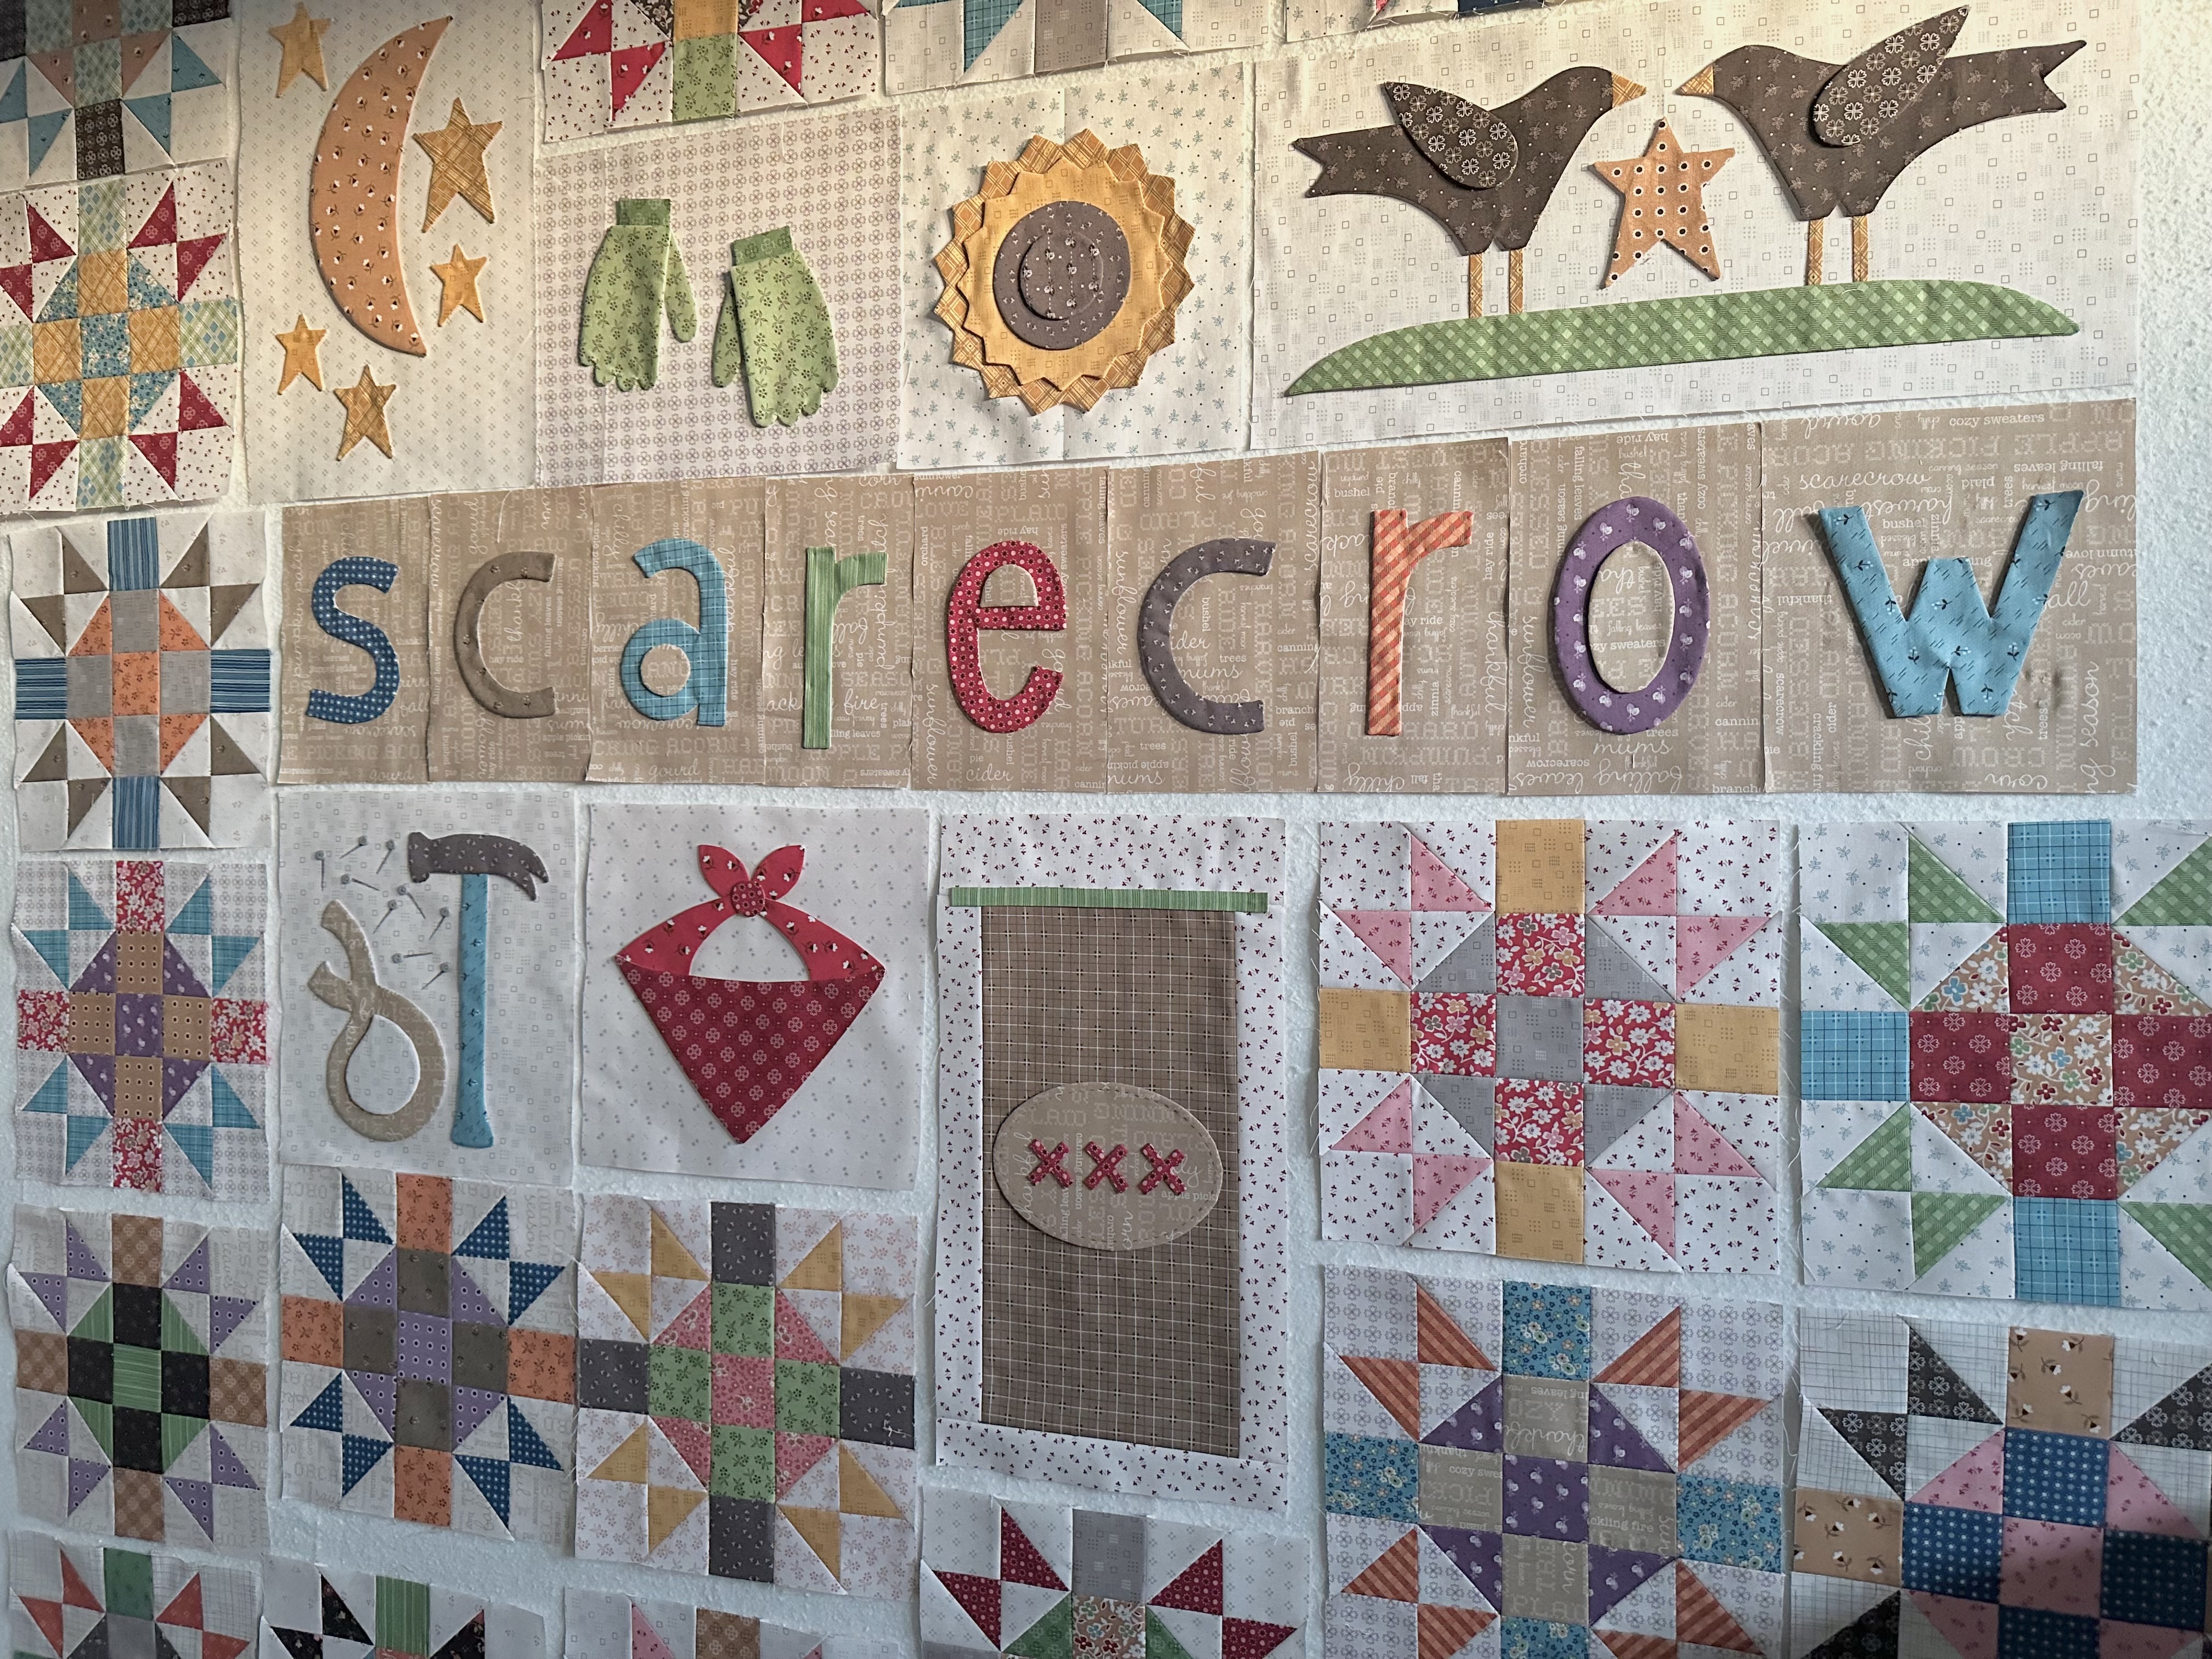
Now we have 8 applique blocks completed
and all of the border blocks done!!


I'm sew very excited
to make this quilt with you...
thank you sew much for joining me
for week three of the...

How to Build a Scarecrow
Sew Along
I'll meet you right back here
on my blog next Monday for the
Corn, Leaves and
Face Blocks...
xx
Lori

No comments:
Post a Comment