Tree - Birdhouse
and Snow Shovel Blocks

Welcome Quilty Friends!!!
Today is Week Six for the
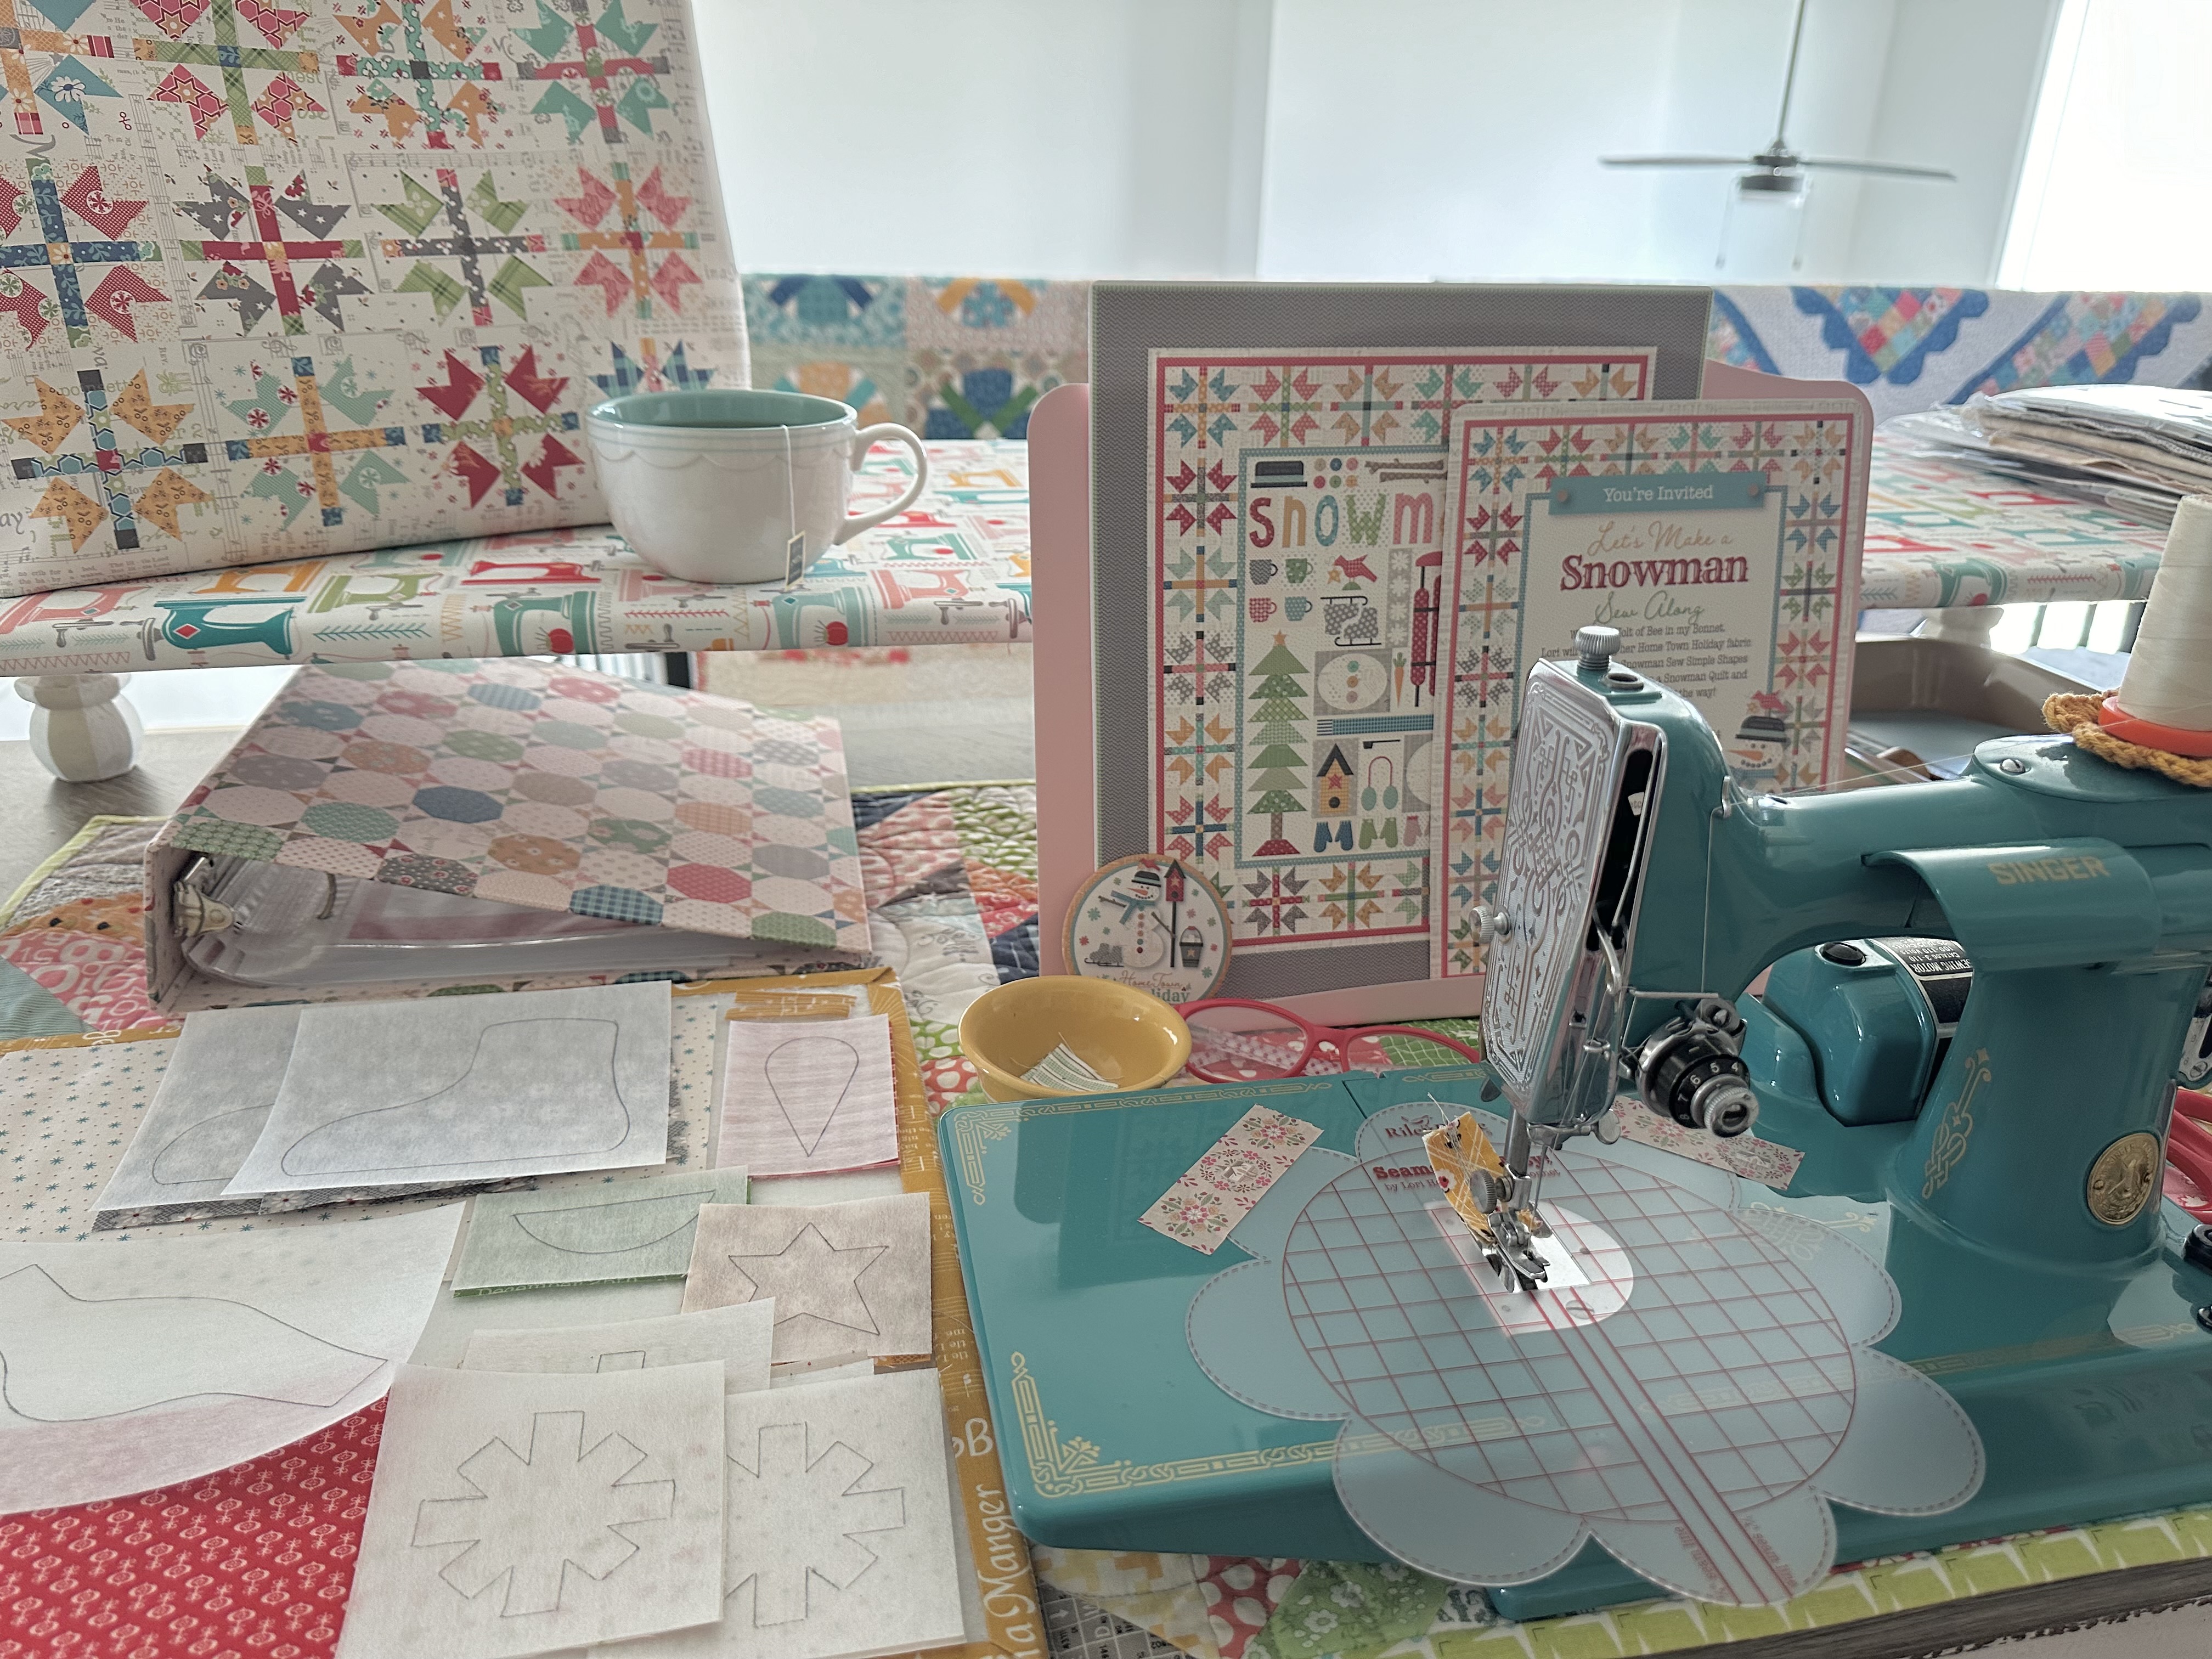
LET'S MAKE A SNOWMAN
SEW ALONG
If you are just joining us
and want to know everything
about this sew along and
making this quilt
for my "BEE PREPARED" blog post.

We are making the
LET'S MAKE A SNOWMAN Quilt
which finishes at
75" x 87"
It consists of 22 pieced quilt blocks
for the border which surrounds
the applique blocks in the center
of the quilt.
(There are a few other blocks
that are also pieced)

To make the applique blocks
we are using my
Sew Simple Shapes called of course...
Let's Make A Snowman!


The collection that we are using
for the quilt is...
HOME TOWN HOLIDAY!!
Home Town Holiday was designed by me...
and produced and distributed
to quilt shops everywhere
by the amazing
If you would like to know everything about
HOME TOWN HOLIDAY
to view the entire storyboard...
to see all of the fabrics close up
and to view the notions and ALL of
the patterns that coordinate with it:)

I did a video tutorial
on my YouTube channel for week one:)
I showed you how to make the hat
and one of the letters and
gave you tips along the way.
I also chatted about stitching the
appliqués by machine or hand
and about quilting over the
Sew Simple Shapes.
to watch the video and please
leave me a comment and a like!
and then
to read my week one blog tutorial as well.

for the above week two block tutorial

During Week Three we did
all of the above blocks.
for the tutorials

for all of these
tutorials for week four:)


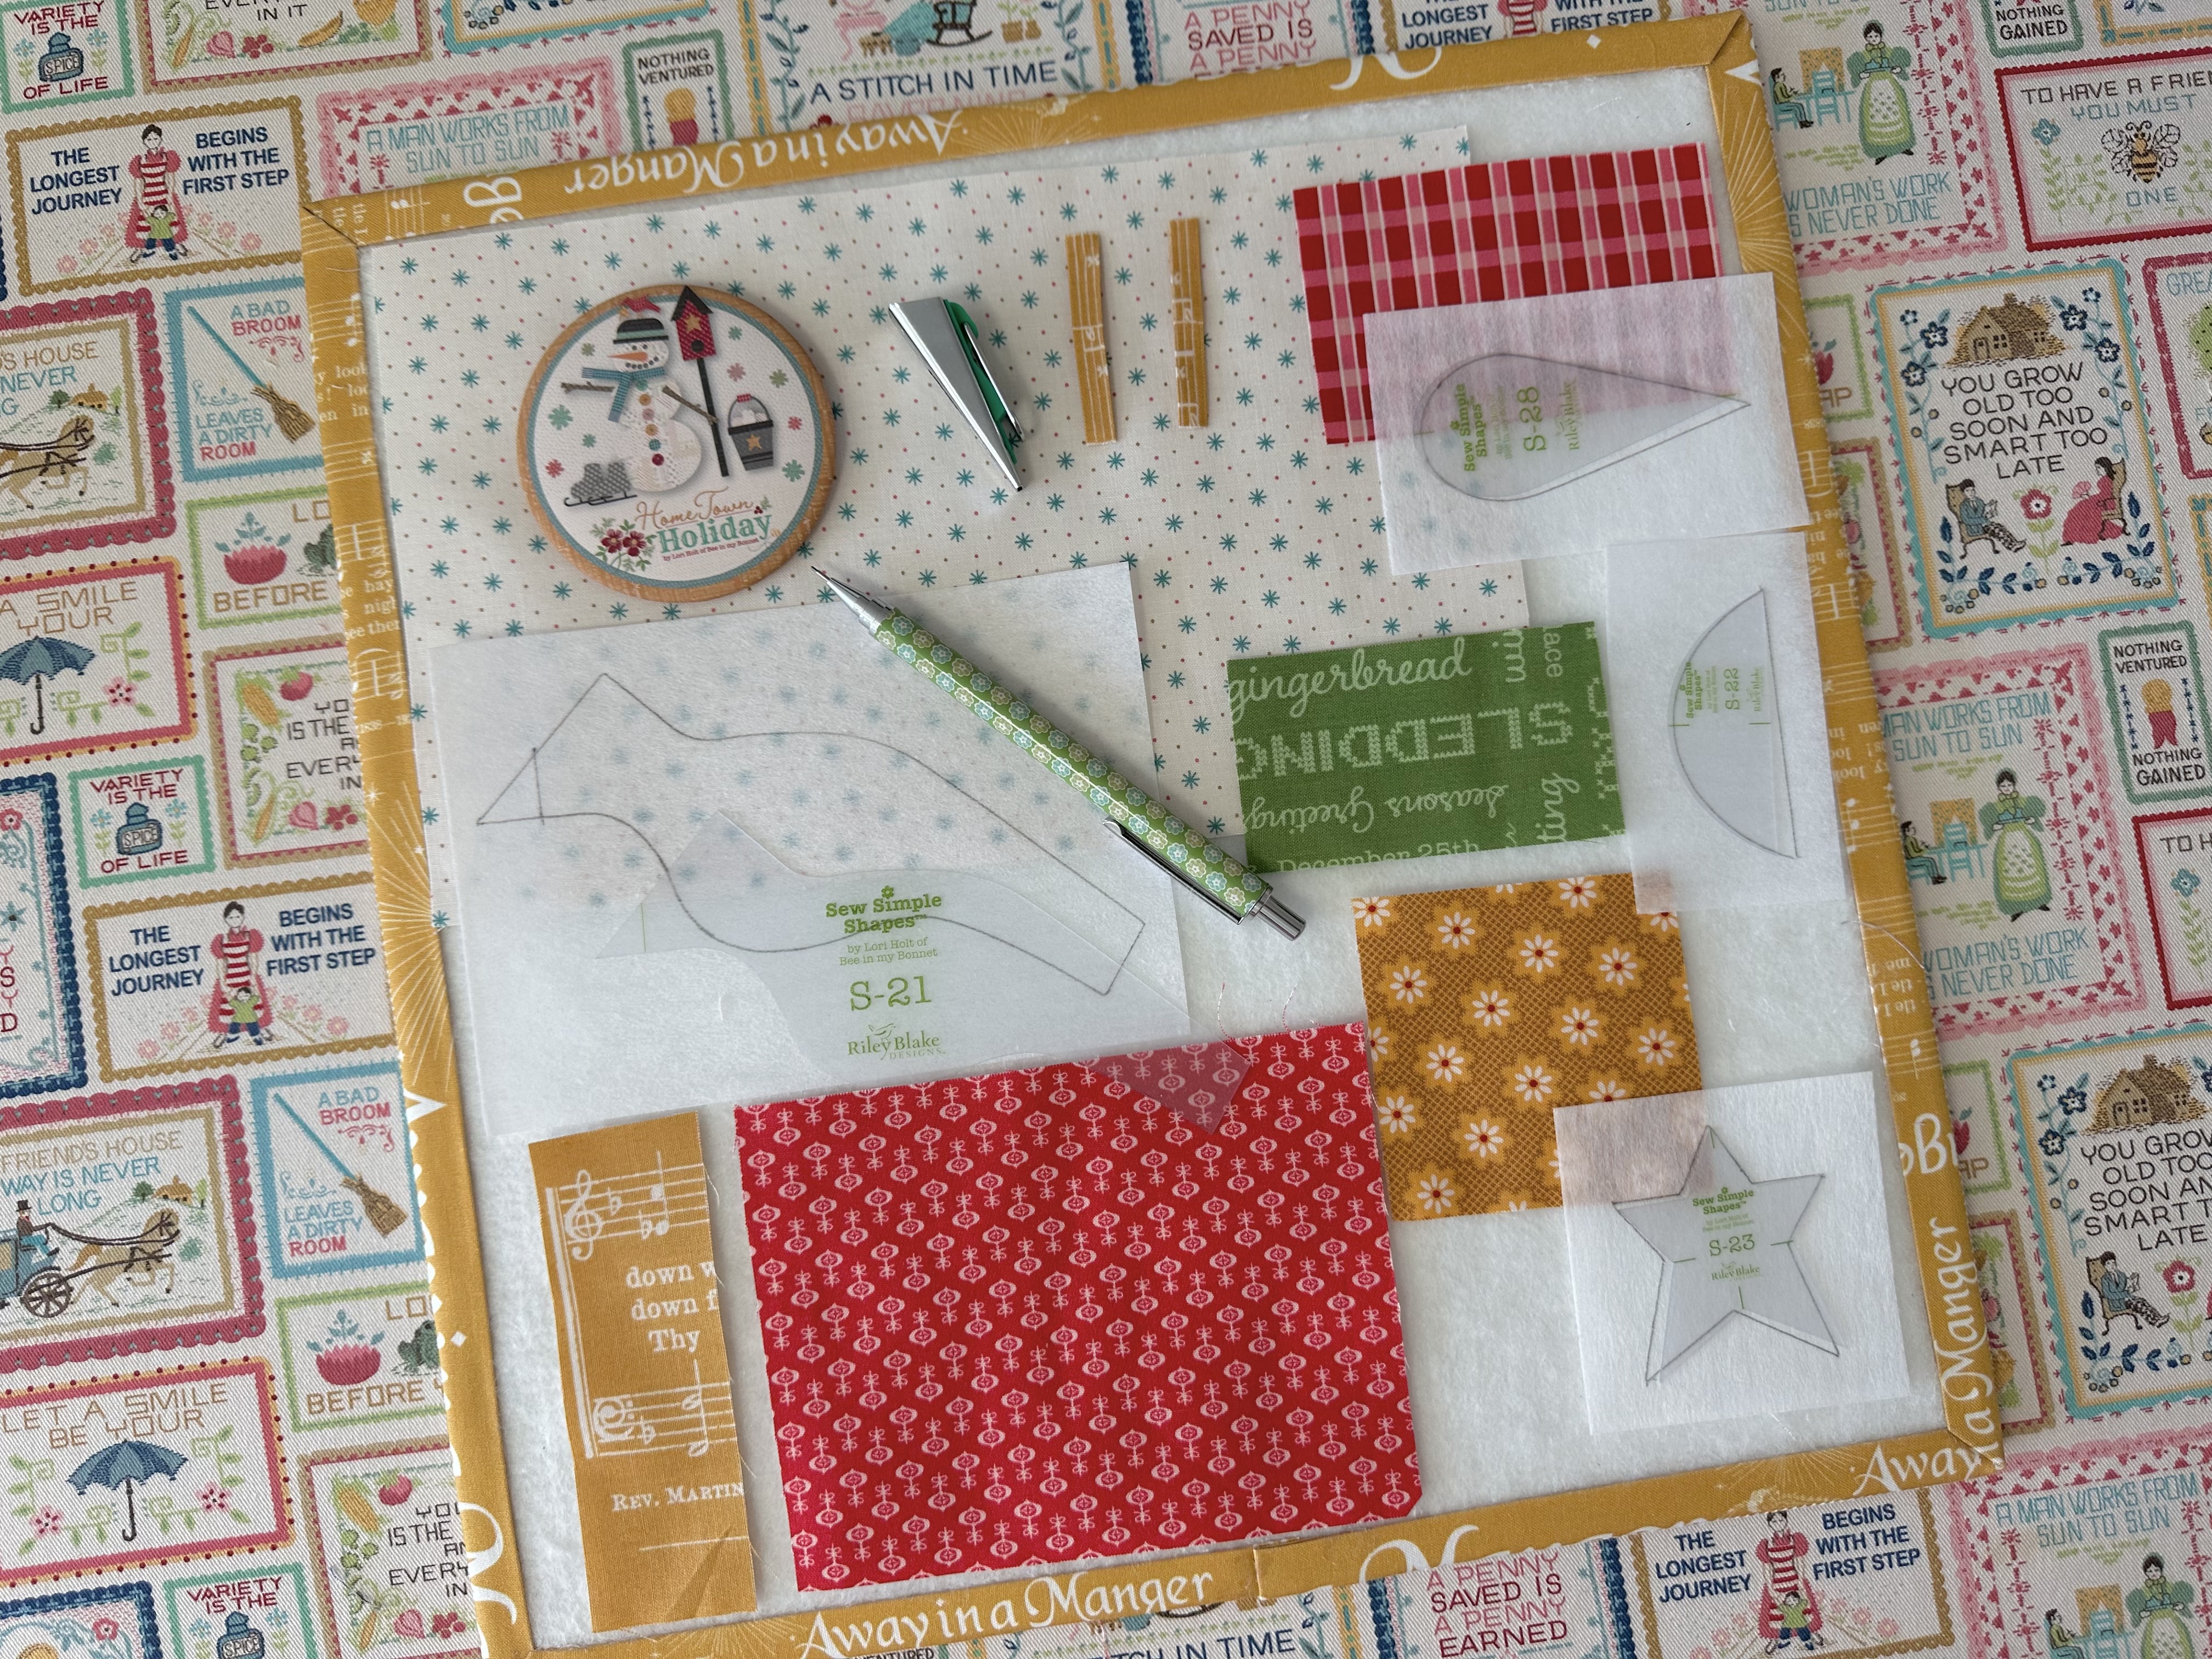
Grab your fabric and the sew along guide
for cutting and let's get started
on this weeks tutorials!
I took photos of the blocks
cut and ready to go according to the
sew along guide instructions:)

Birdhouse Block

Snow Shovel Block

Tree Block
***TAKE NOTE***
I did a video tutorial on my
YouTube Channel
for the tree block because I'm
making another fun project
using this block and so I wanted
to do that separately:)
to watch the tutorial!

I'm sewing all of the
Sew Simple Shapes
appliqués for all three blocks
at the same time...
including the star for the tree block.

All sewn and ready to trim!

Before turning you will need to
clip the cleavage in the stars
and the roof for the birdhouse.
Also clip the inner curves in
the shovel and the shovel handle.

Shaped and pressed and
ready for the worktable.

Back of my appliqués:)

Okay let's start with the birdhouse...

Easy peasy!
Your birdhouse should be
9" tall from tip of roof to the bottom.
After applique press from the back
and trim it down to
6 1/2" x 10 1/2"

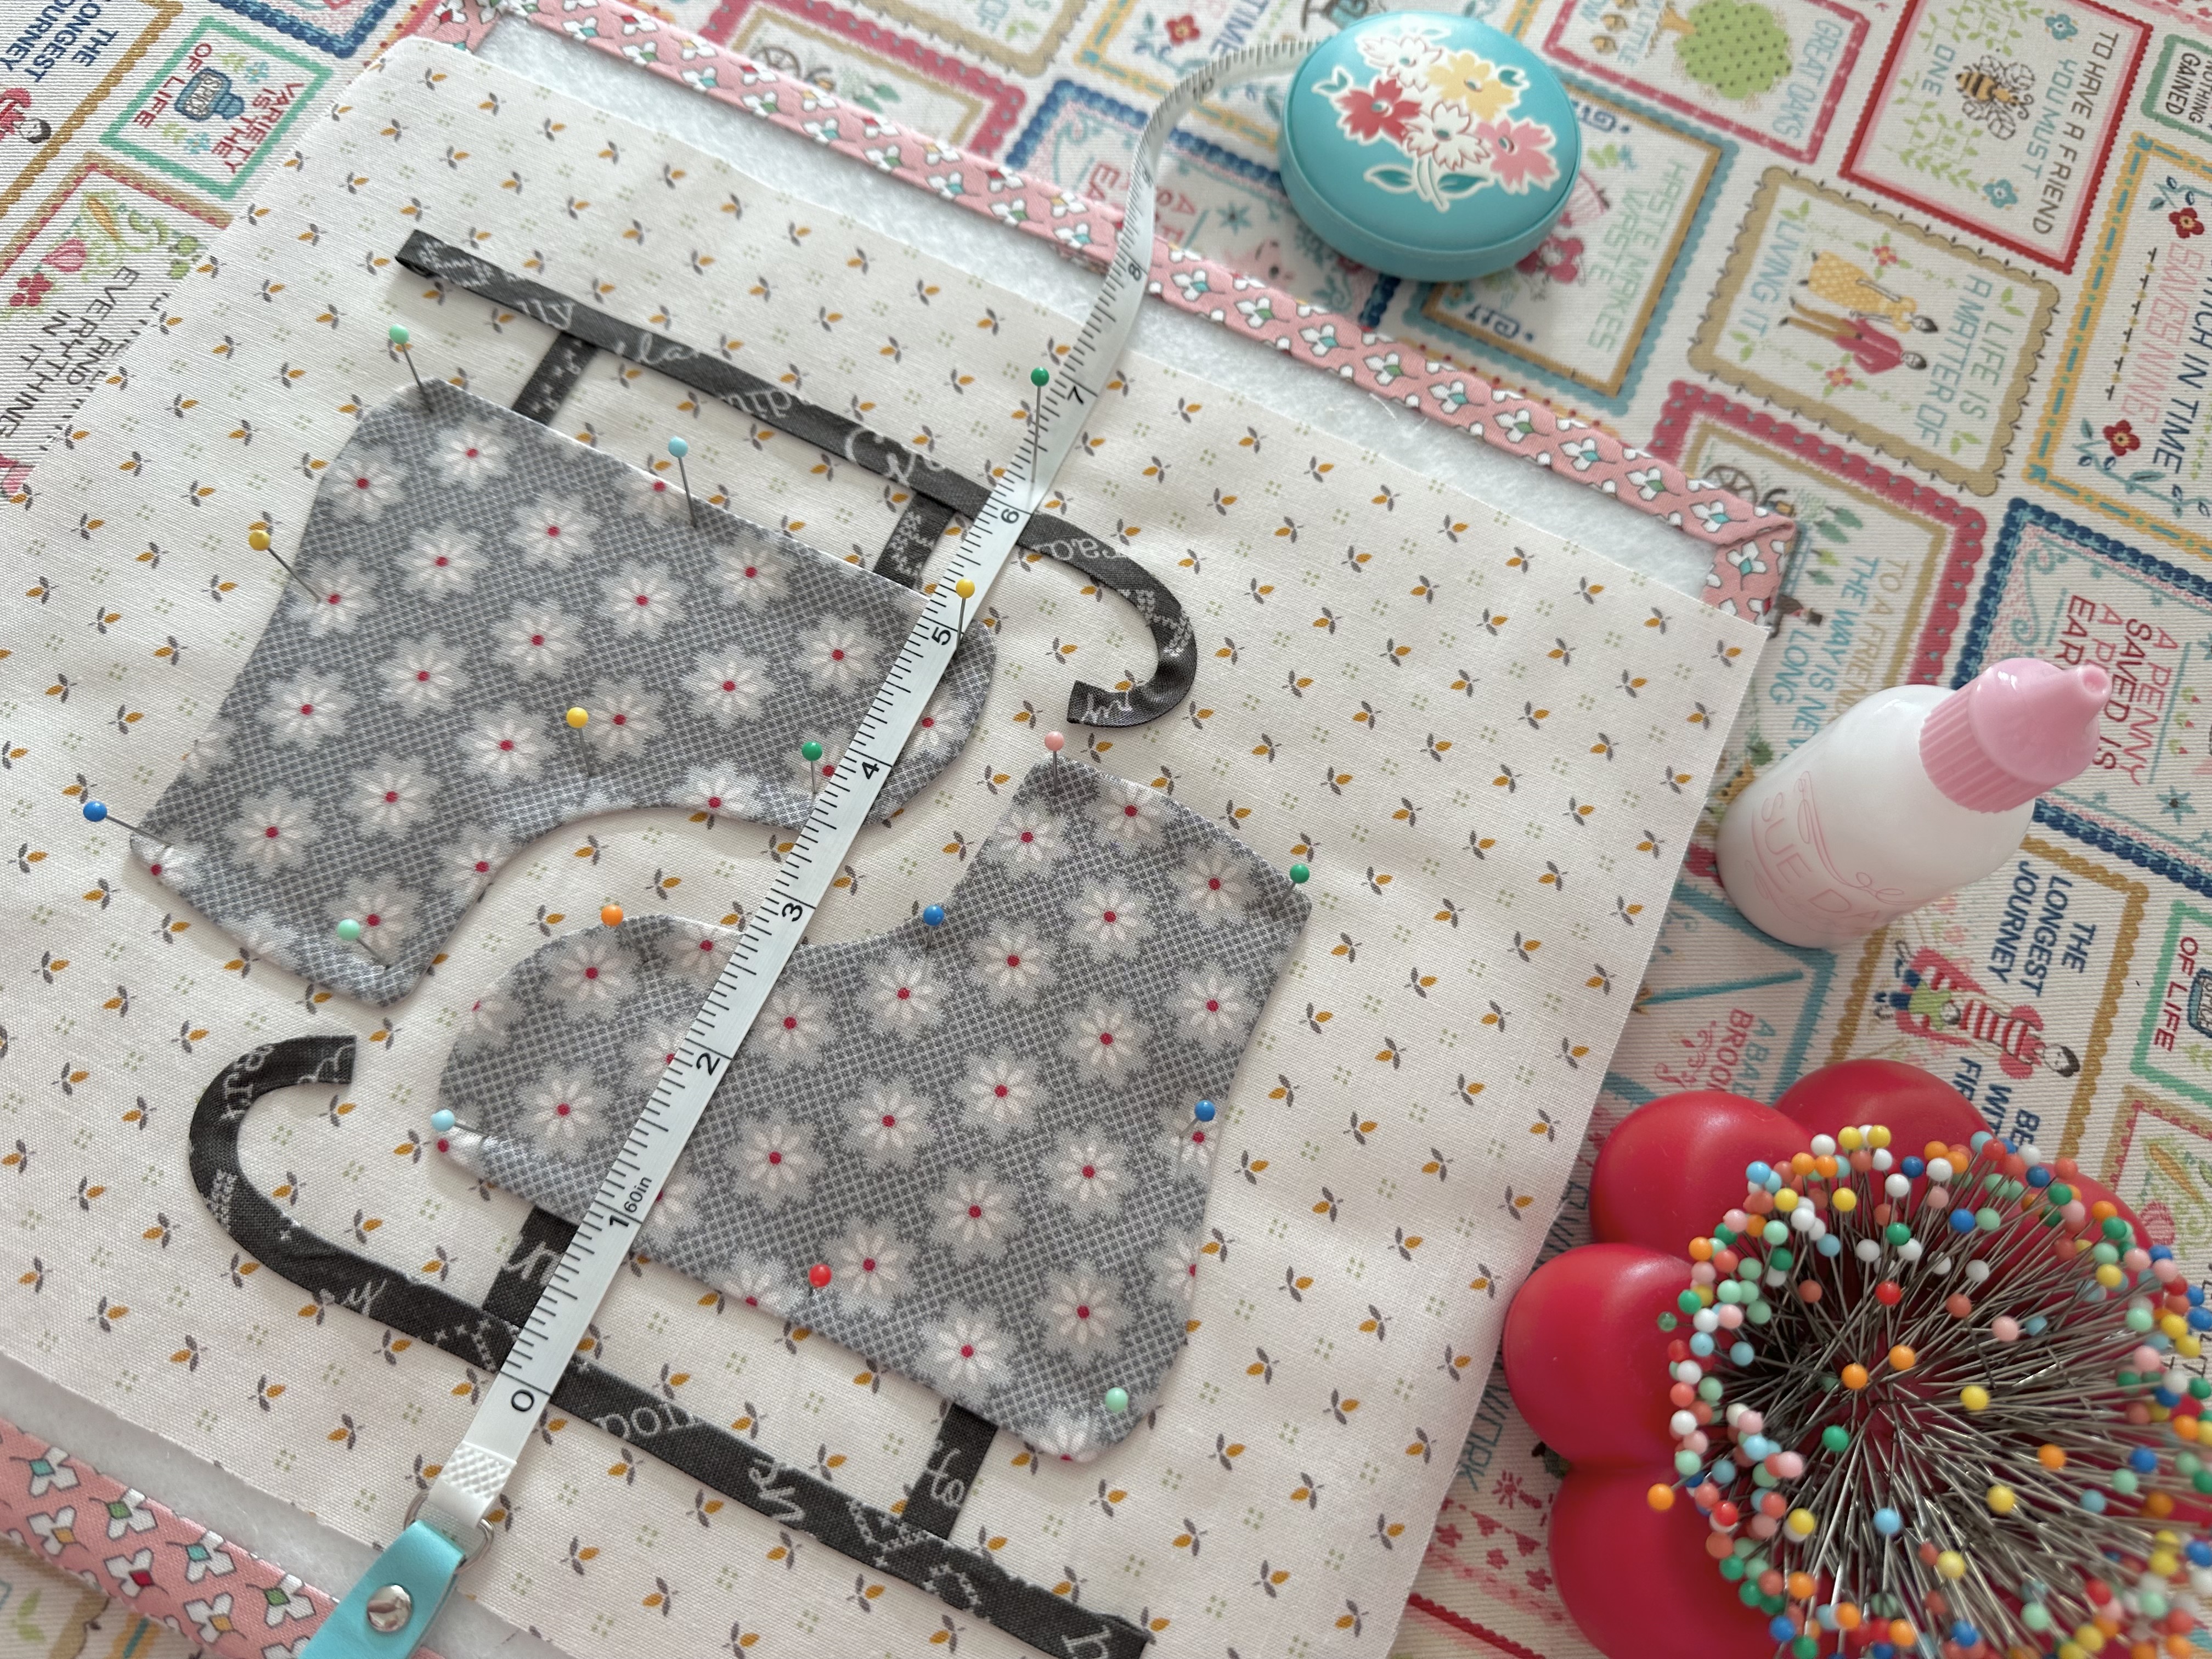
Next let's do the snow shovel.

Another easy peasy layout:)
Your shovel should measure
17" tall from top to bottom.
After applique press from the back
and trim it down to
6 1/2" x 18 1/2"

I wanted to show you a close up photo
of the star on the top of the tree block.
Because we are not using the star
for the other project I did not
include that in the video tutorial.
Also take note that I cut the
background strip for bottom of that block
2 1/2" x 9 1/2"
for the other project only.
Those tree blocks will finish at
9" x 20"
but our tree for the quilt finishes at
9" x 19"
and so the cutting in the sew along guide
for the bottom strip is correct.

That's it for this weeks blocks
and it's time to add them to the other
blocks that we have made so far:)


I'm running out of room on my design wall
so I took down a few of the
pieced blocks for the border
to fit the others in!

Remember that I did a tutorial
on how to make my Snow Star Blocks
so if you haven't watched it yet...

Thanks for sewing with me today!

I'll meet you right back here next Monday
for the tutorial on making the
Mittens, Scarf and
the Ear Muff Blocks.
Sew with you soon!
xx
Lori